
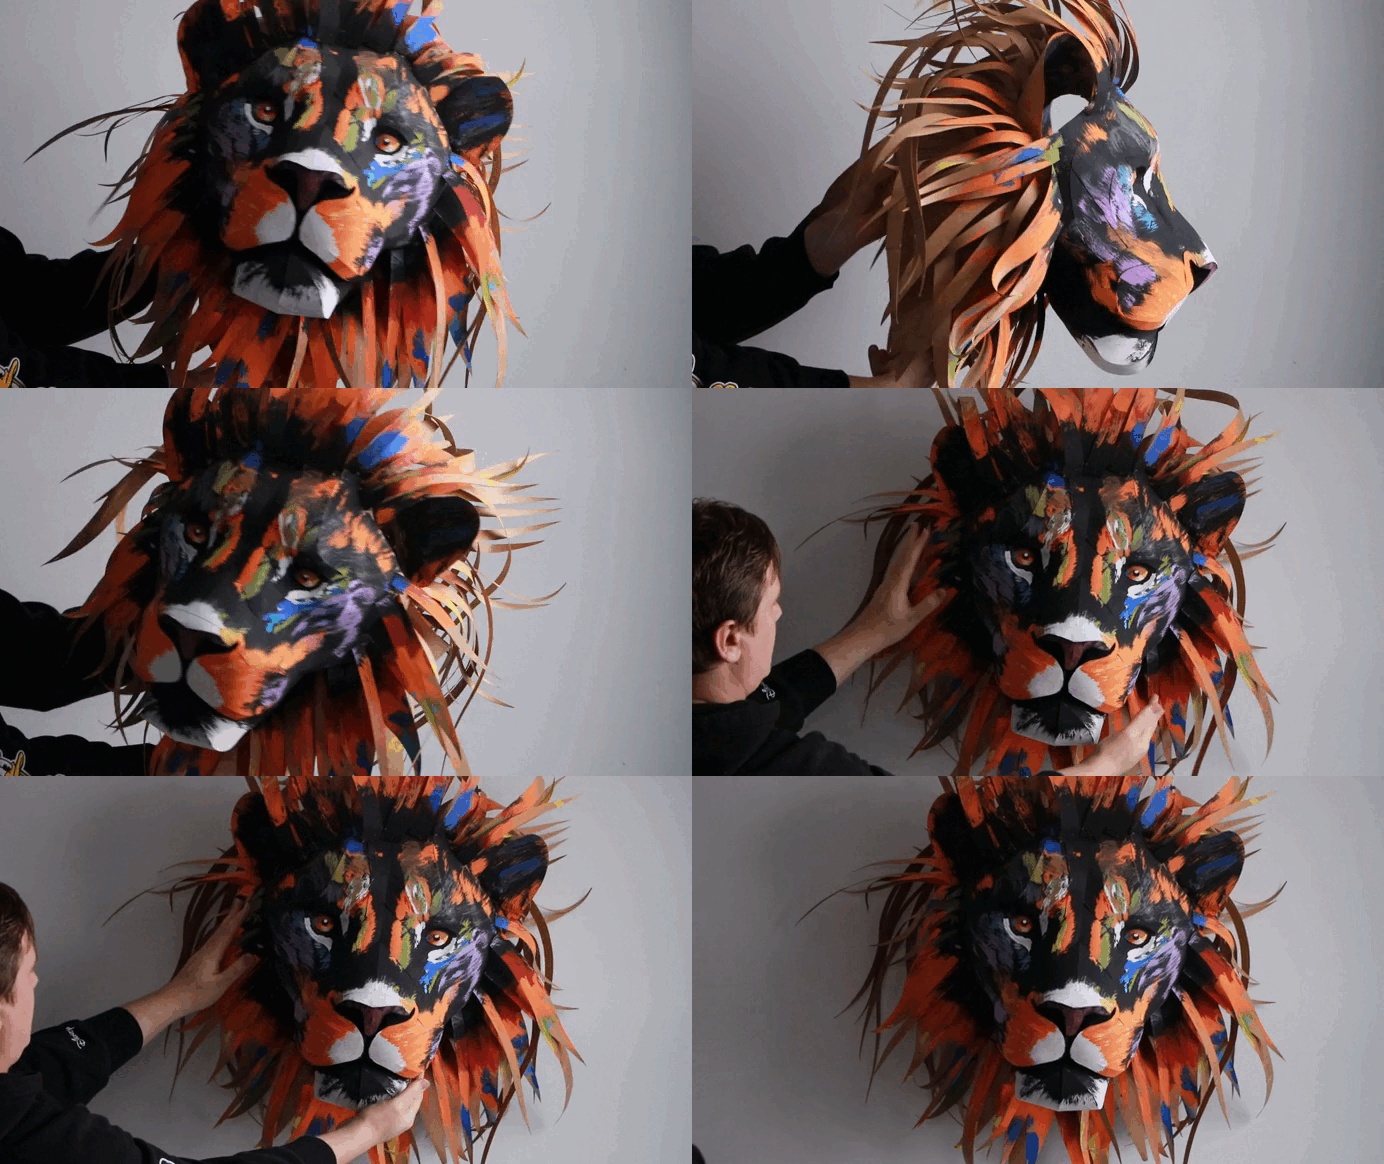
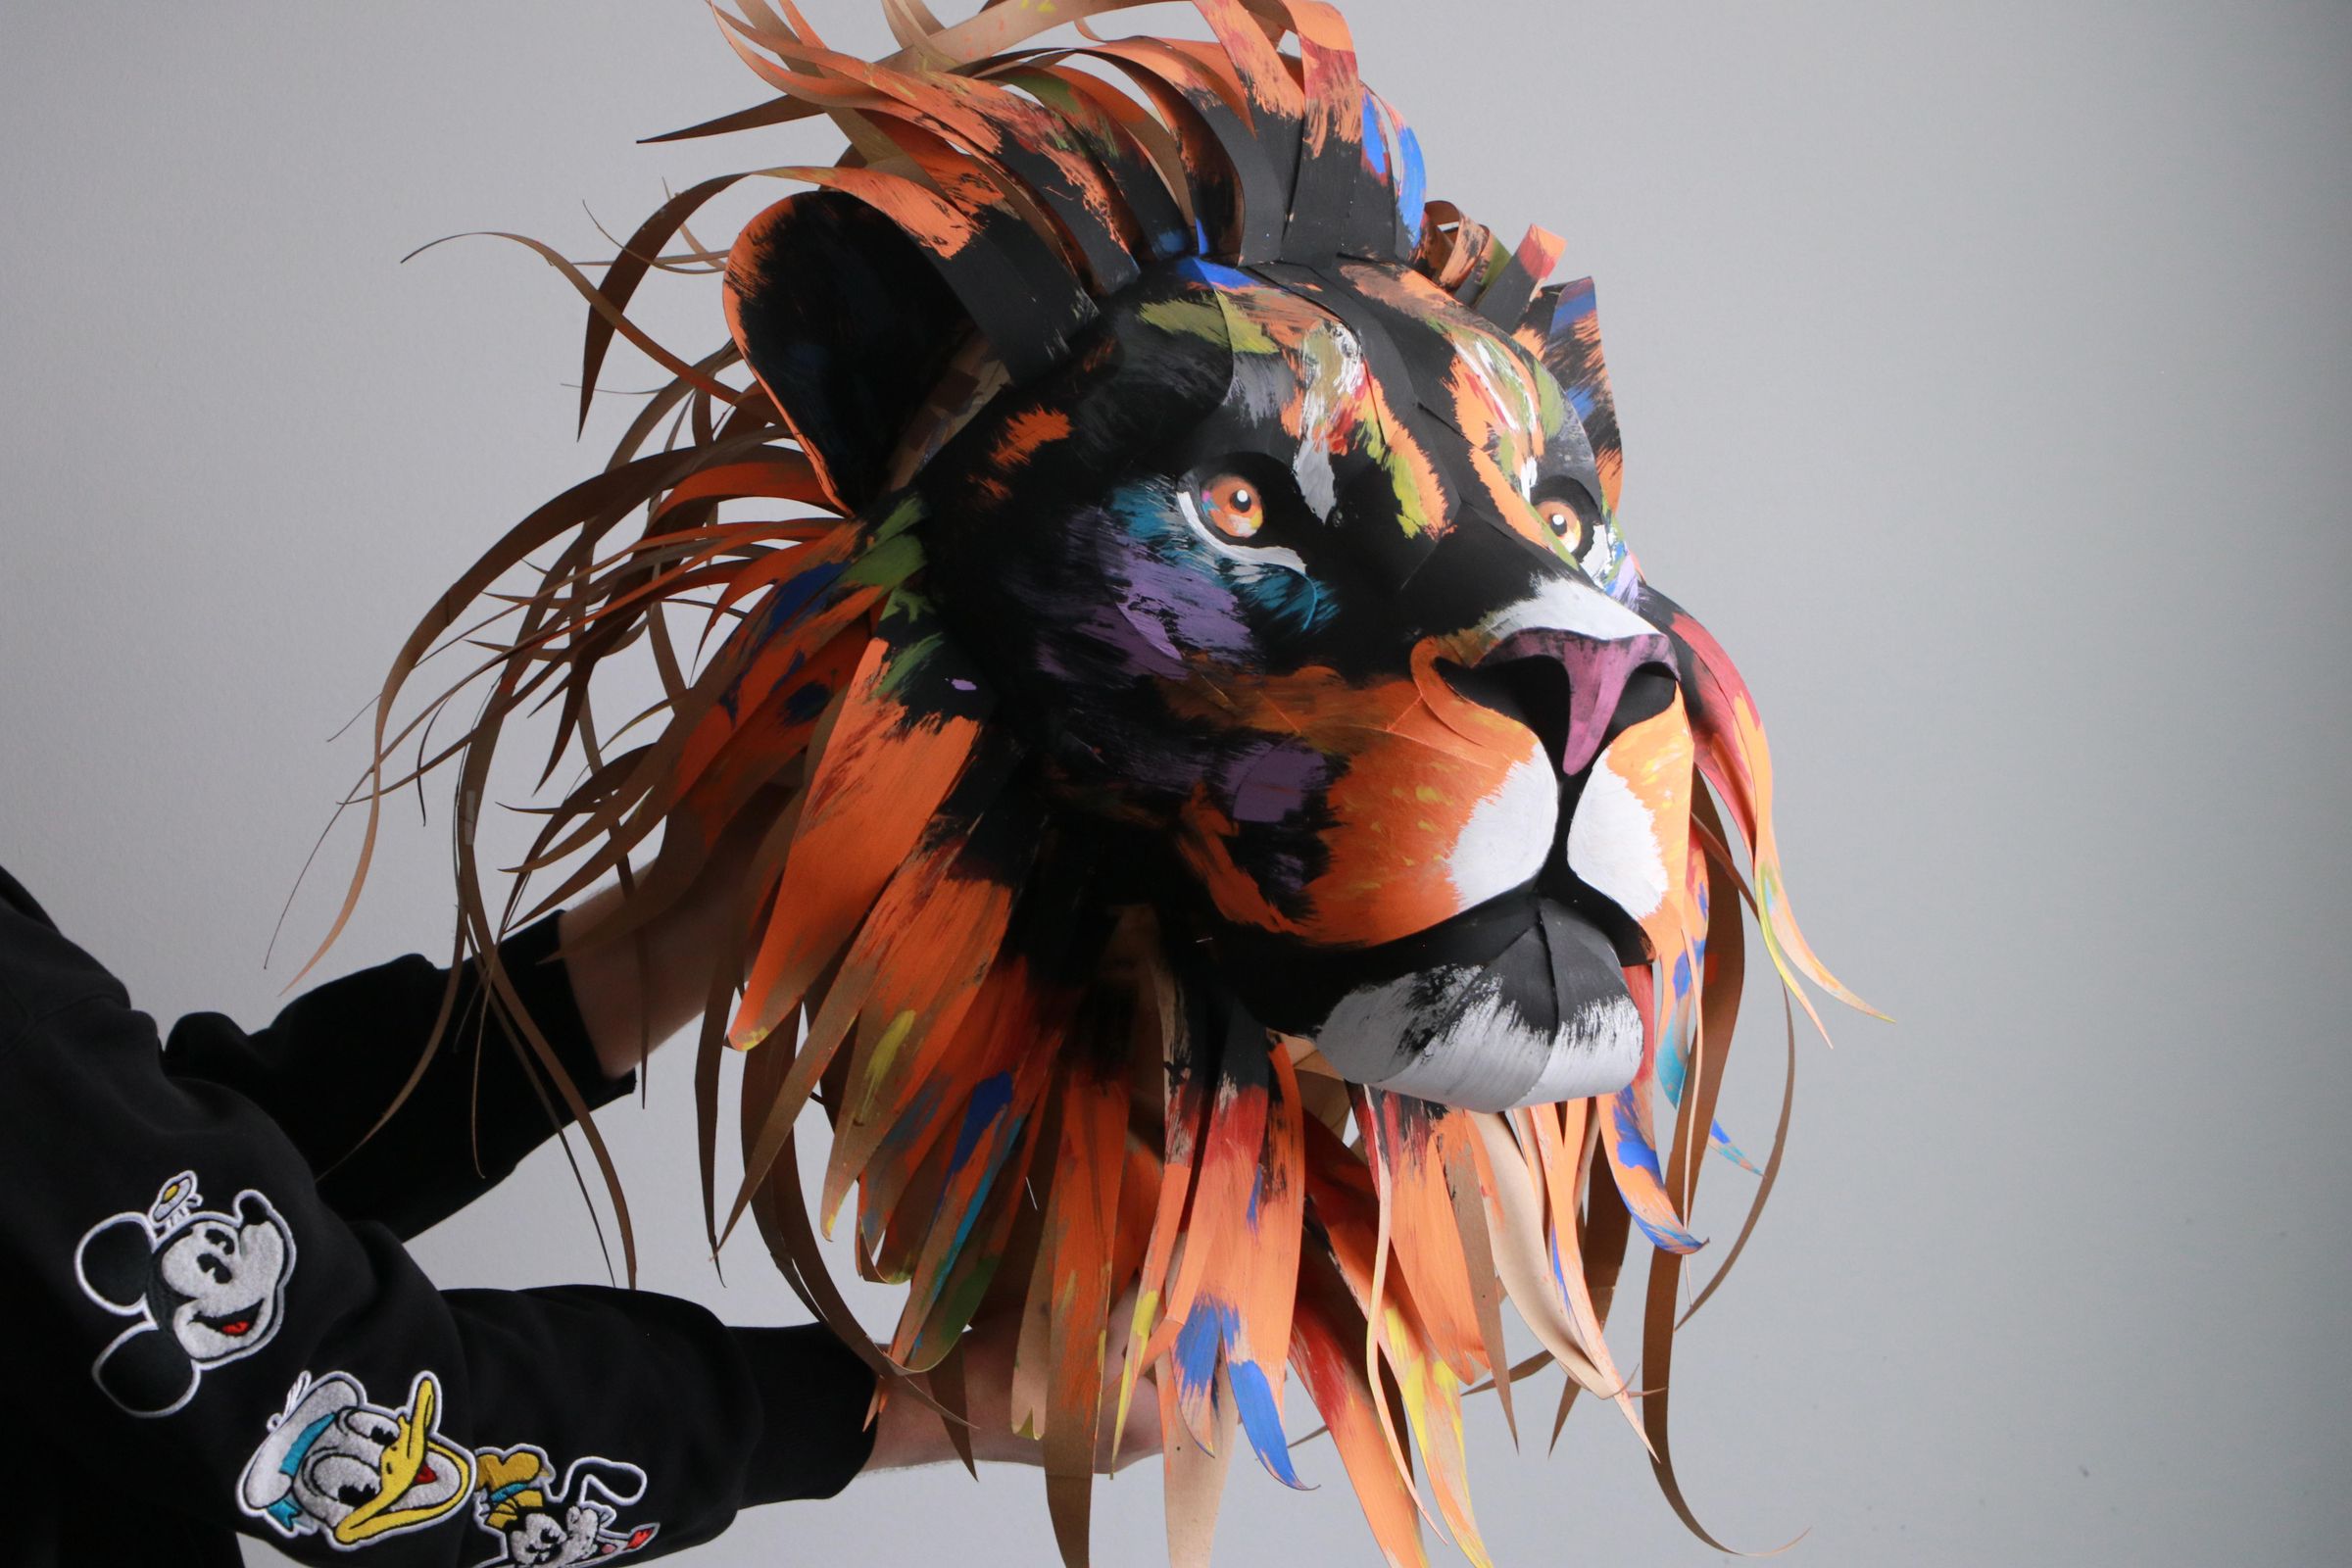
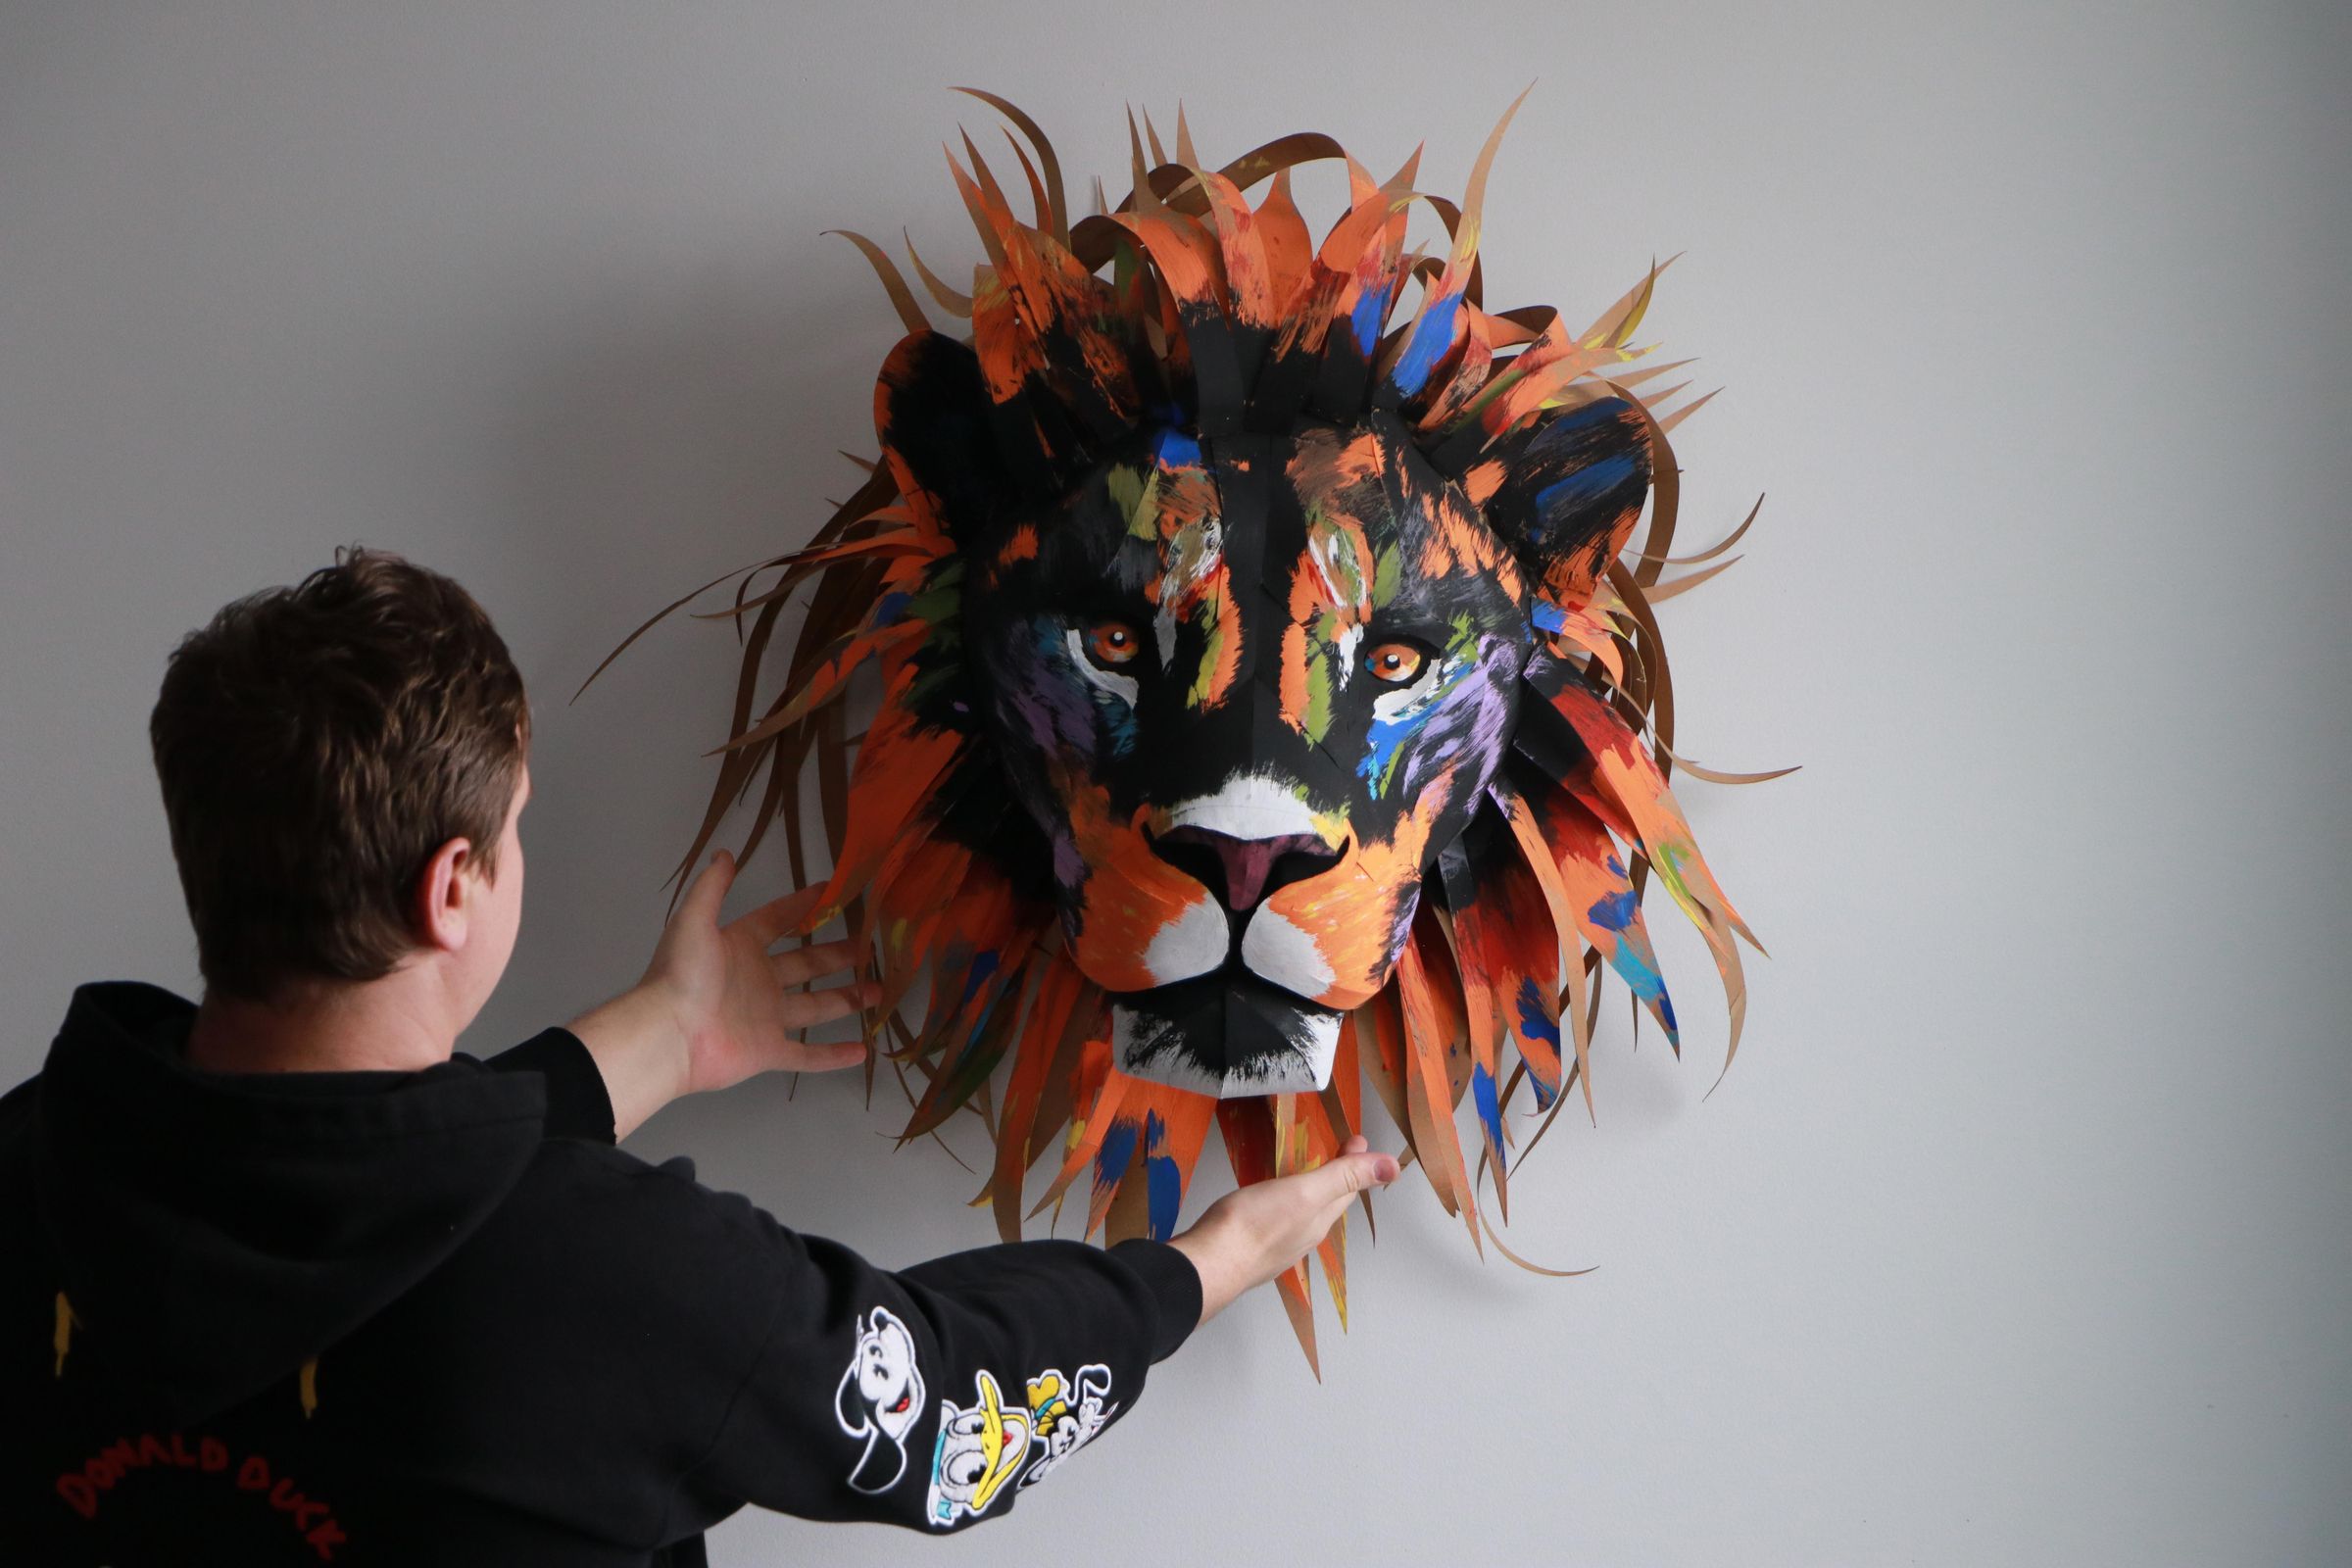
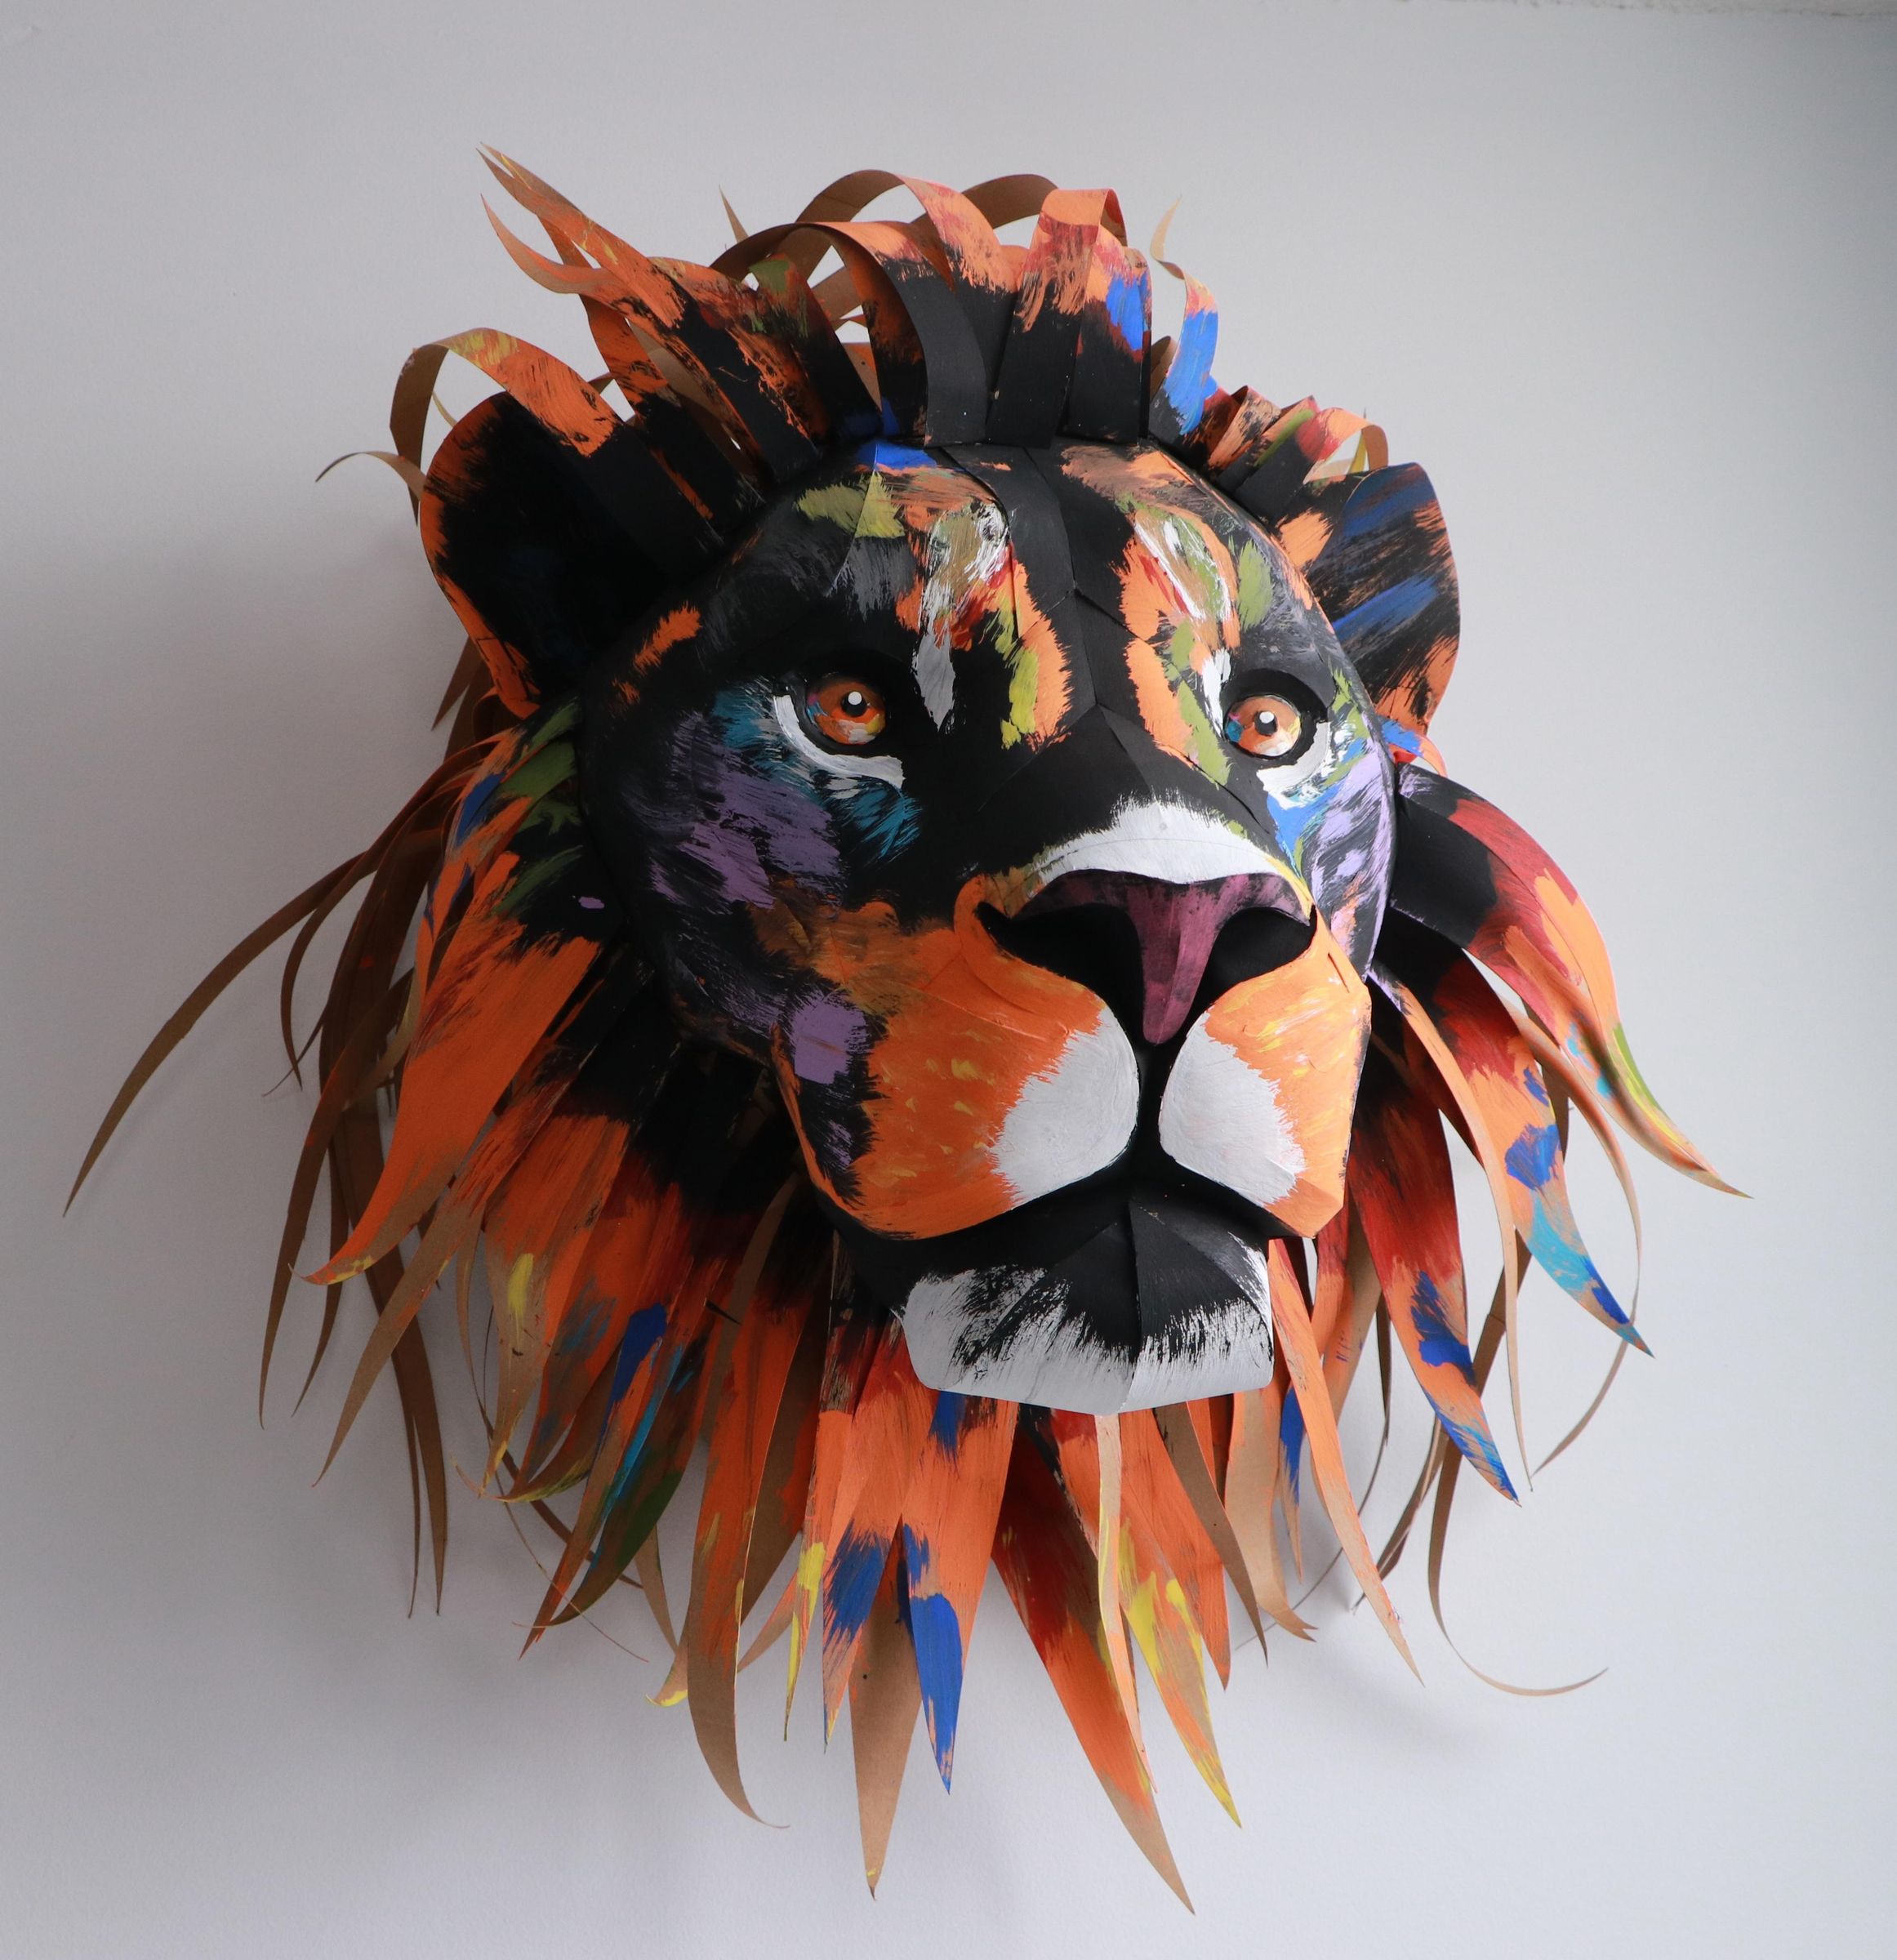
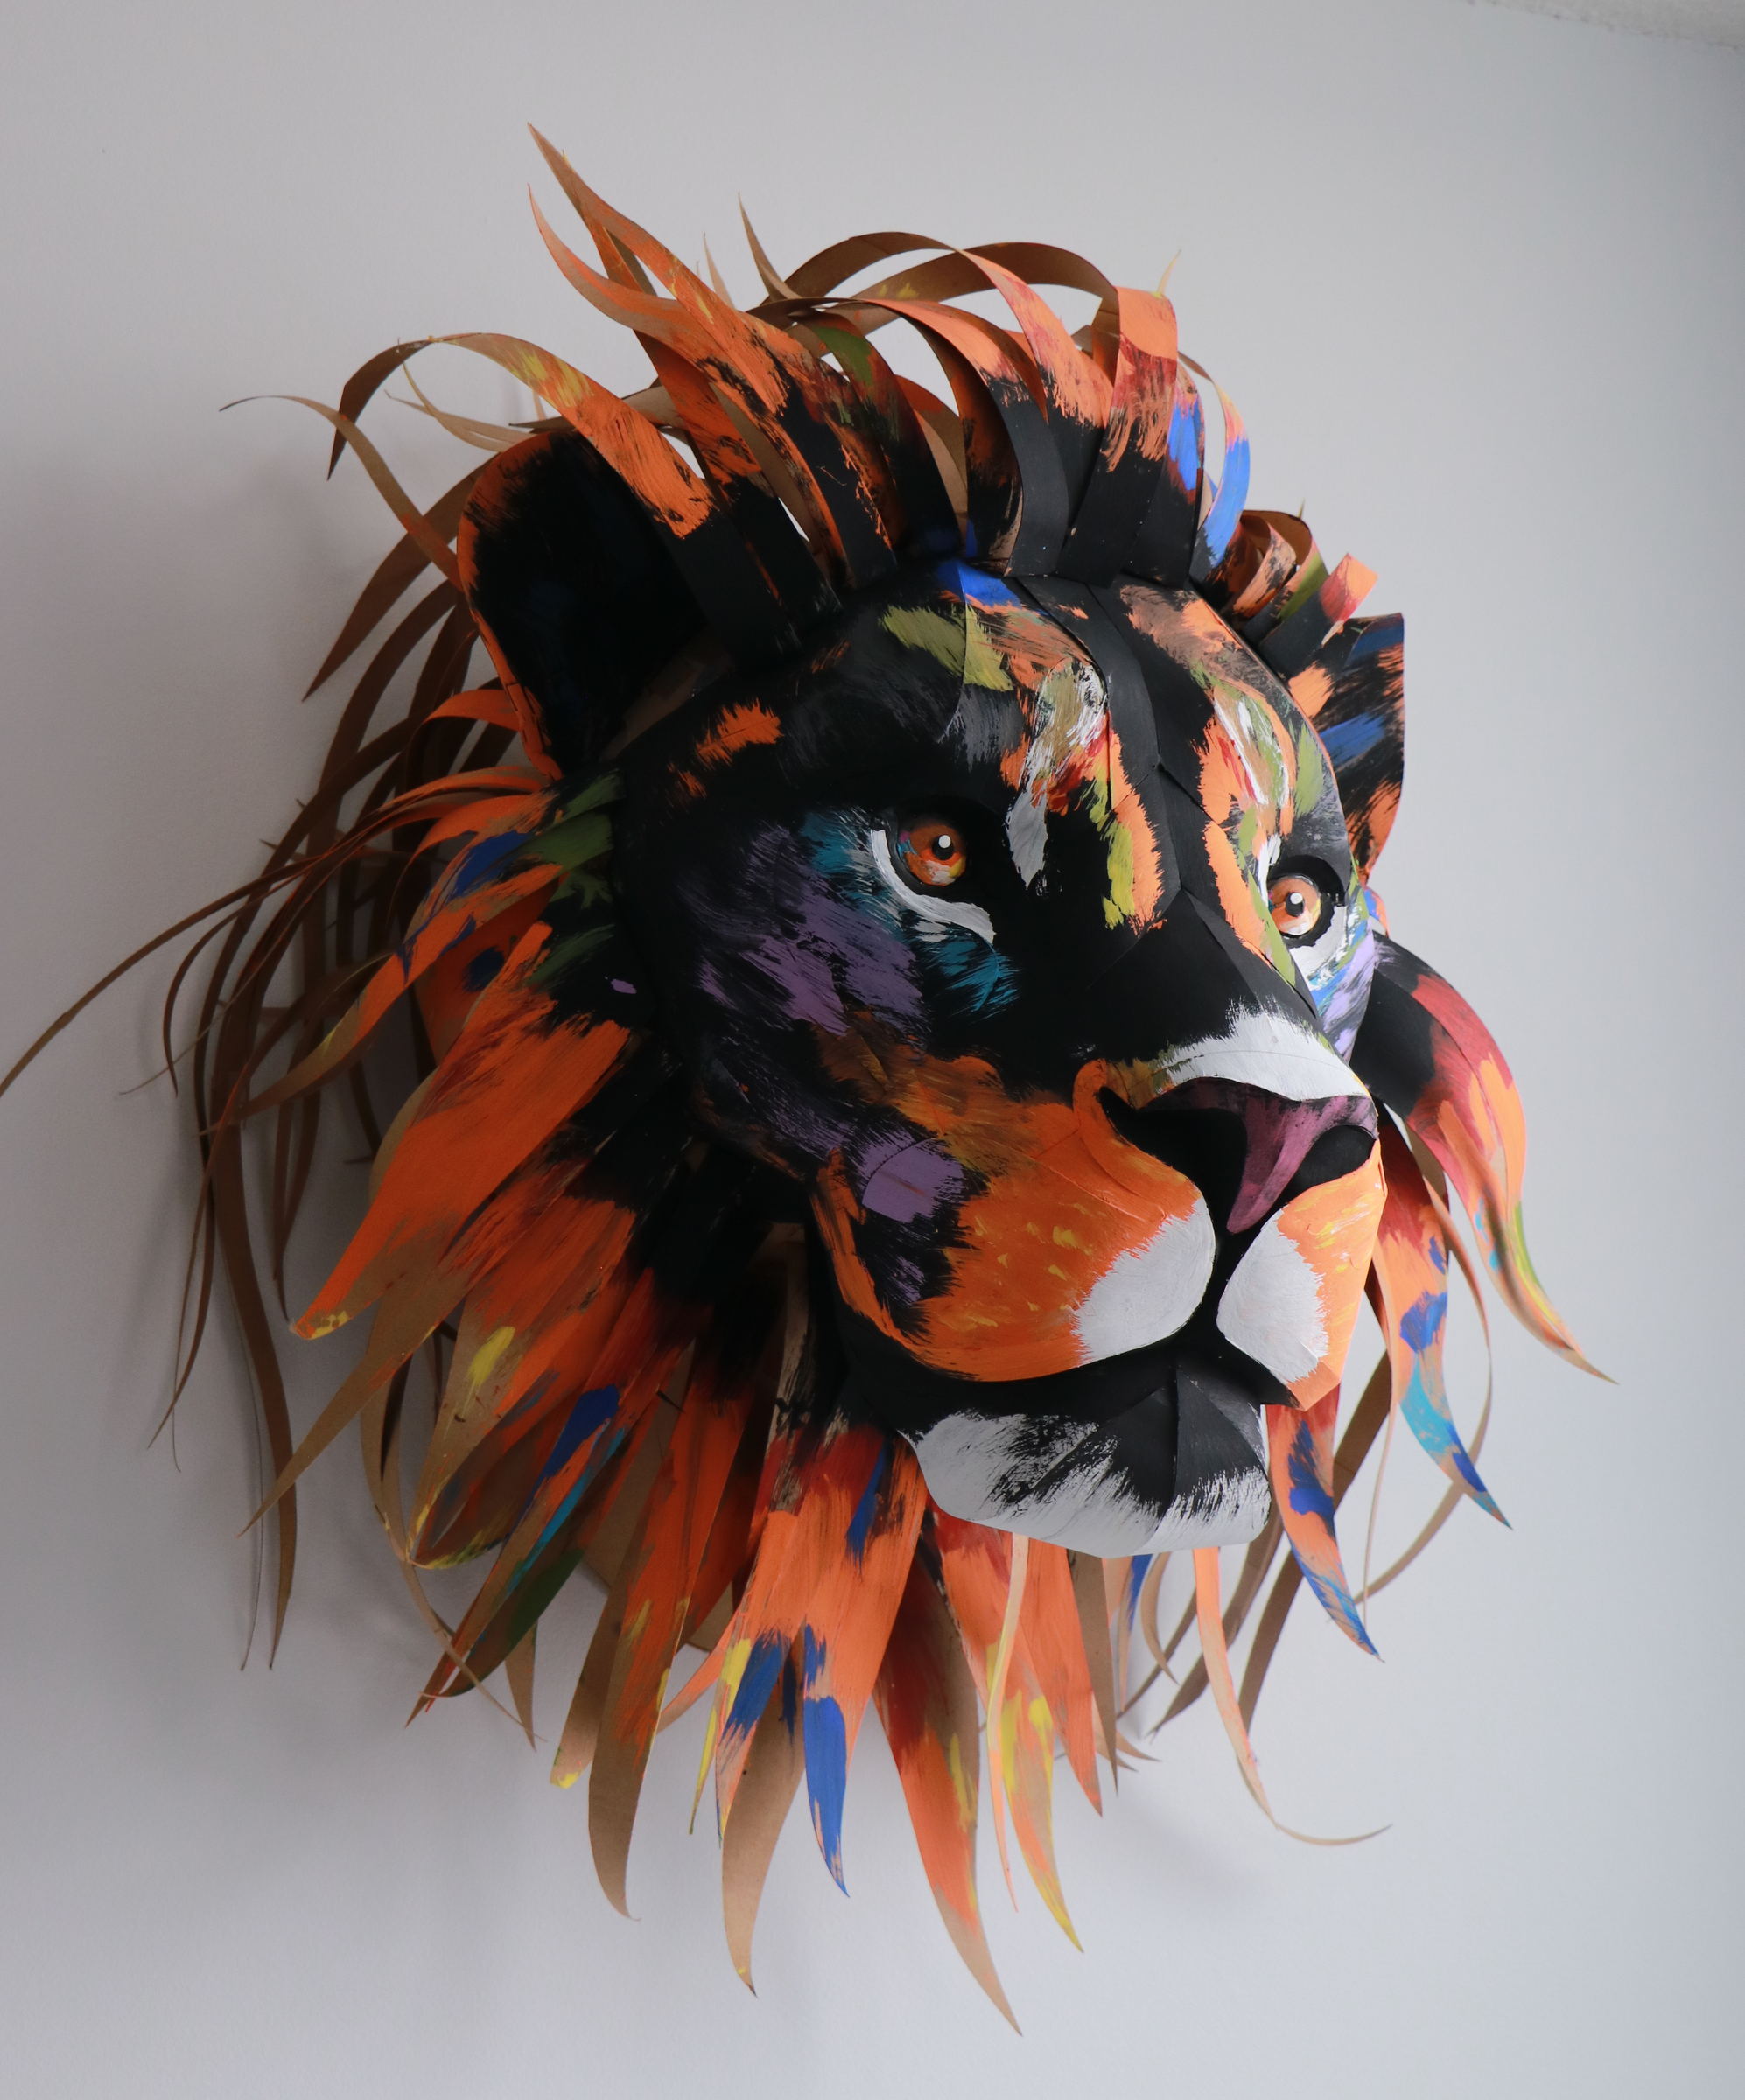
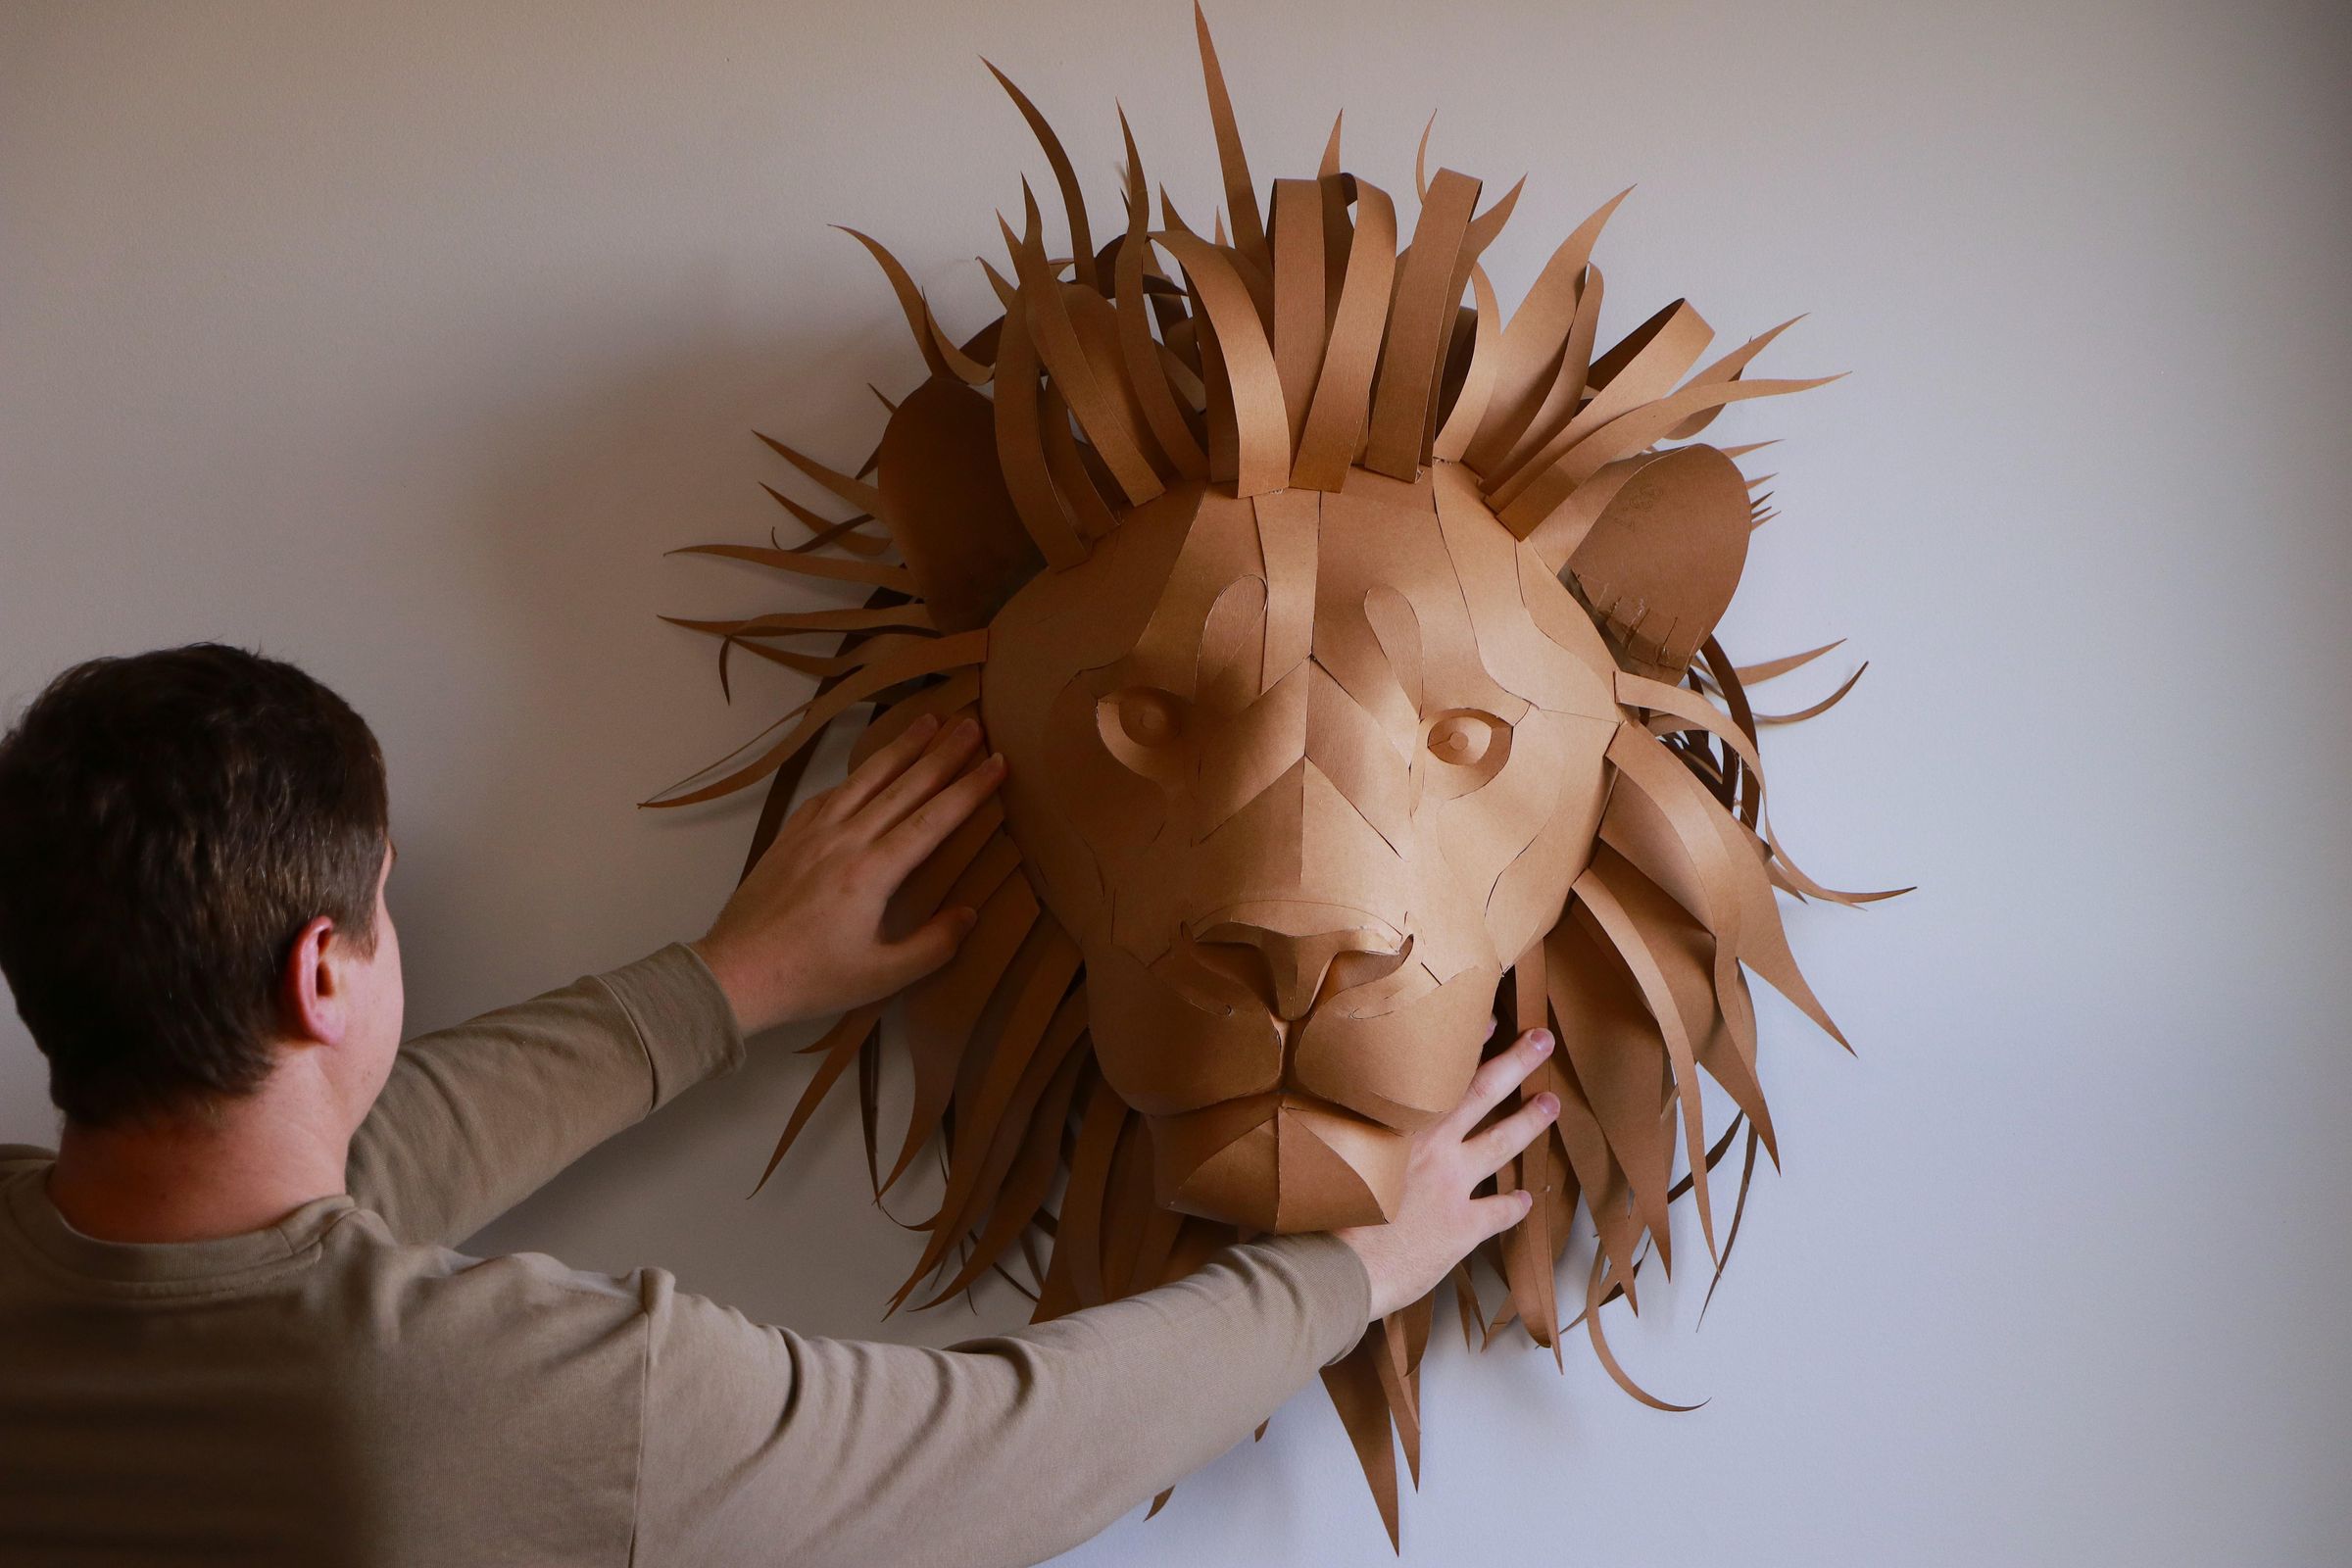
This lion expresses energy and positivity, it conveys calmness and confidence, and should decorate and warm your interior.
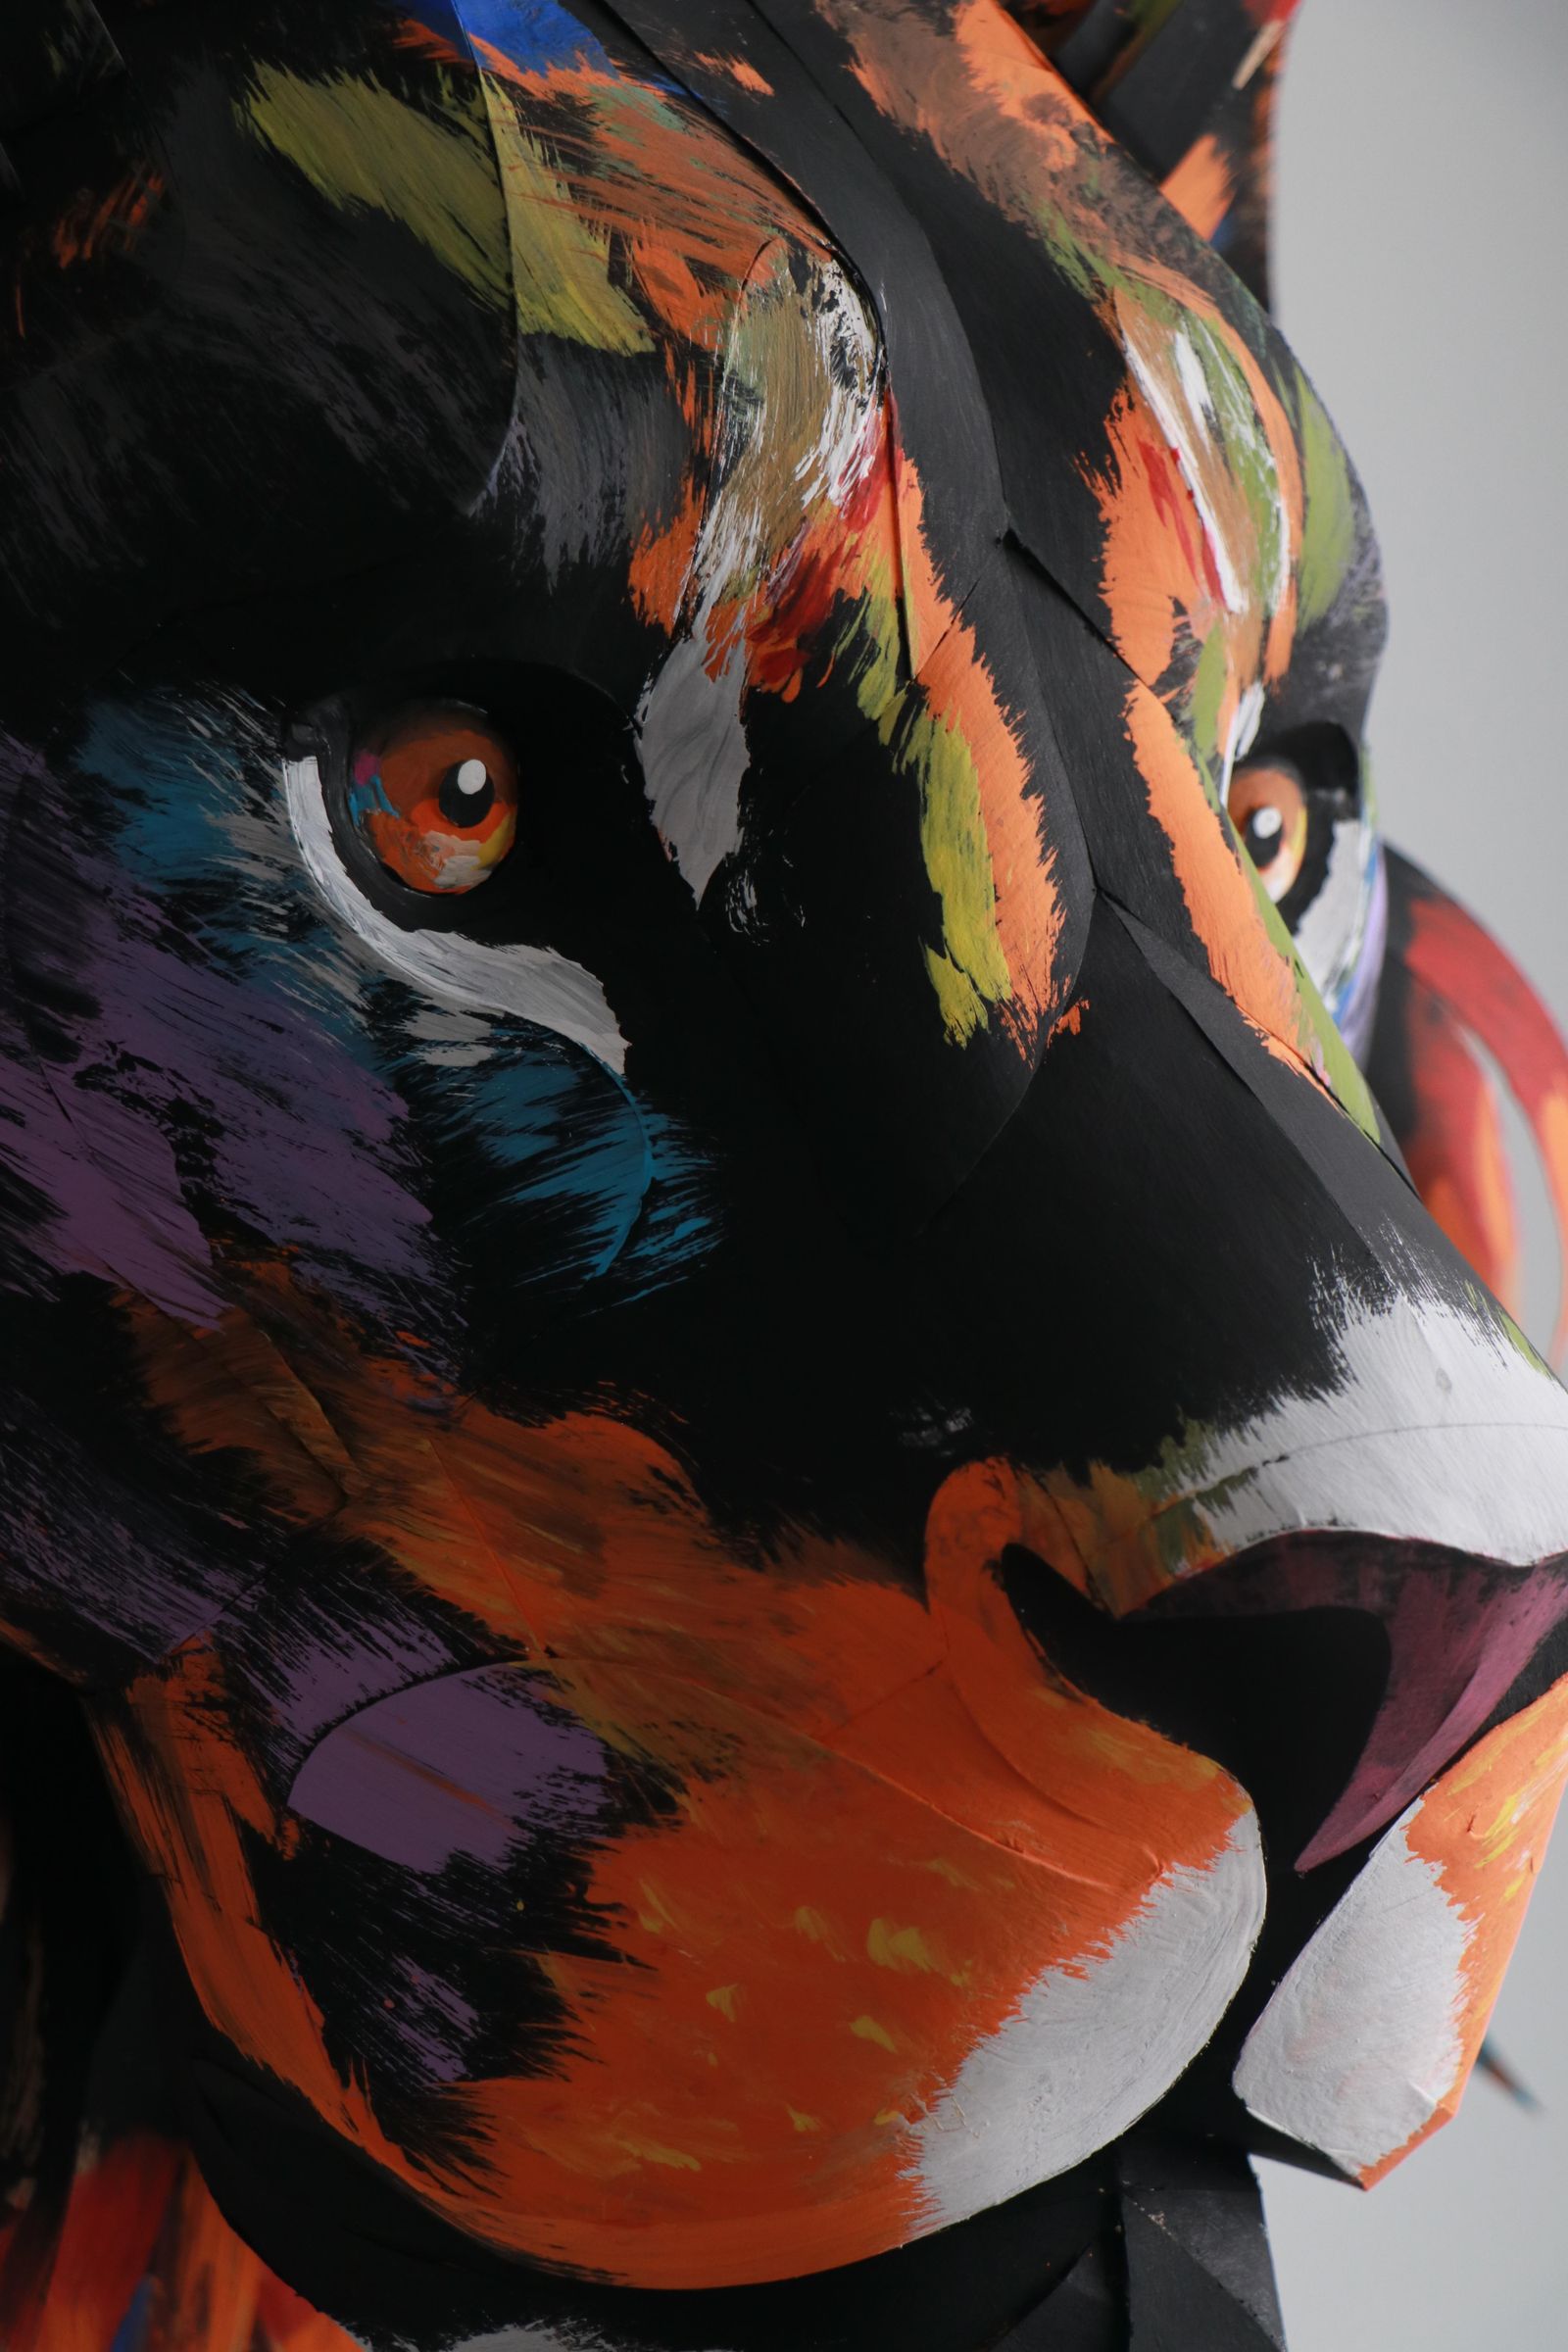
It is also a 3D canvas, and you can express your unique character through this sculpture by painting it. I chose to paint the lion in an abstract style because I believe that if it were painted in a realistic style, we could end up with a result resembling a stuffed animal and the “uncanny valley effect.” On the other hand, I gave realism only to the eyes of the lion.
Of course, you can paint the head however you like — this is the essence of it. But if you like how I did it, by understanding the technique, you’ll see how easy it is to bring your own idea to life.
If you’re a beginner and have never held a brush, don’t be afraid. Painting a 3D figure is actually much easier than painting a classic flat picture. And you will definitely succeed! Share the results of your work in the comments.
Supplies
You will need:
- Template
- 40-45 sheets of cardboard Leter, A4 or other formats of similar total area. (thick paper 250-350 grams / m2)
- Any printer
- Tape (optional)
- Painter’s tape (optional)
- Repair tape (optional)
- Hot glue
- Scissors
For painting, I used:
- A large brush 1.5 cm wide (for the entire lion)
- A small brush 2 mm wide (only for the eyes)
For painting, I used acrylic paints in the following colors: Black, white, orange, yellow, red, light blue, blue, green, lilac.
Dimensions (without the mane)
50 × 49 × 47 cm
19.5 × 19.5 × 18.5 in
Step 1: Select the File and Print the Template
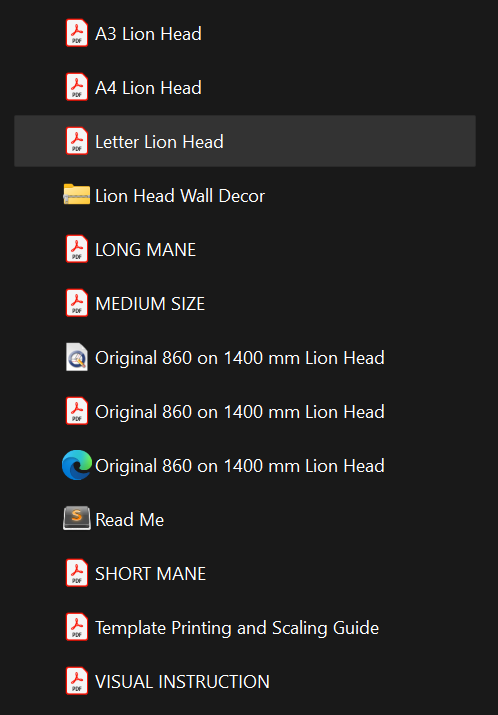
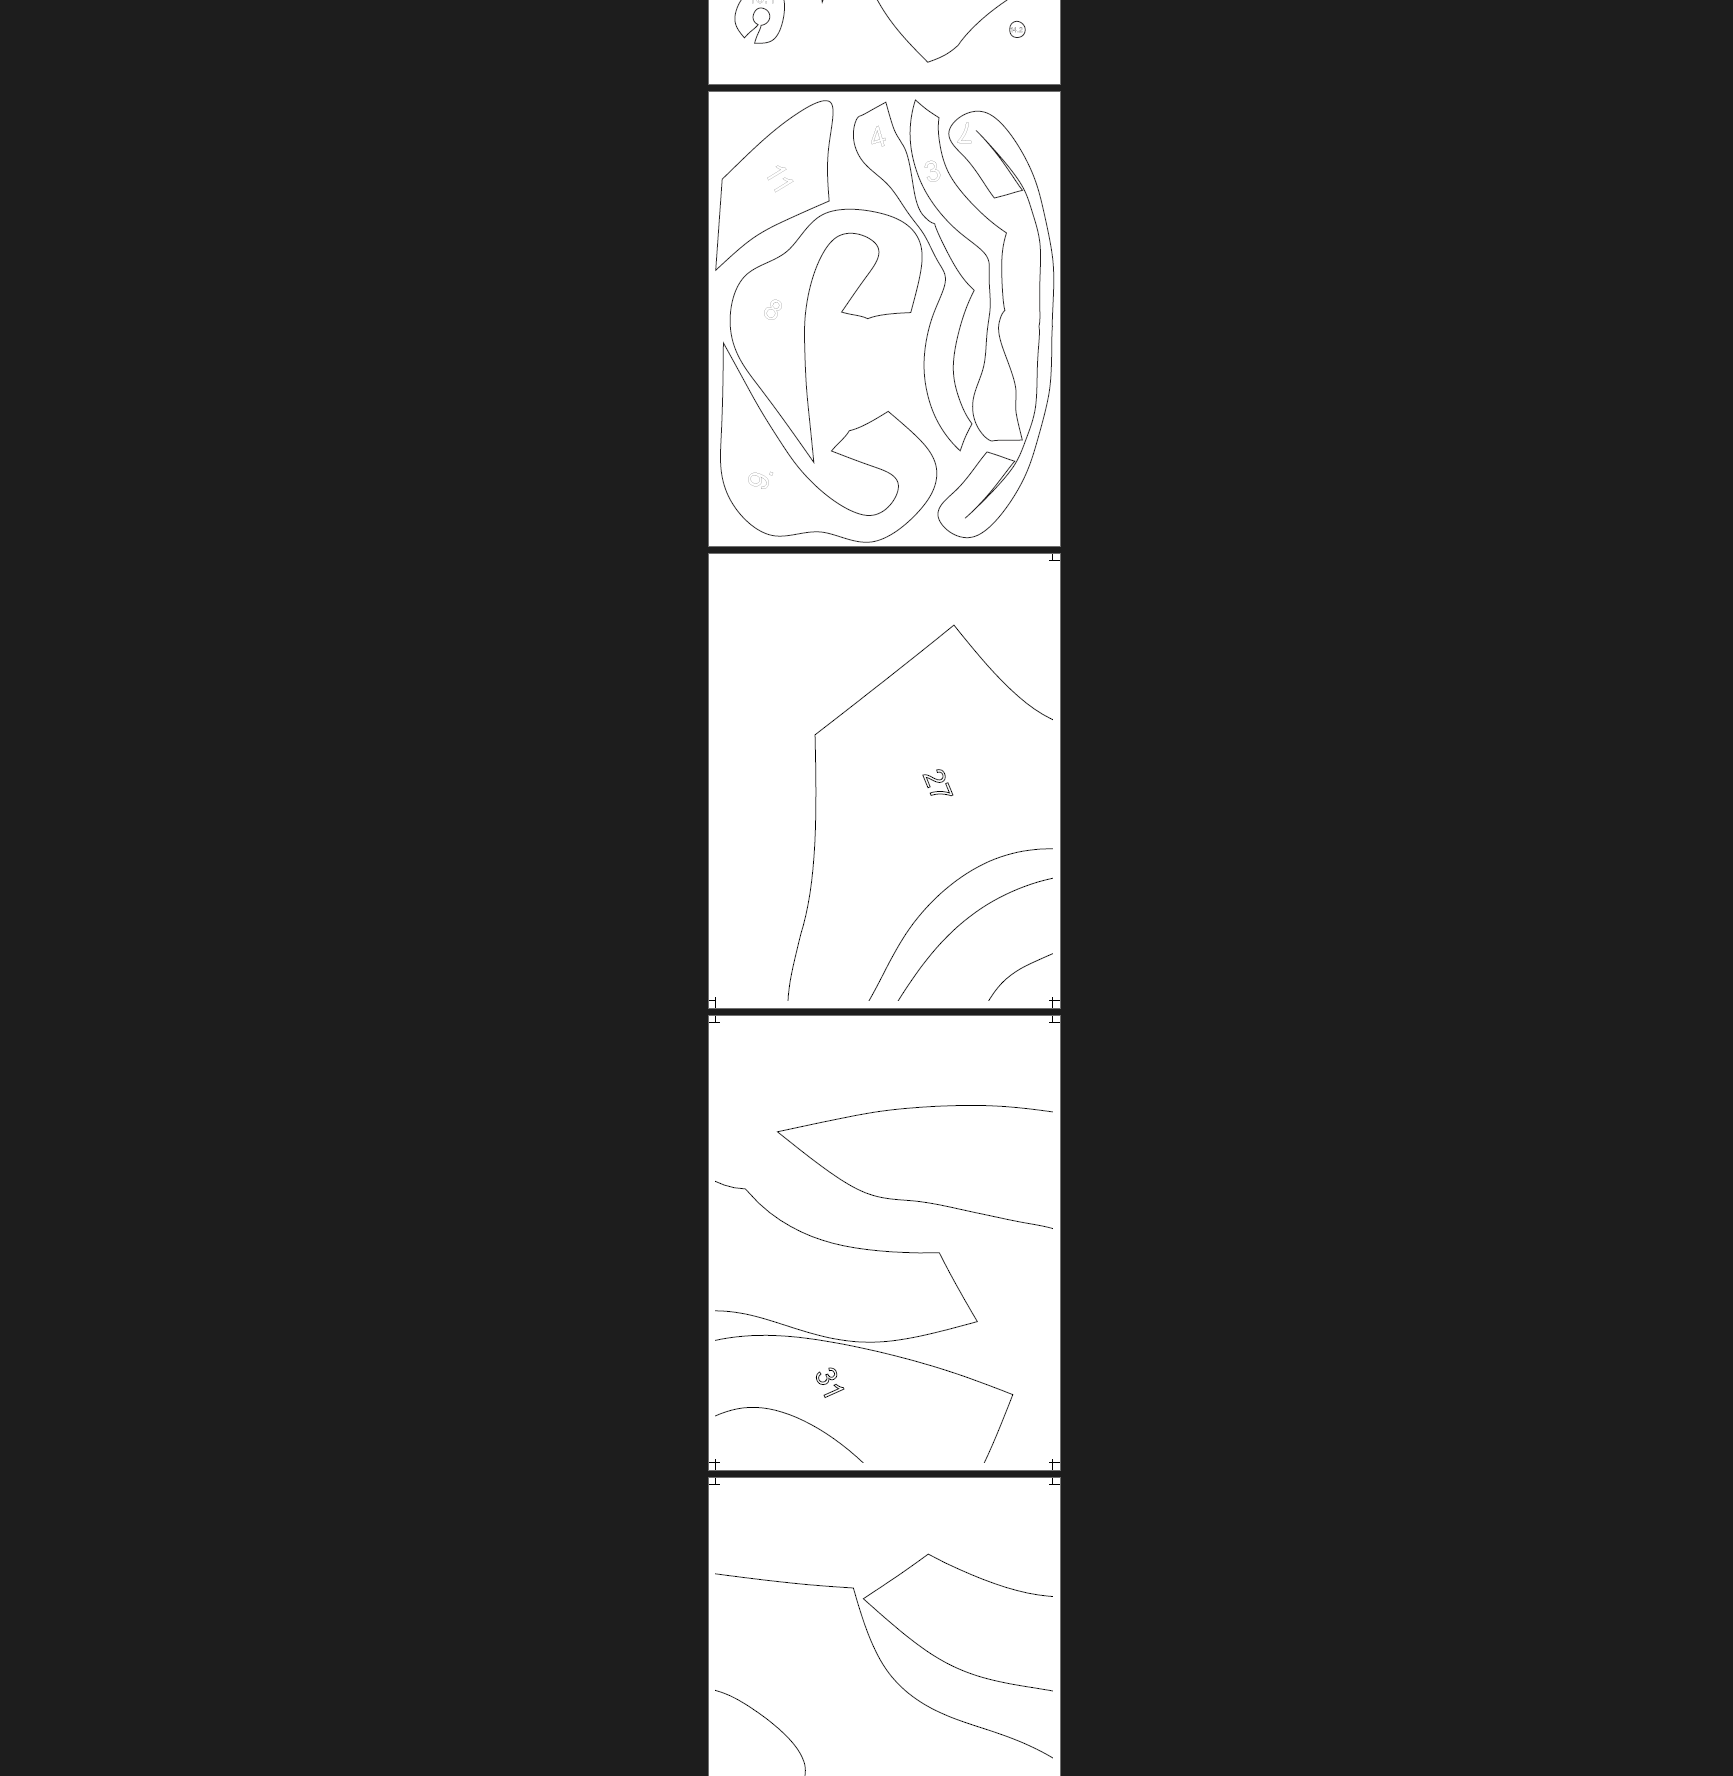
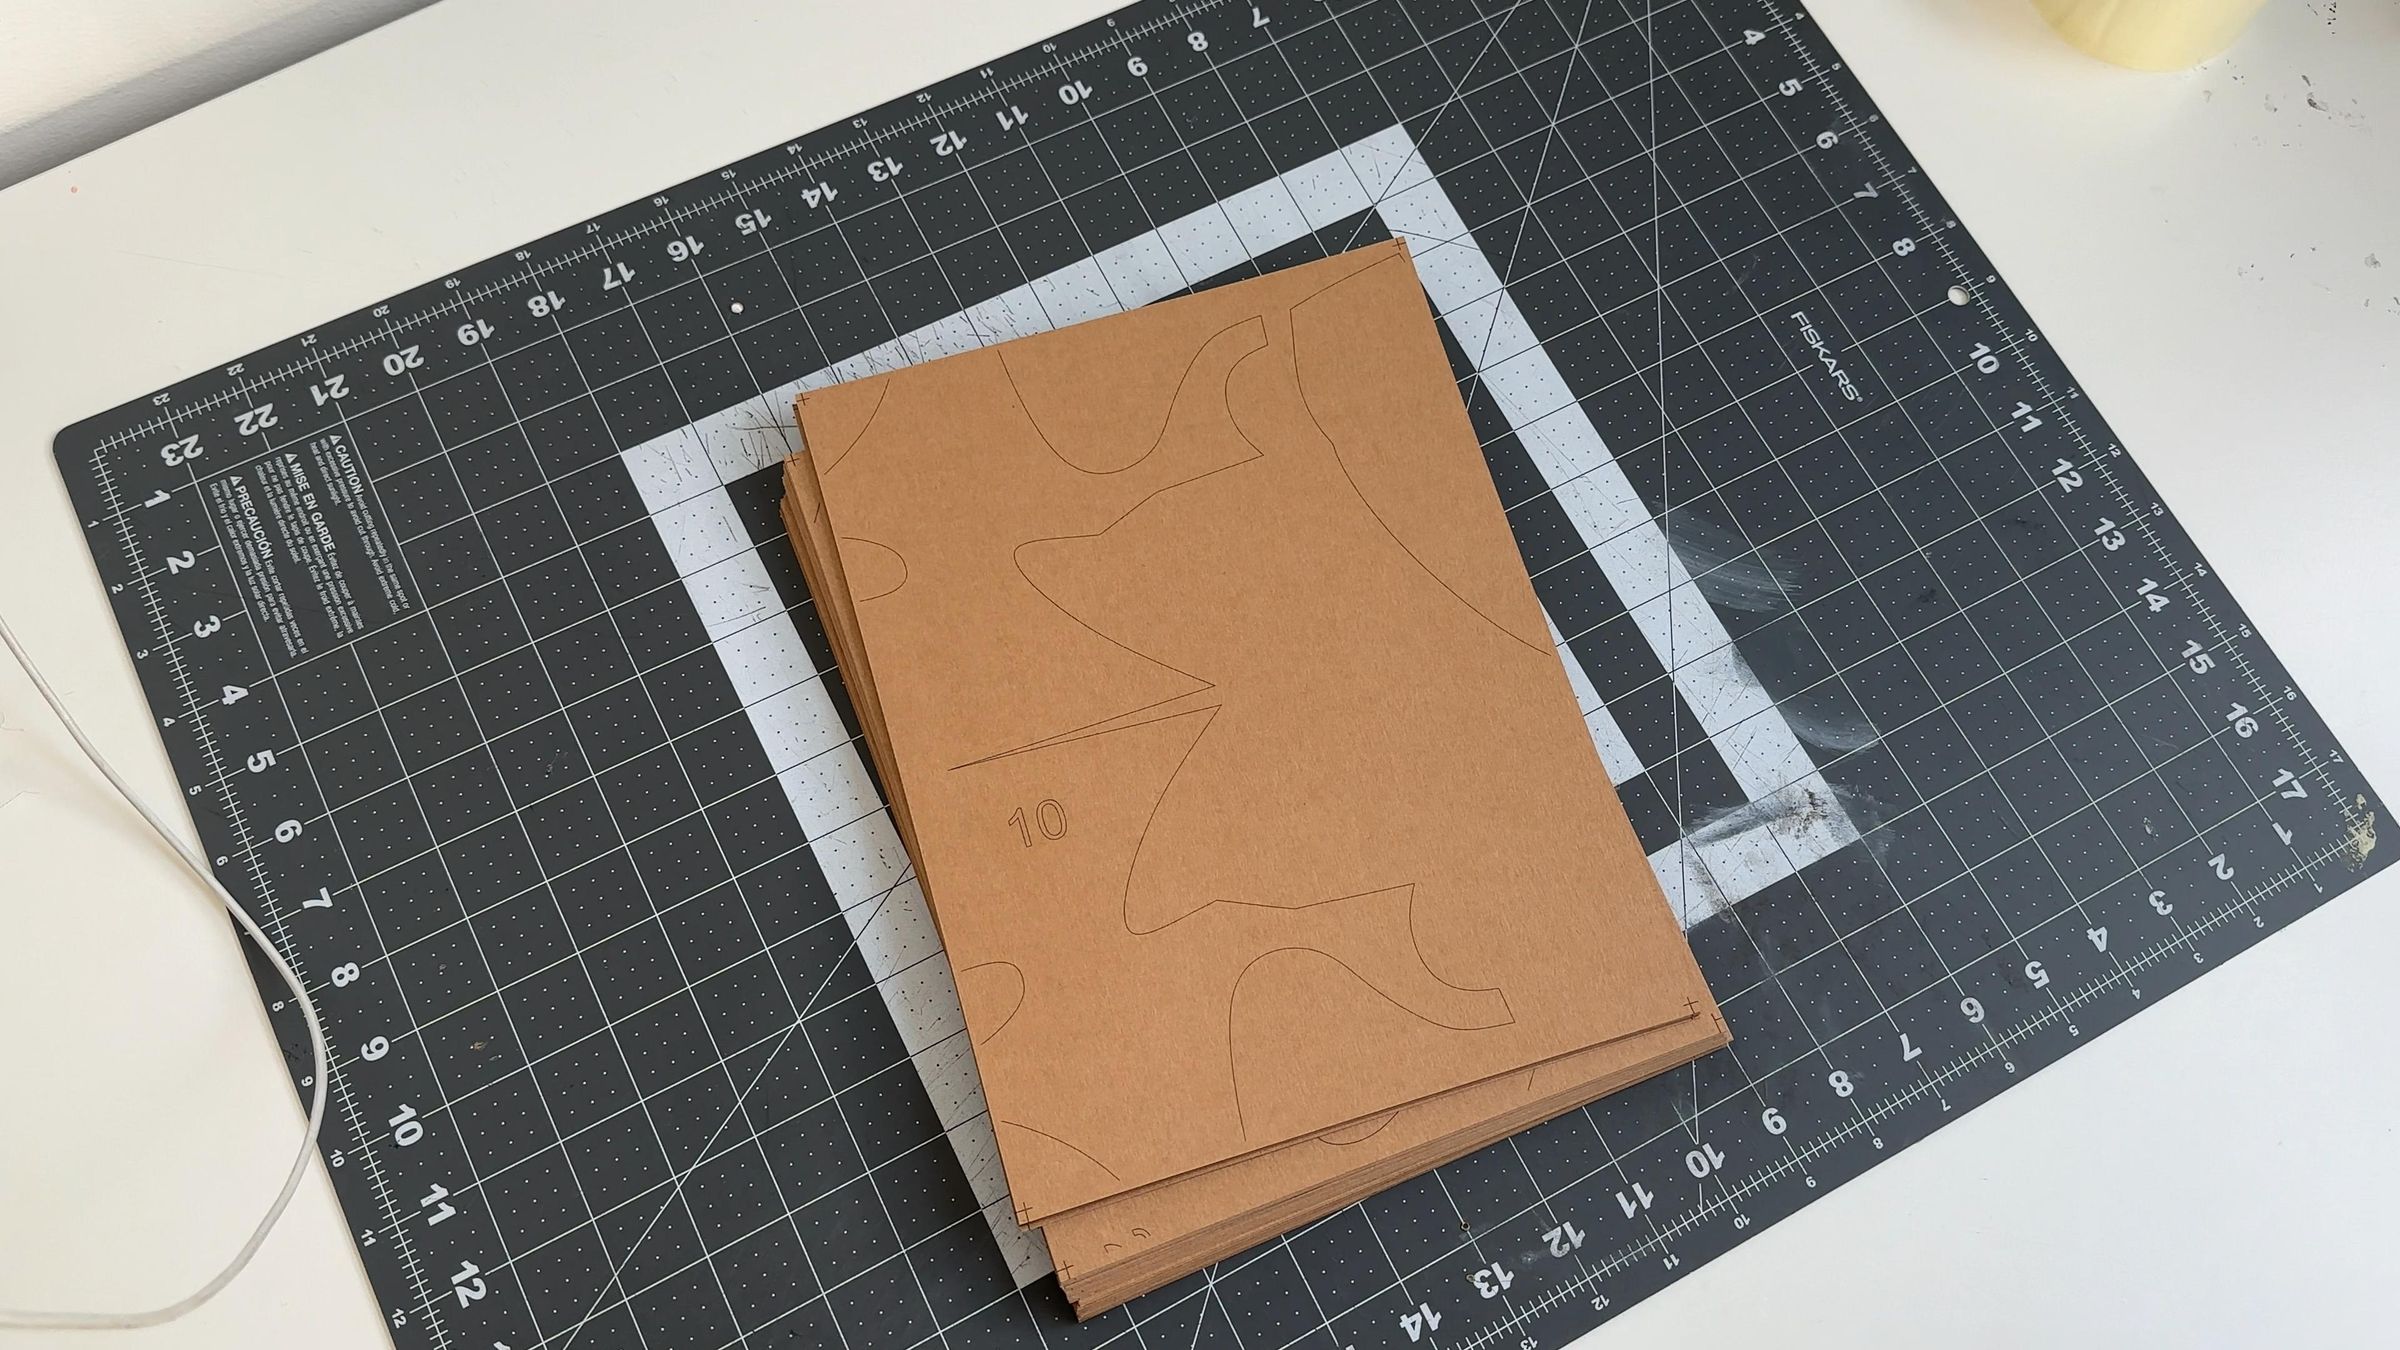
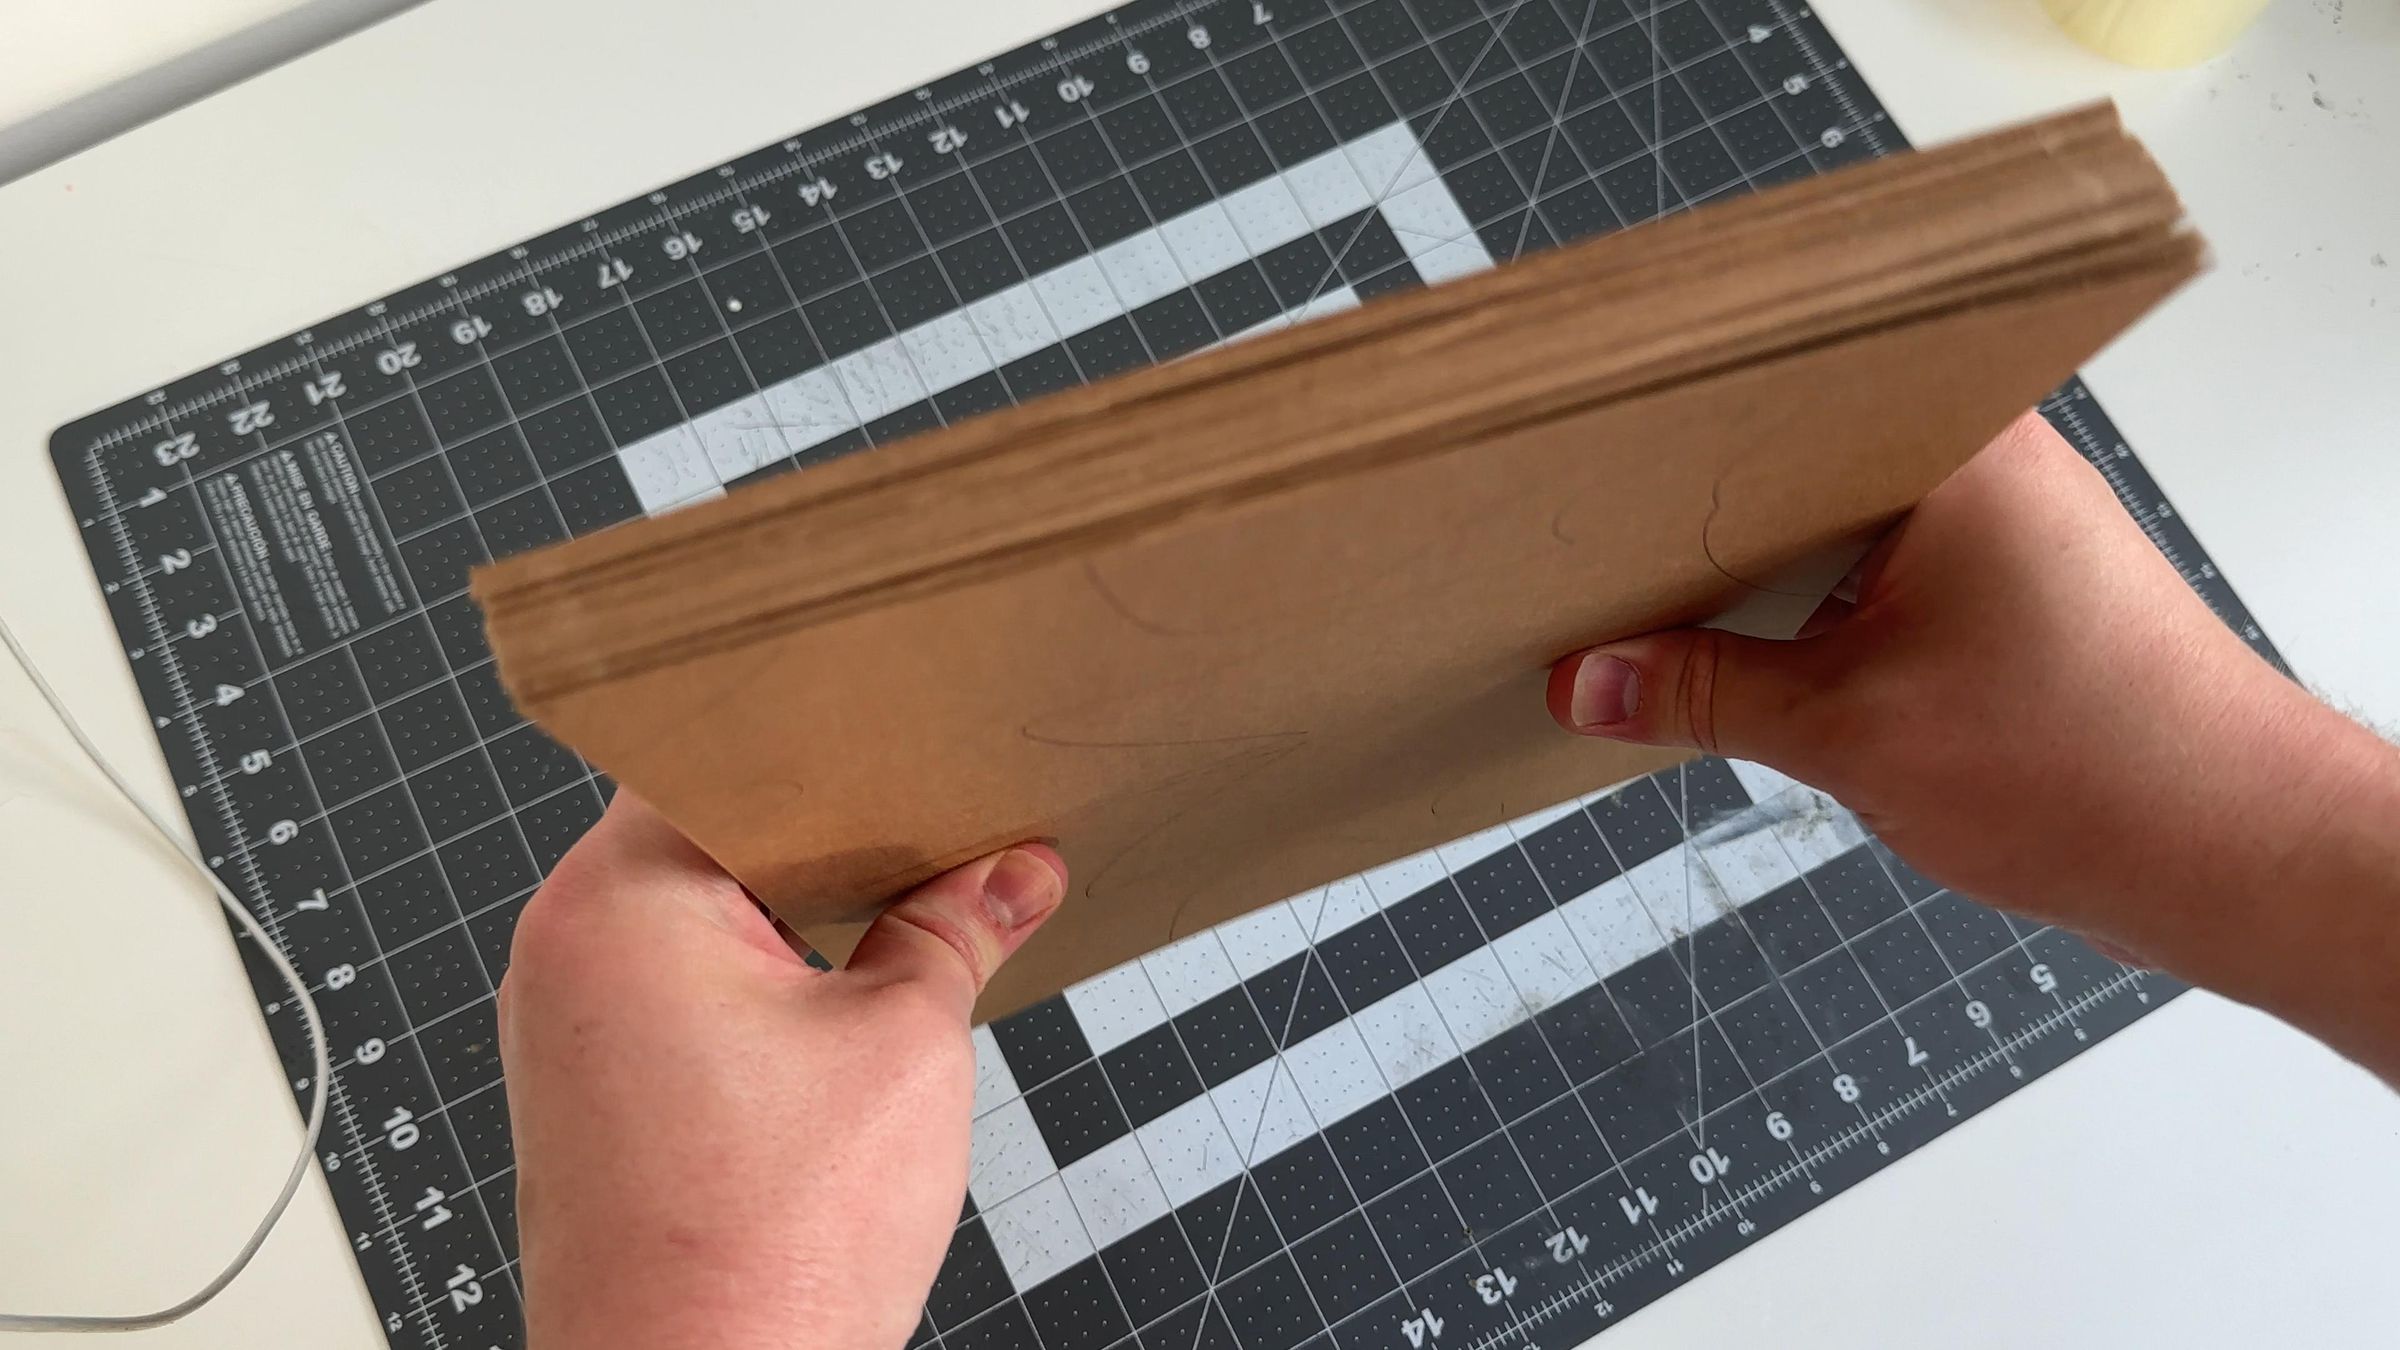
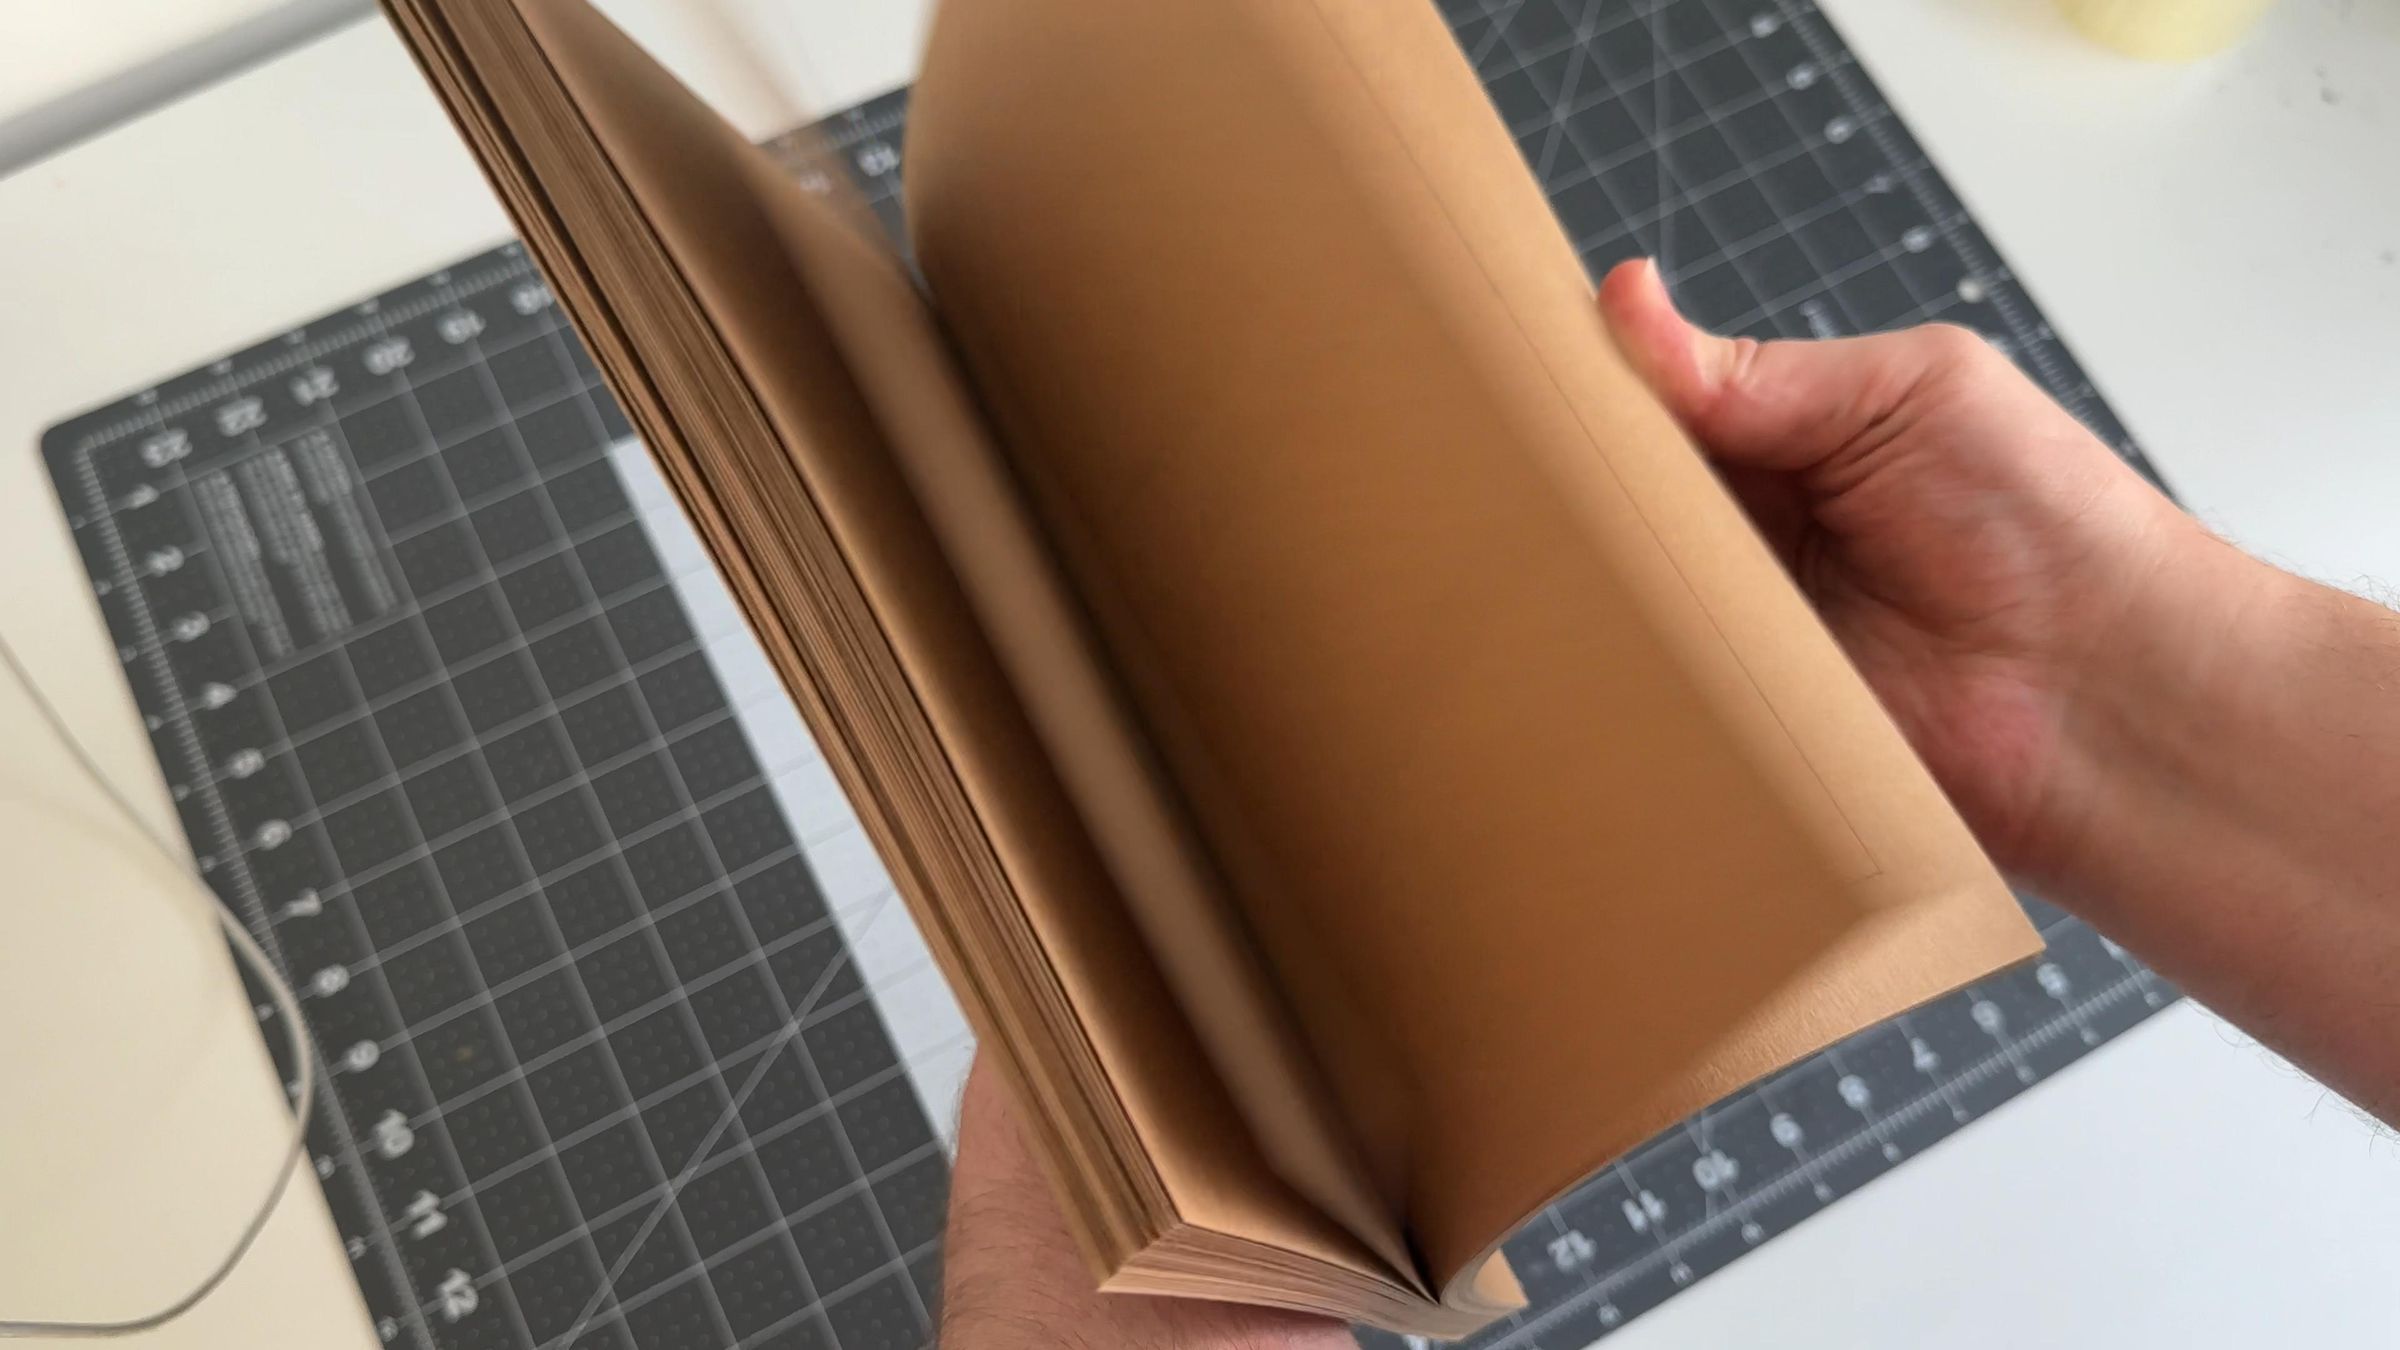
I printed it on an inkjet photo printer, which allowed me to print directly onto thick paper. Choose a thick cardboard (300 gsm), which is similar in density to greeting cards. It was spent on this 21 sheets for the head and 25 sheets for the mane (for the mane, you can use as many sheets as you like). Was used the popular Letter size (8½×11 inches or 215.9×279.4 mm) for printing the entire template. I recommend the settings I used:
- Black and white print,
- 100% scale,
- Borderless printing.
You can print on regular office sheets and then glue them to the final material (such as large sheets of designer cardboard, which will give you fewer seams), and then cut out the pieces. If you have a wide-format printer with larger sheets, you can use it; the larger, the better (there will also be fewer seams on the pieces).
How to make it in custom sizes:
The base size of the lion head (without the mane) is 47 * 49 * 50 cm. When printing the PDF files at 100% scale, you will get these dimensions.
You can shrink or enlarge the figure simply by changing the scale when printing. For example, select 70%, 150%, or any other percentage.
The best file for this is called “Original 860 on 1400 mm.” By setting your desired scale and choosing the “Poster” print setting, you can select the sheet size that suits you, such as A4, A2, or any custom size that you want and that your printer supports.
Additionally, the package includes a vector file, so you can edit it as needed or use it for cutting on a plotter, laser cutter, or other CNC machines. The instructions are also included along with the files. The link leads to the website where you can download the files.
Step 2: Align the Cardboard Sheets
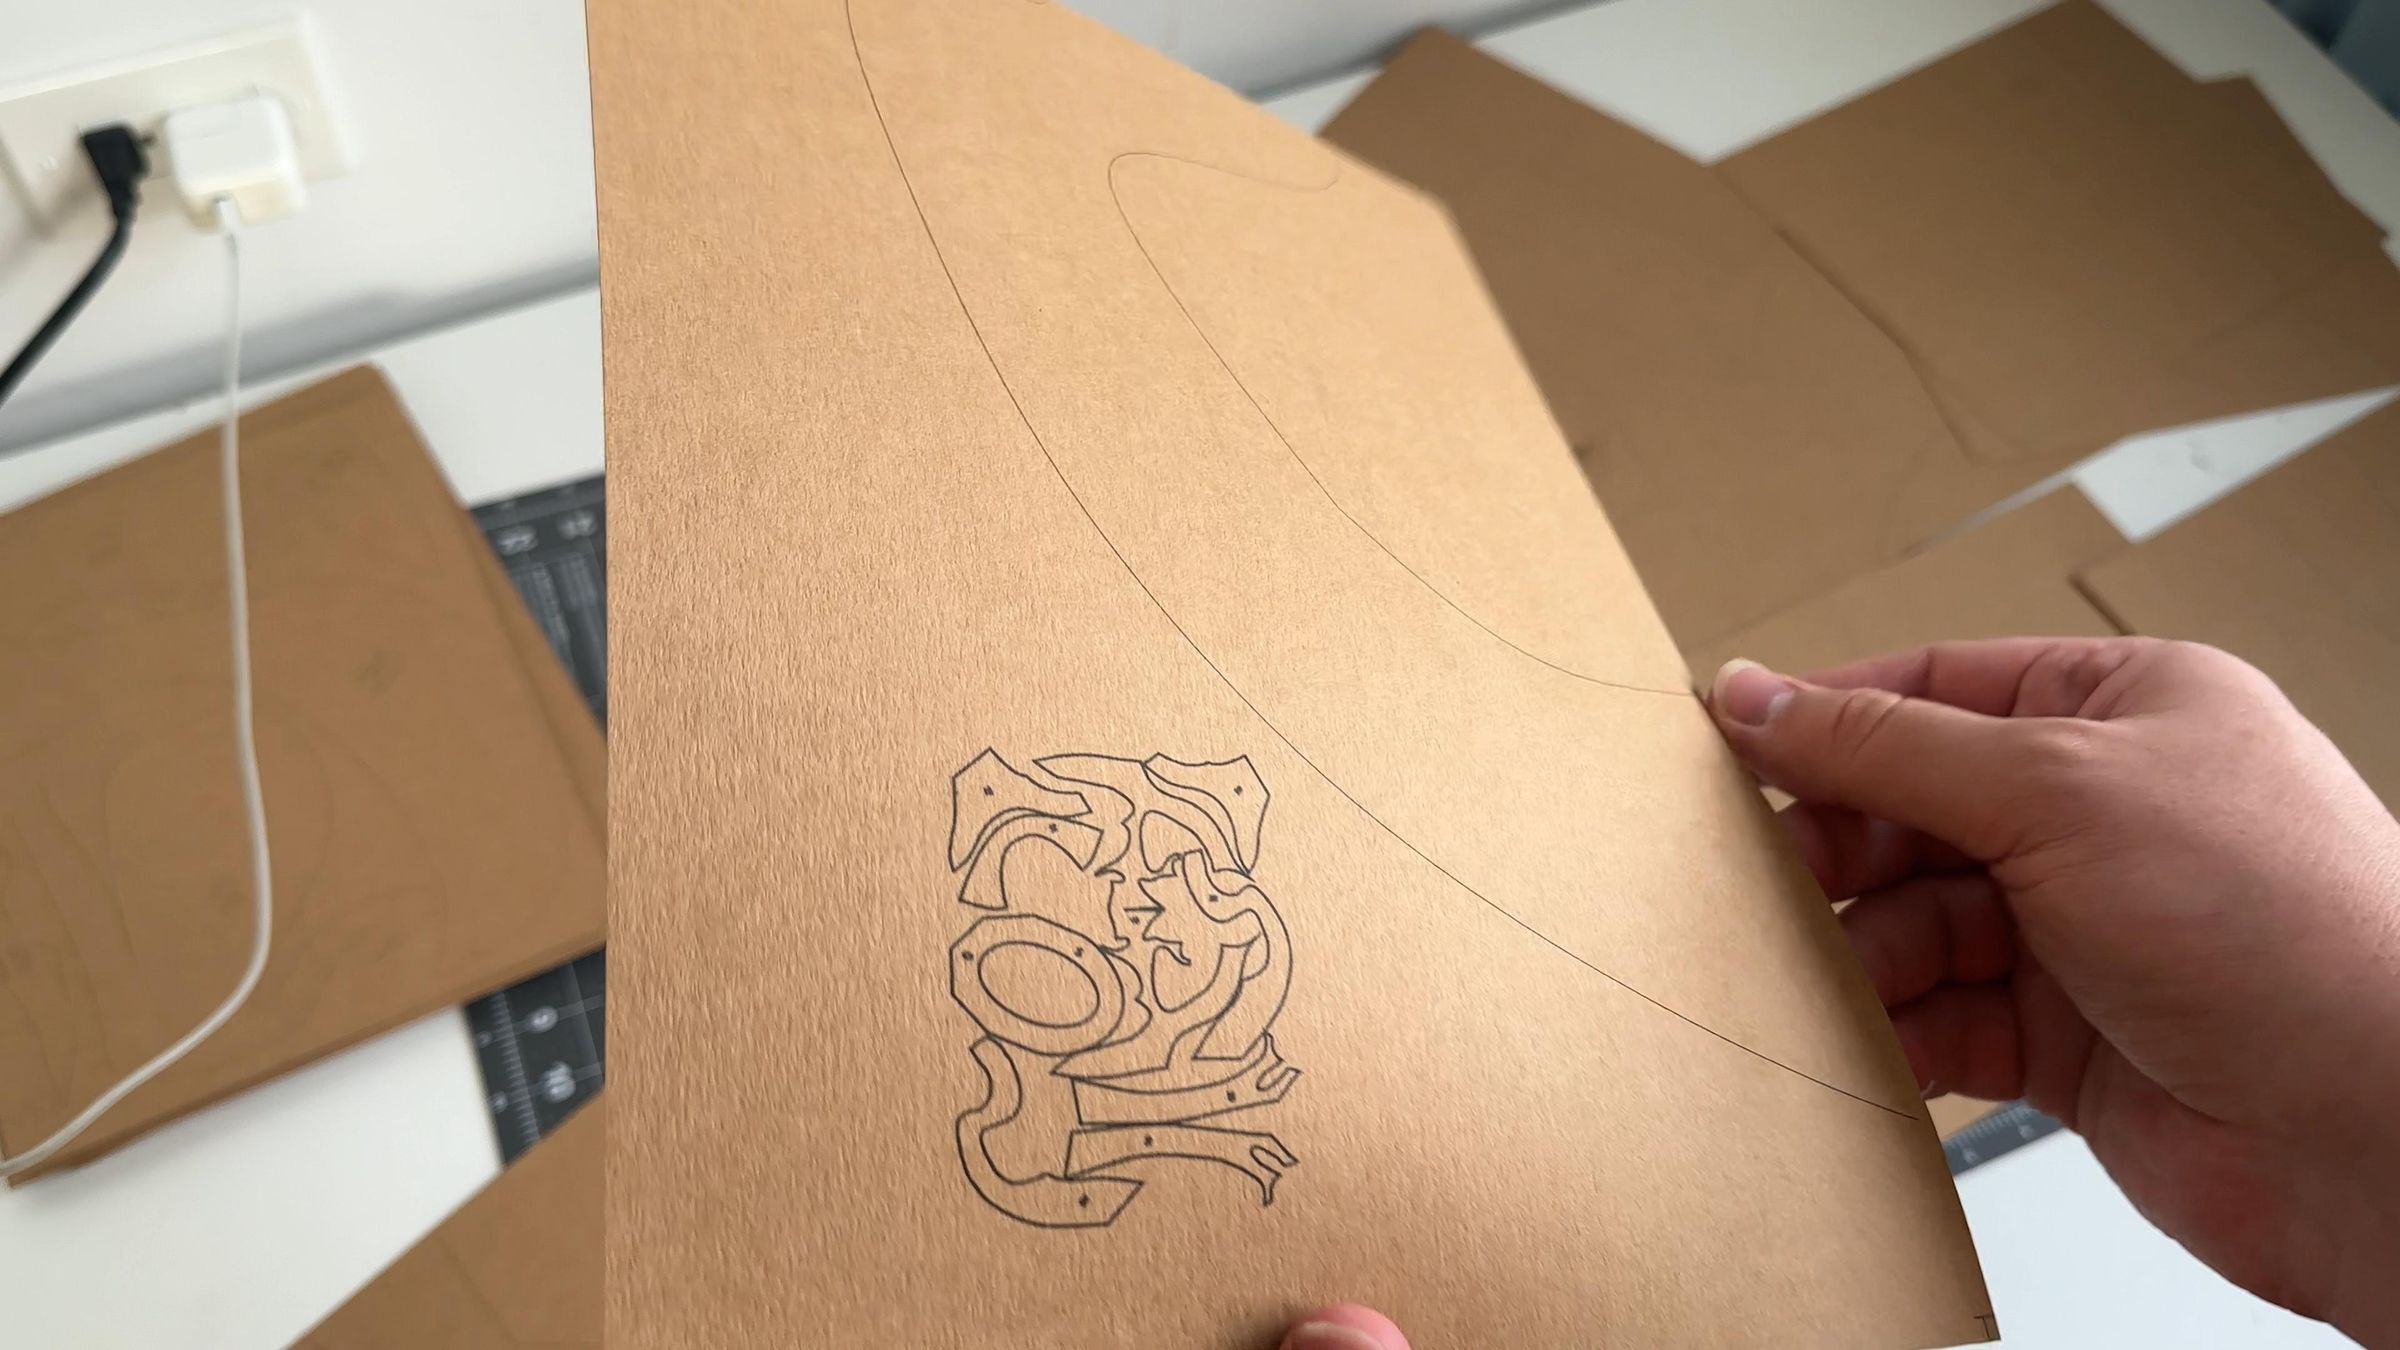
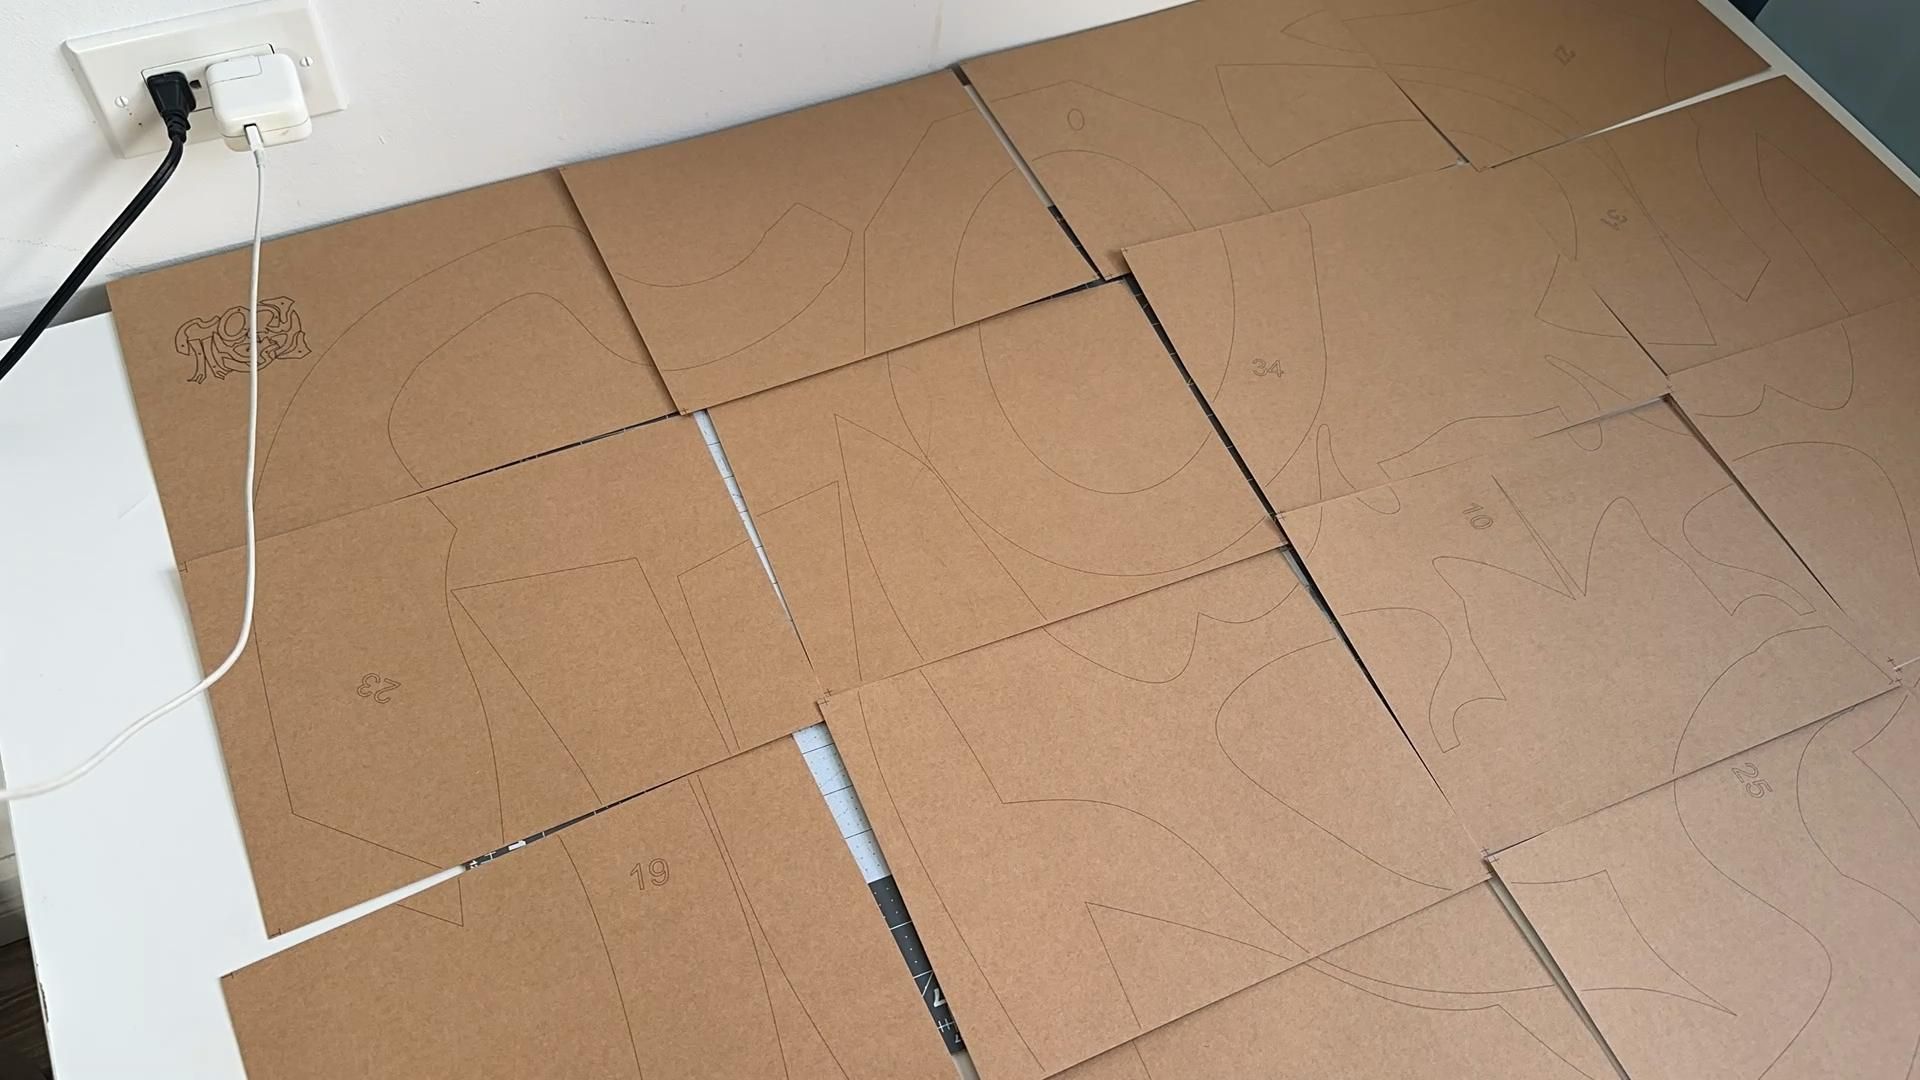
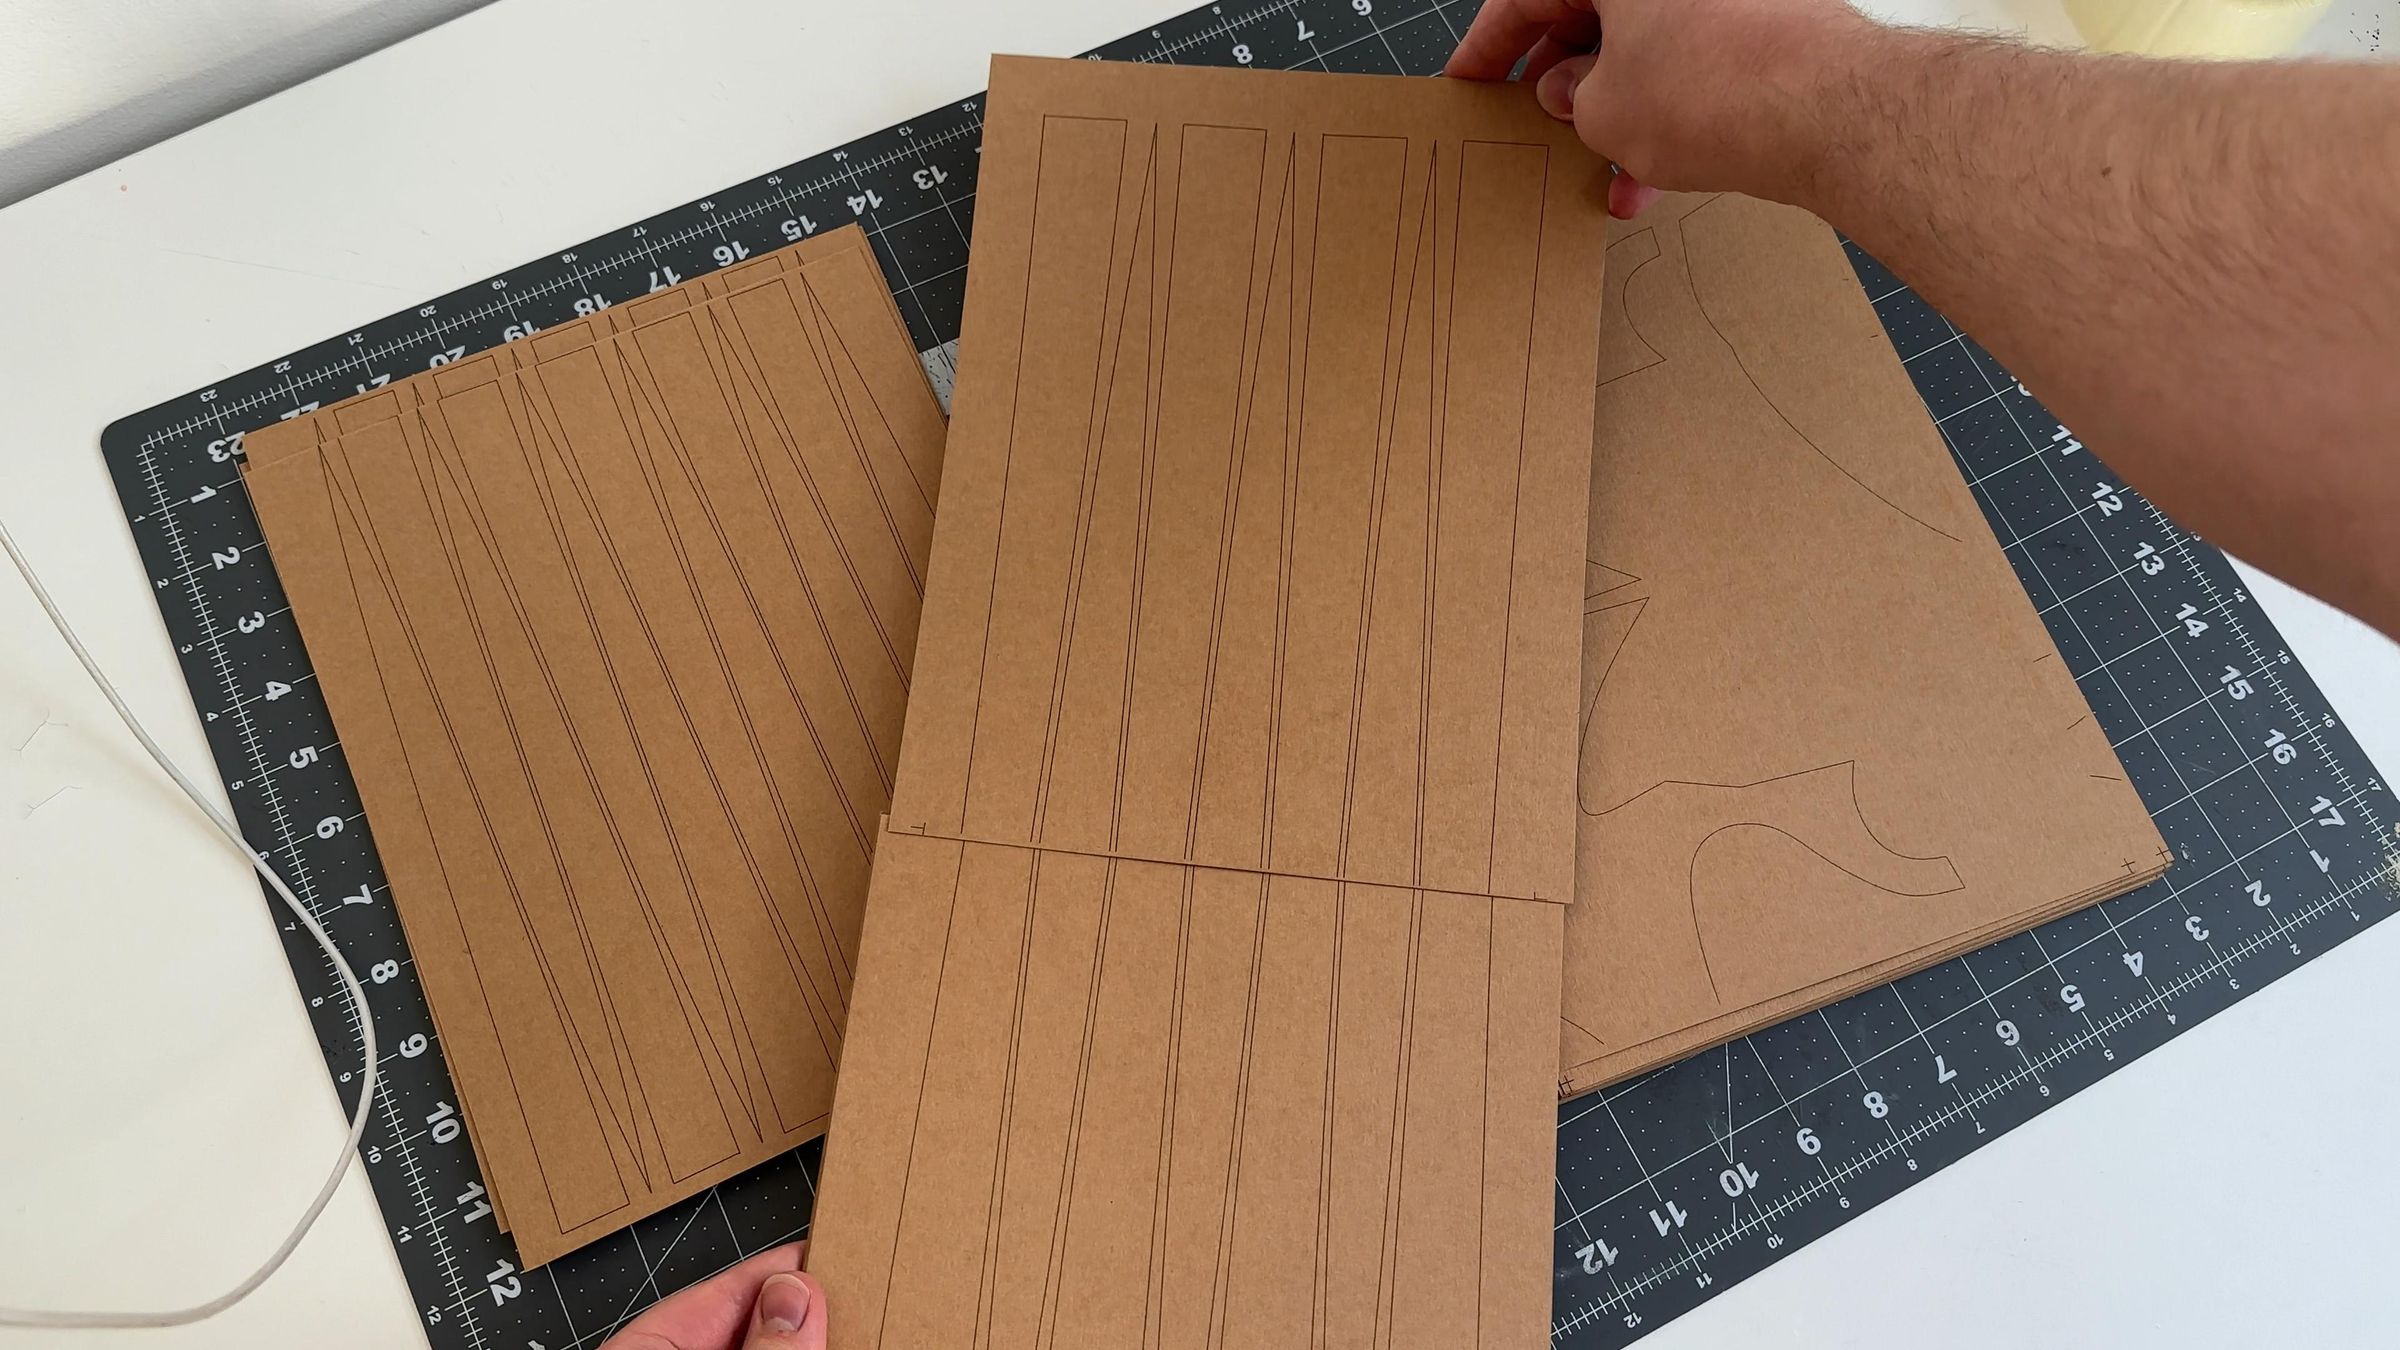
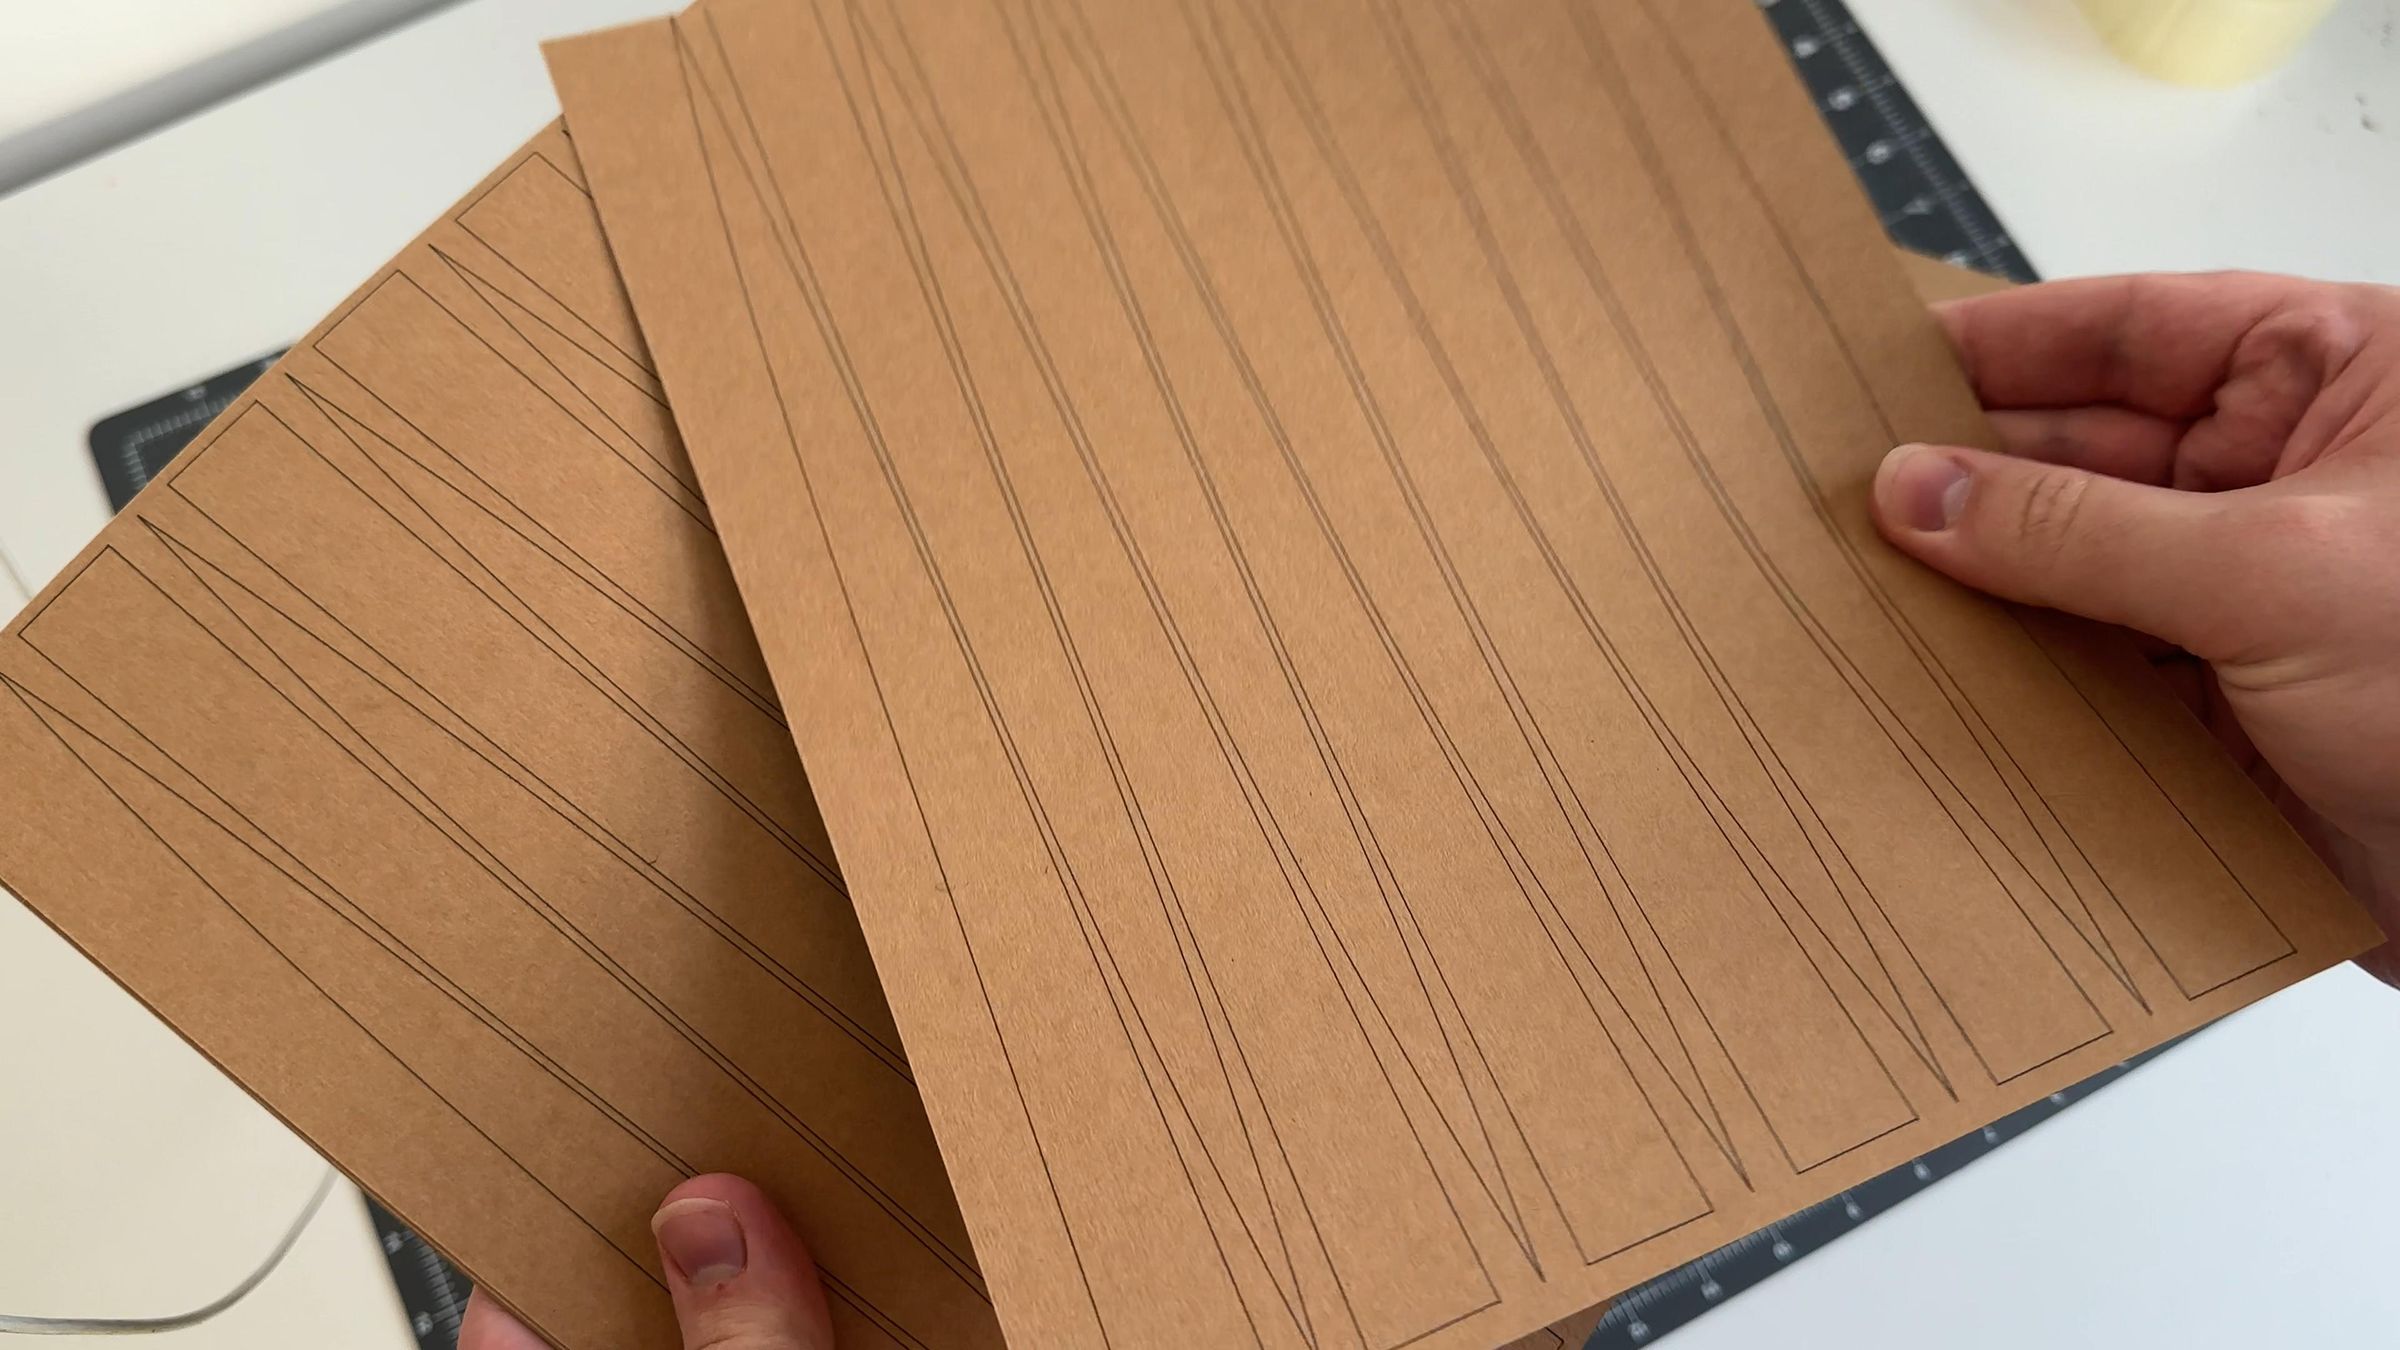
Some pieces are small and fit entirely on one sheet. For larger pieces, you will need to align the sheets together to create one complete sheet.
A placement map is provided on one of the sheets to help you do this quickly.
Step 3: Glue the Sheets Together
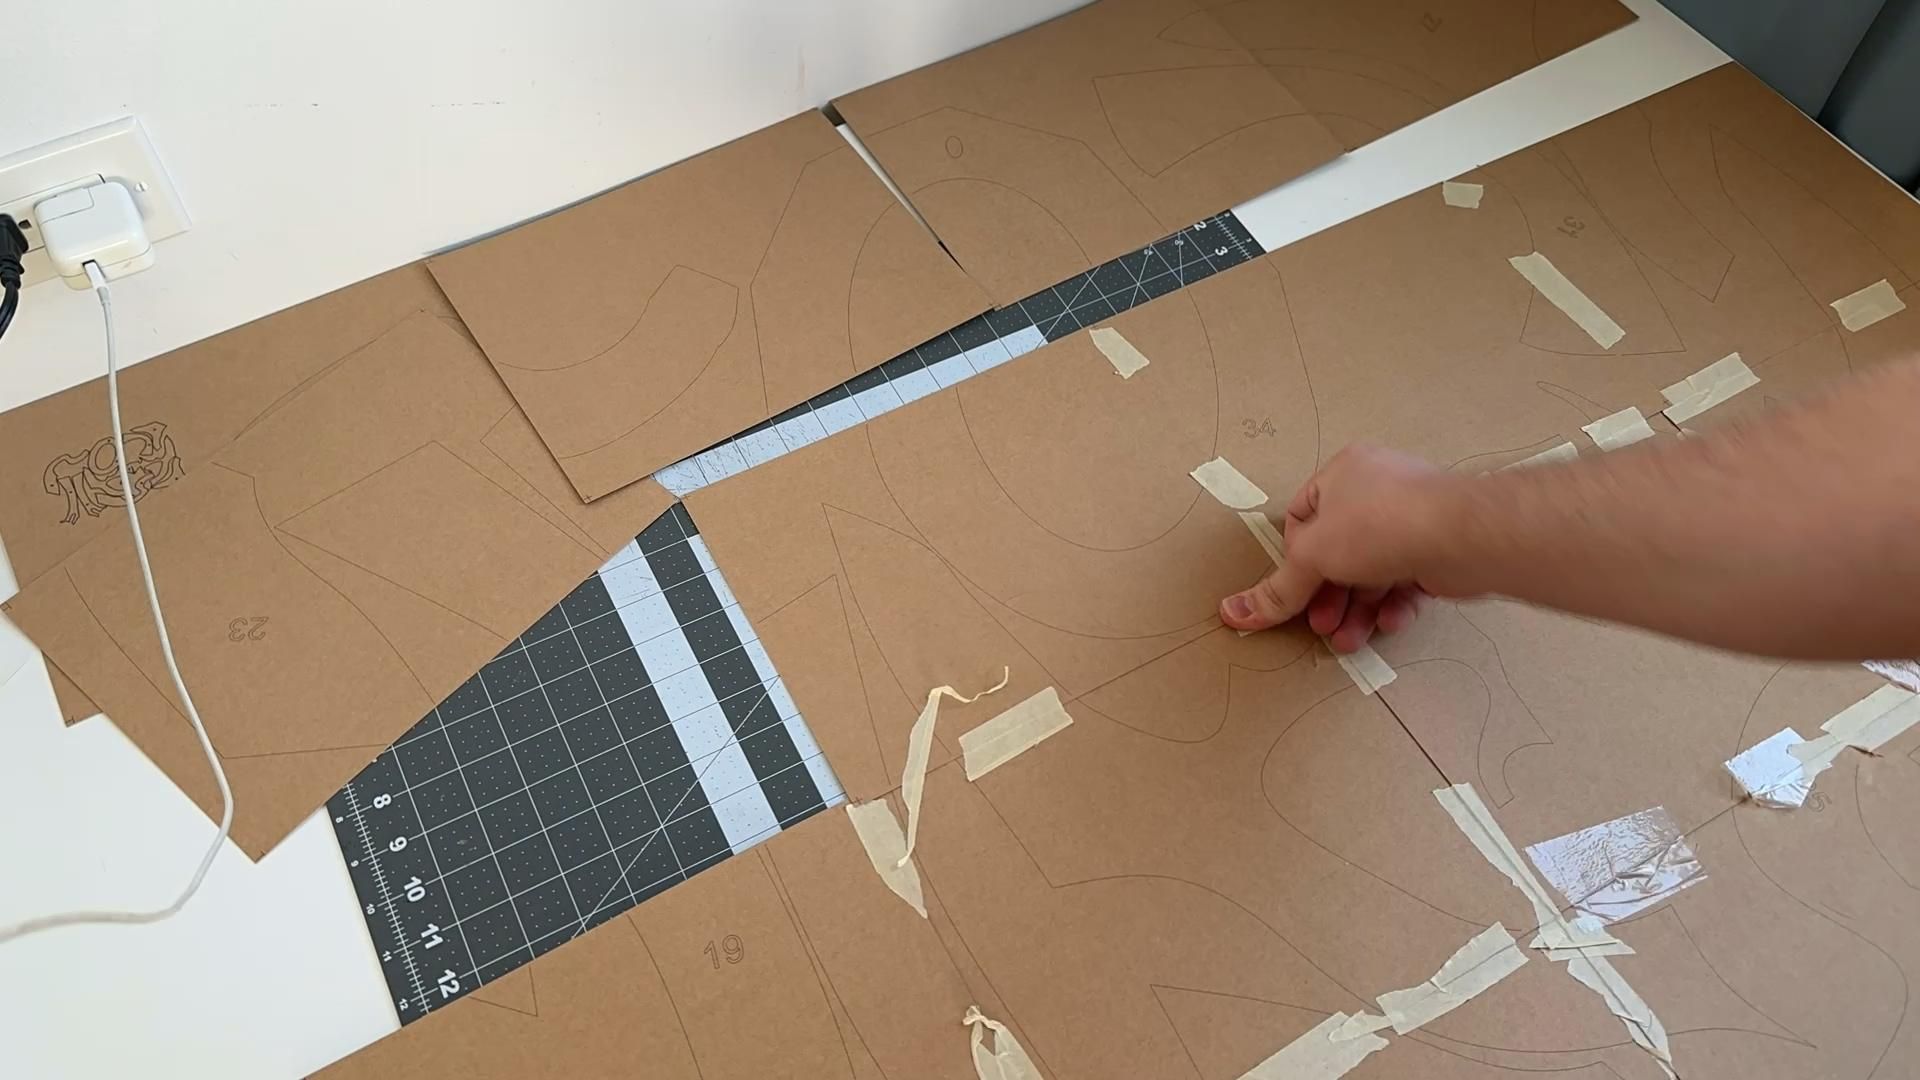
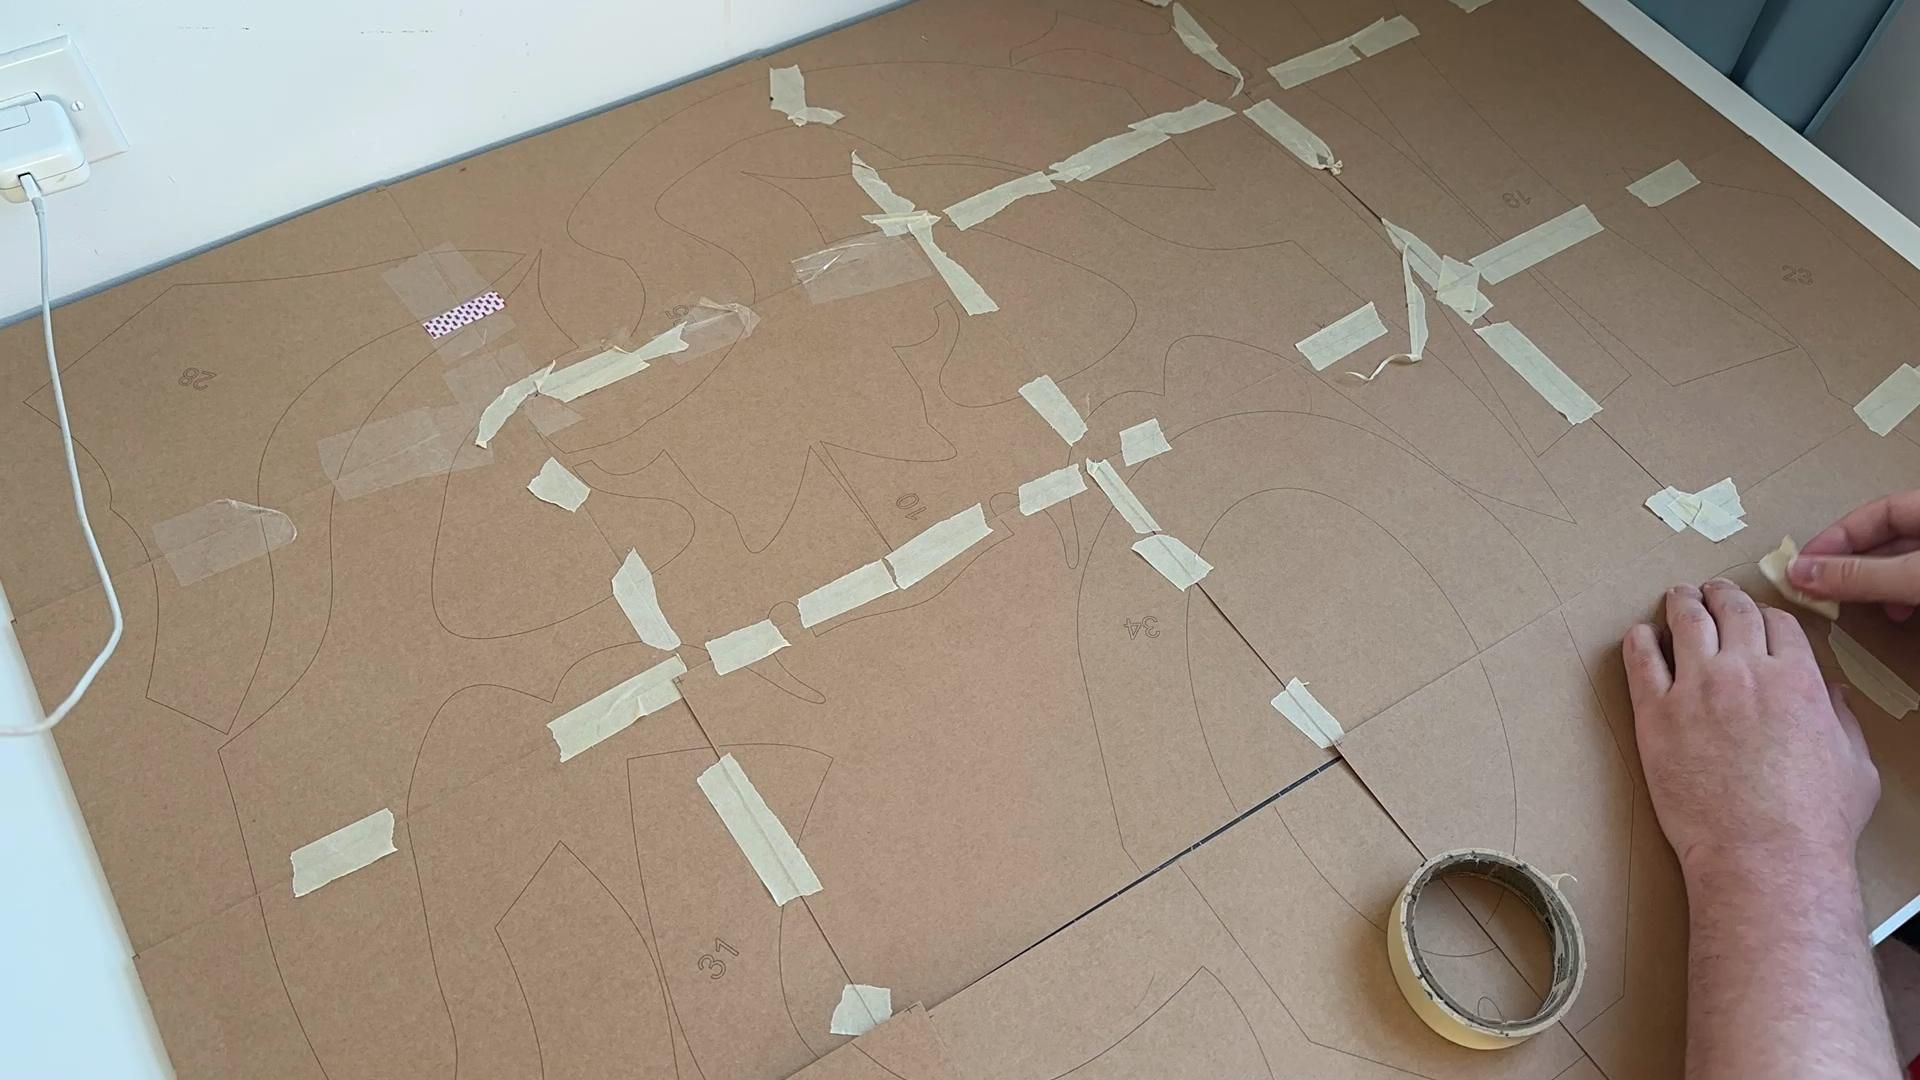
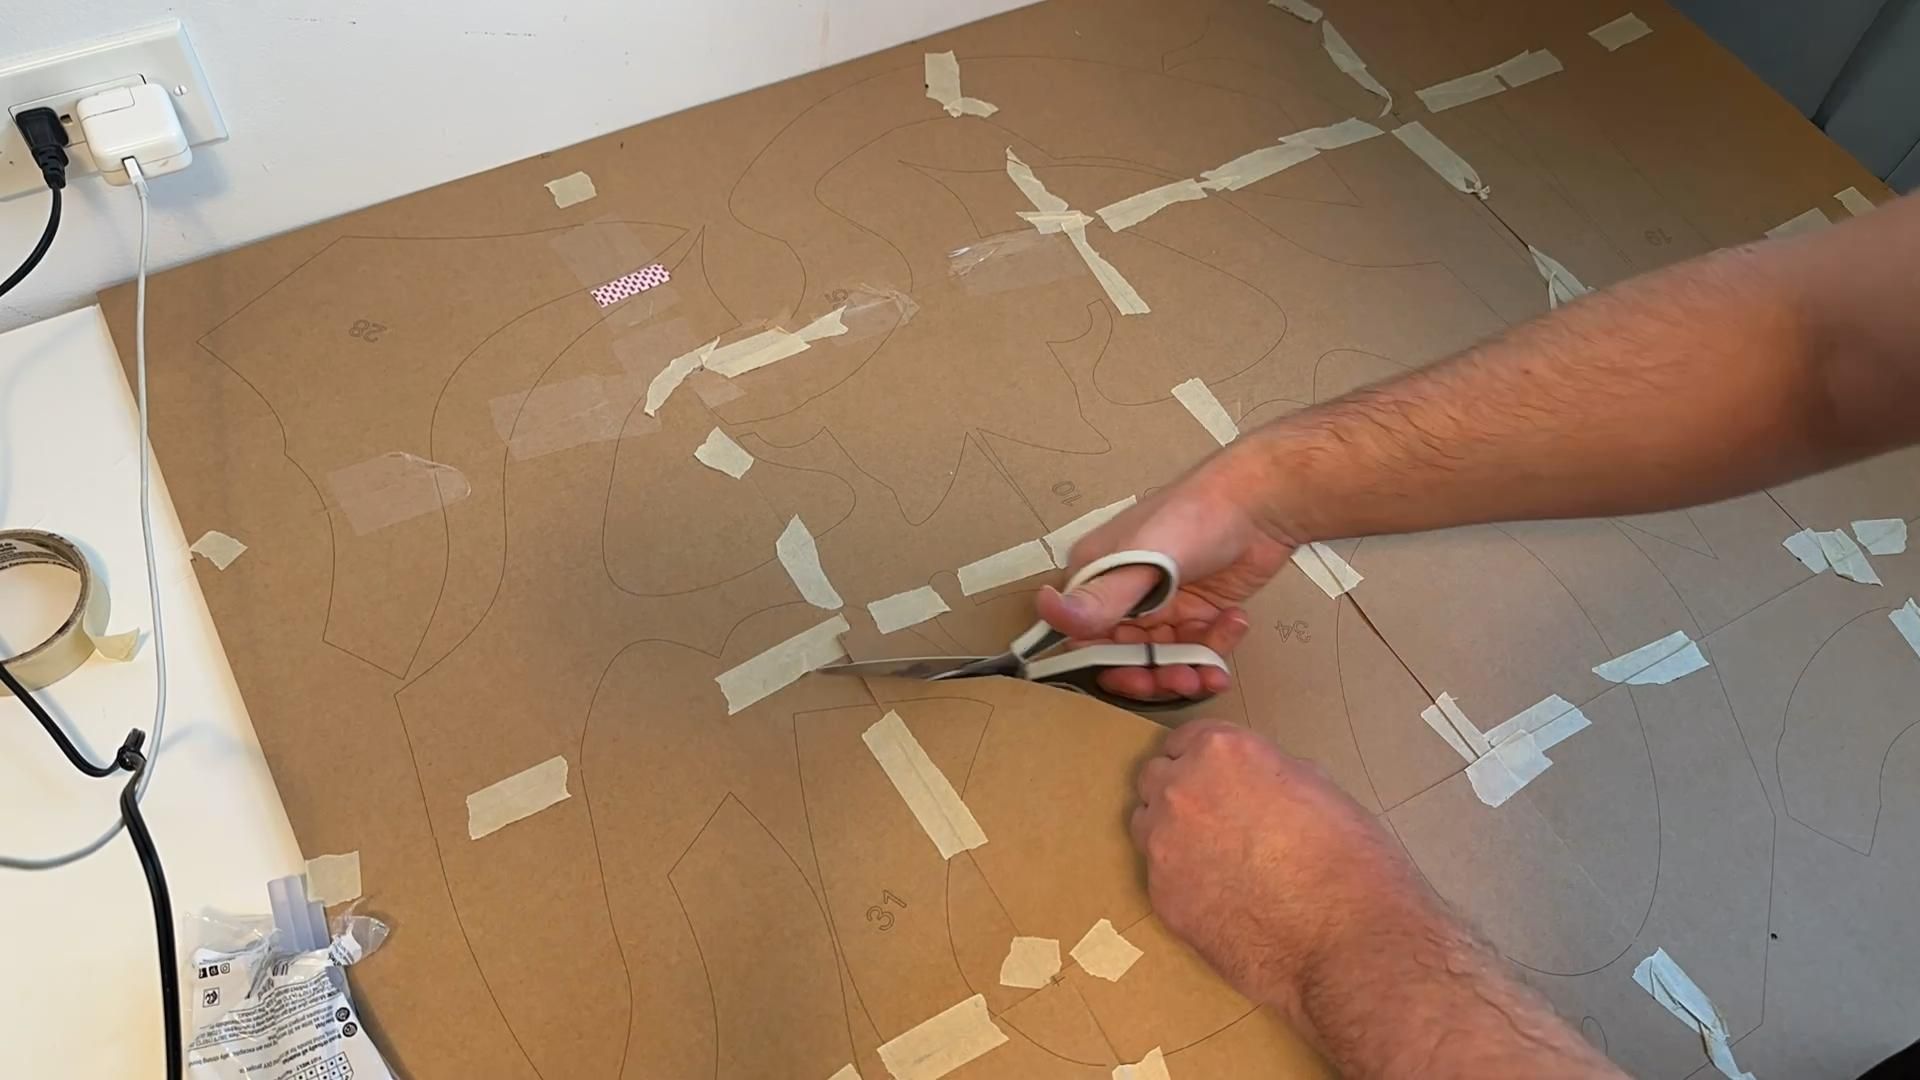
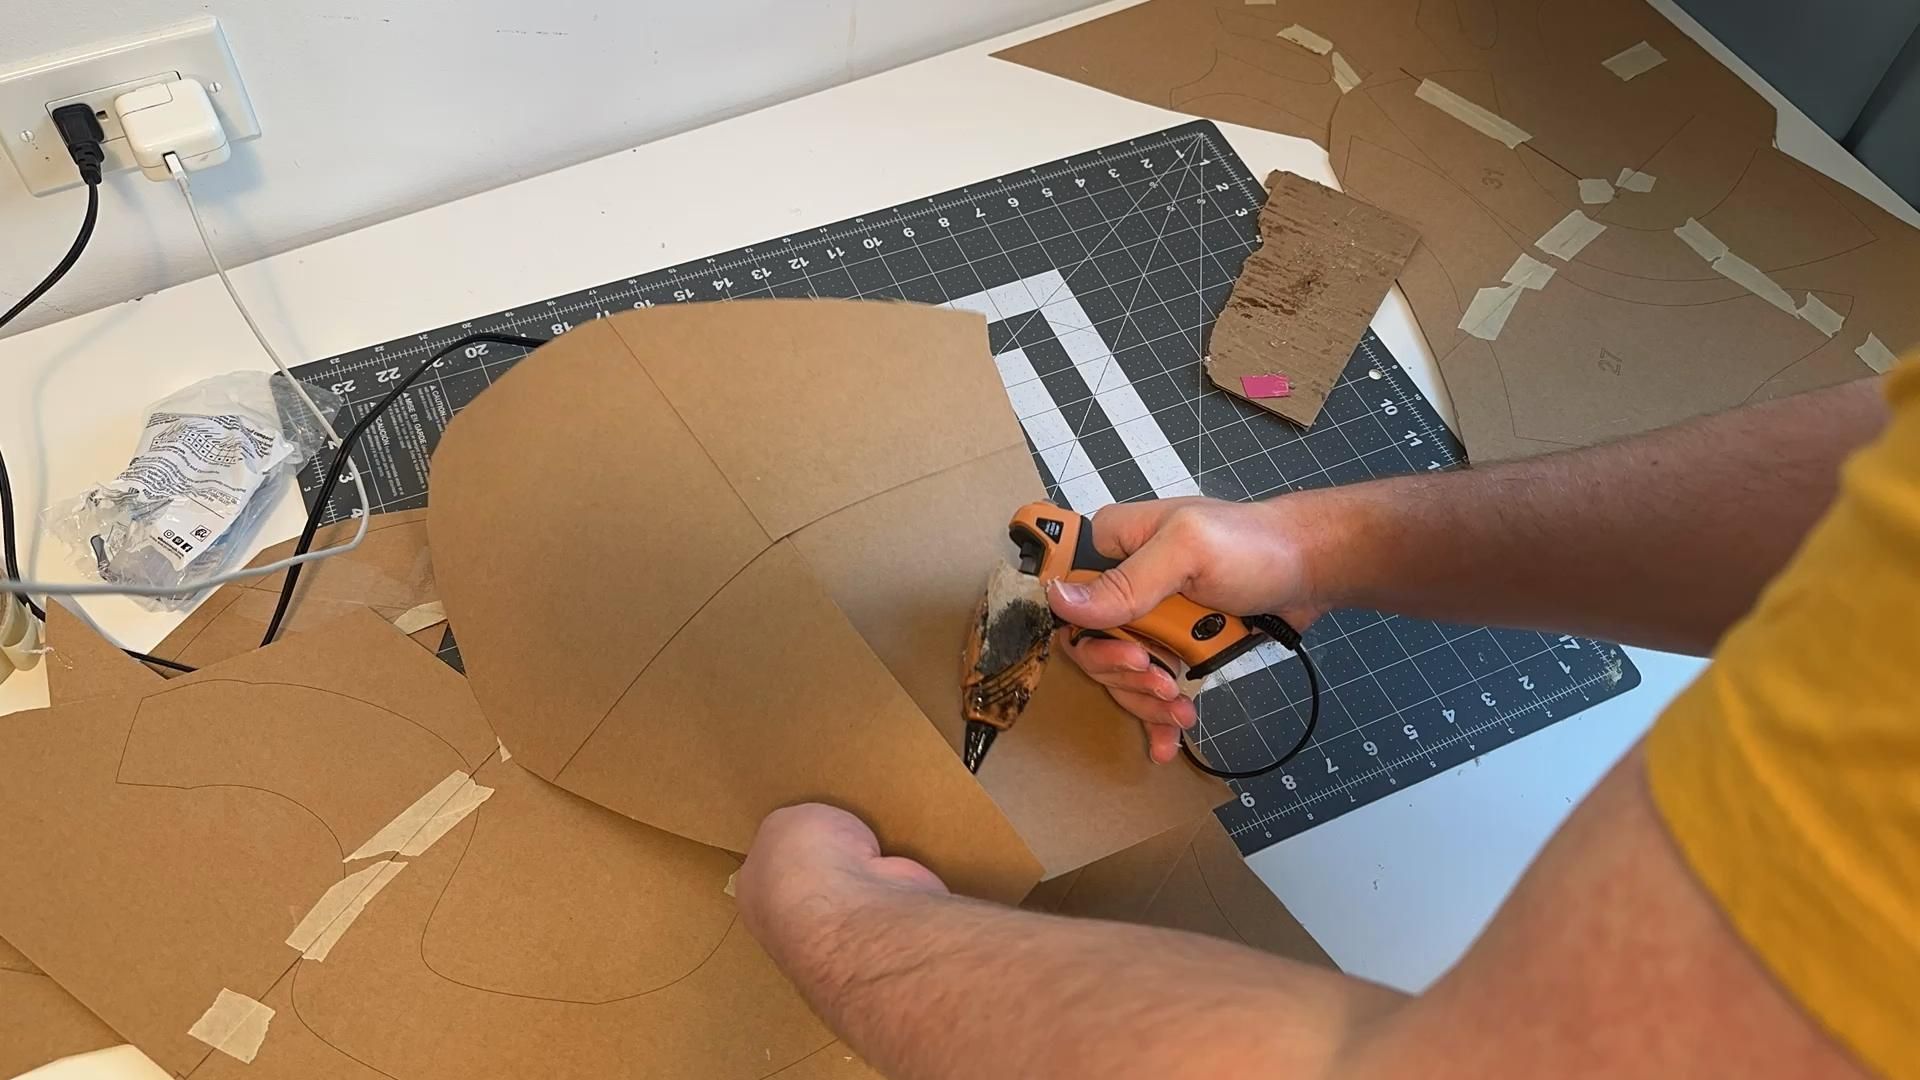
Align the sheets using the marks in the corners and tape them together with painter’s tape or regular tape.
After this, you can divide the large sheet into parts where the pieces will be, and then securely seal the seams between the sheets with hot glue.
Step 4: Cut Out the Pieces
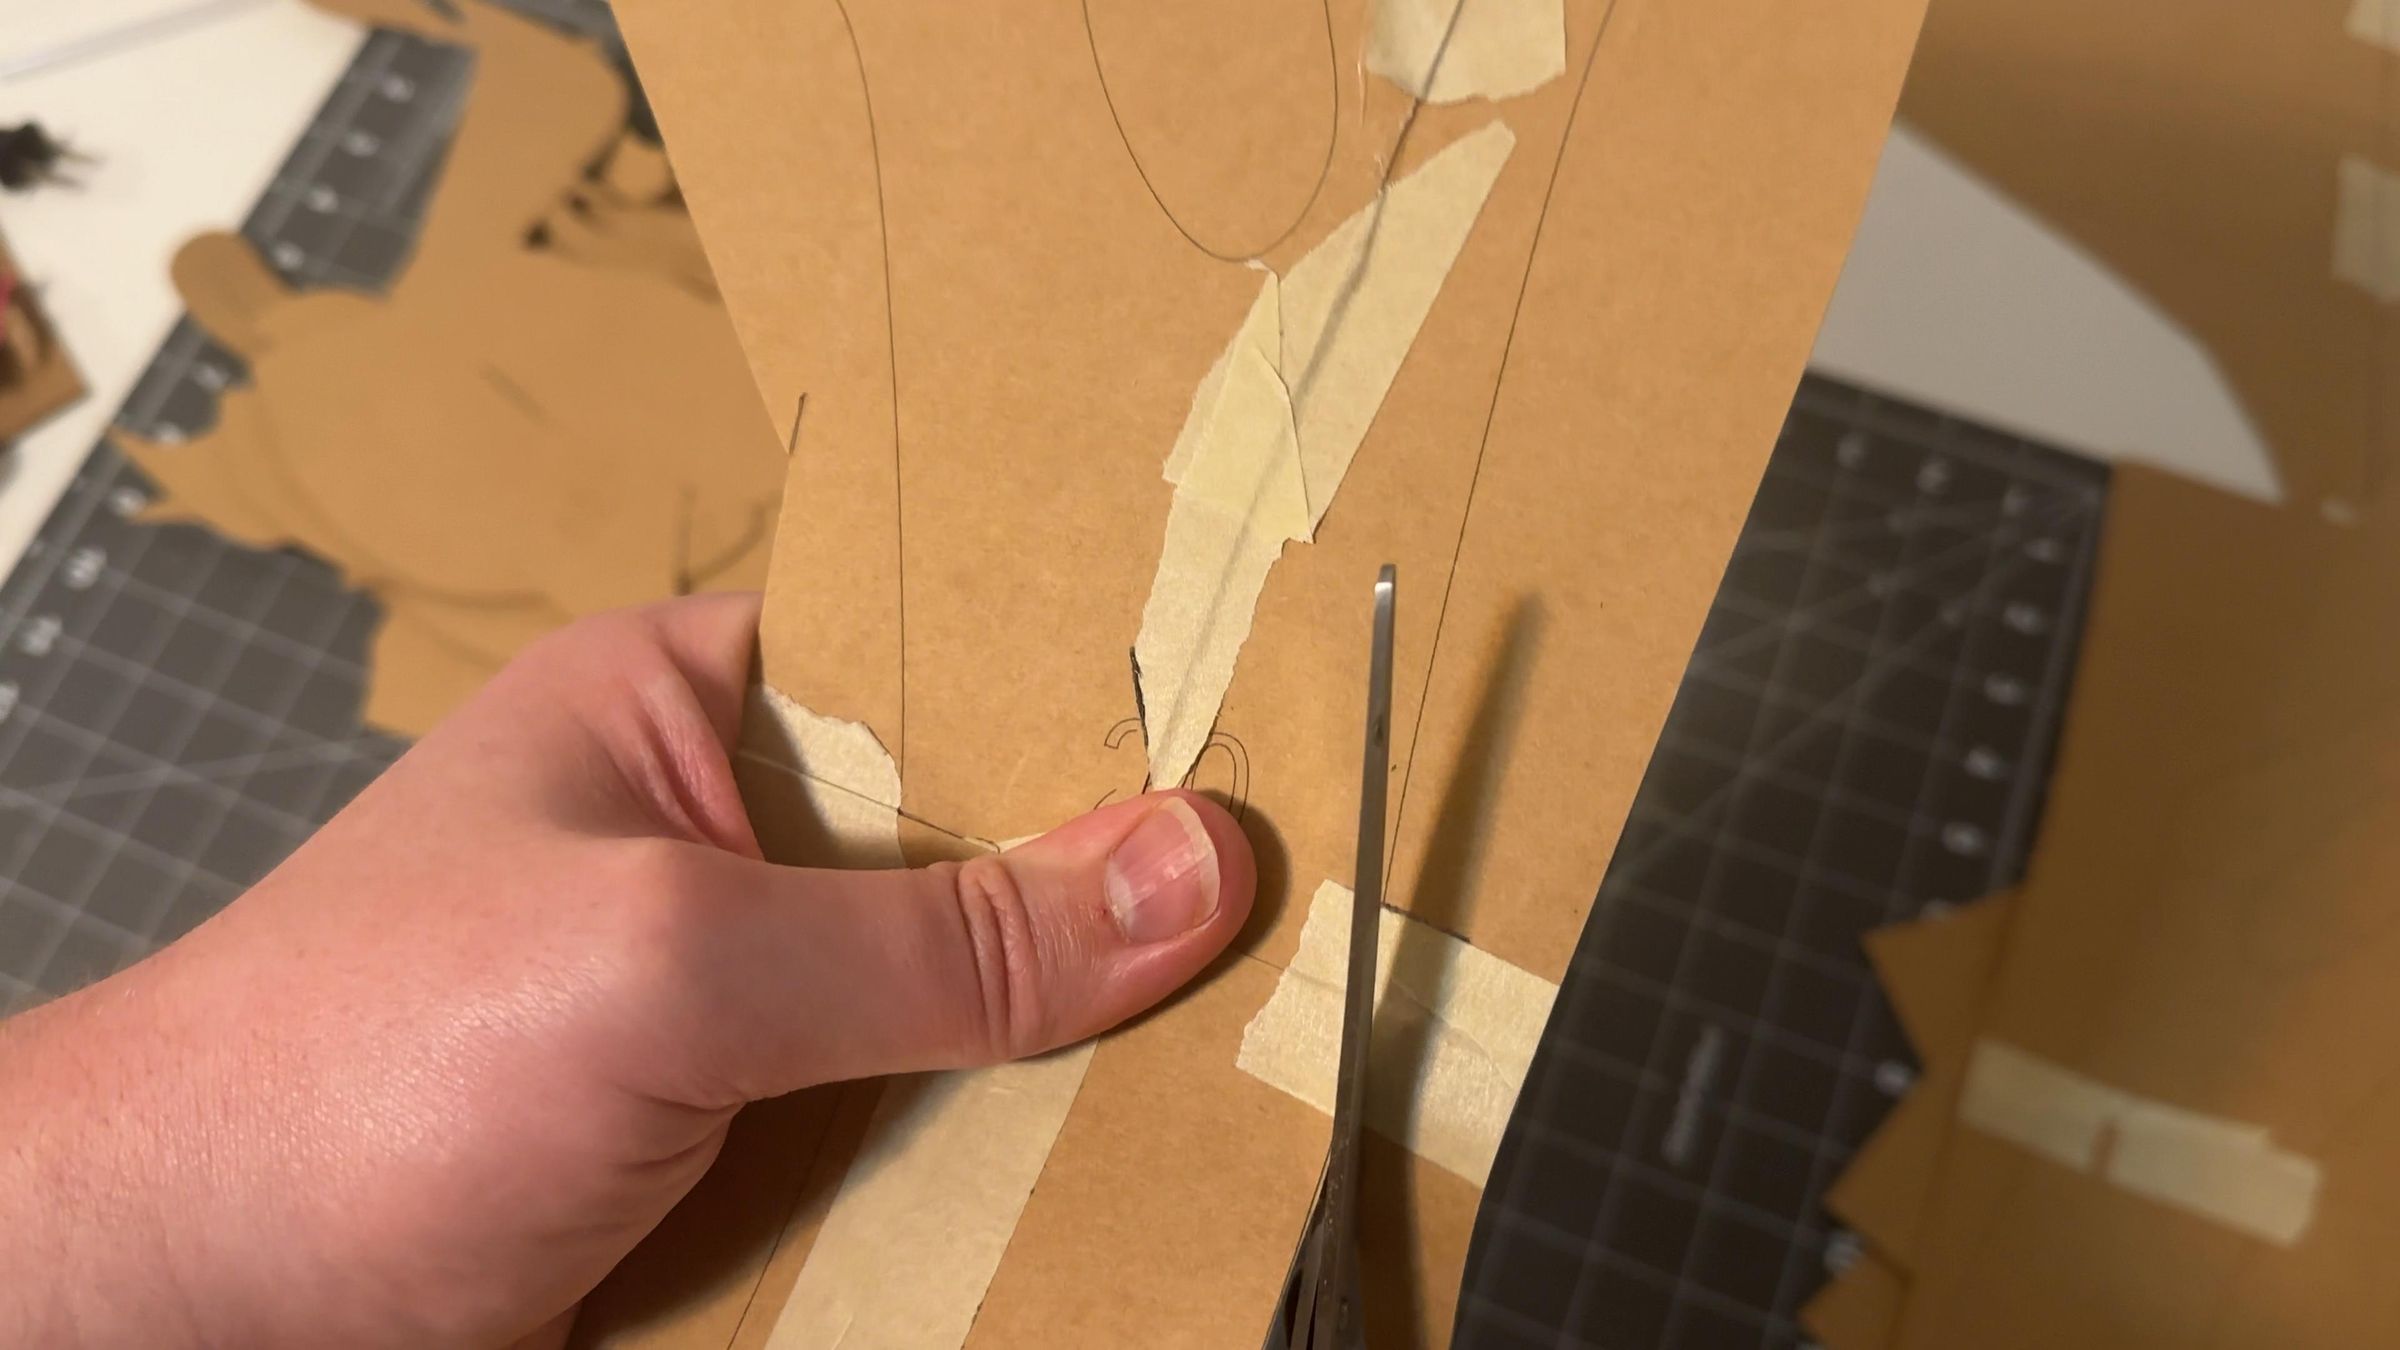
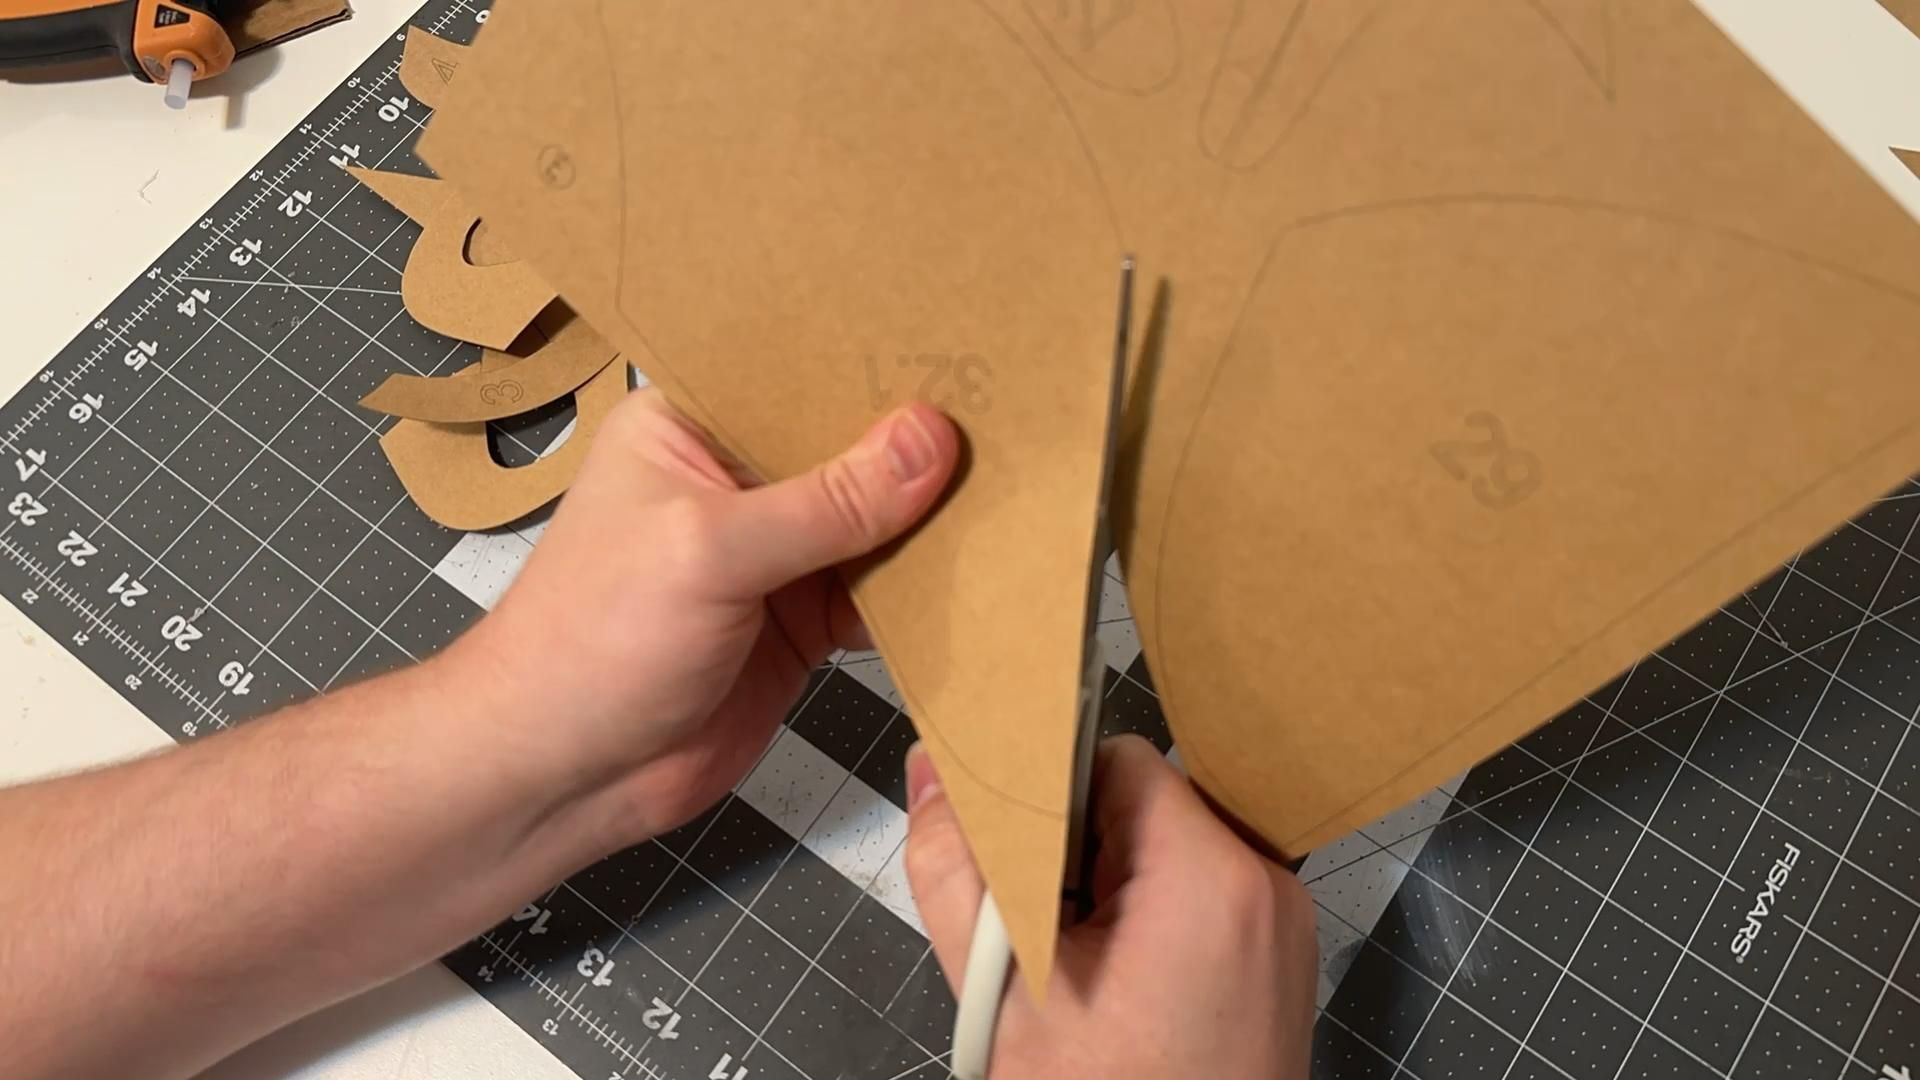
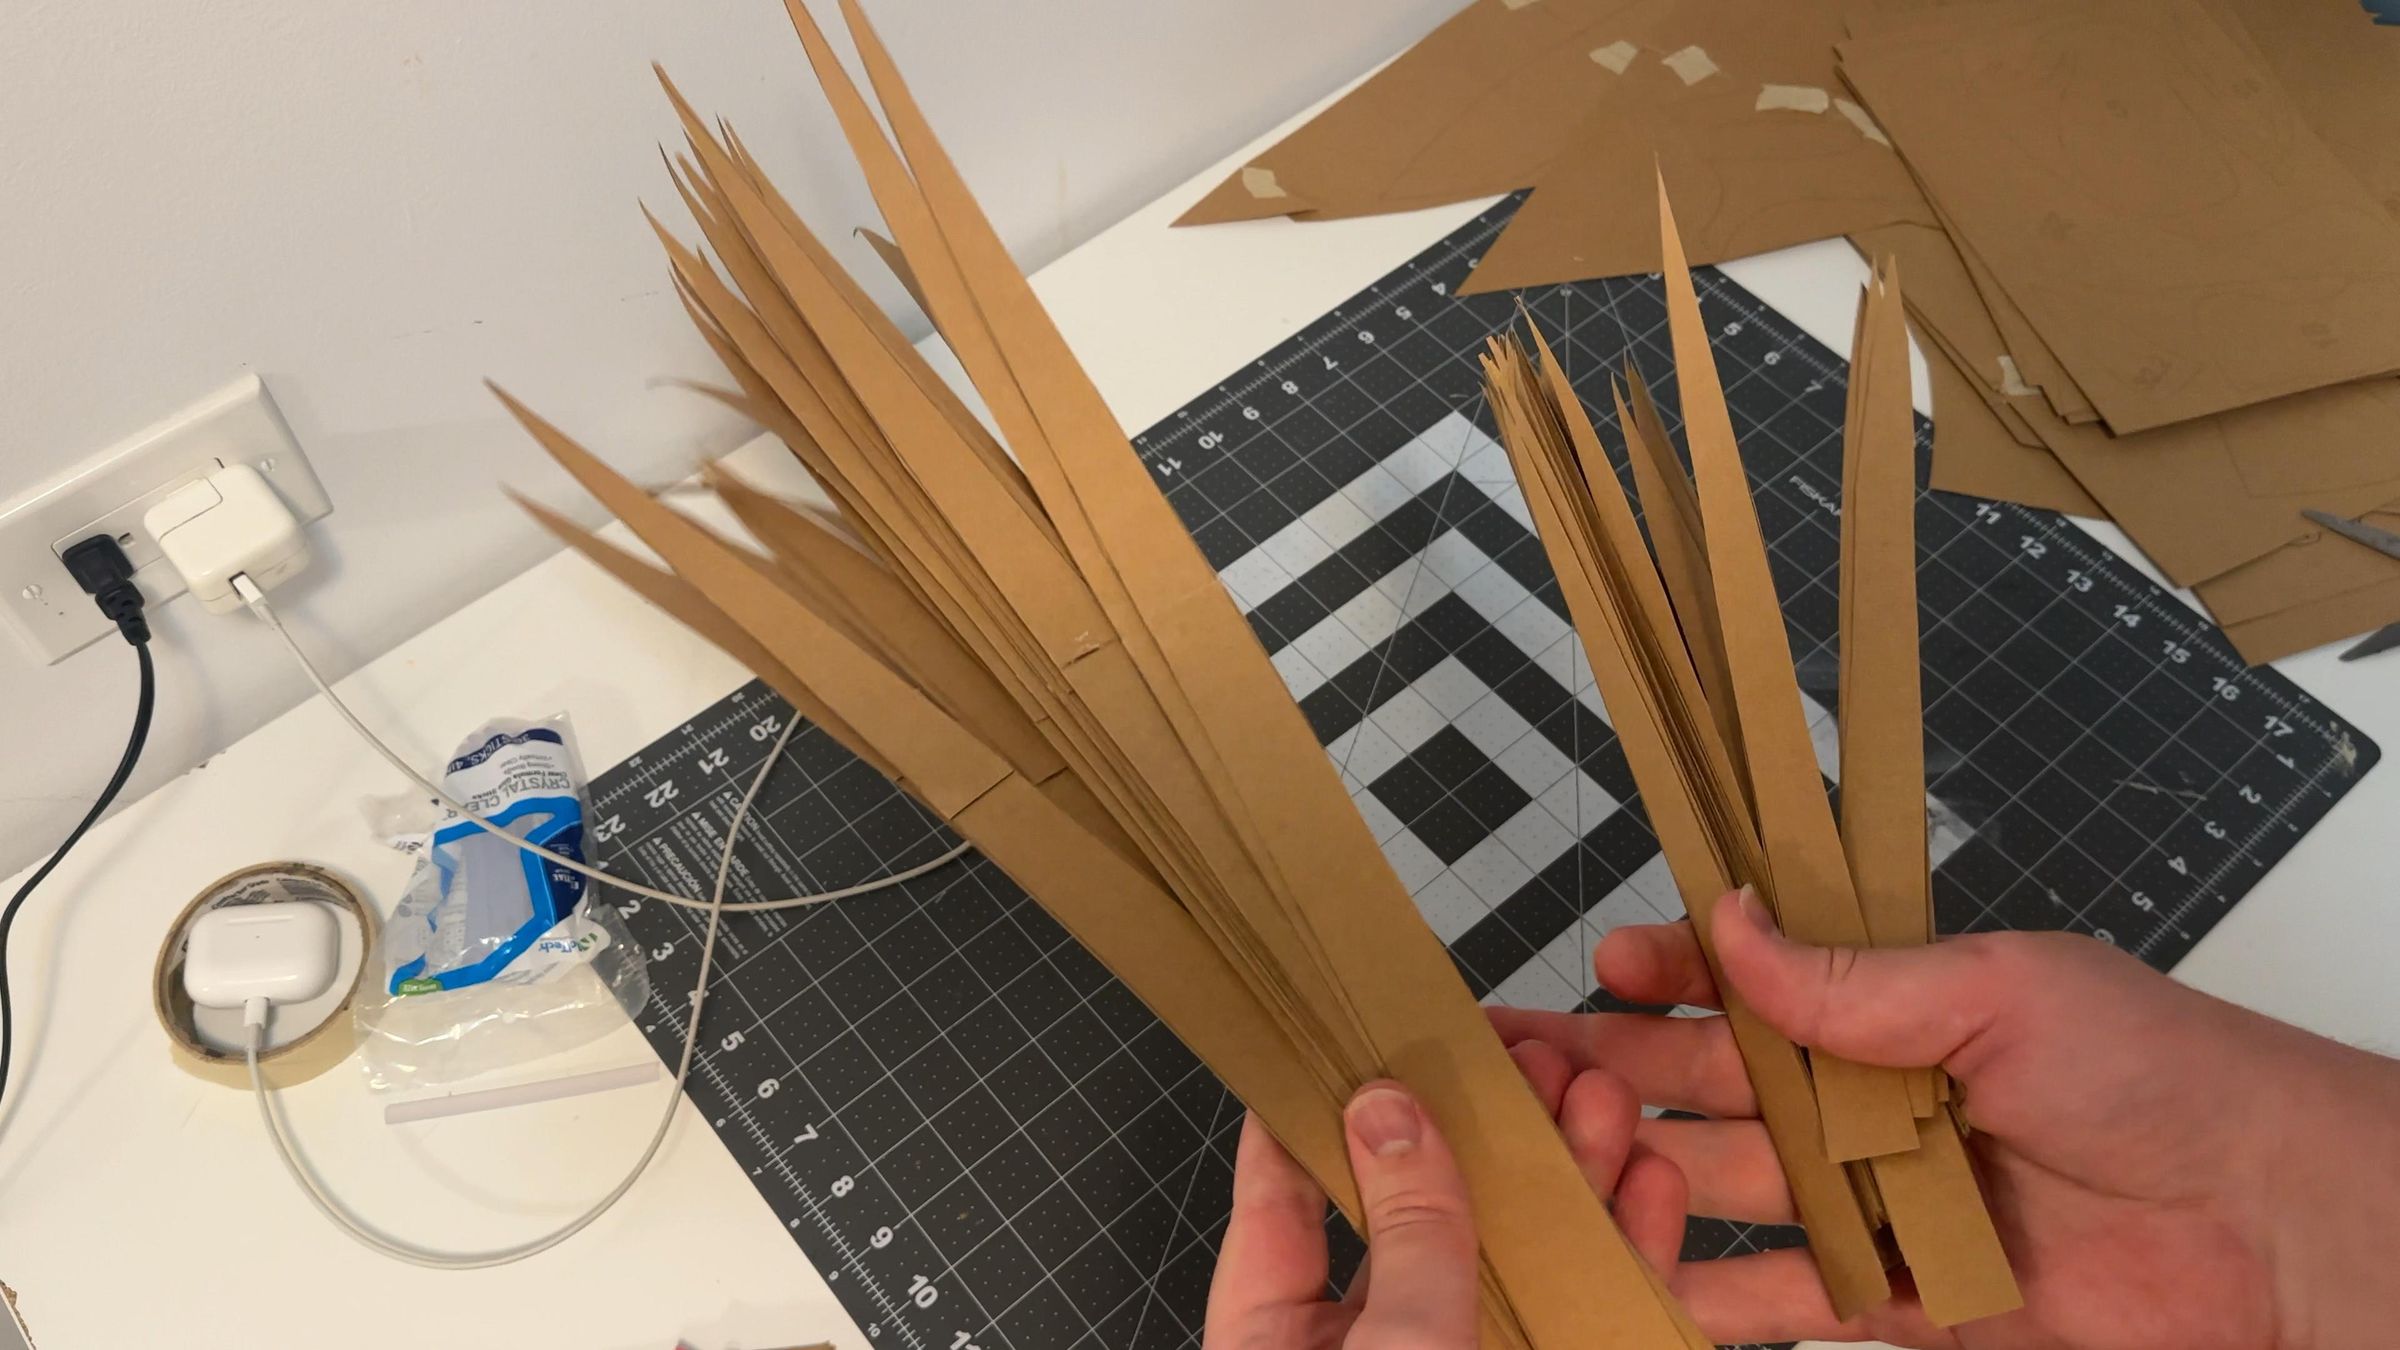
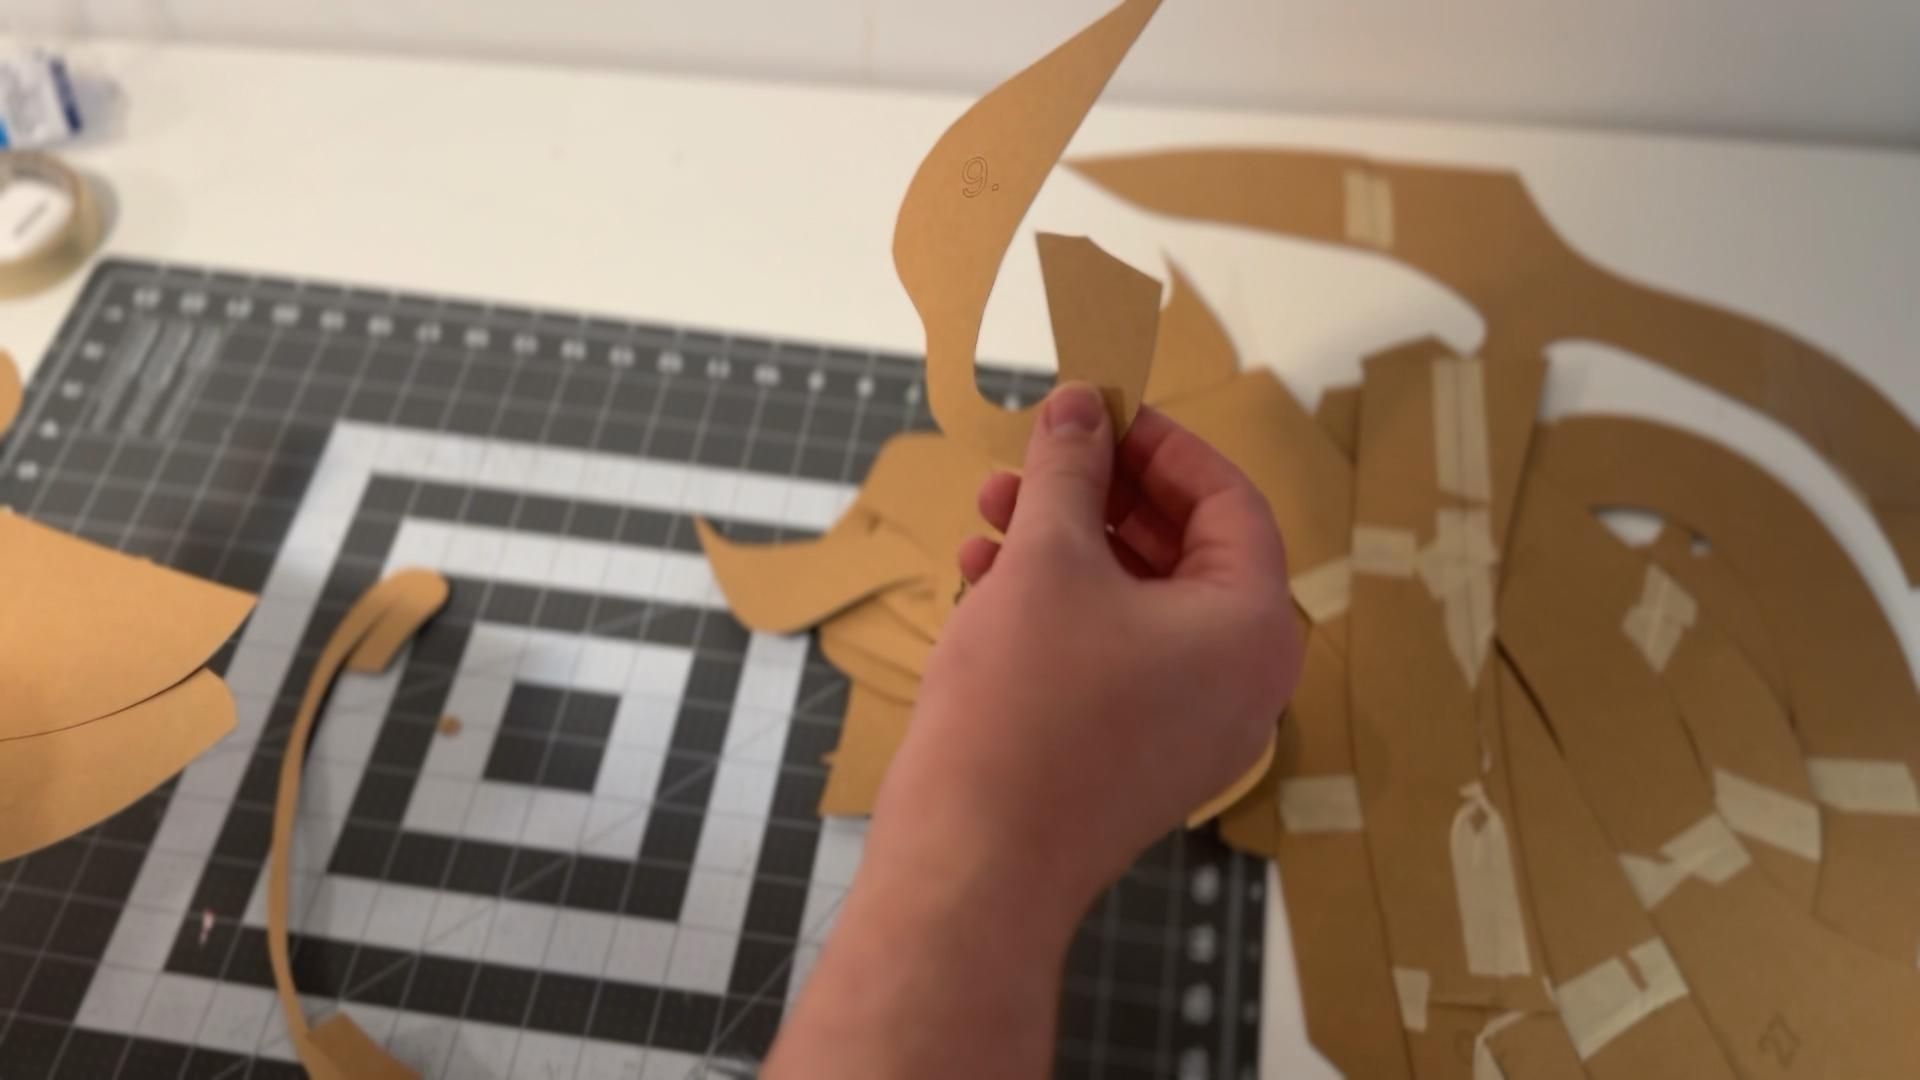
Now you can cut out all the pieces for the figure, including the pieces for the lion’s mane, precisely along the outline.
Step 5: Bend the Pieces.
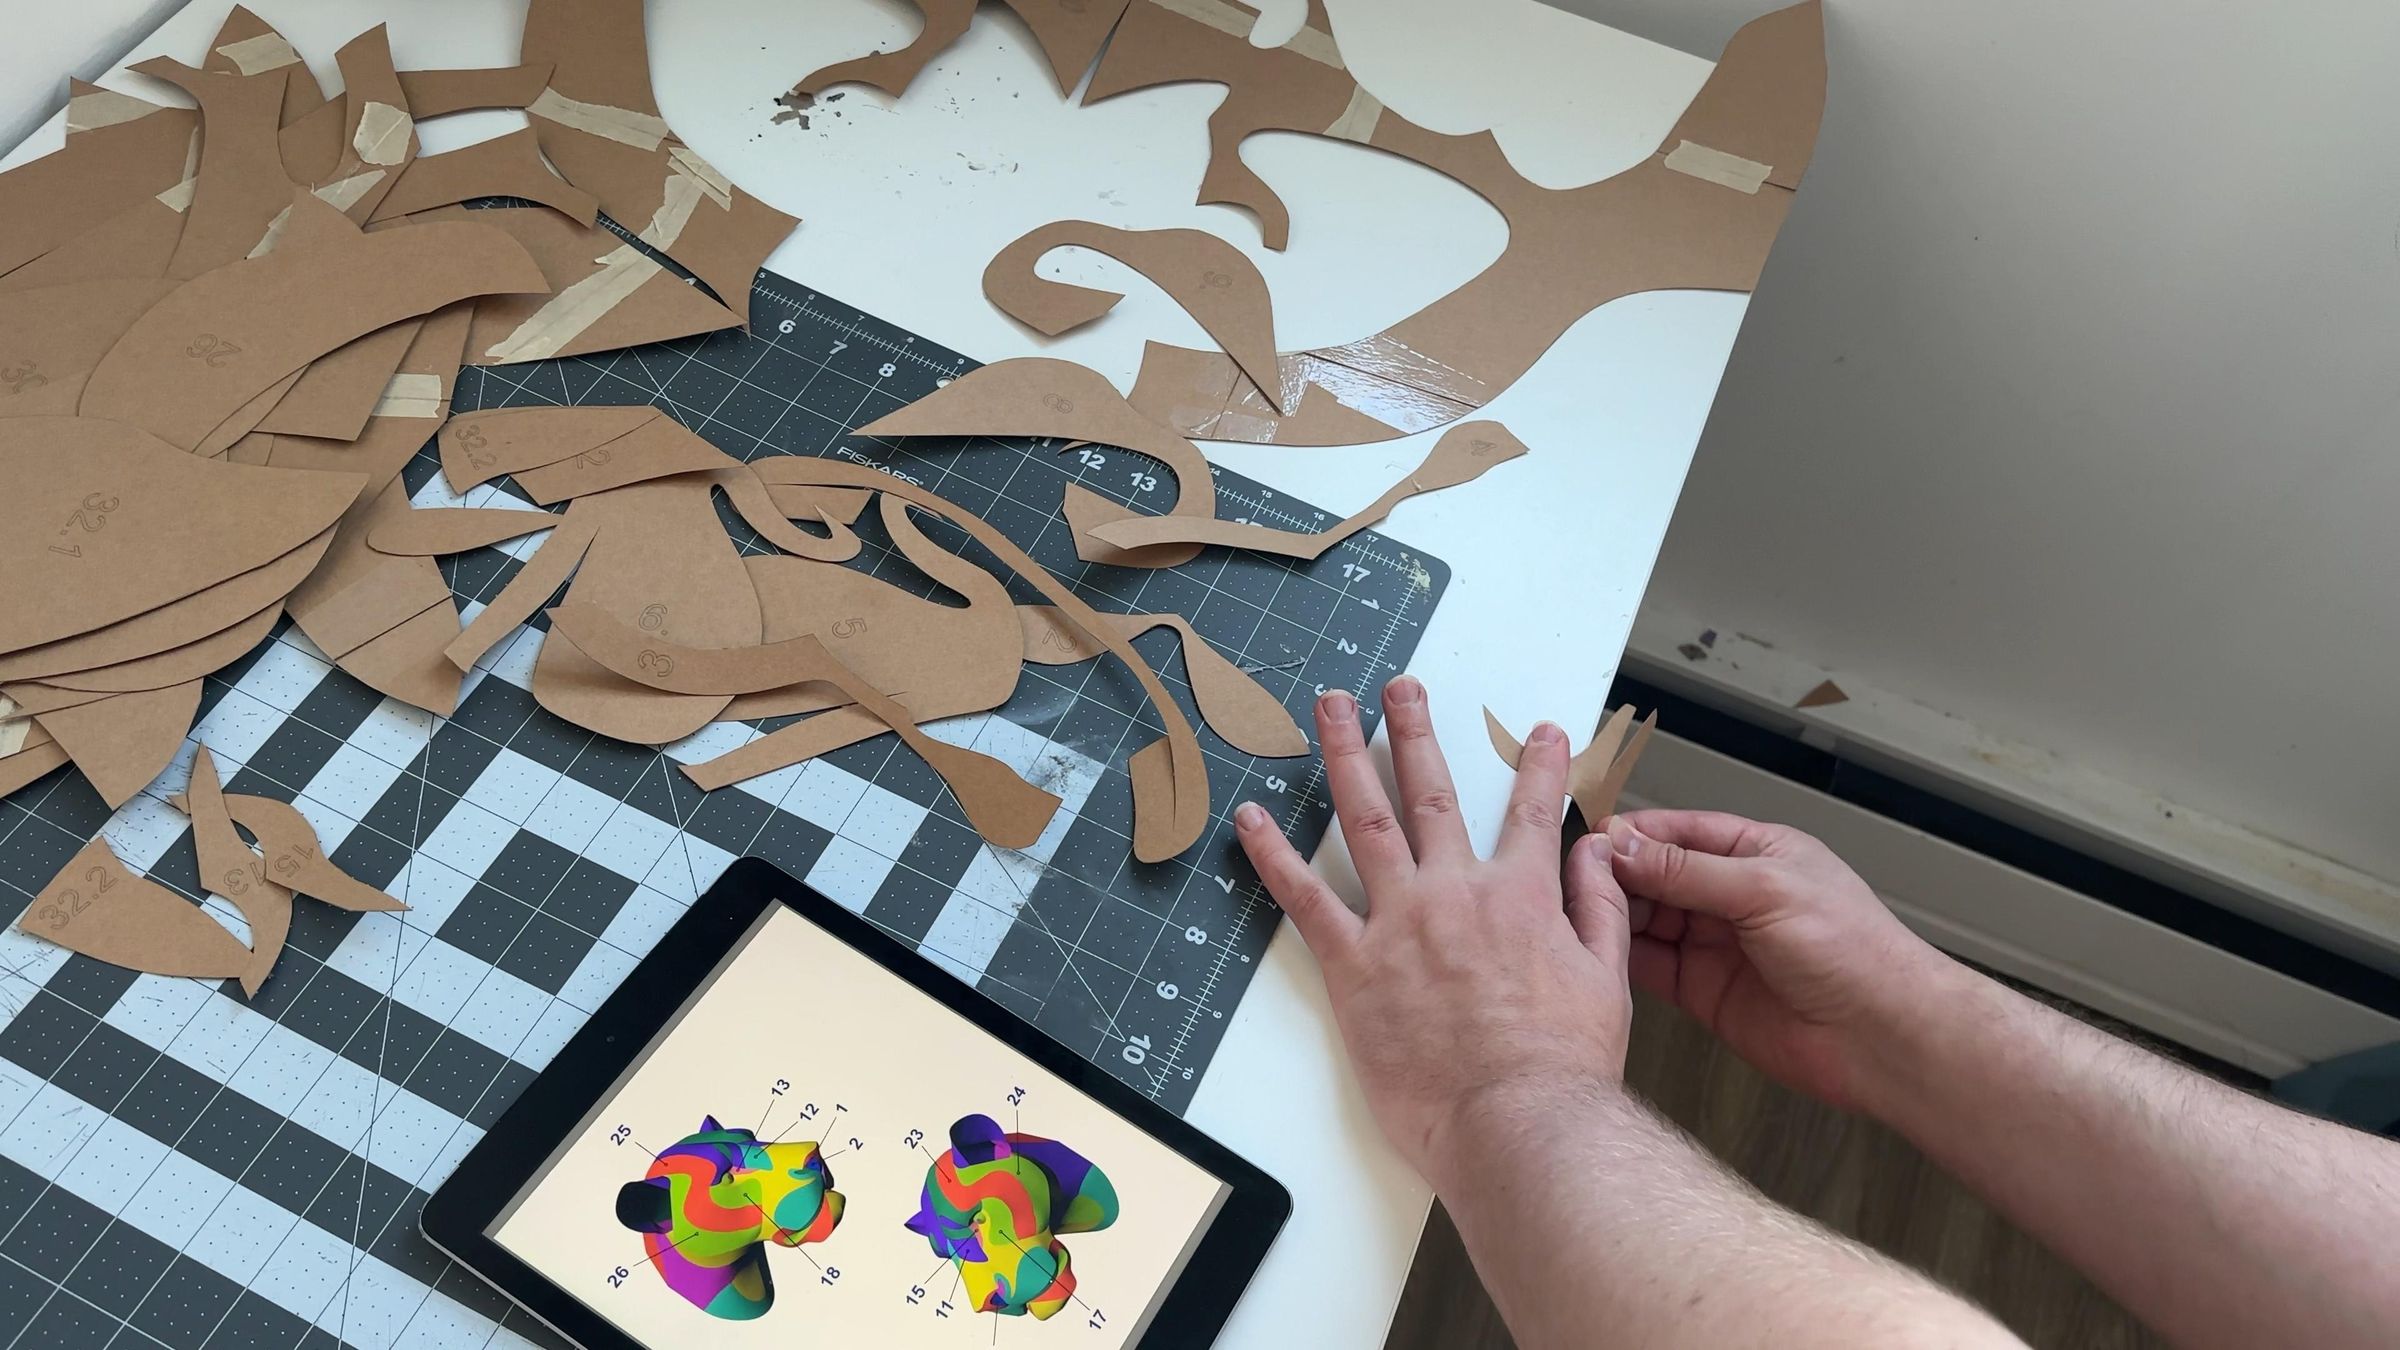
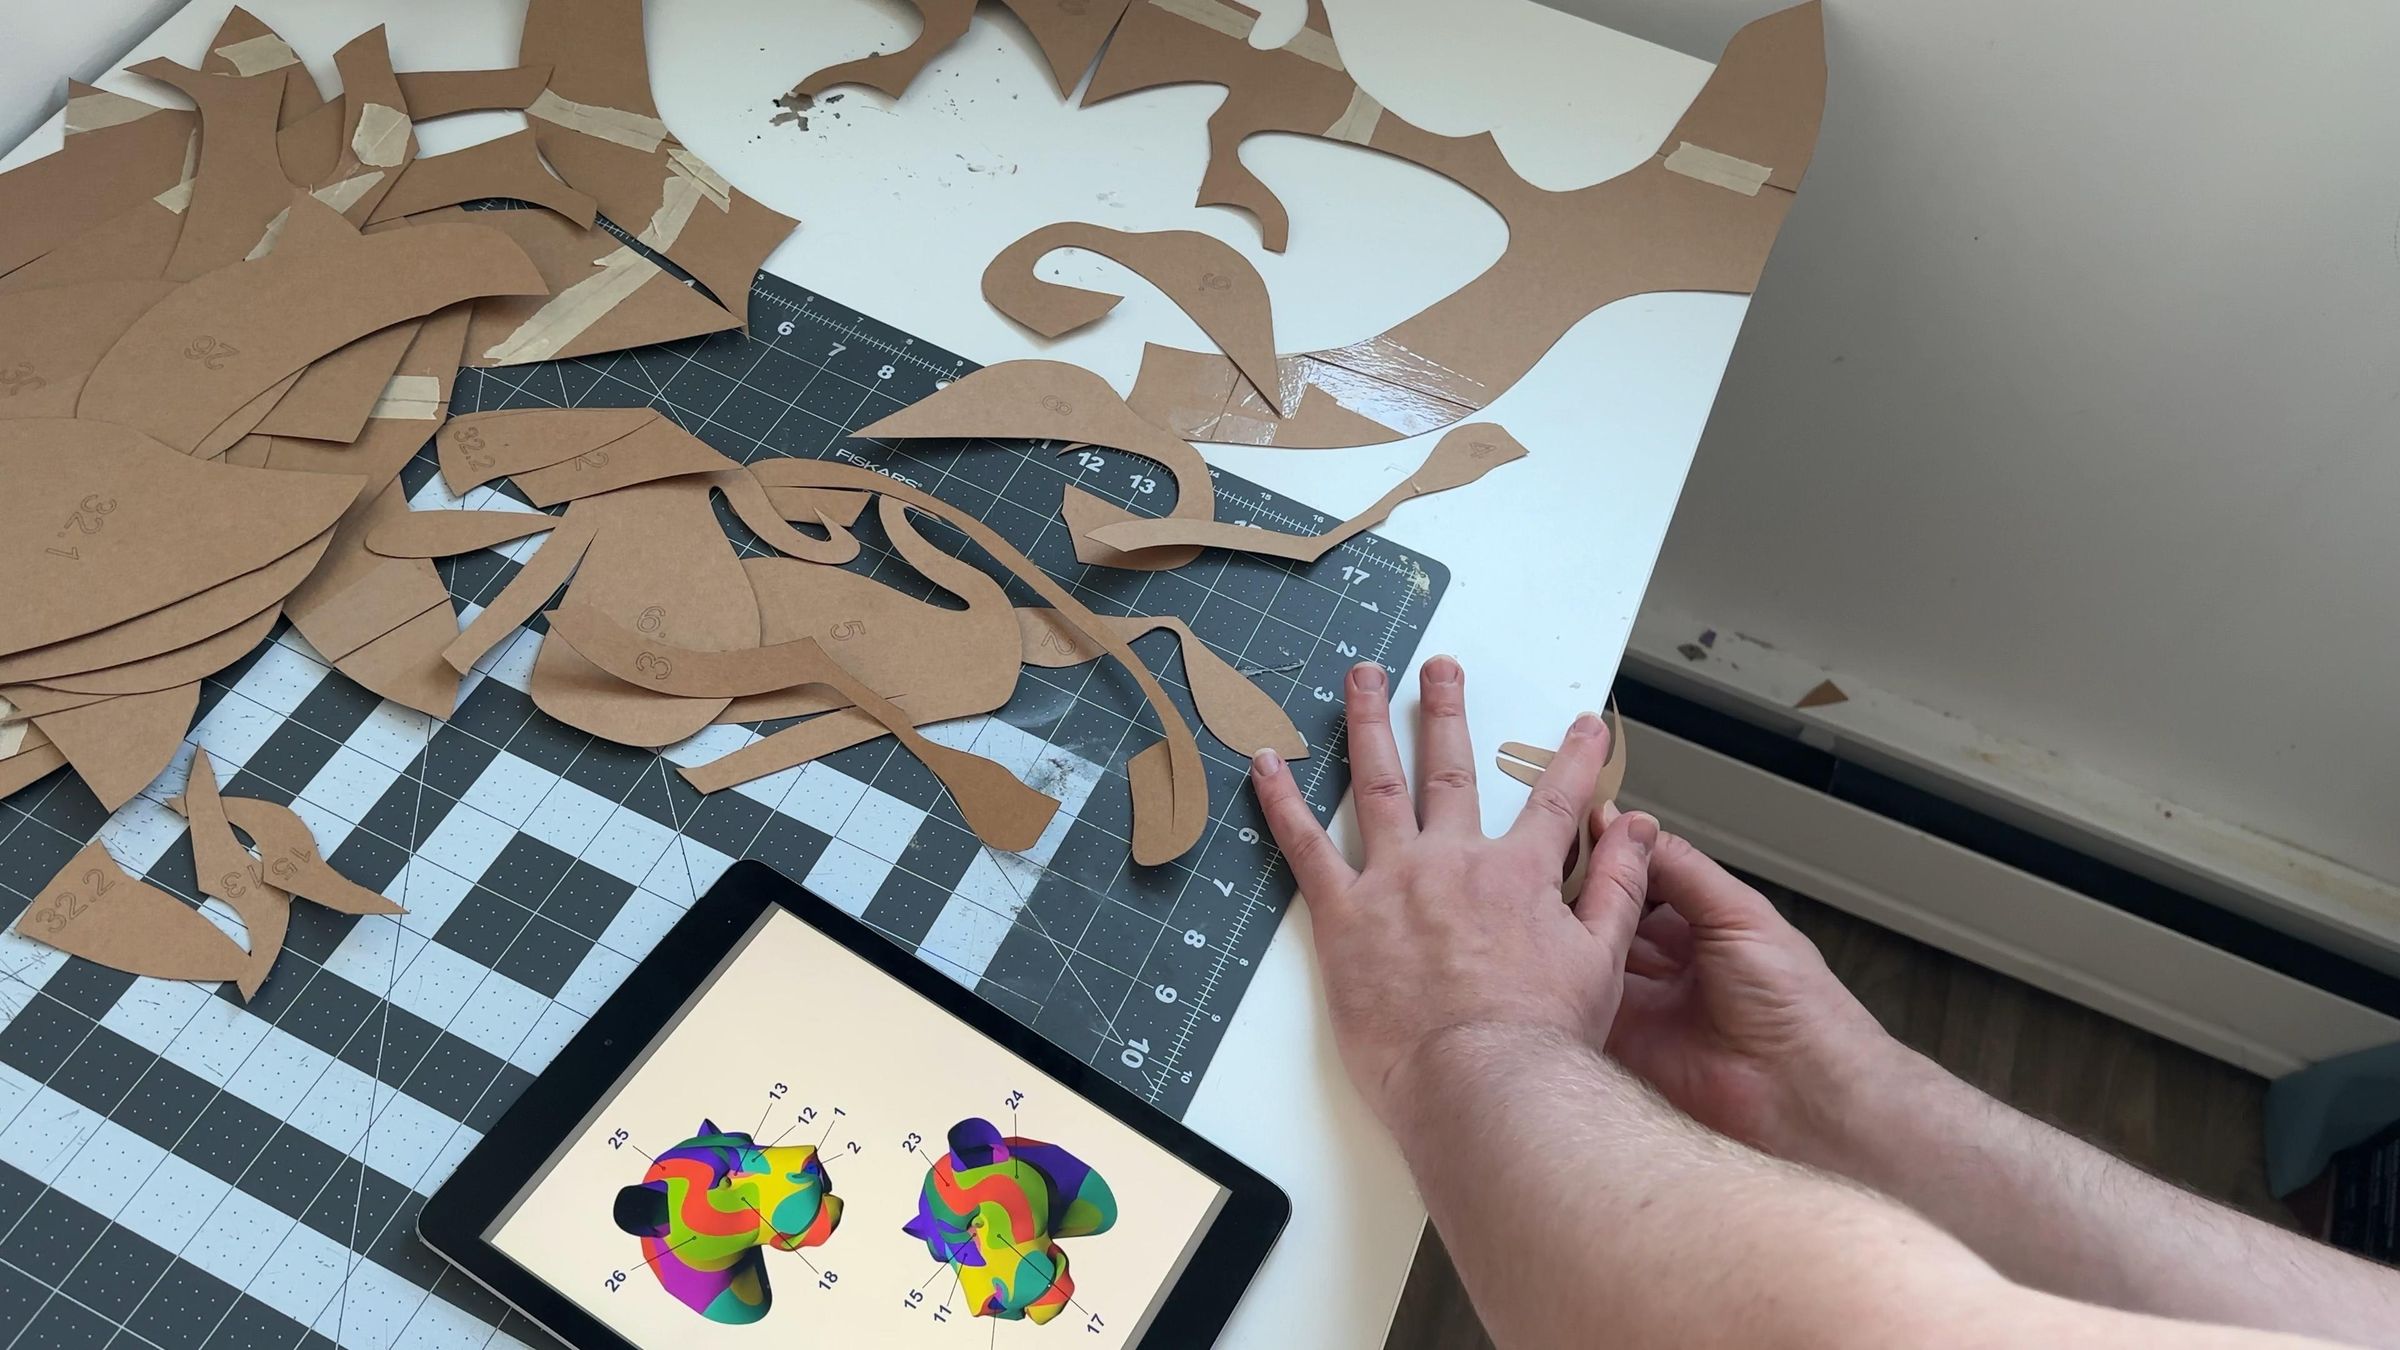
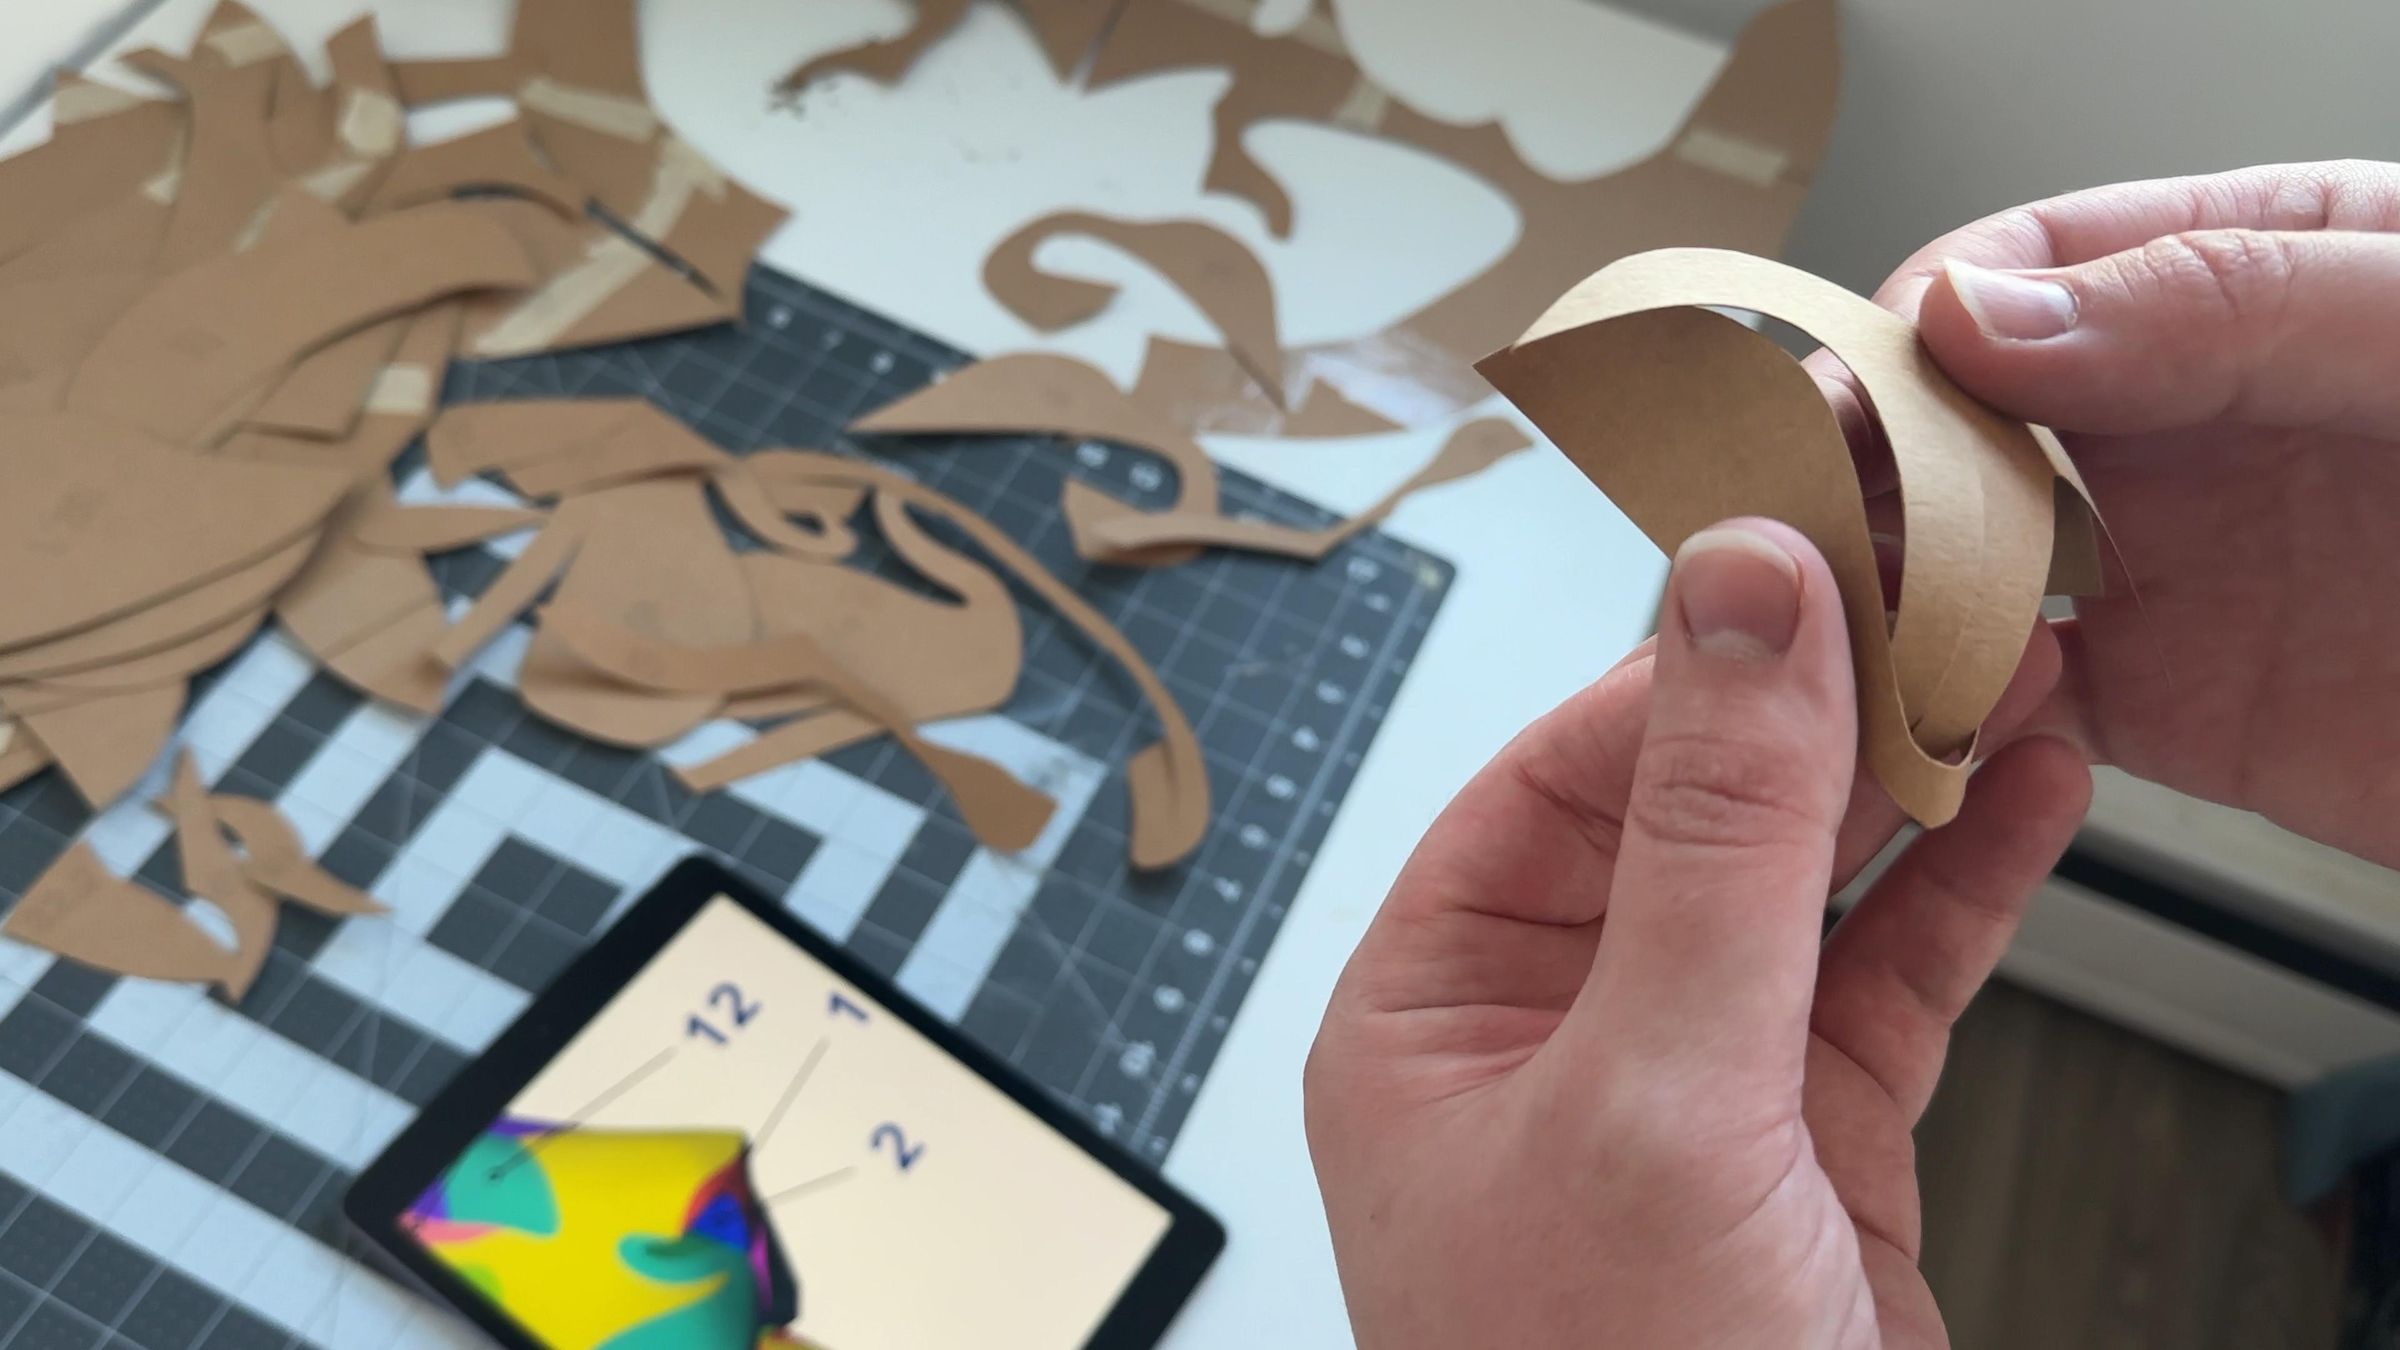
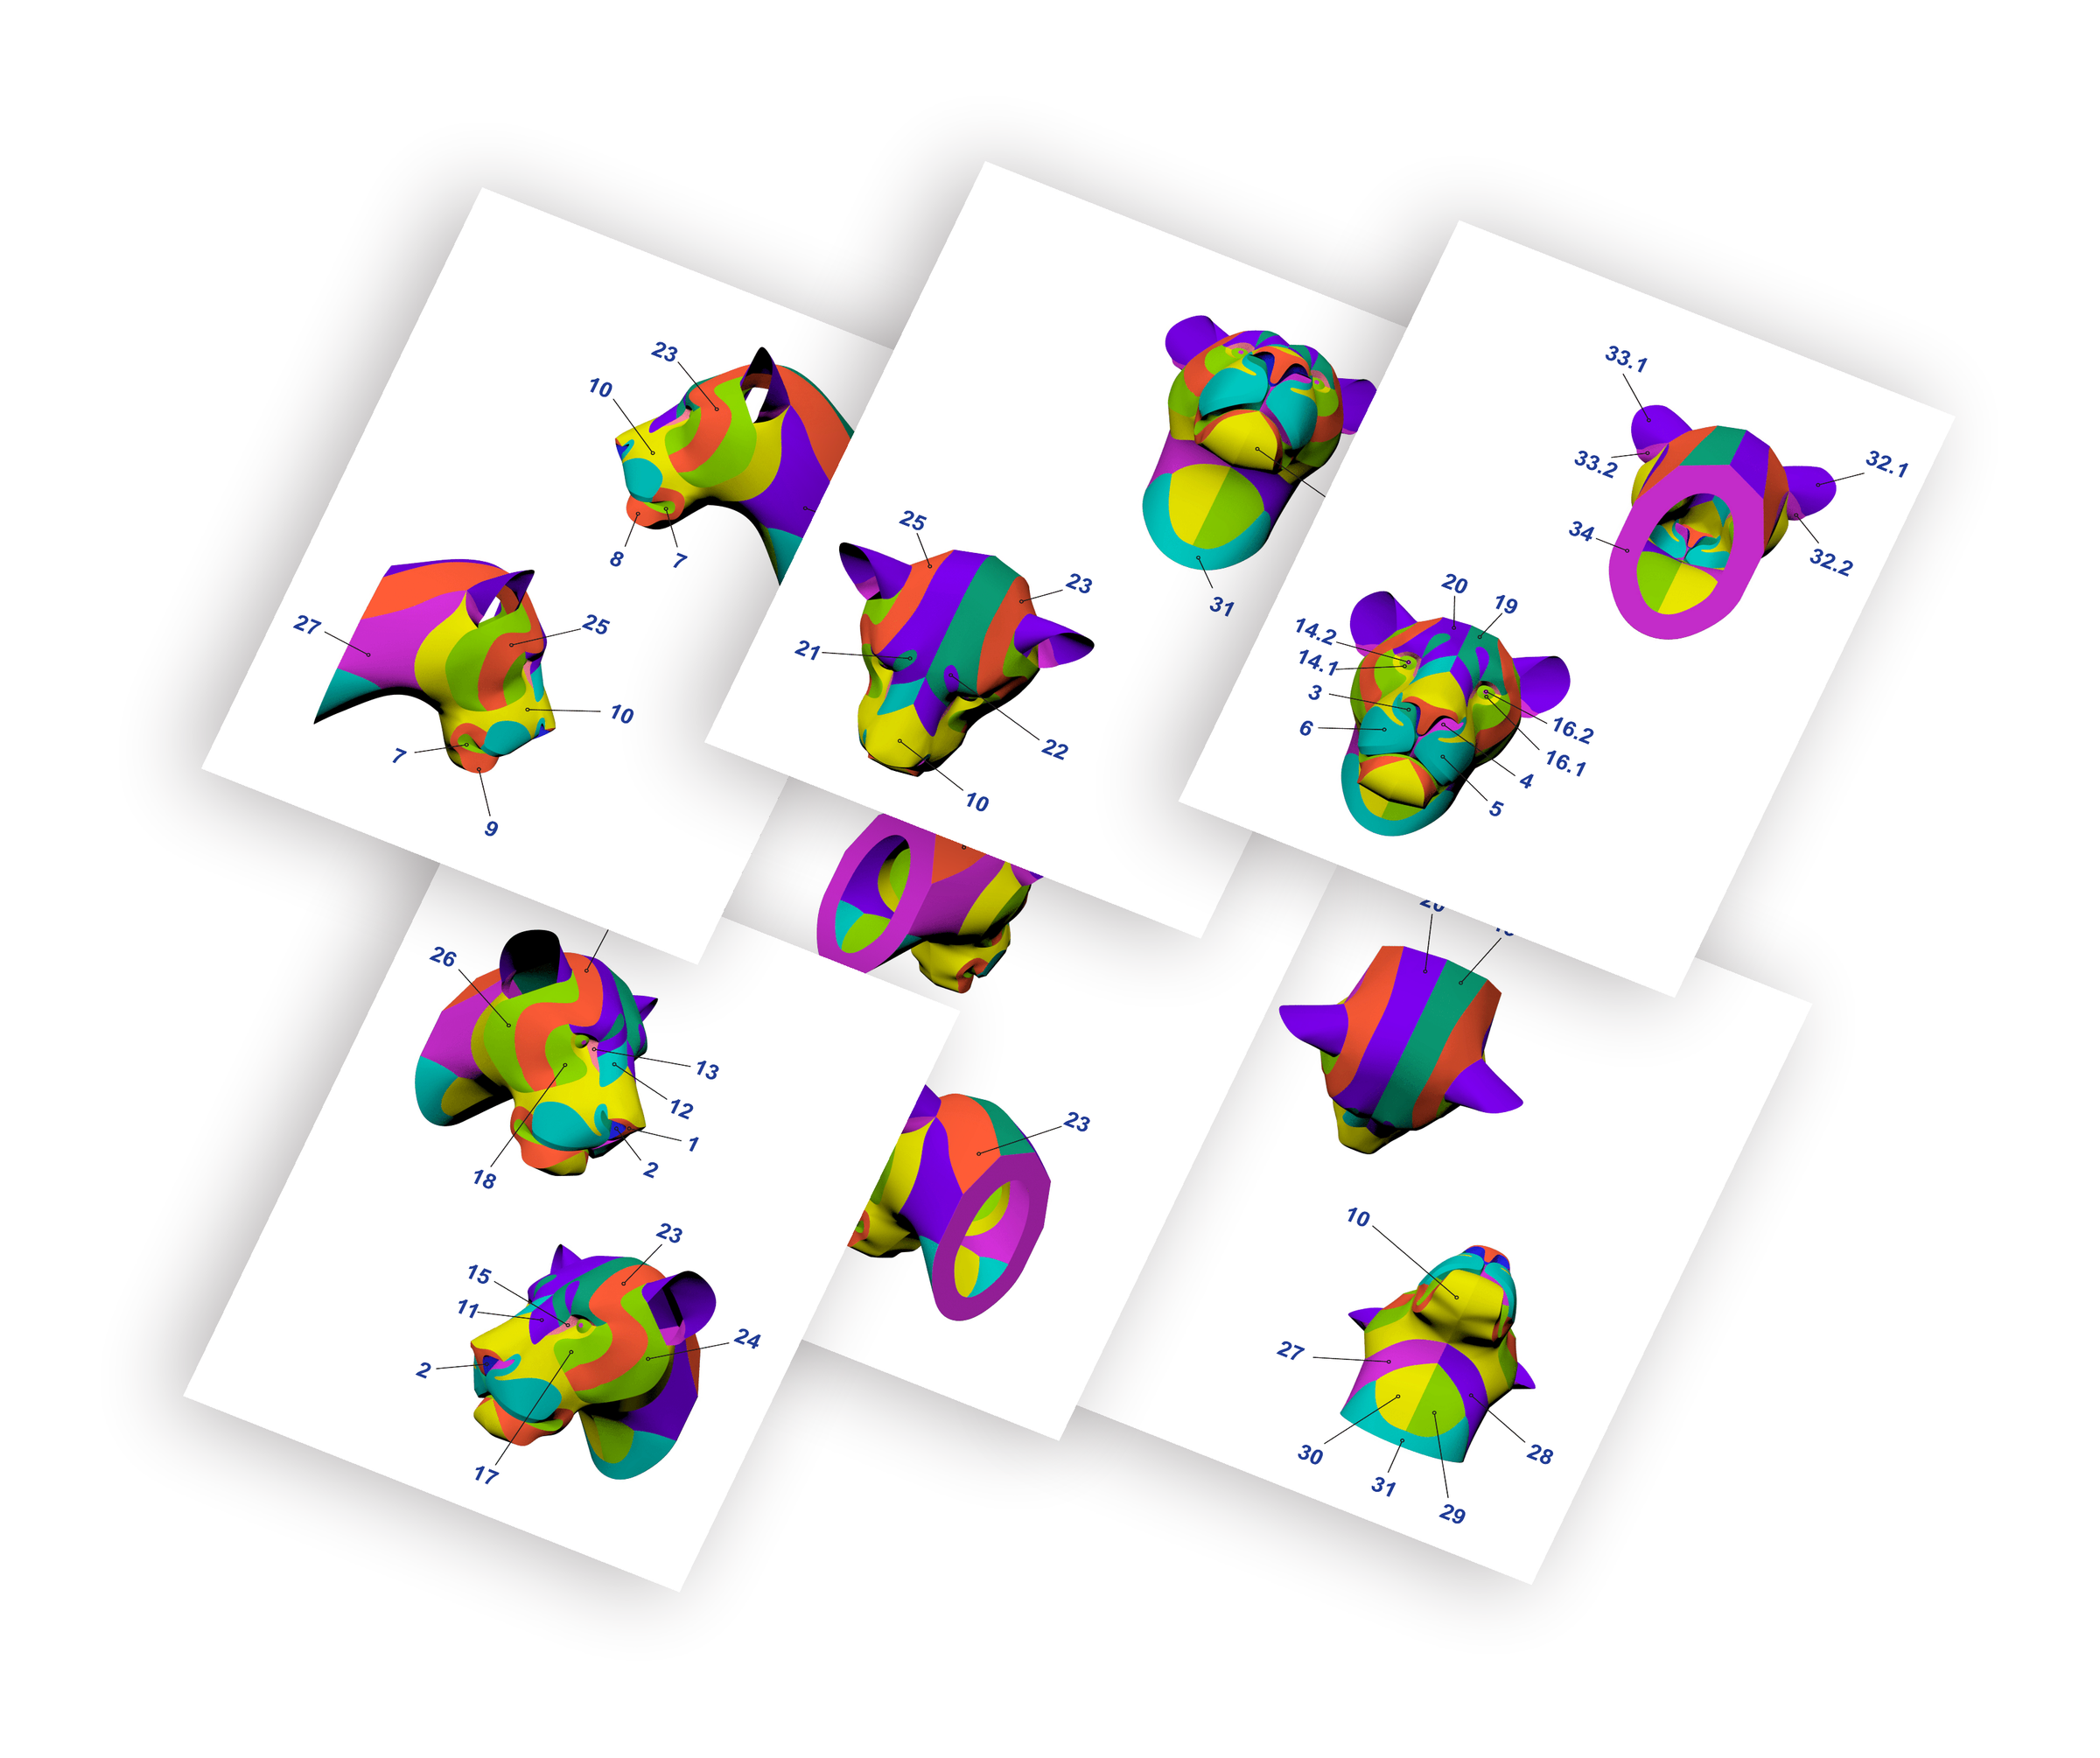
Use the PDF visual instructions included in the package. By following the instructions, you will easily understand the assembly order and the direction for bending the pieces.
Start with the first piece and, by analogy, do the same with the other pieces. To bend the piece, pull it over the edge of the table.
You don’t need to achieve any precise measurements. This preparation of the pieces is necessary and will greatly simplify the assembly.
Step 6: Glue With Tape
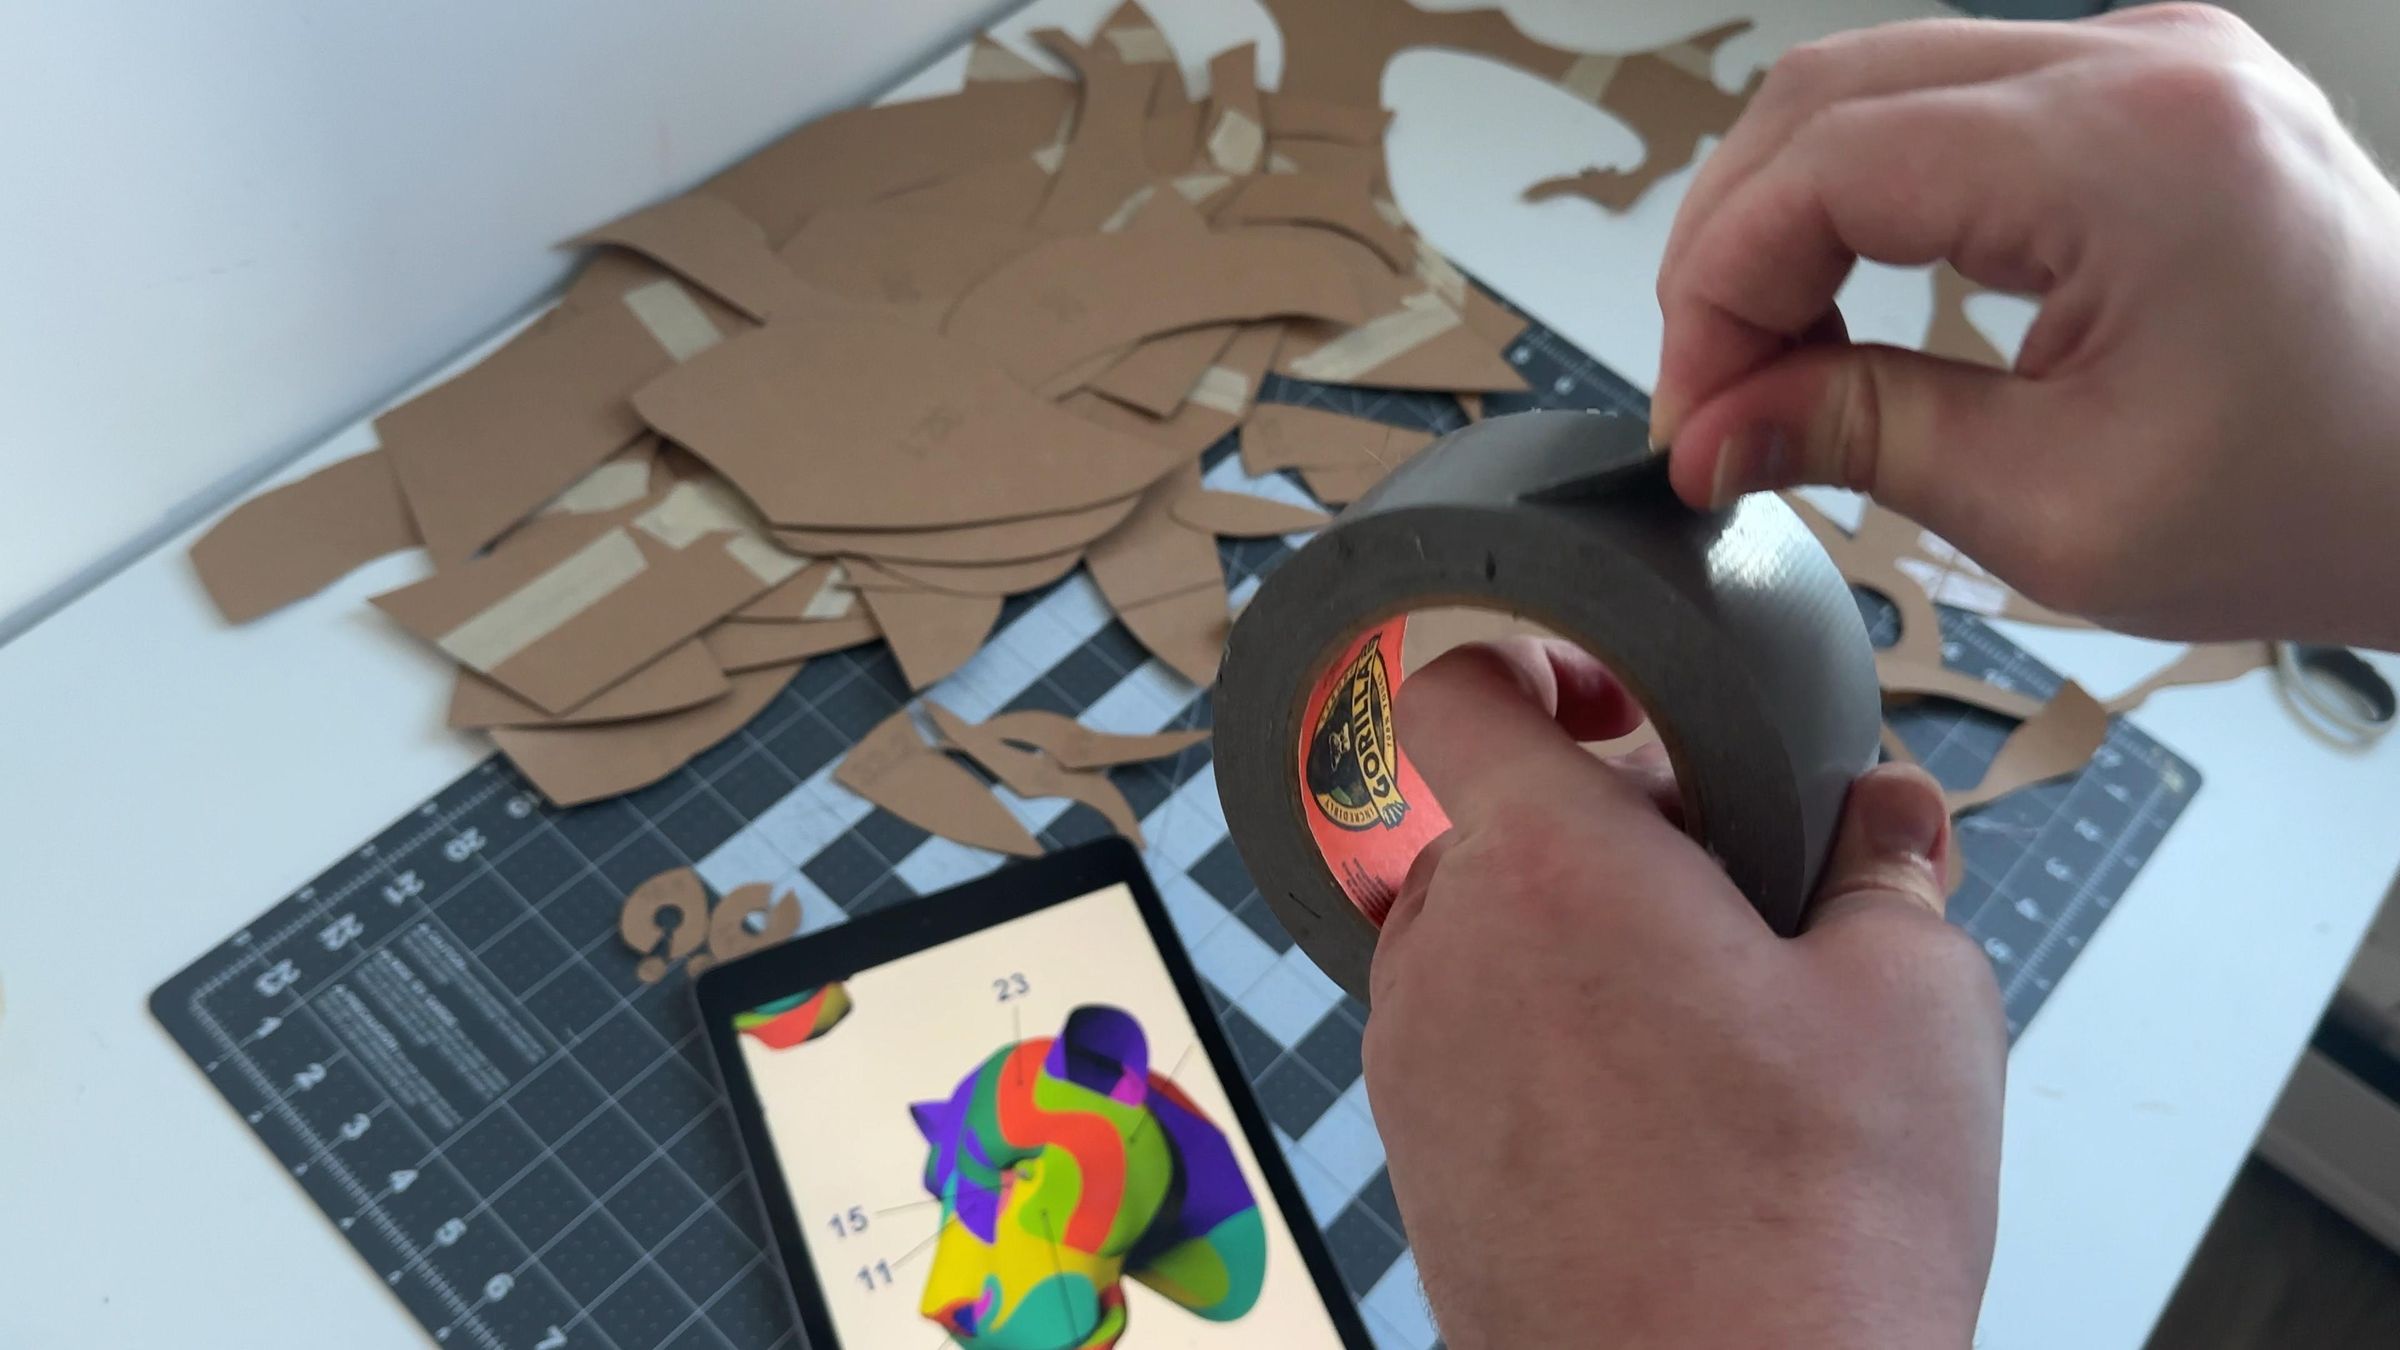
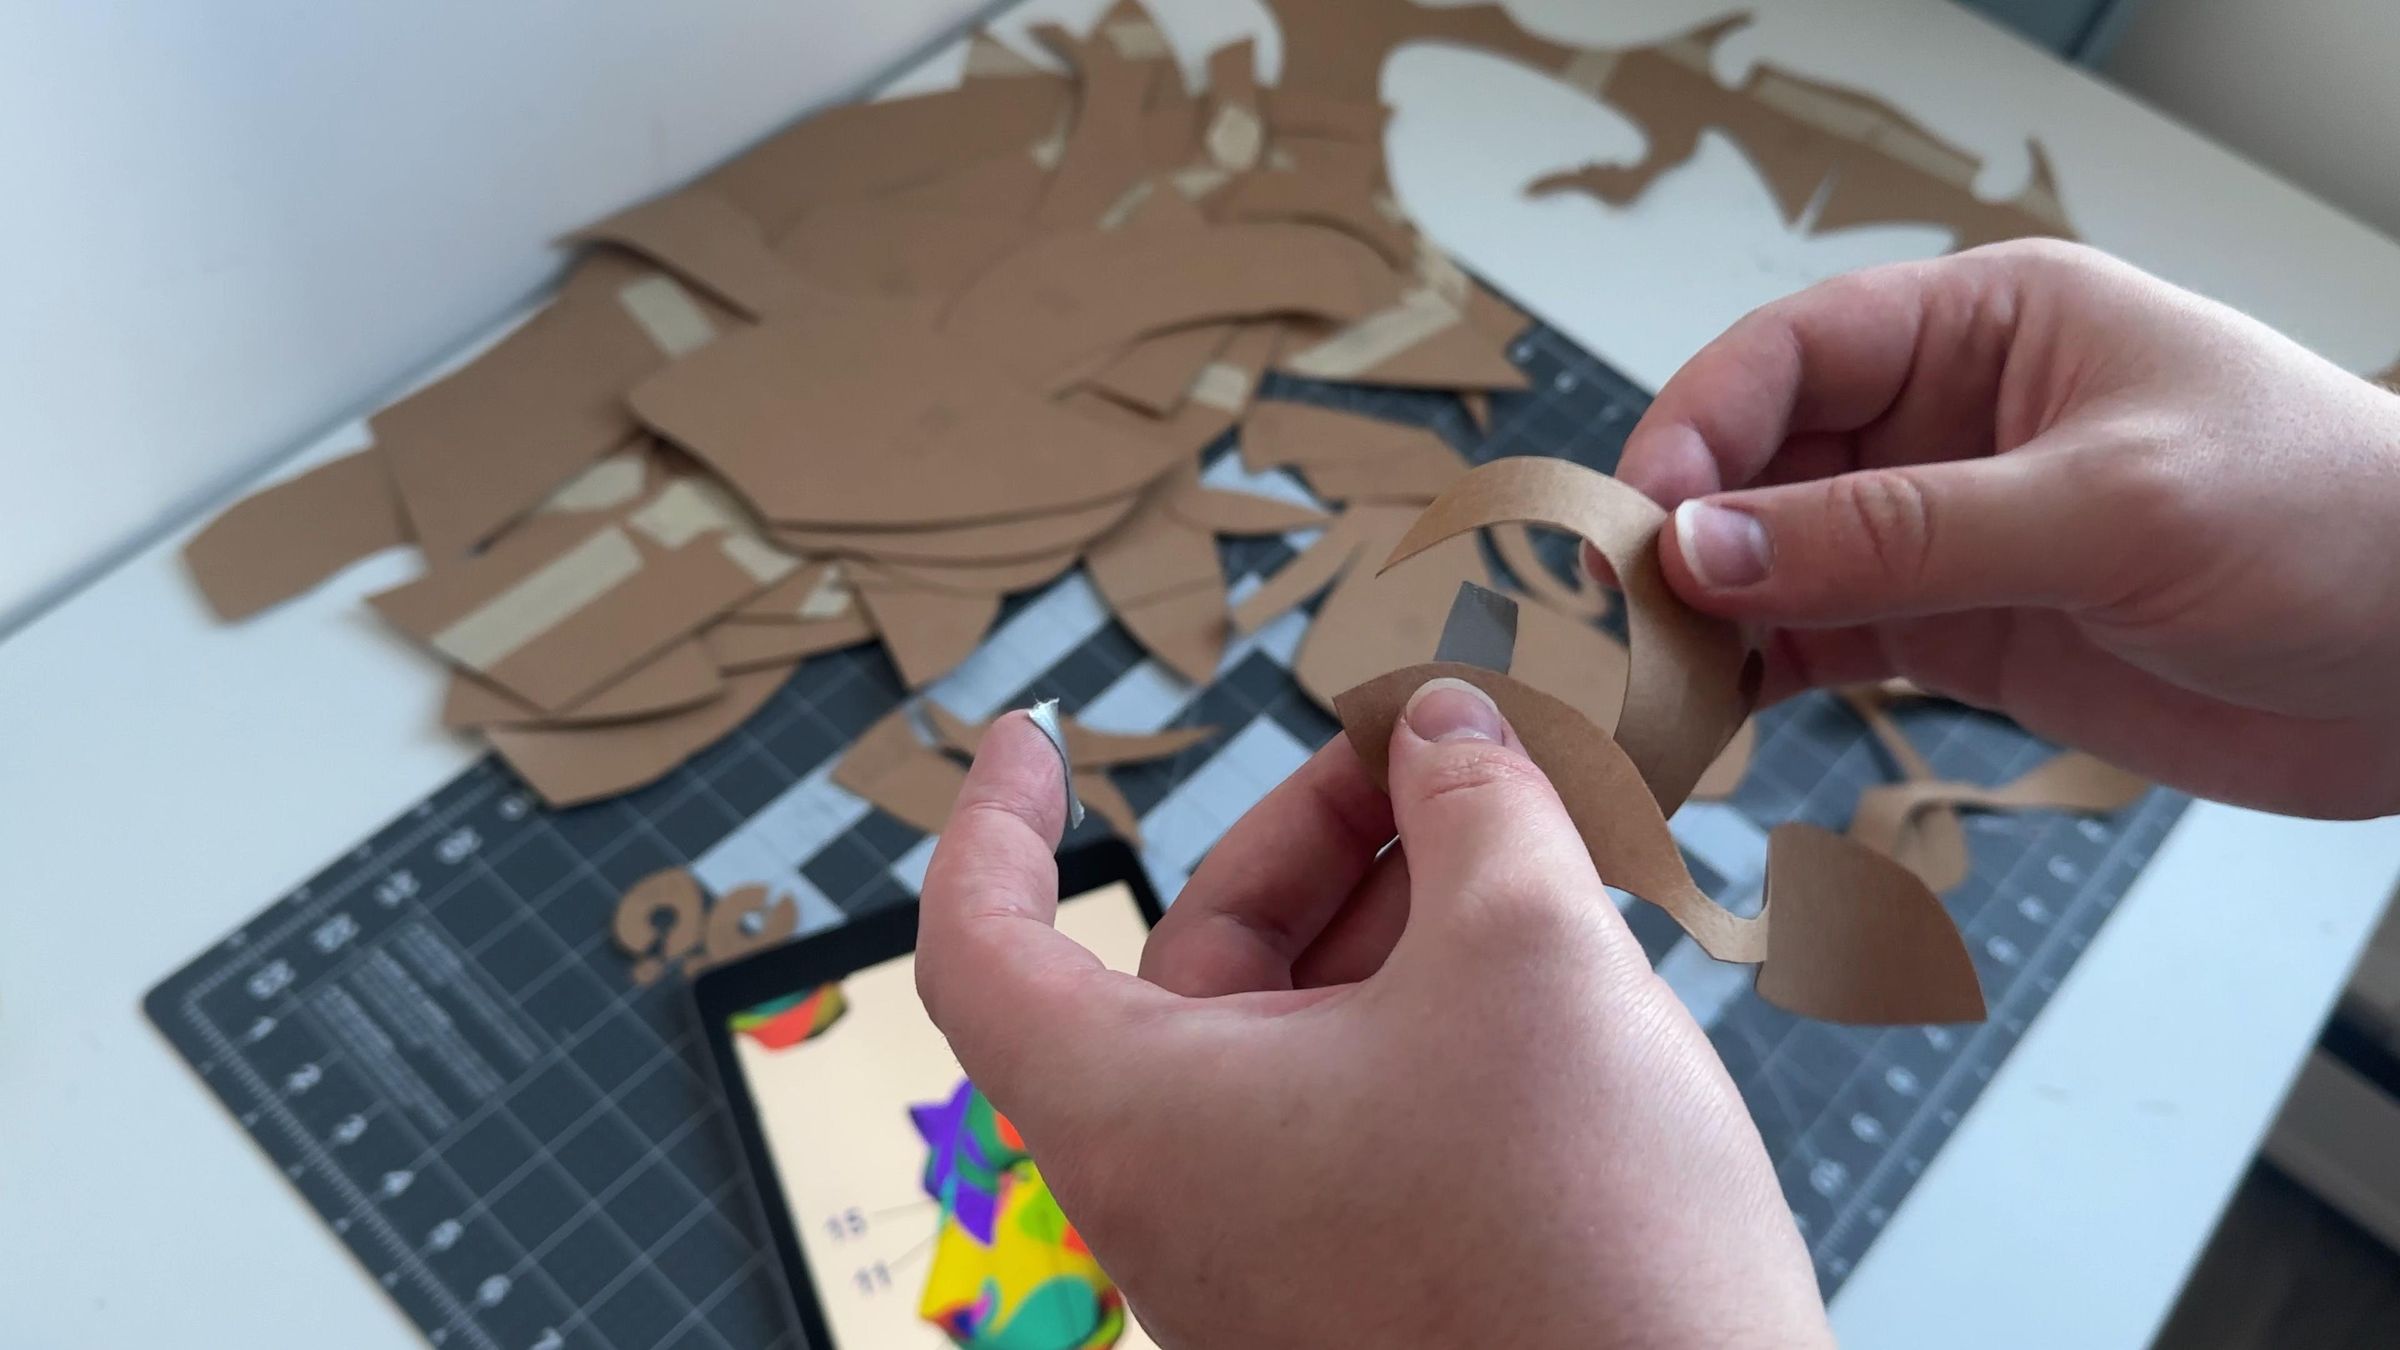
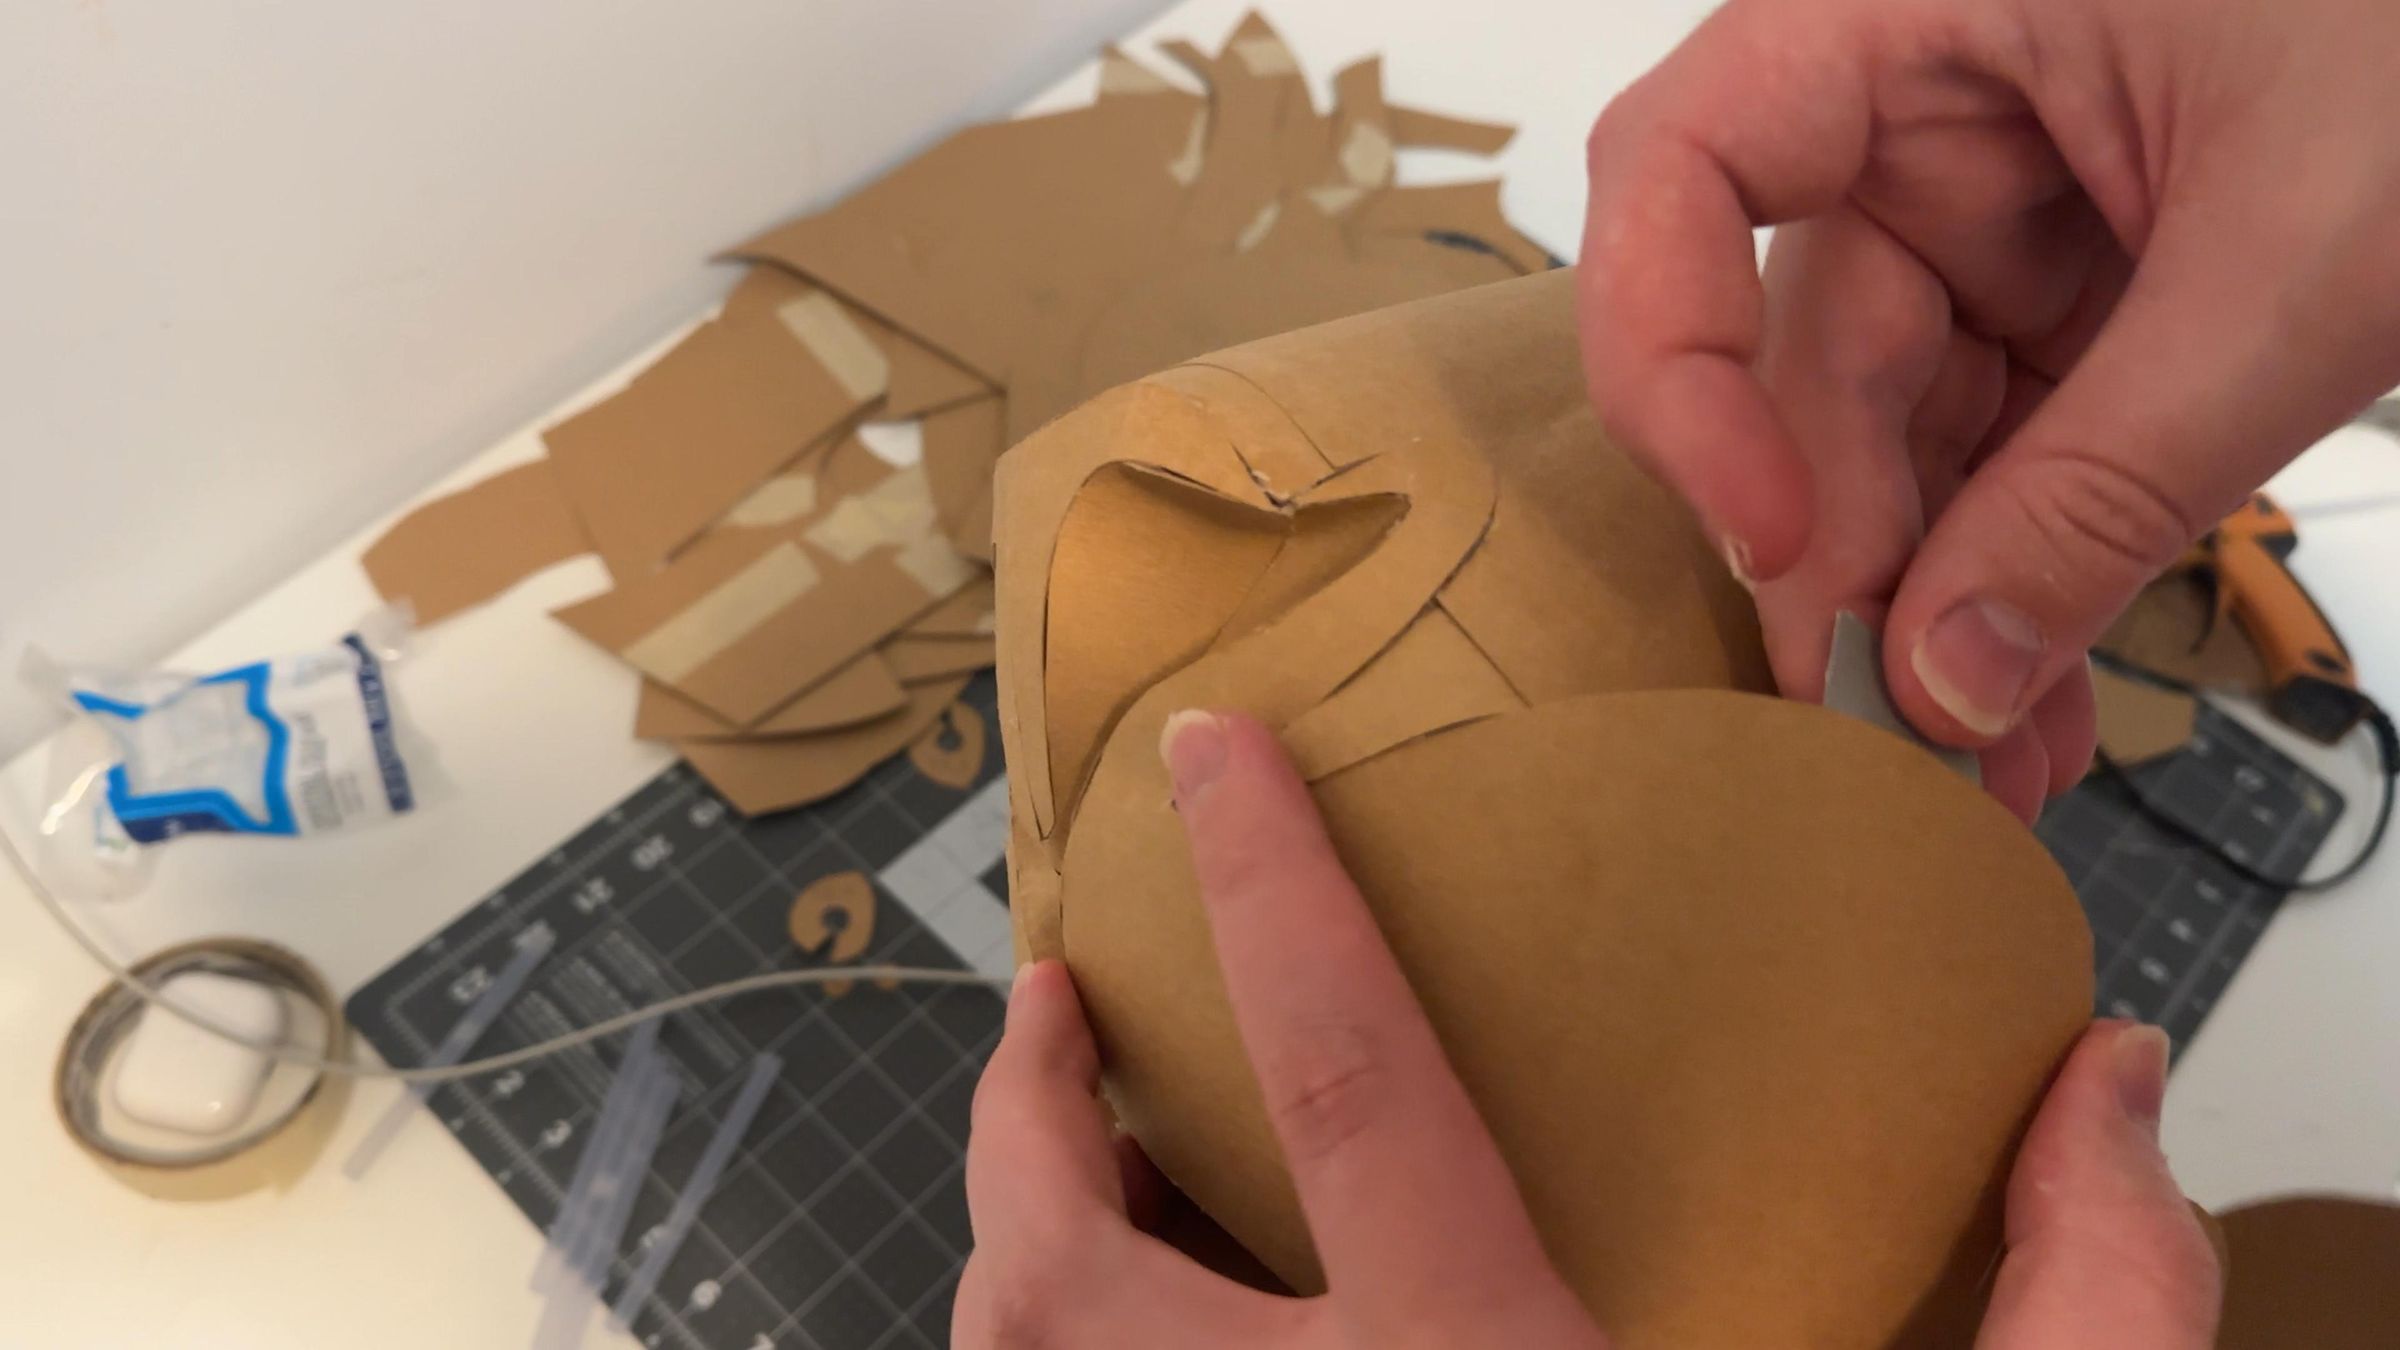
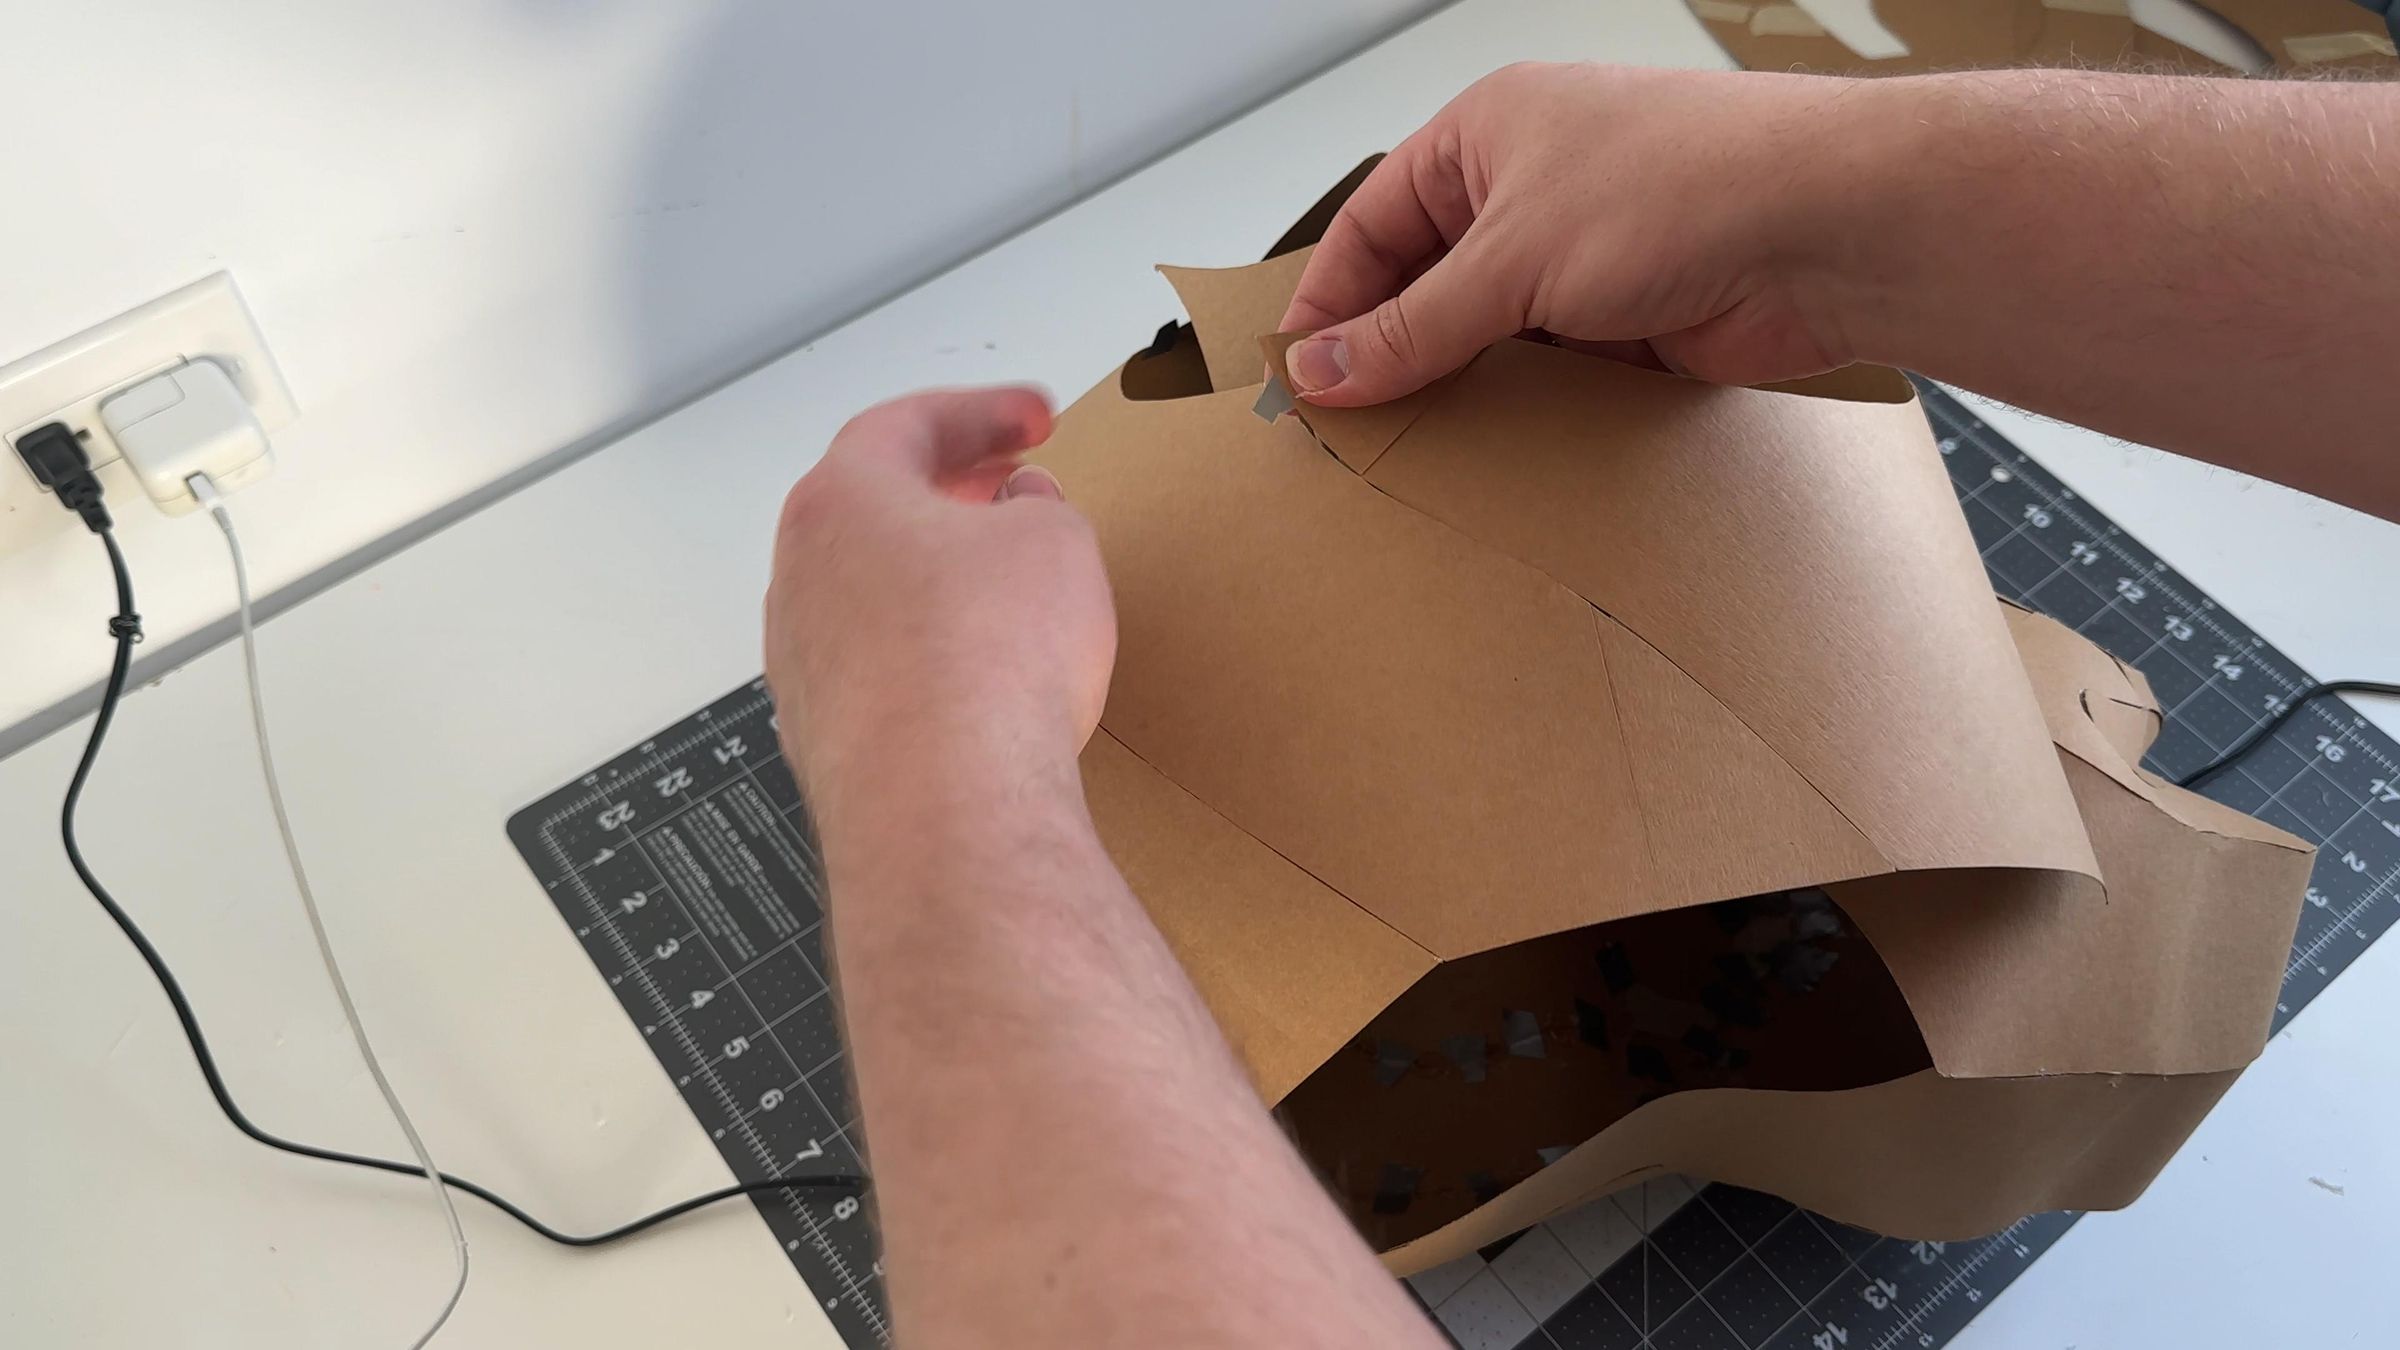
At this stage, you need to align the seams as precisely as possible and adjust everything. Cut your tape into small pieces and use it to secure the pieces.
Step 7: Secure With Hot Glue
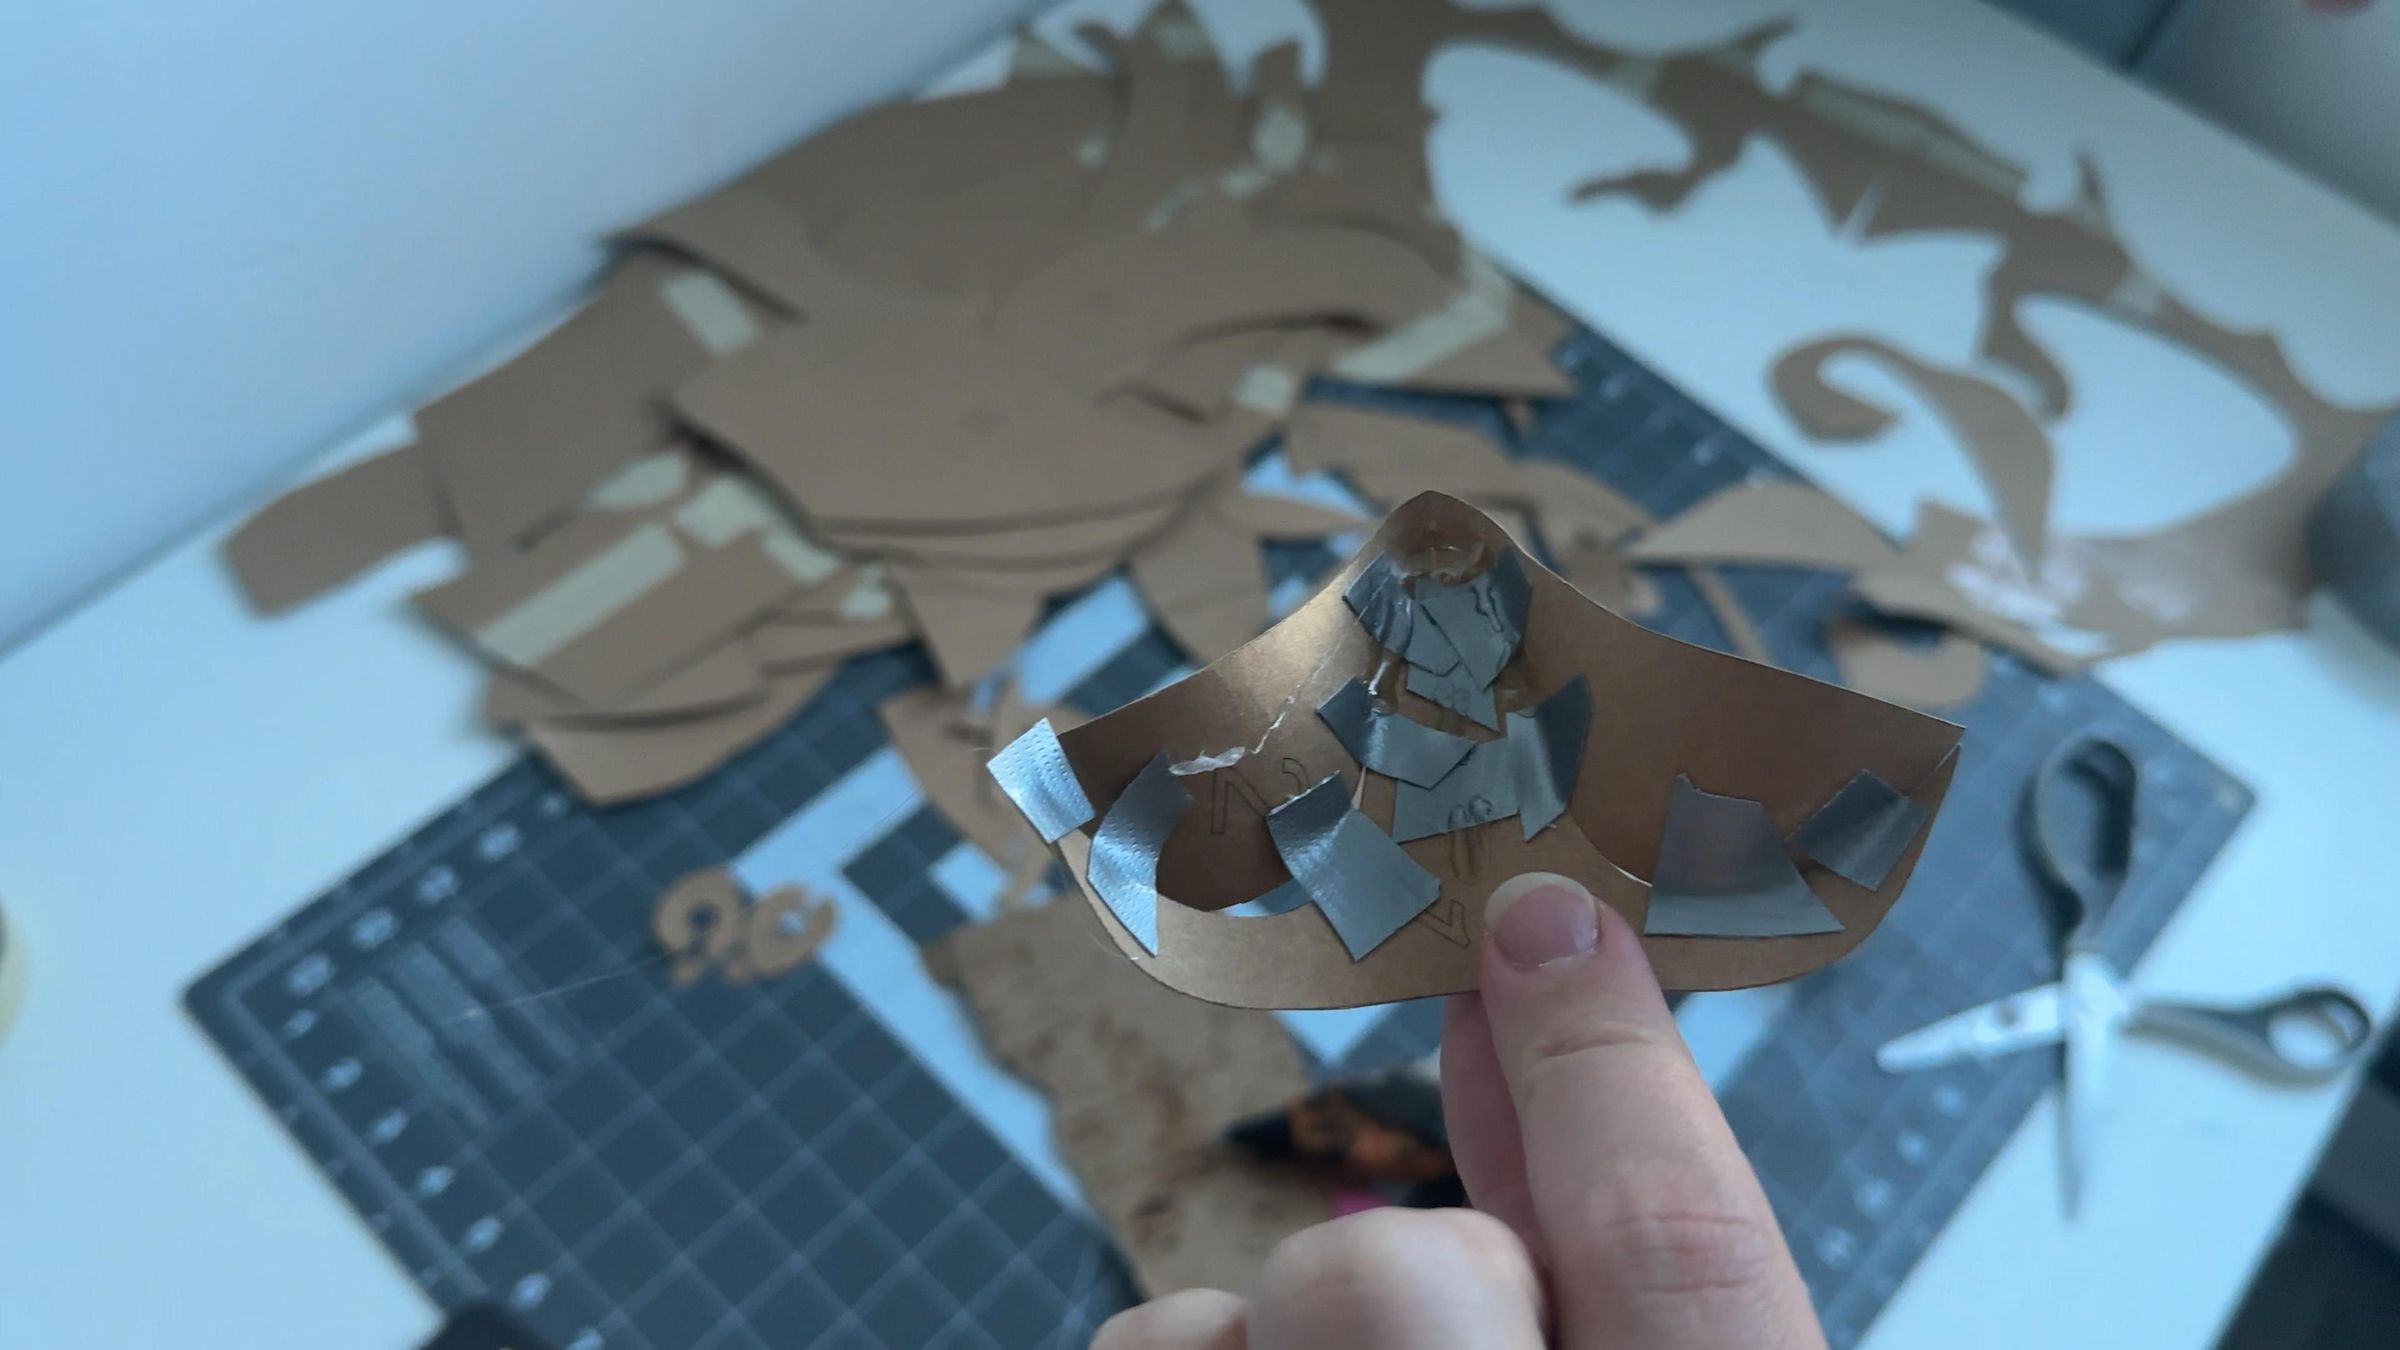
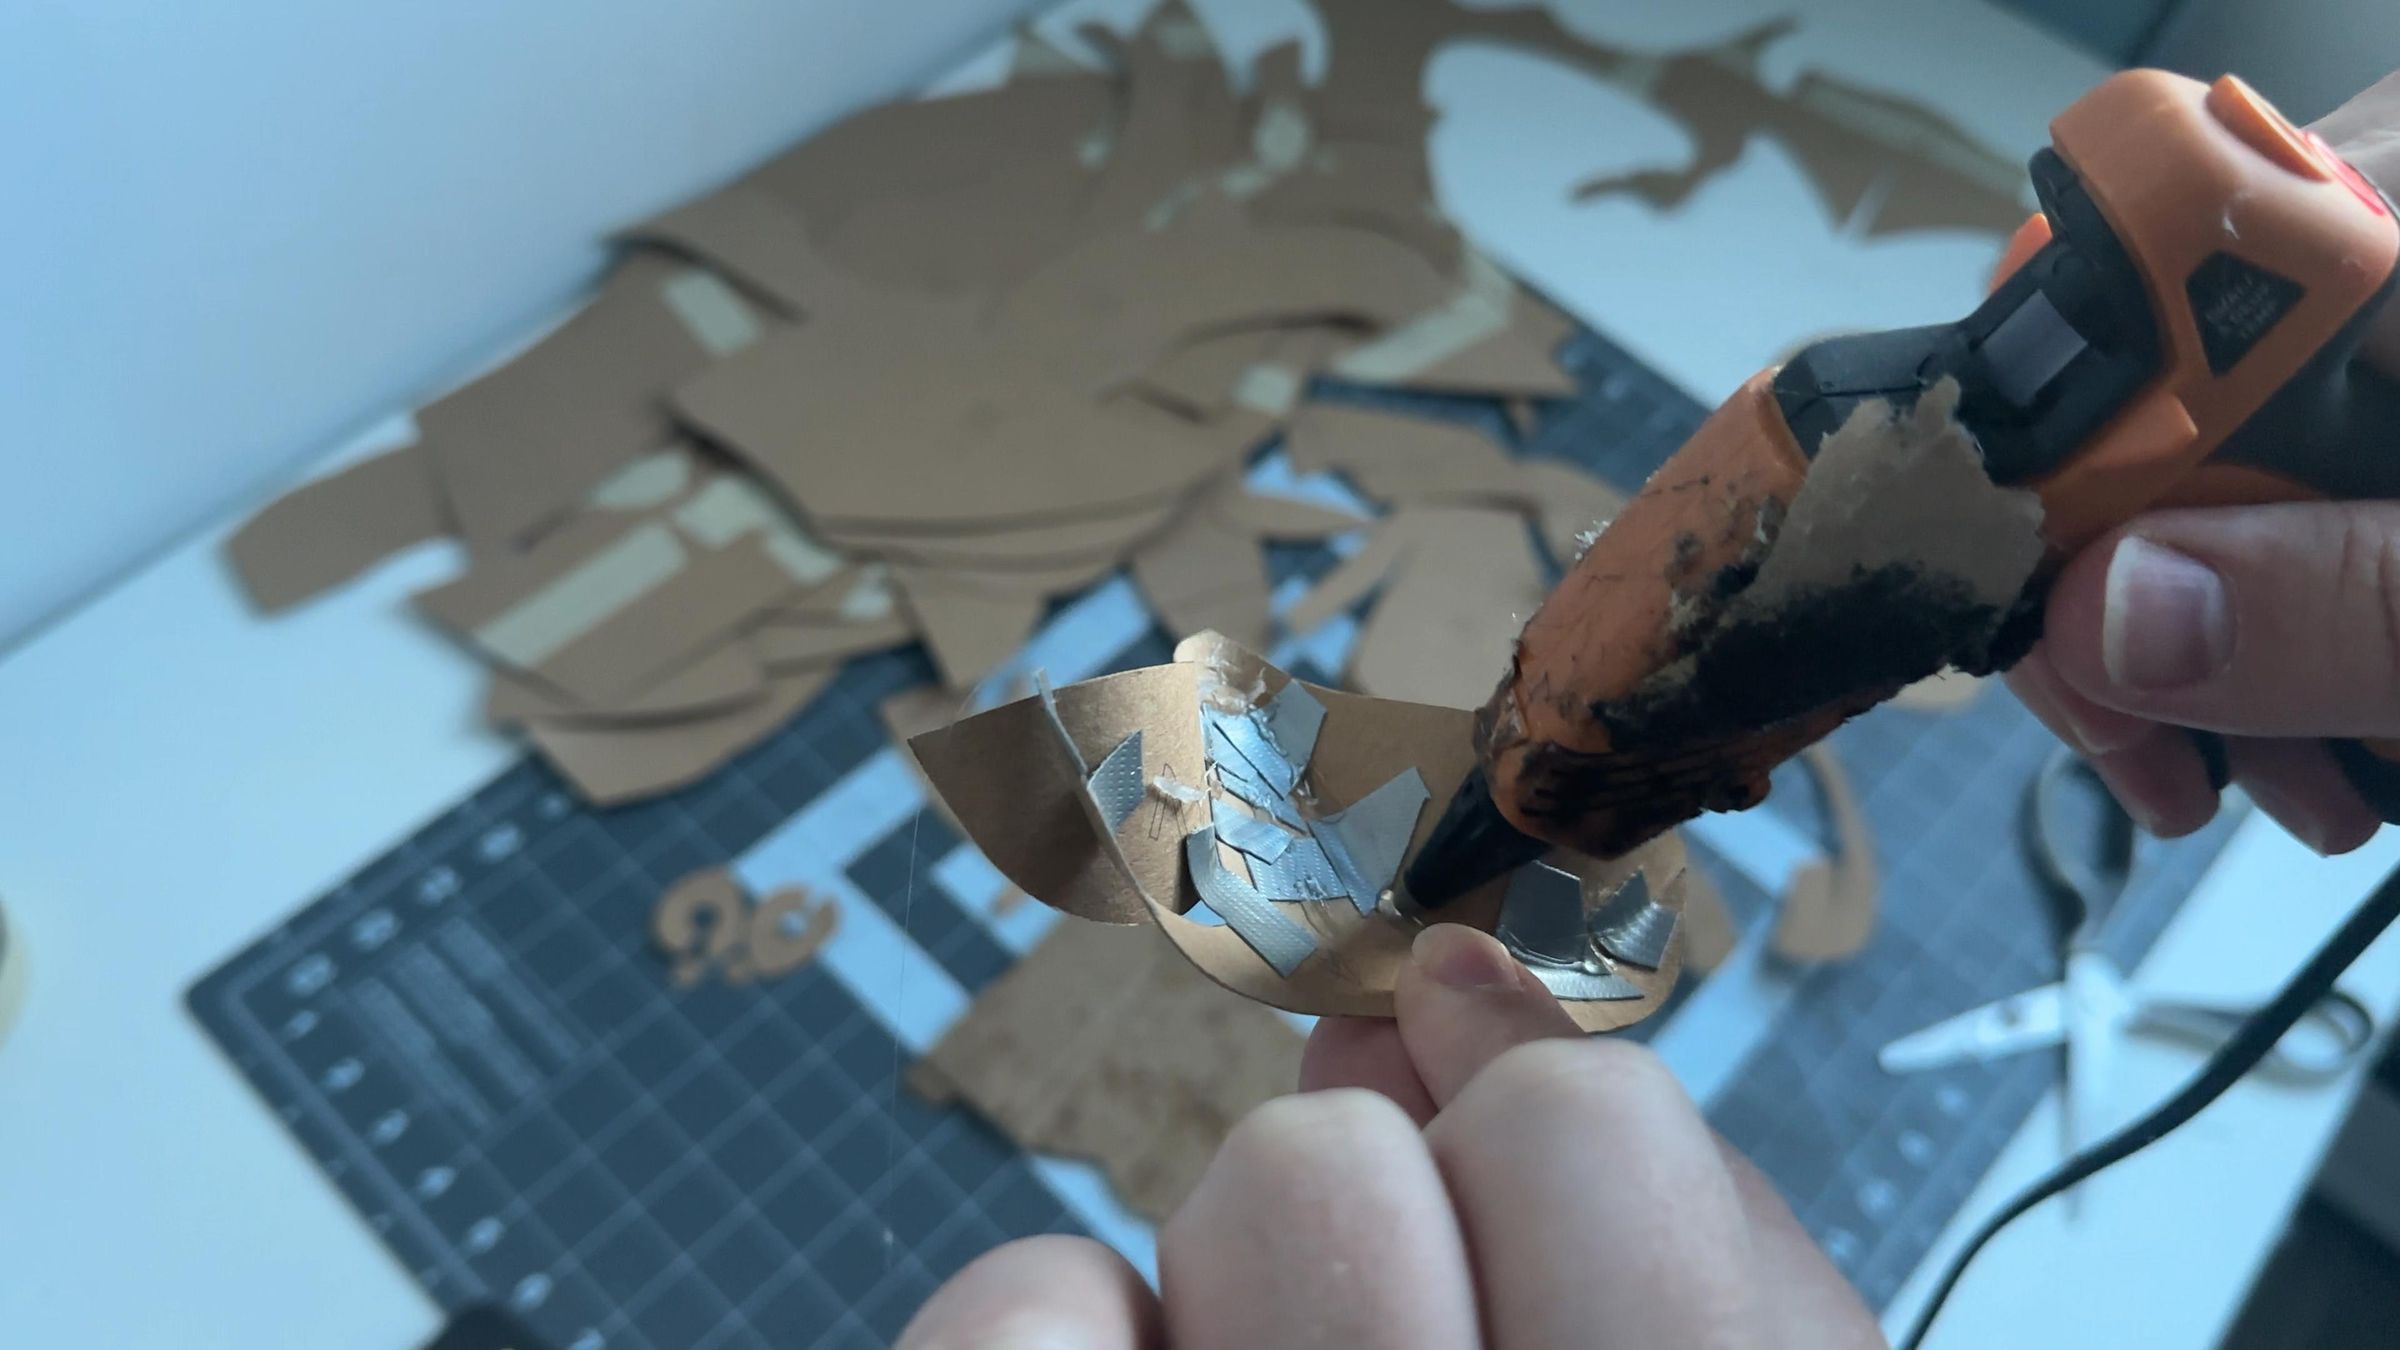
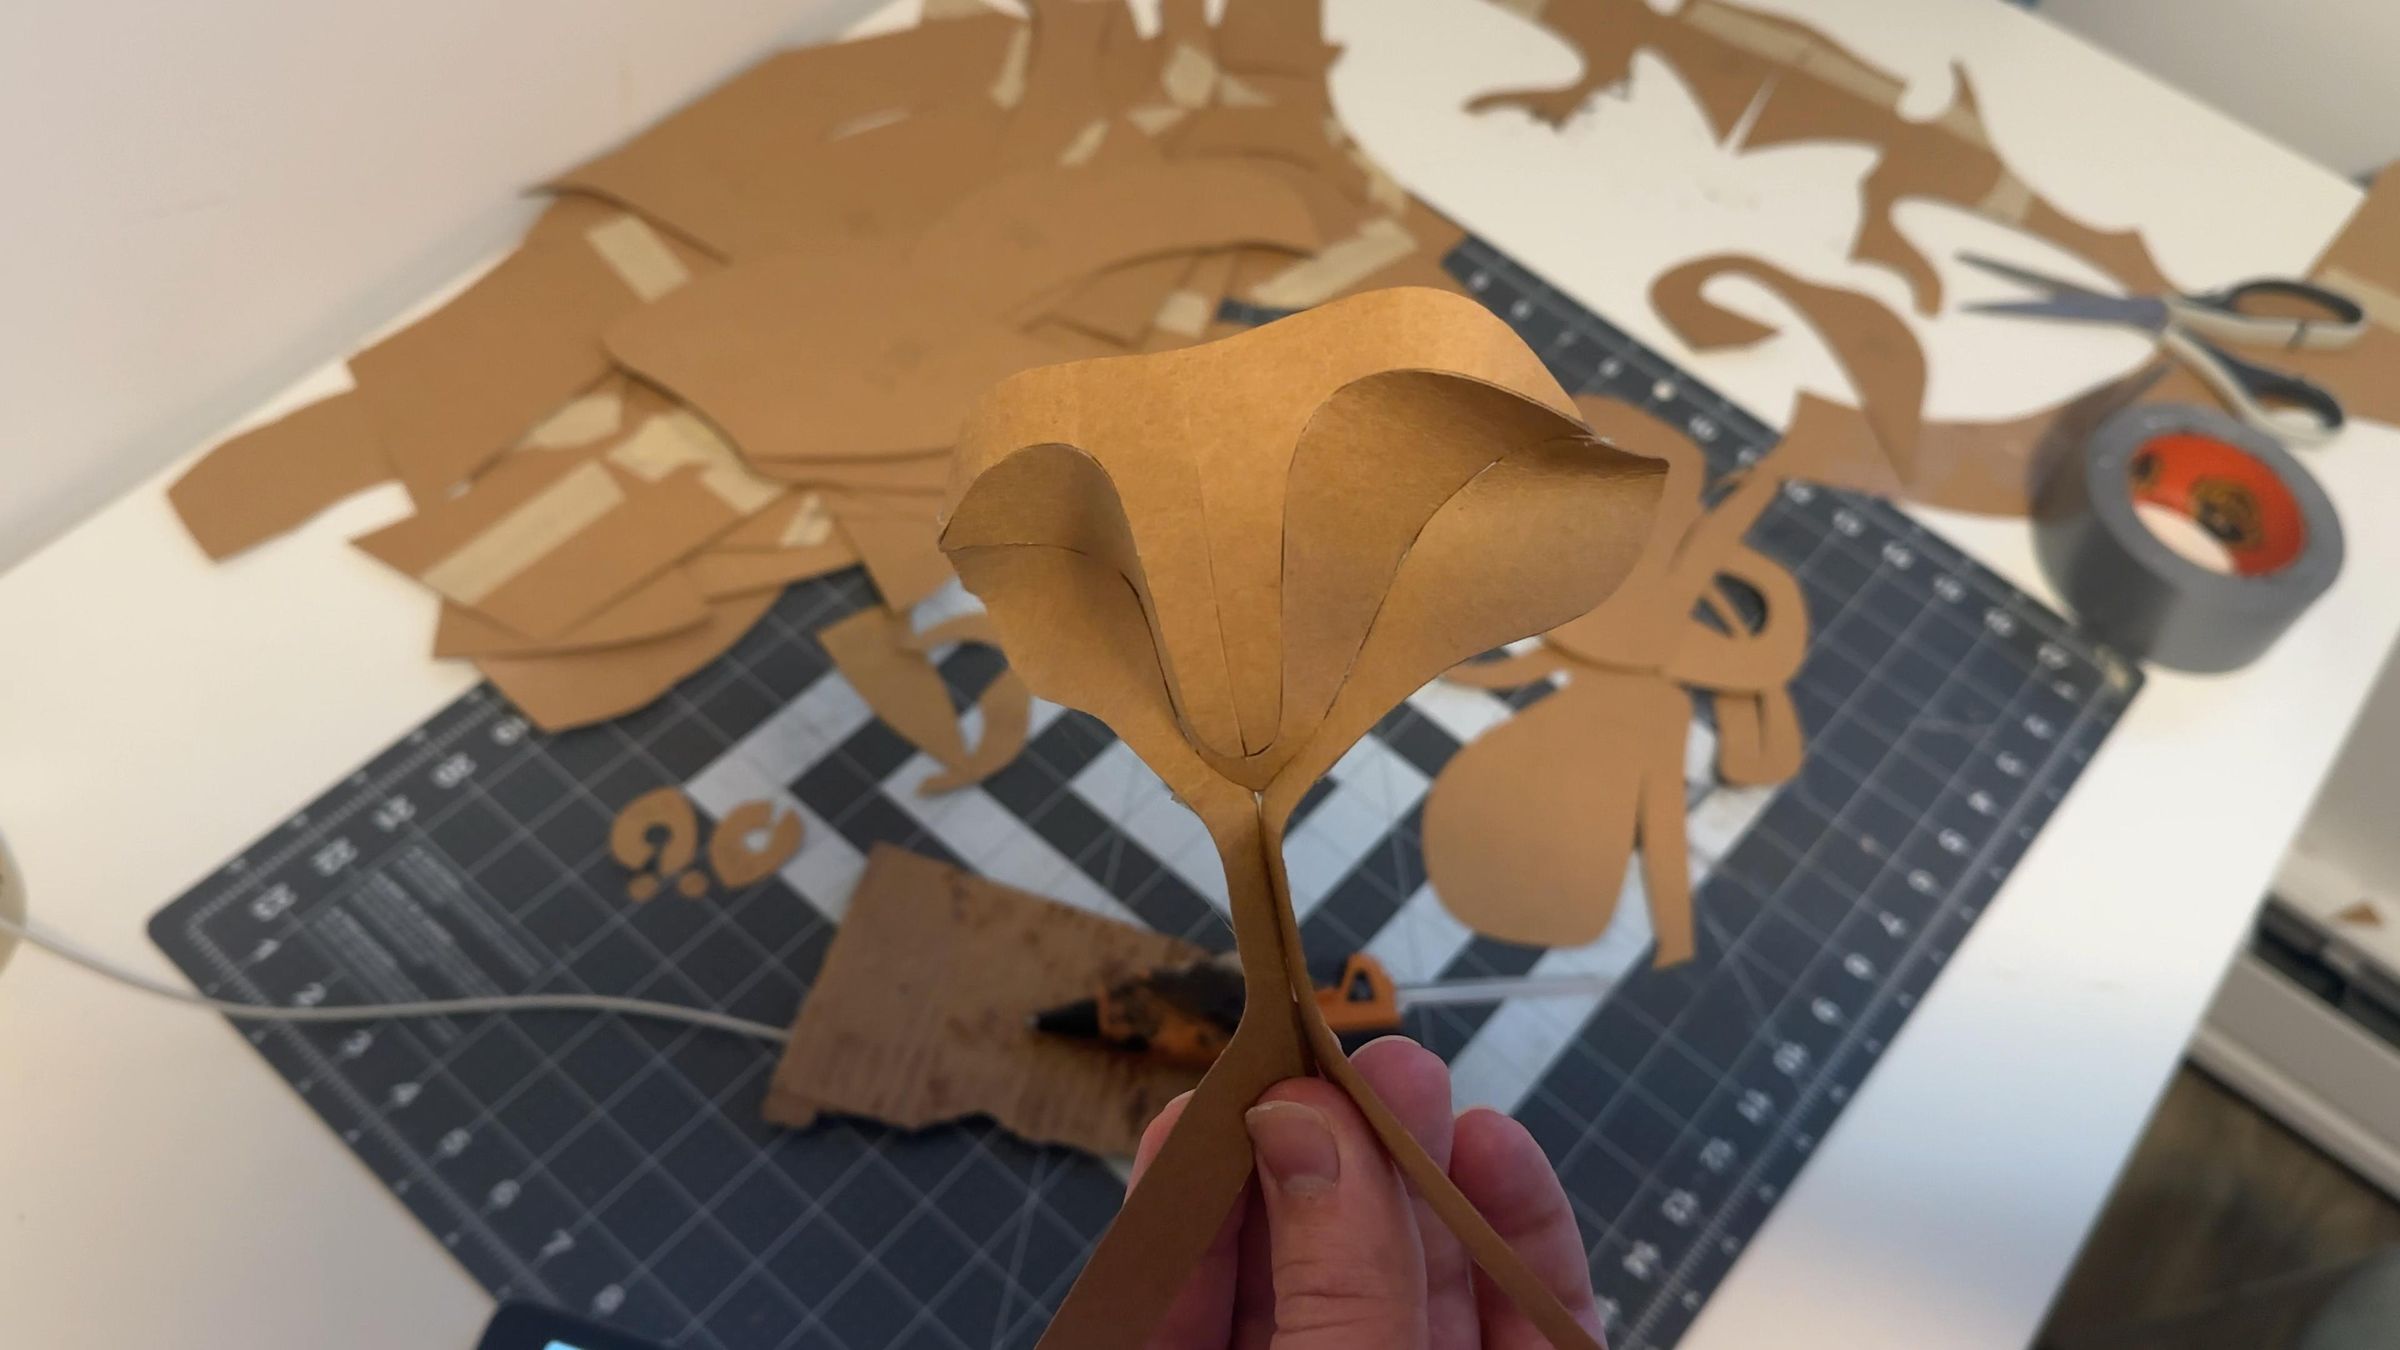
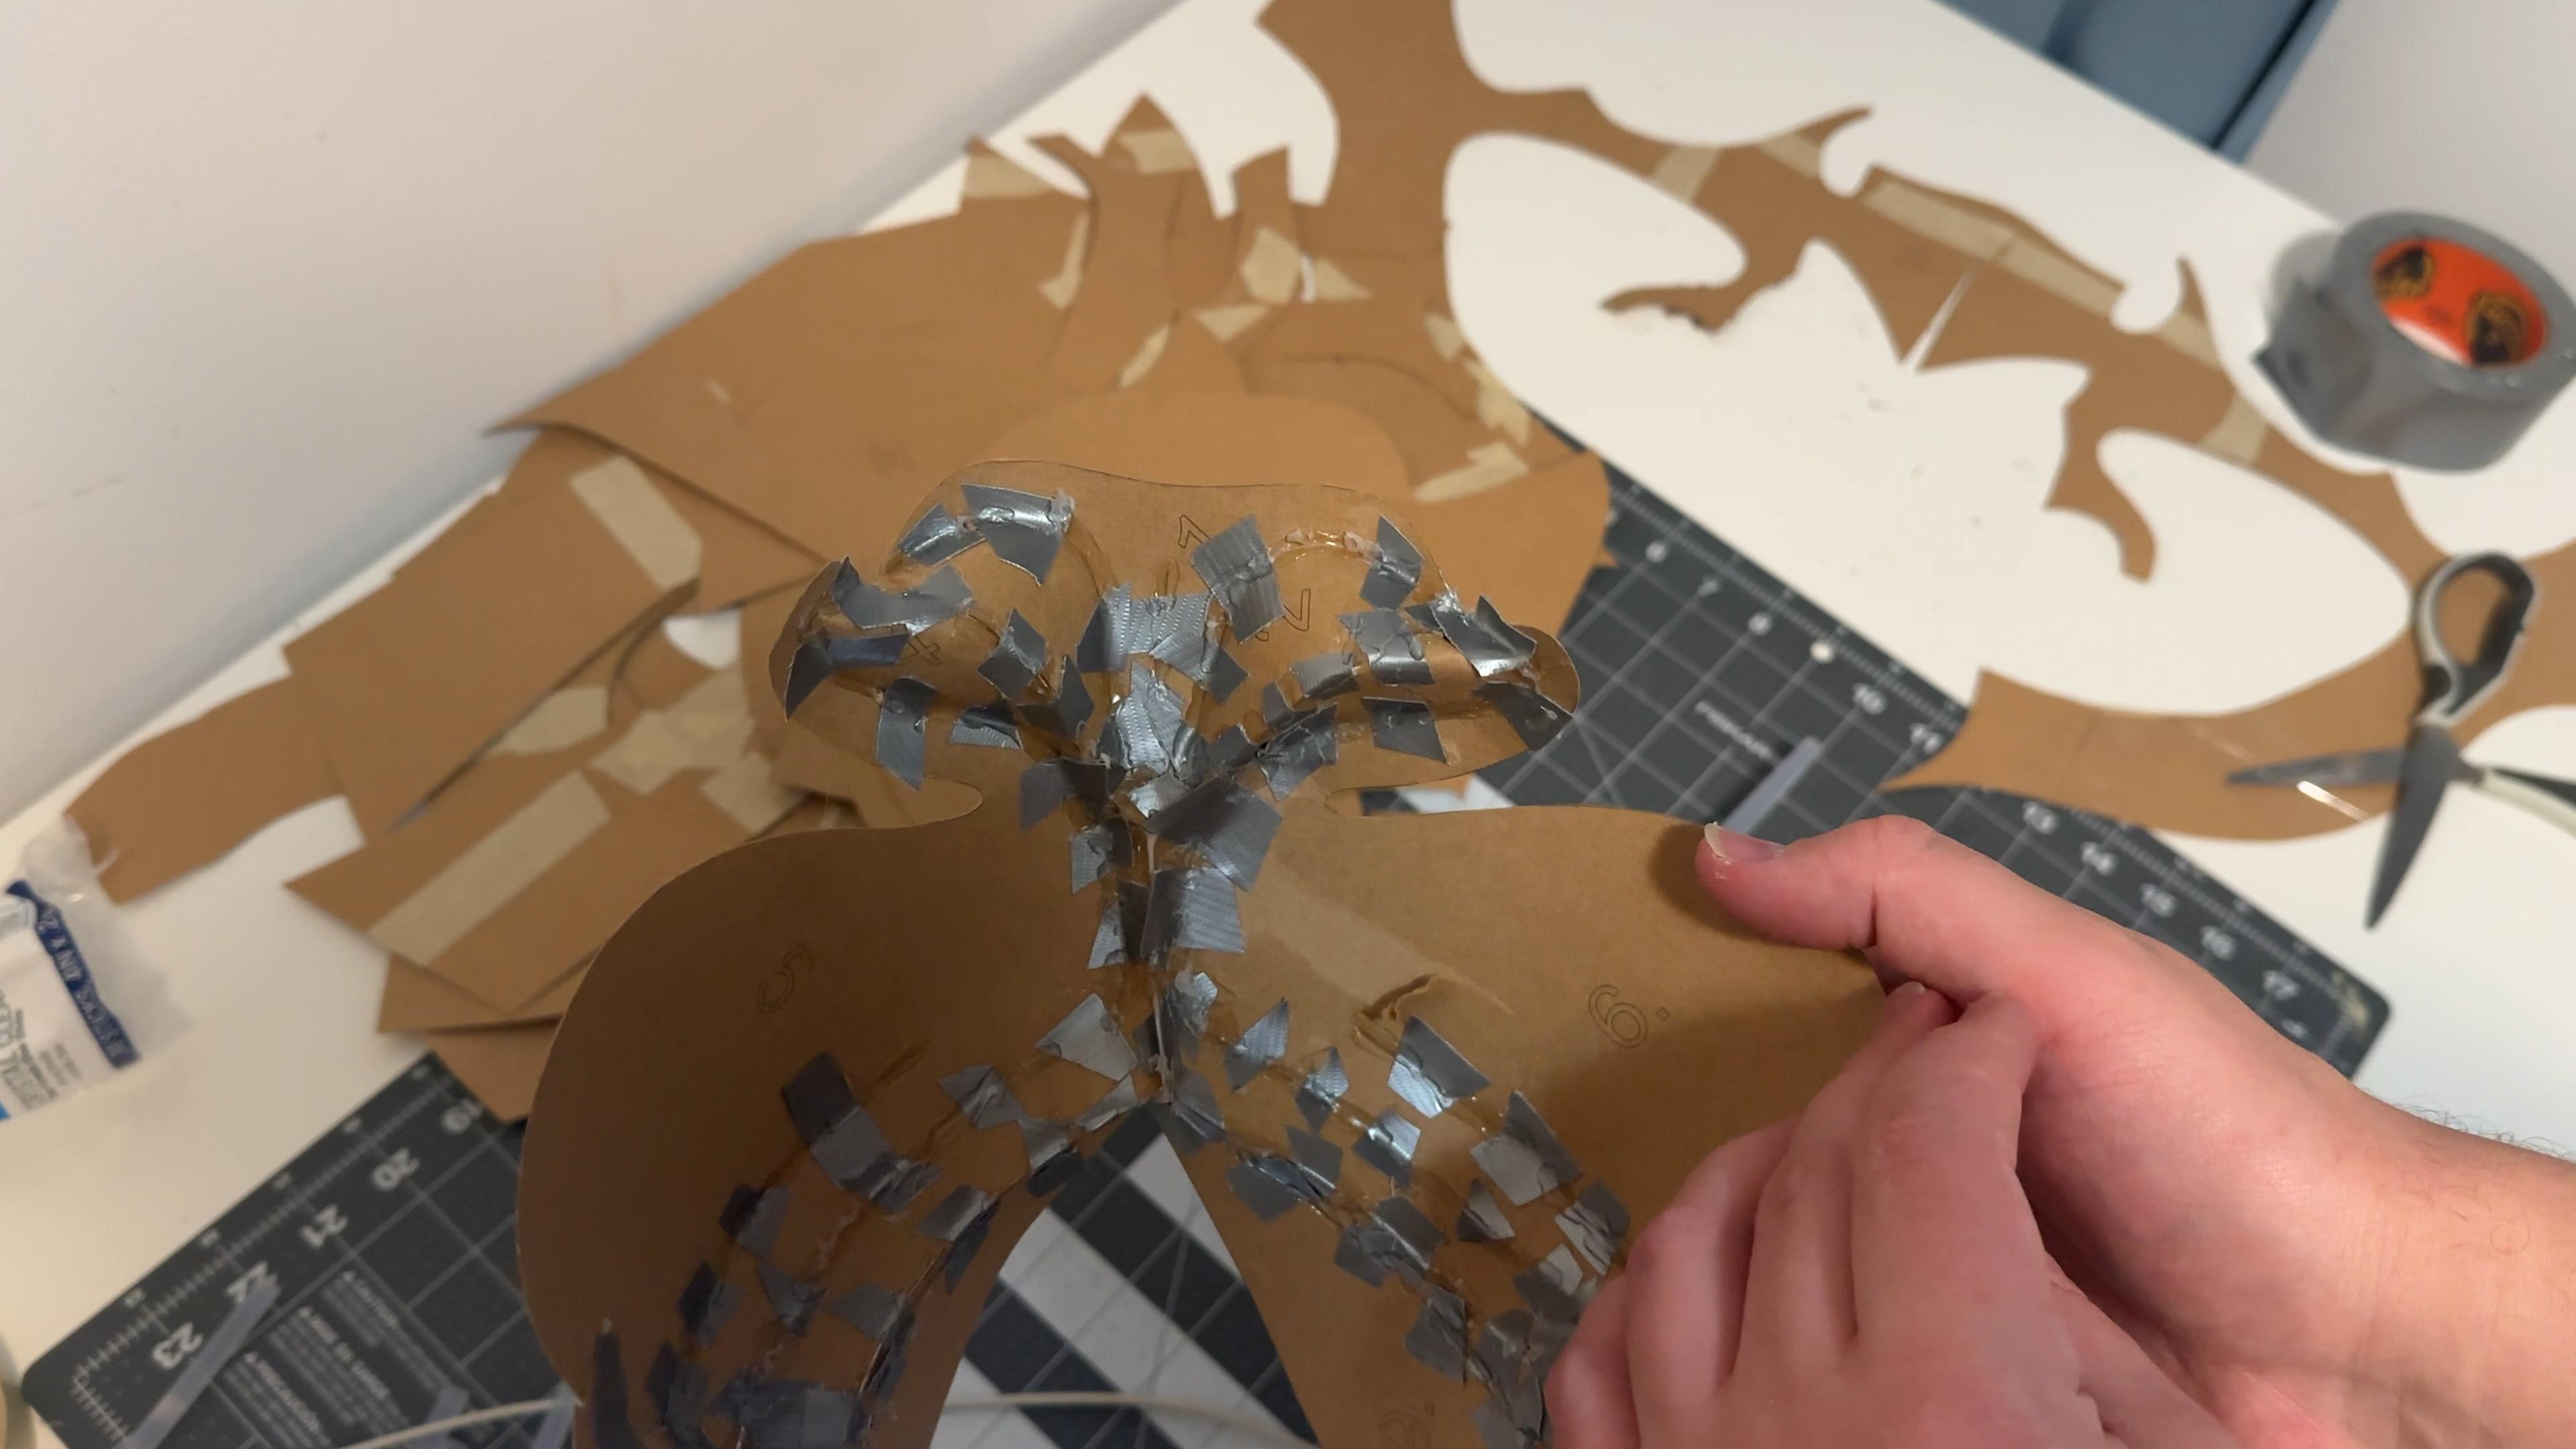
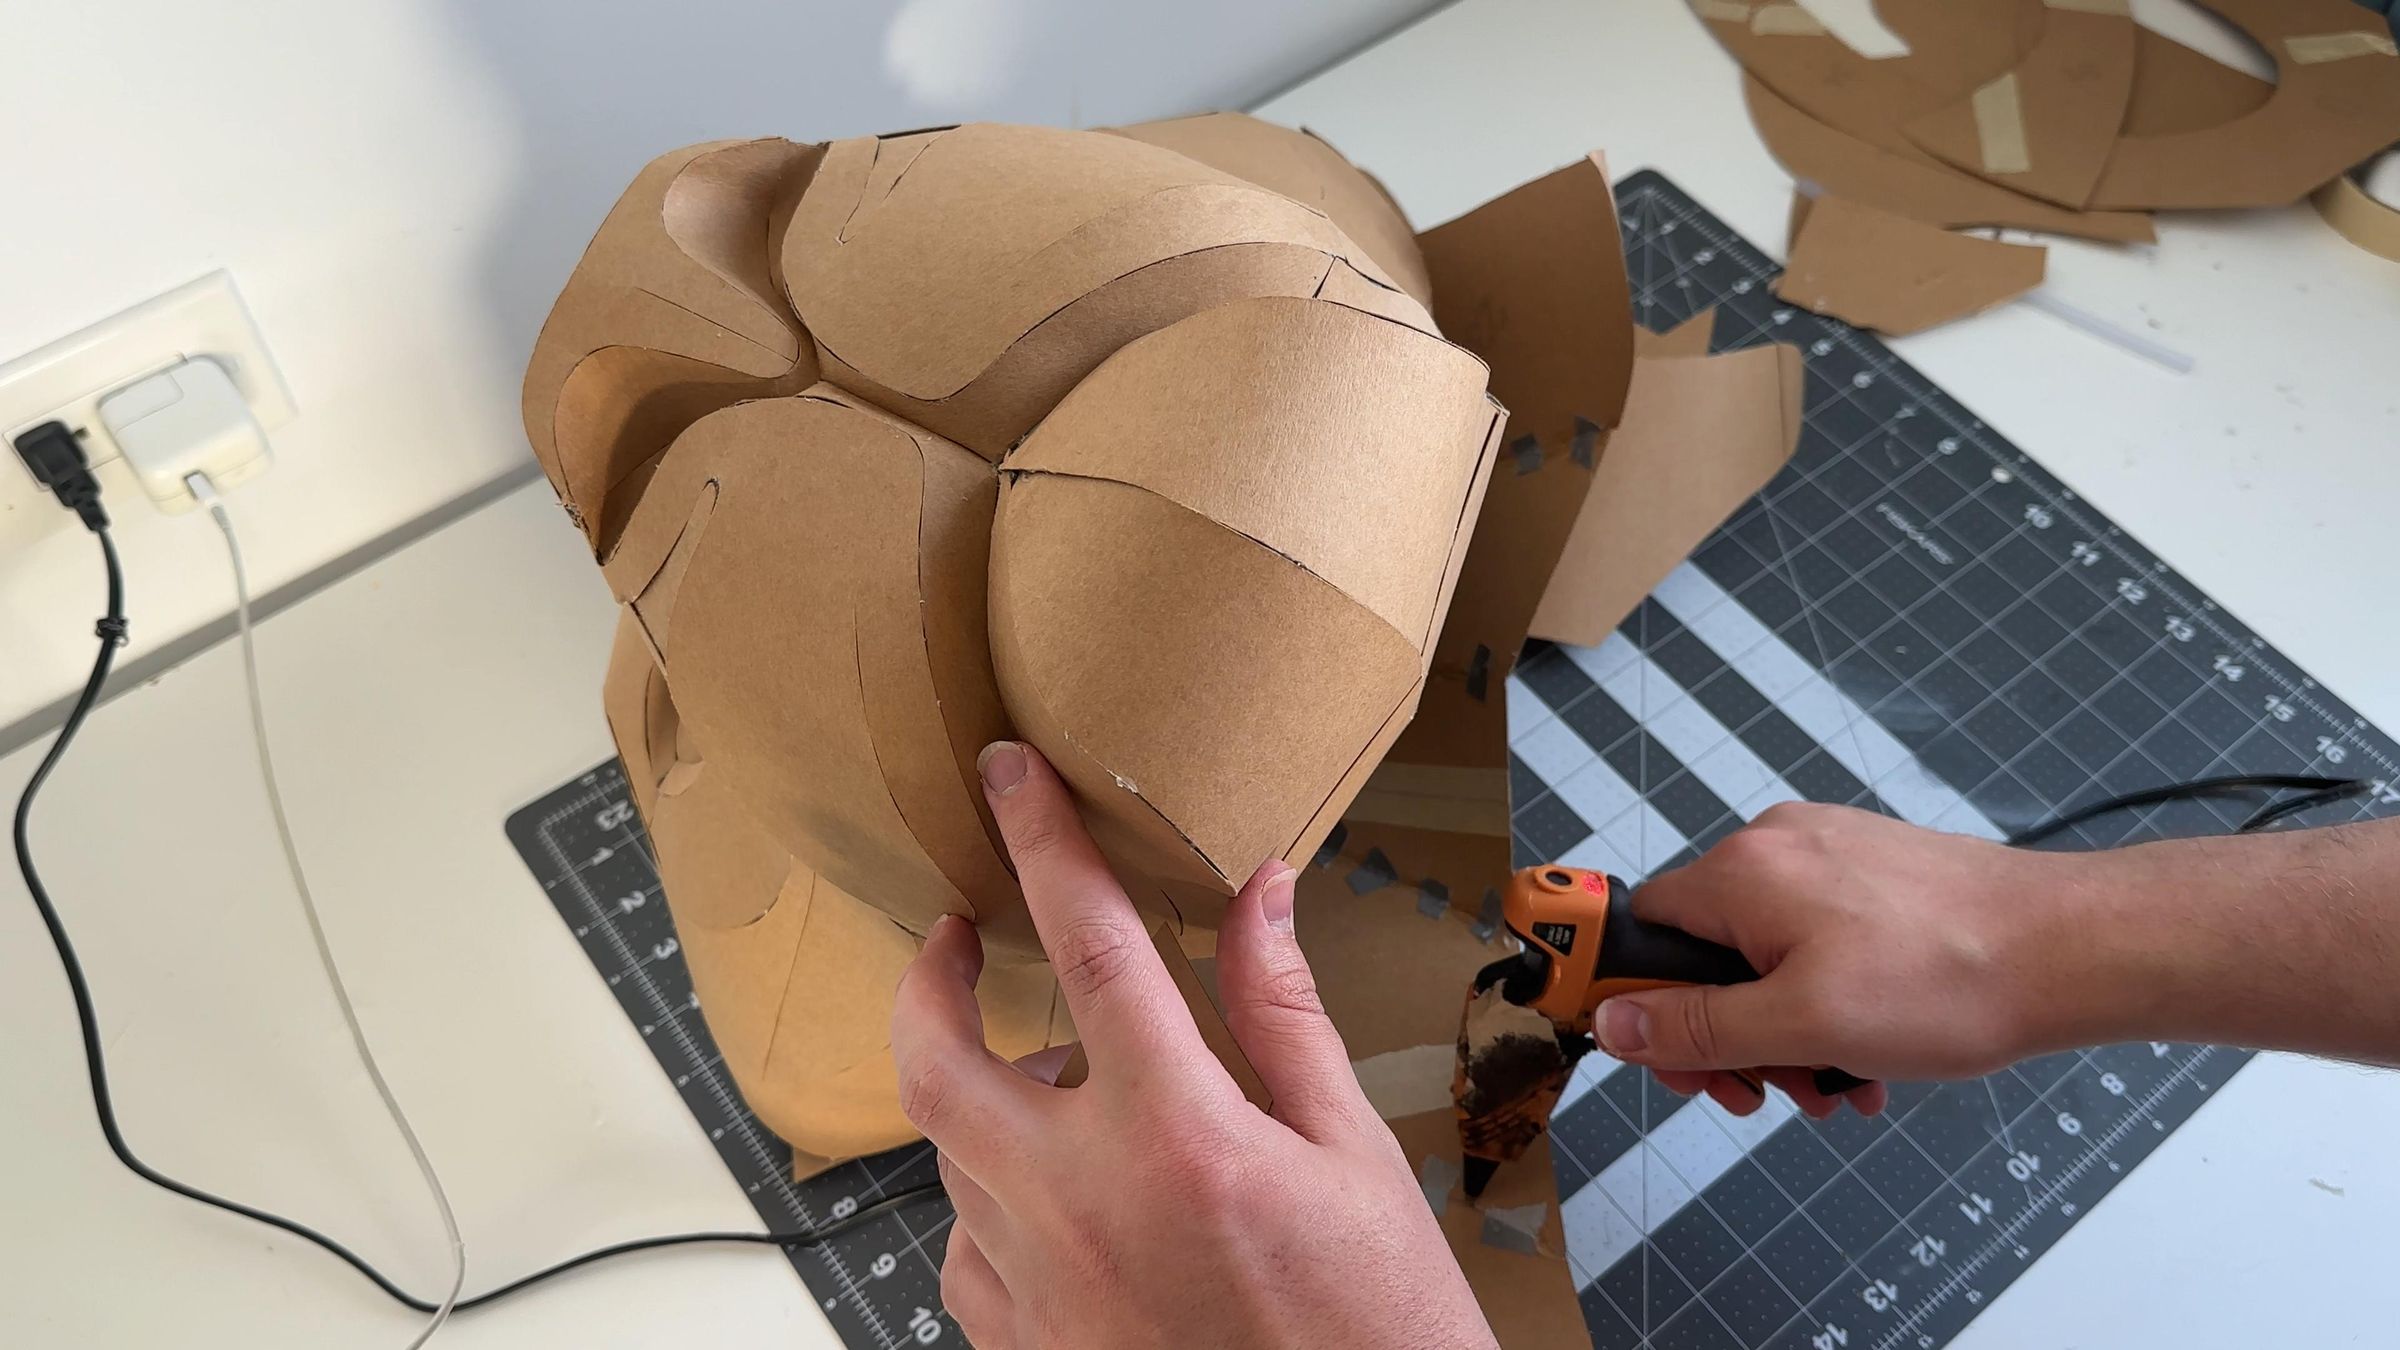
After each subsequent piece attached with tape, secure it with hot glue.
Step 8: The Finished Lioness Head
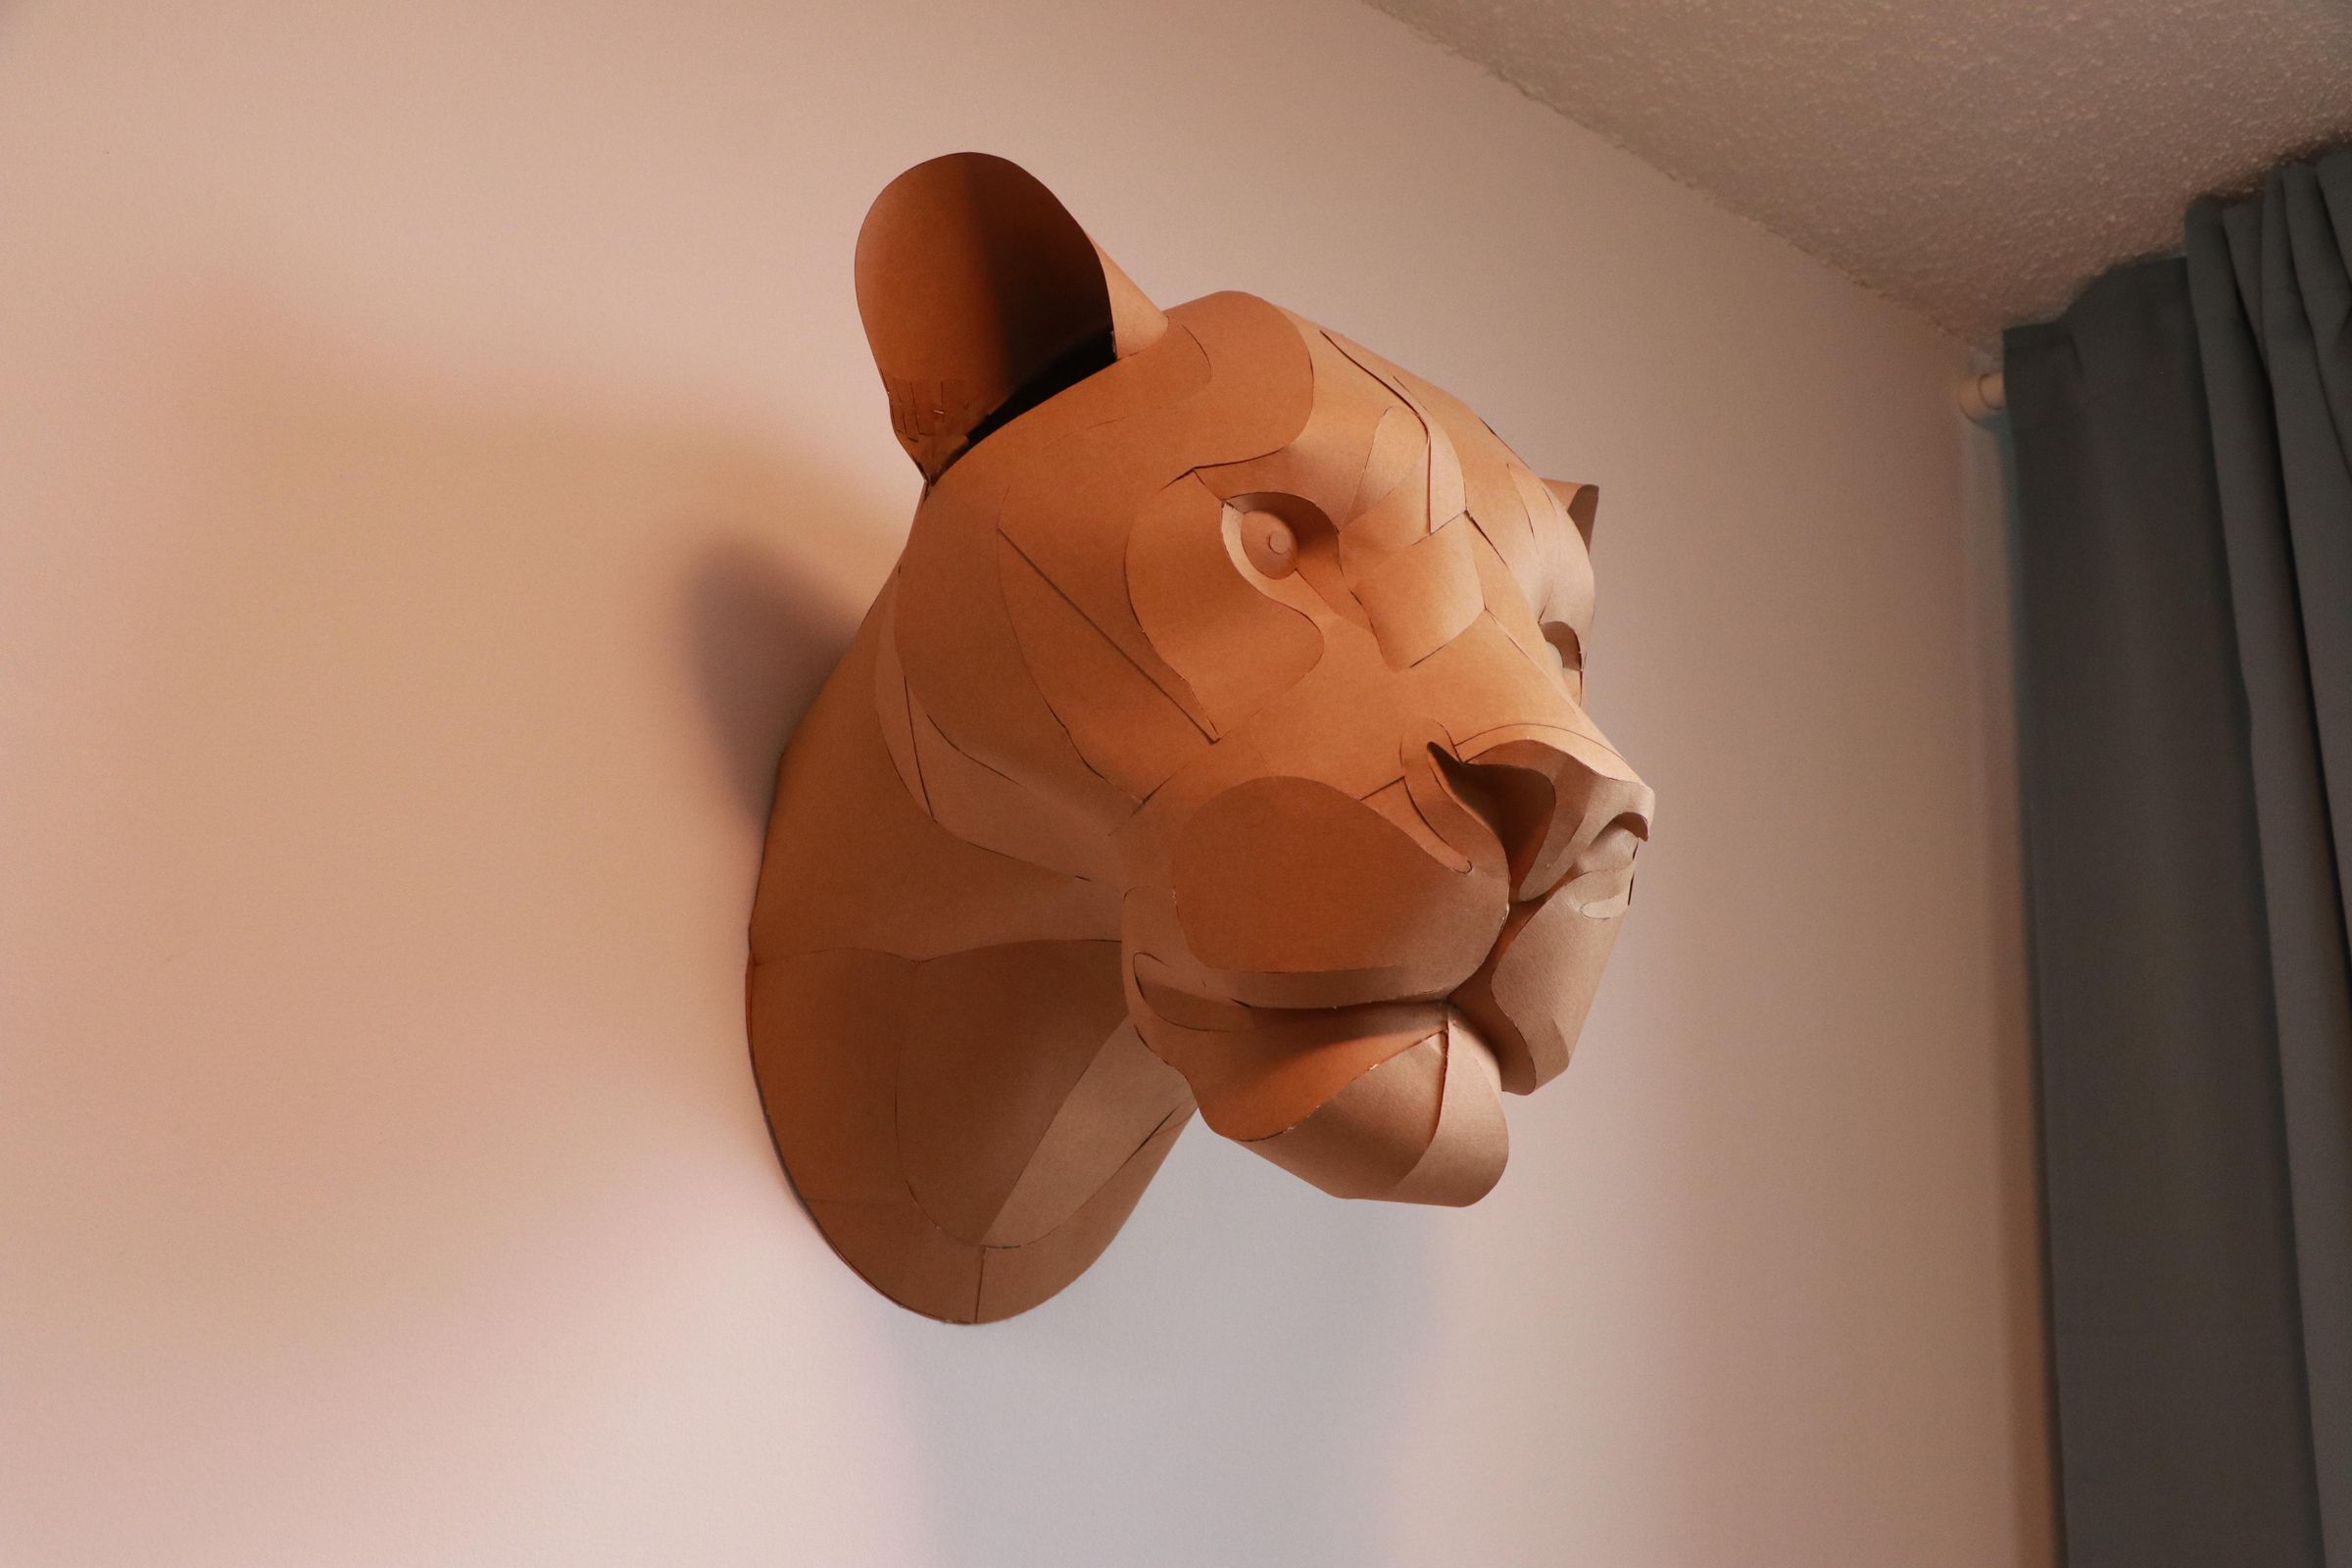
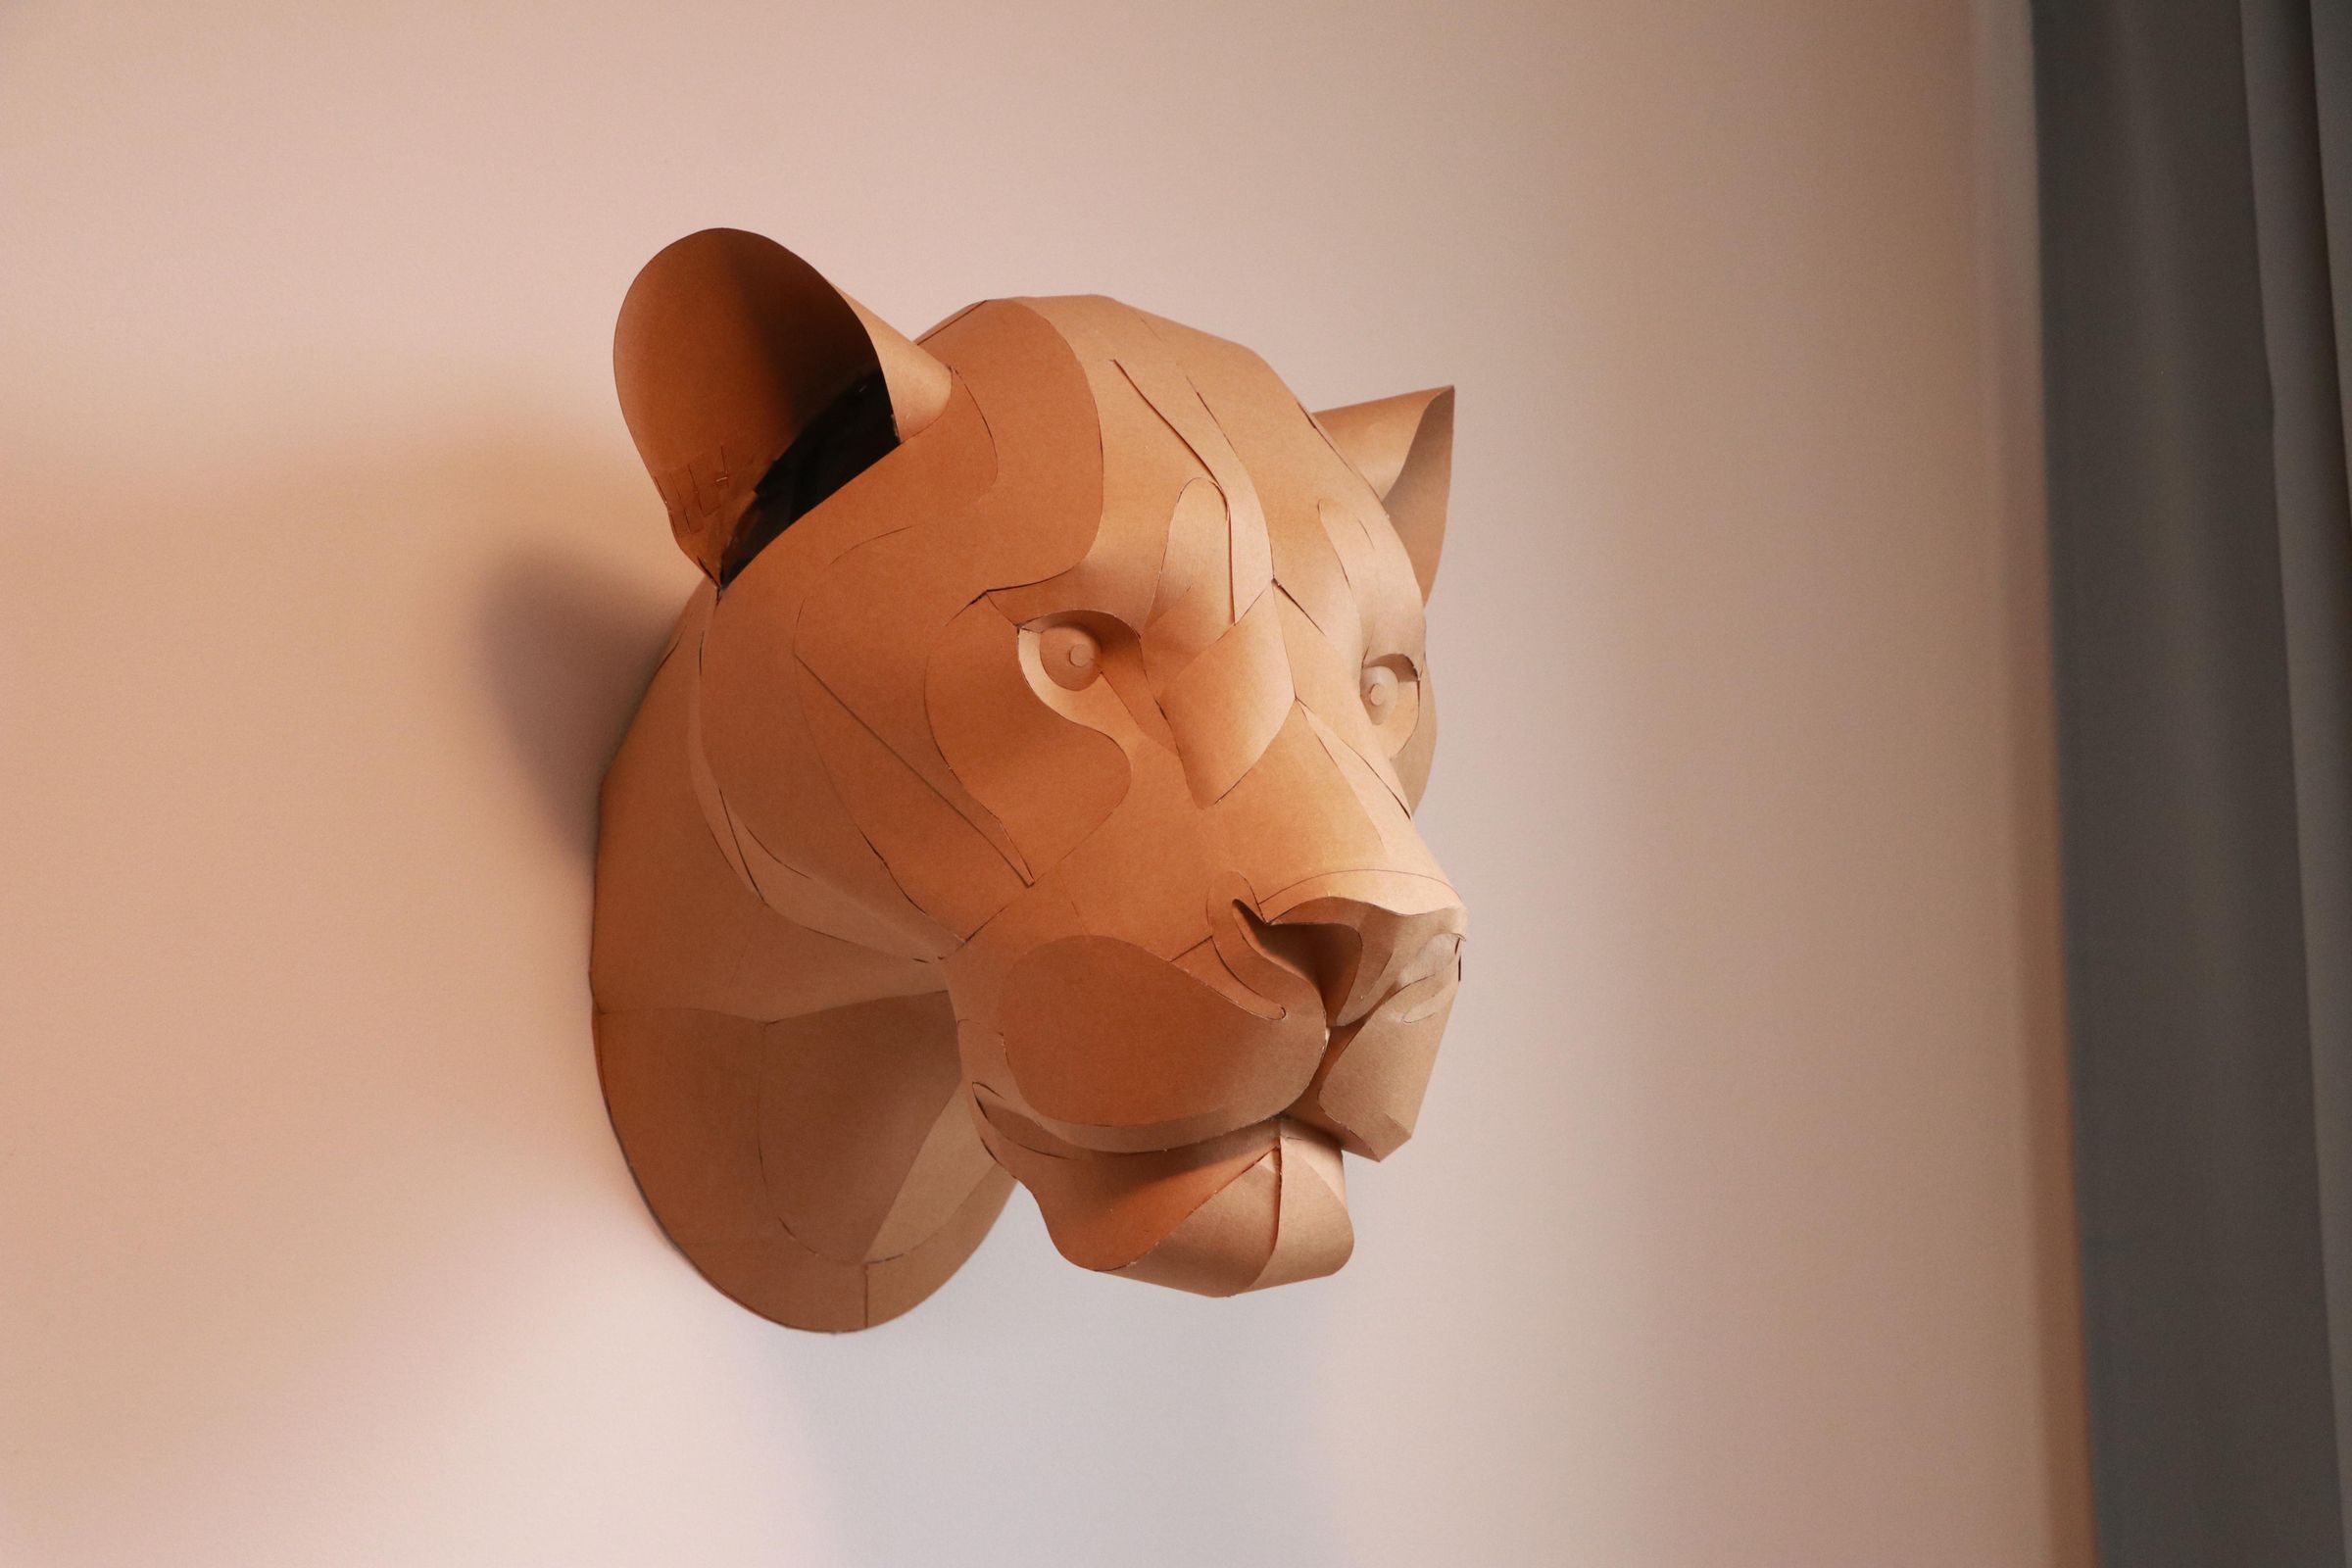
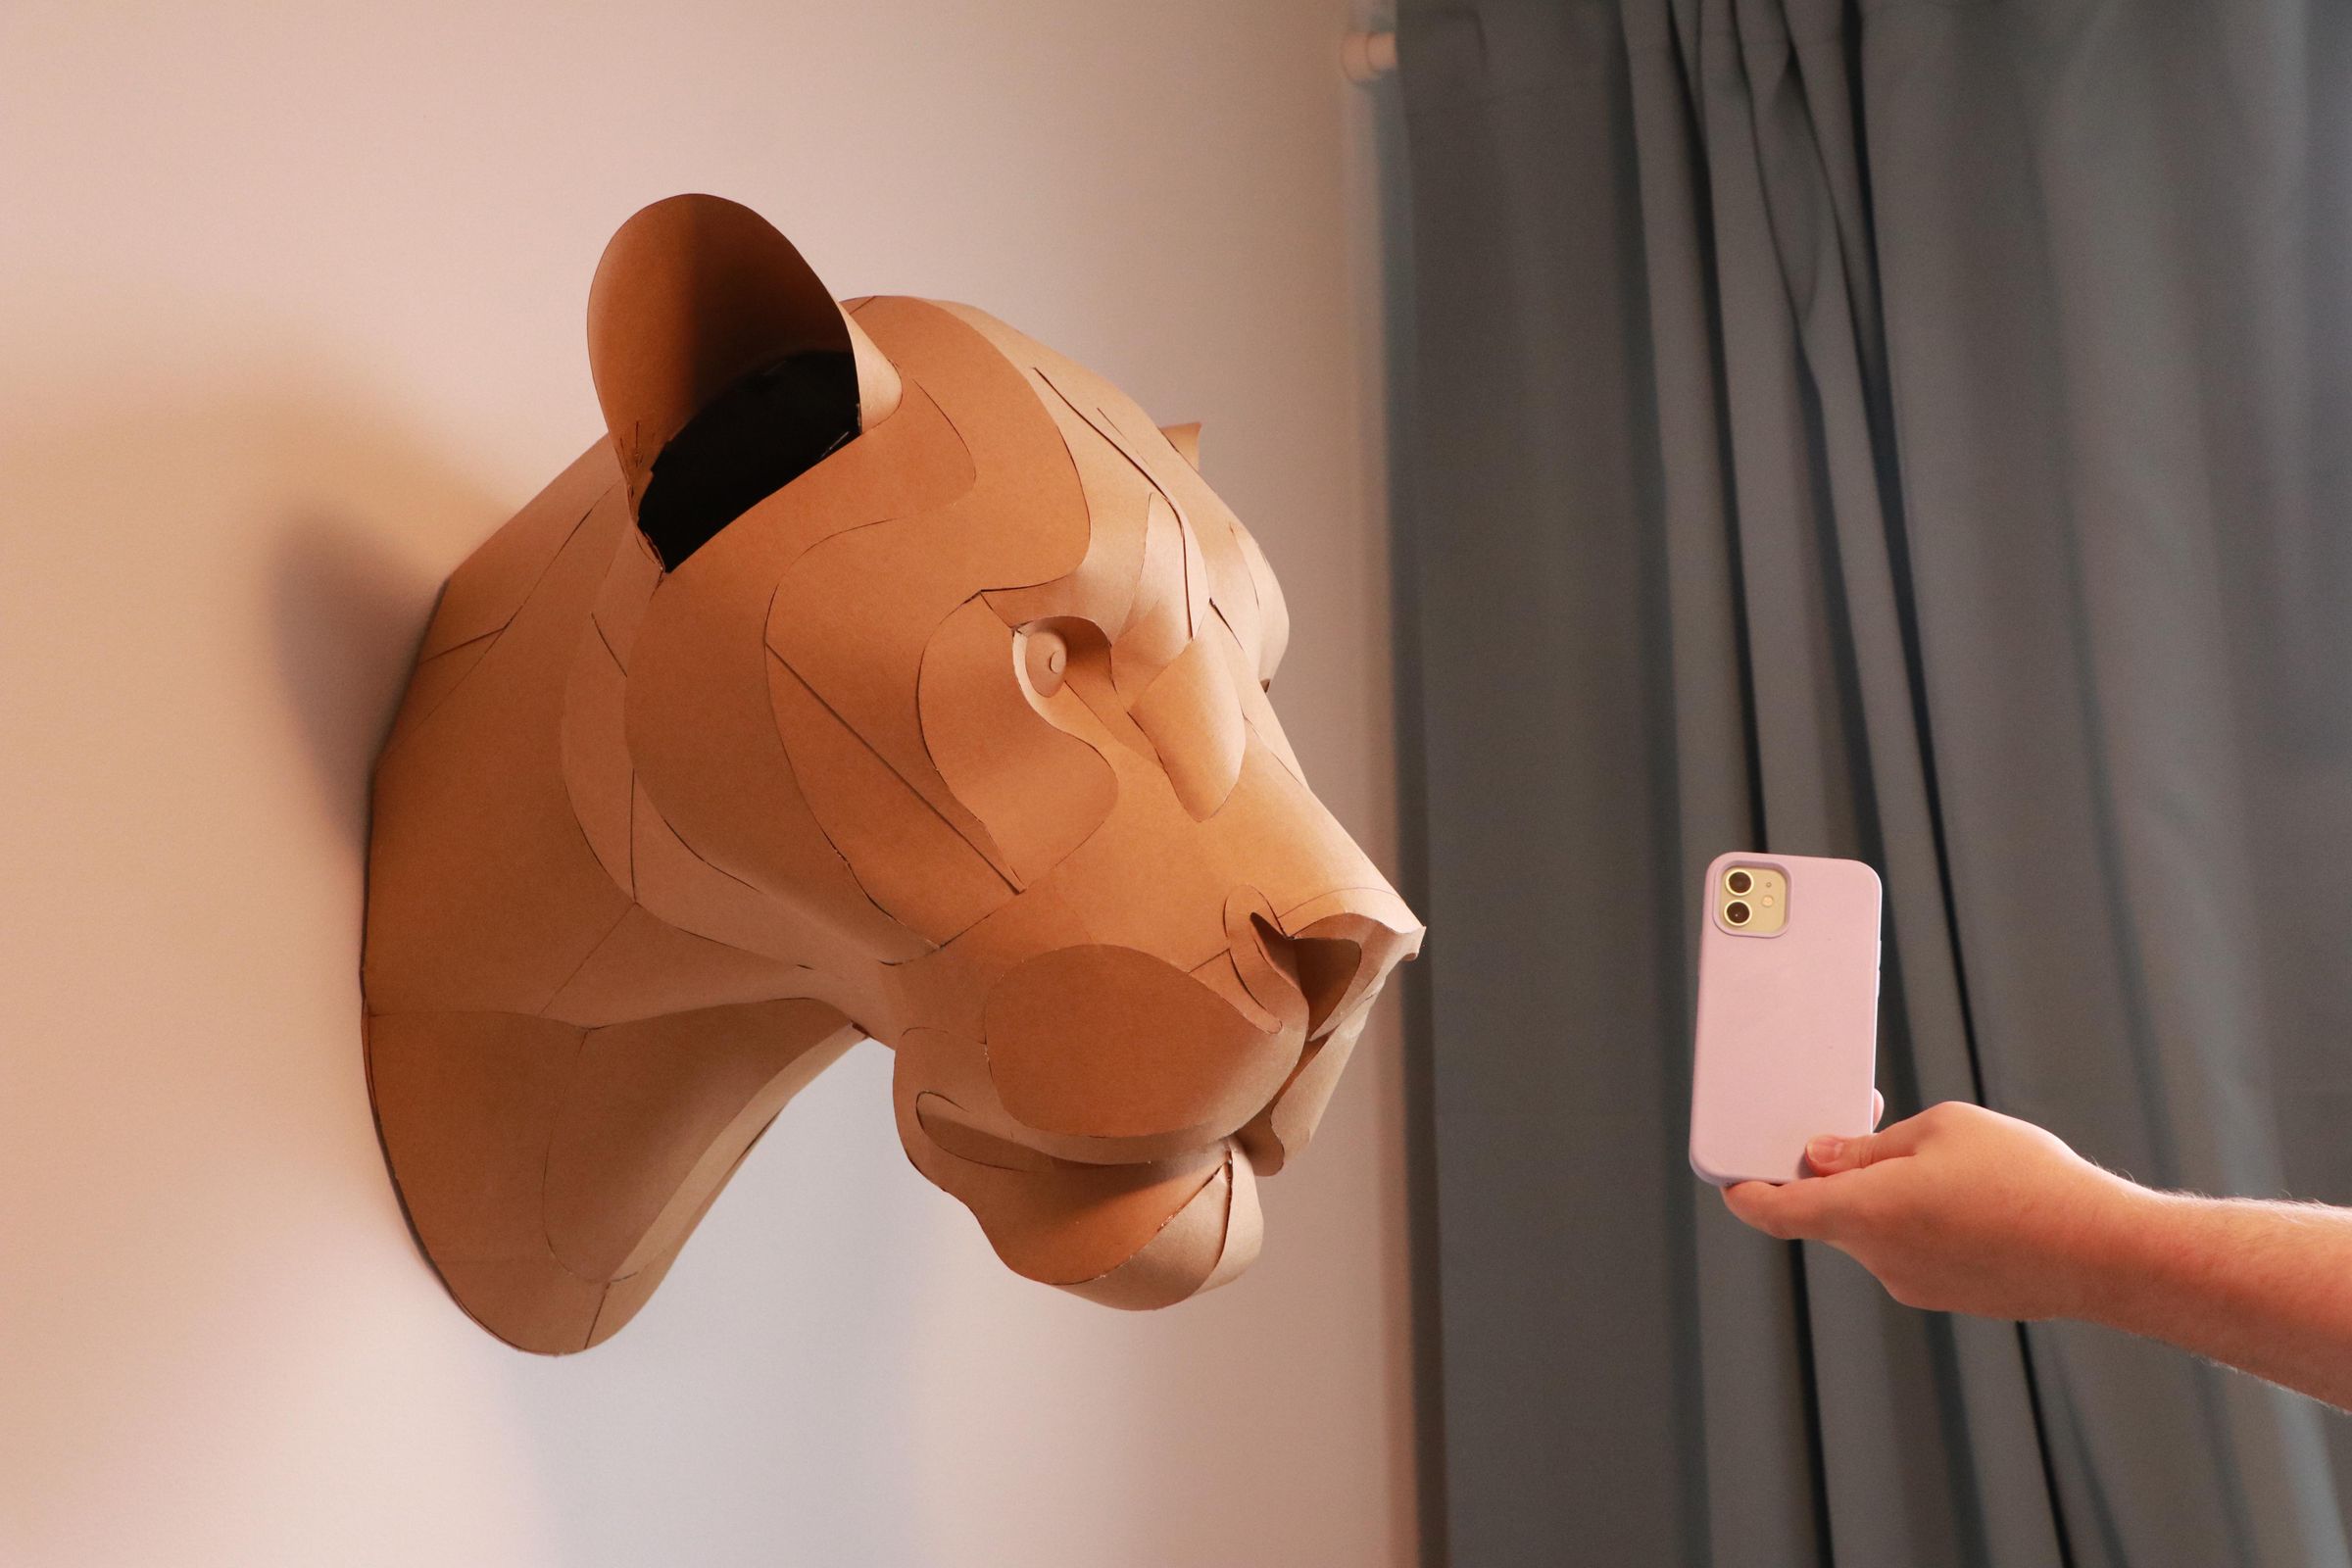
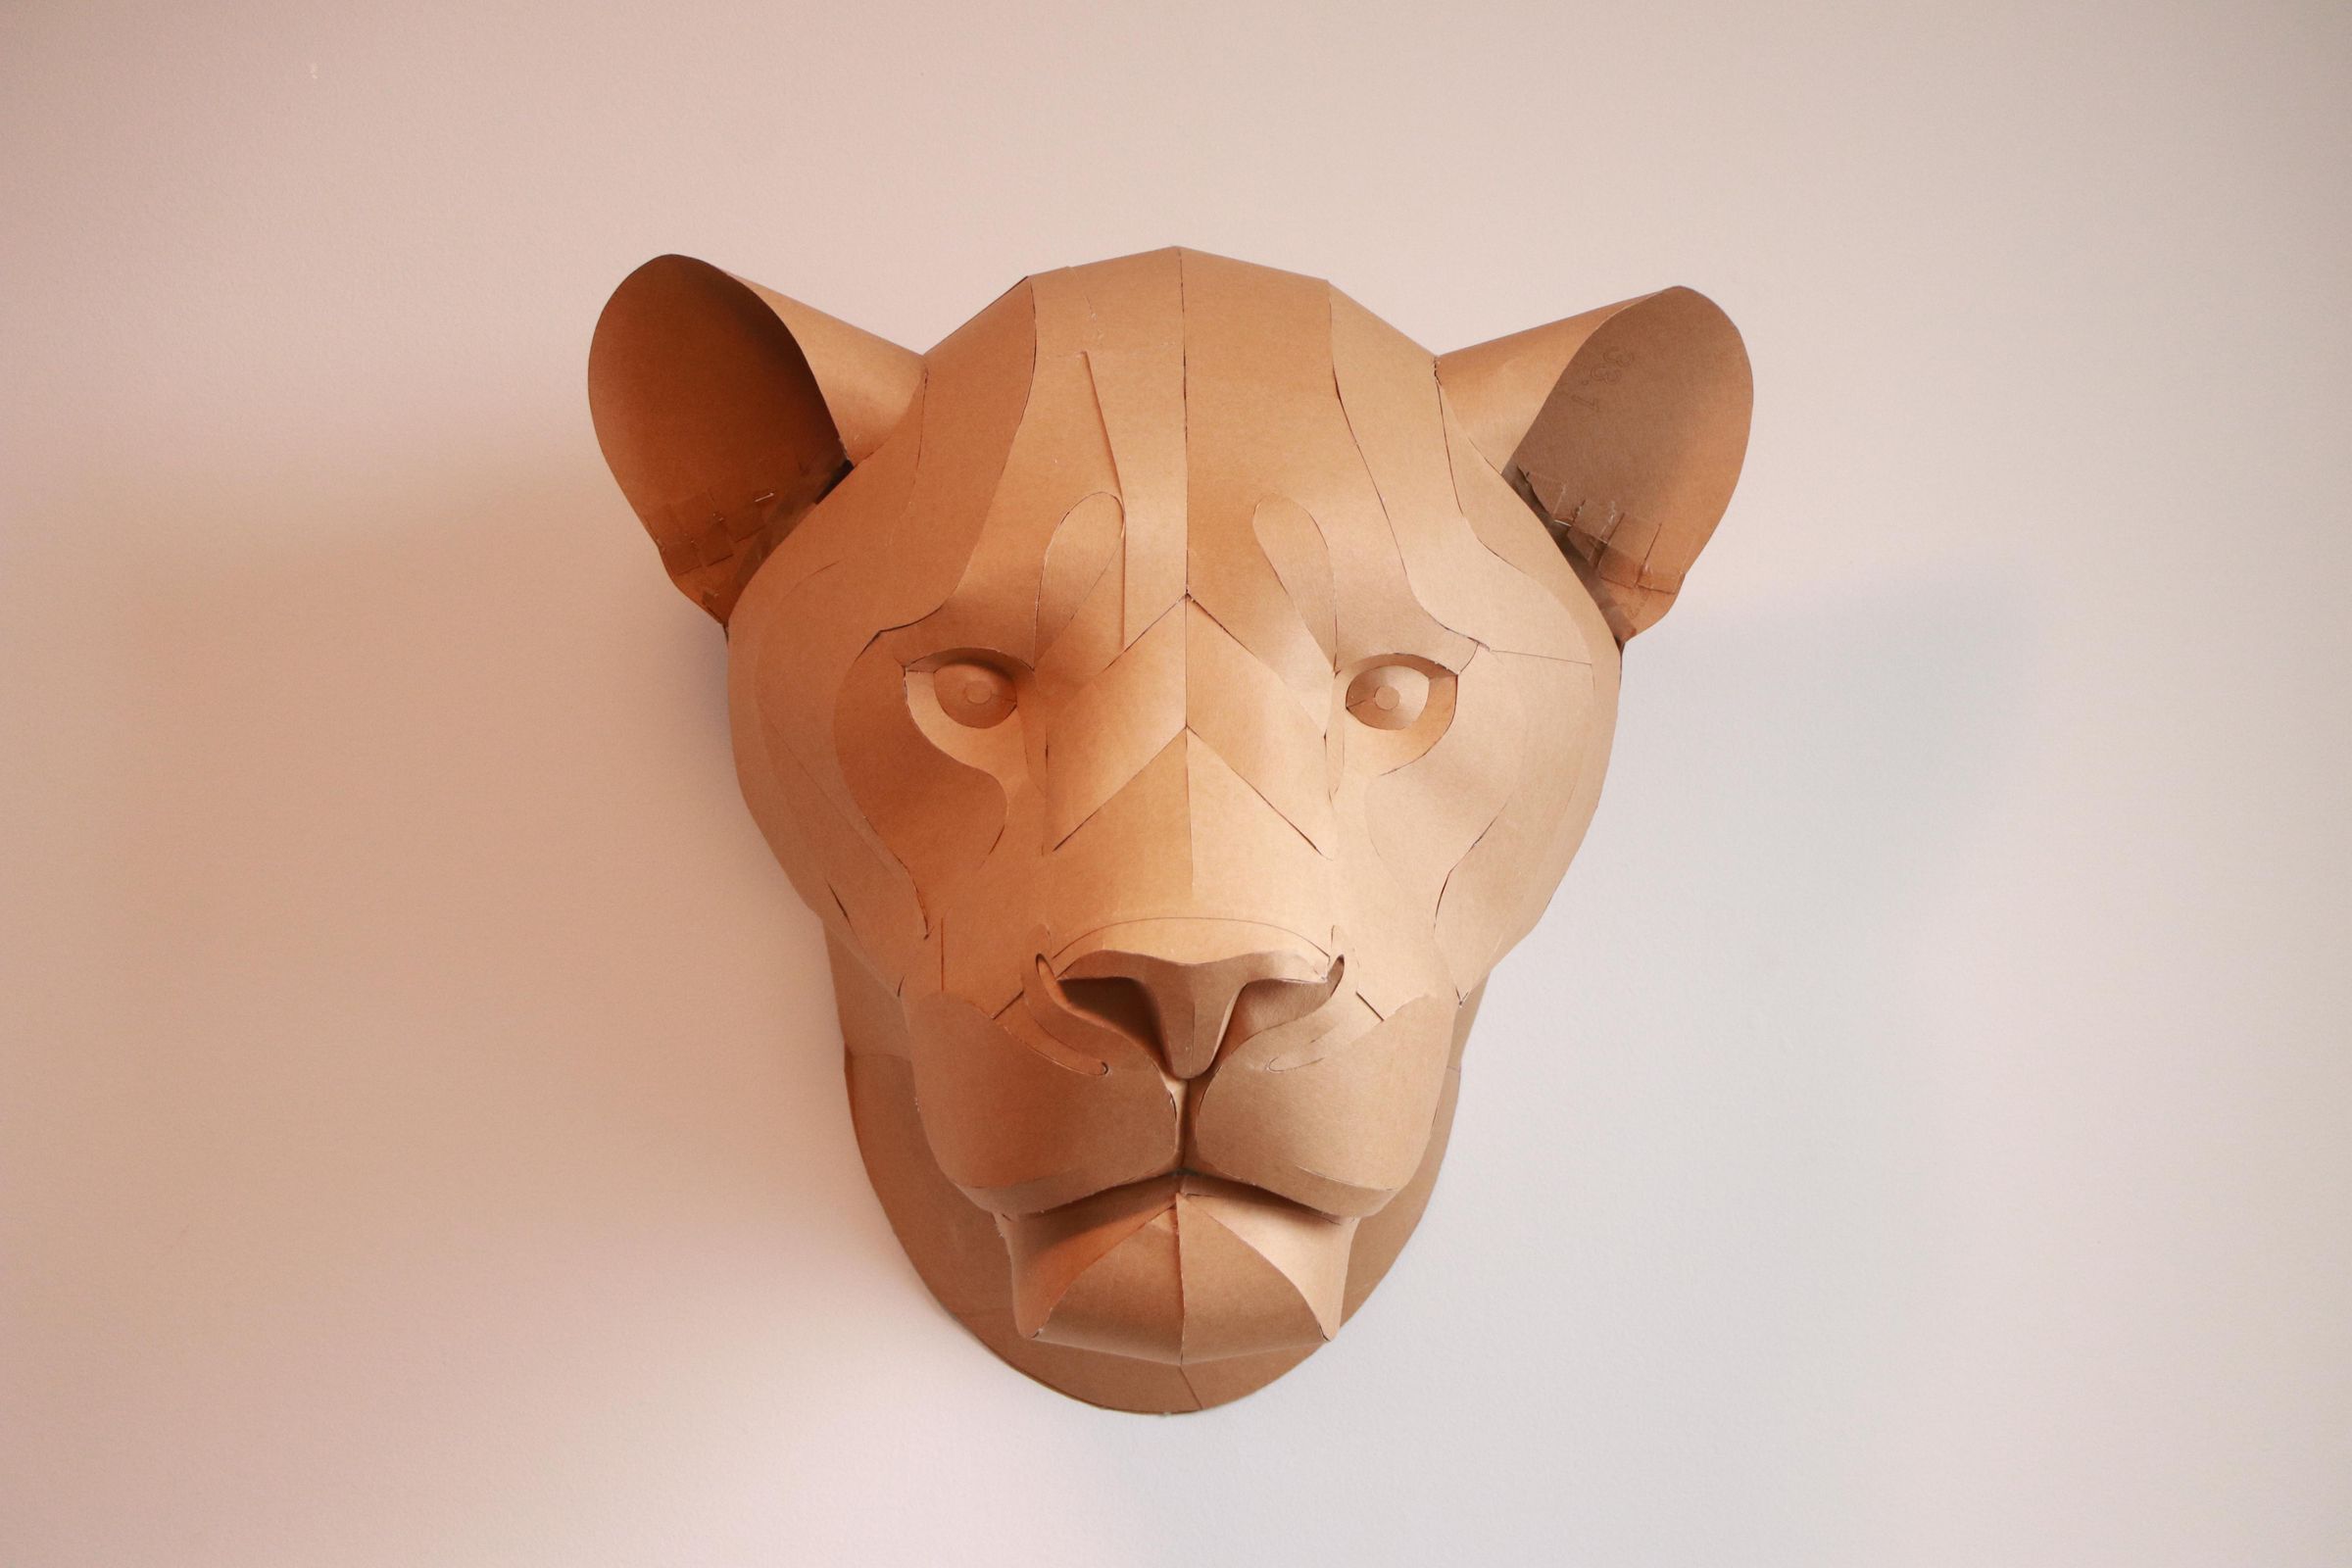
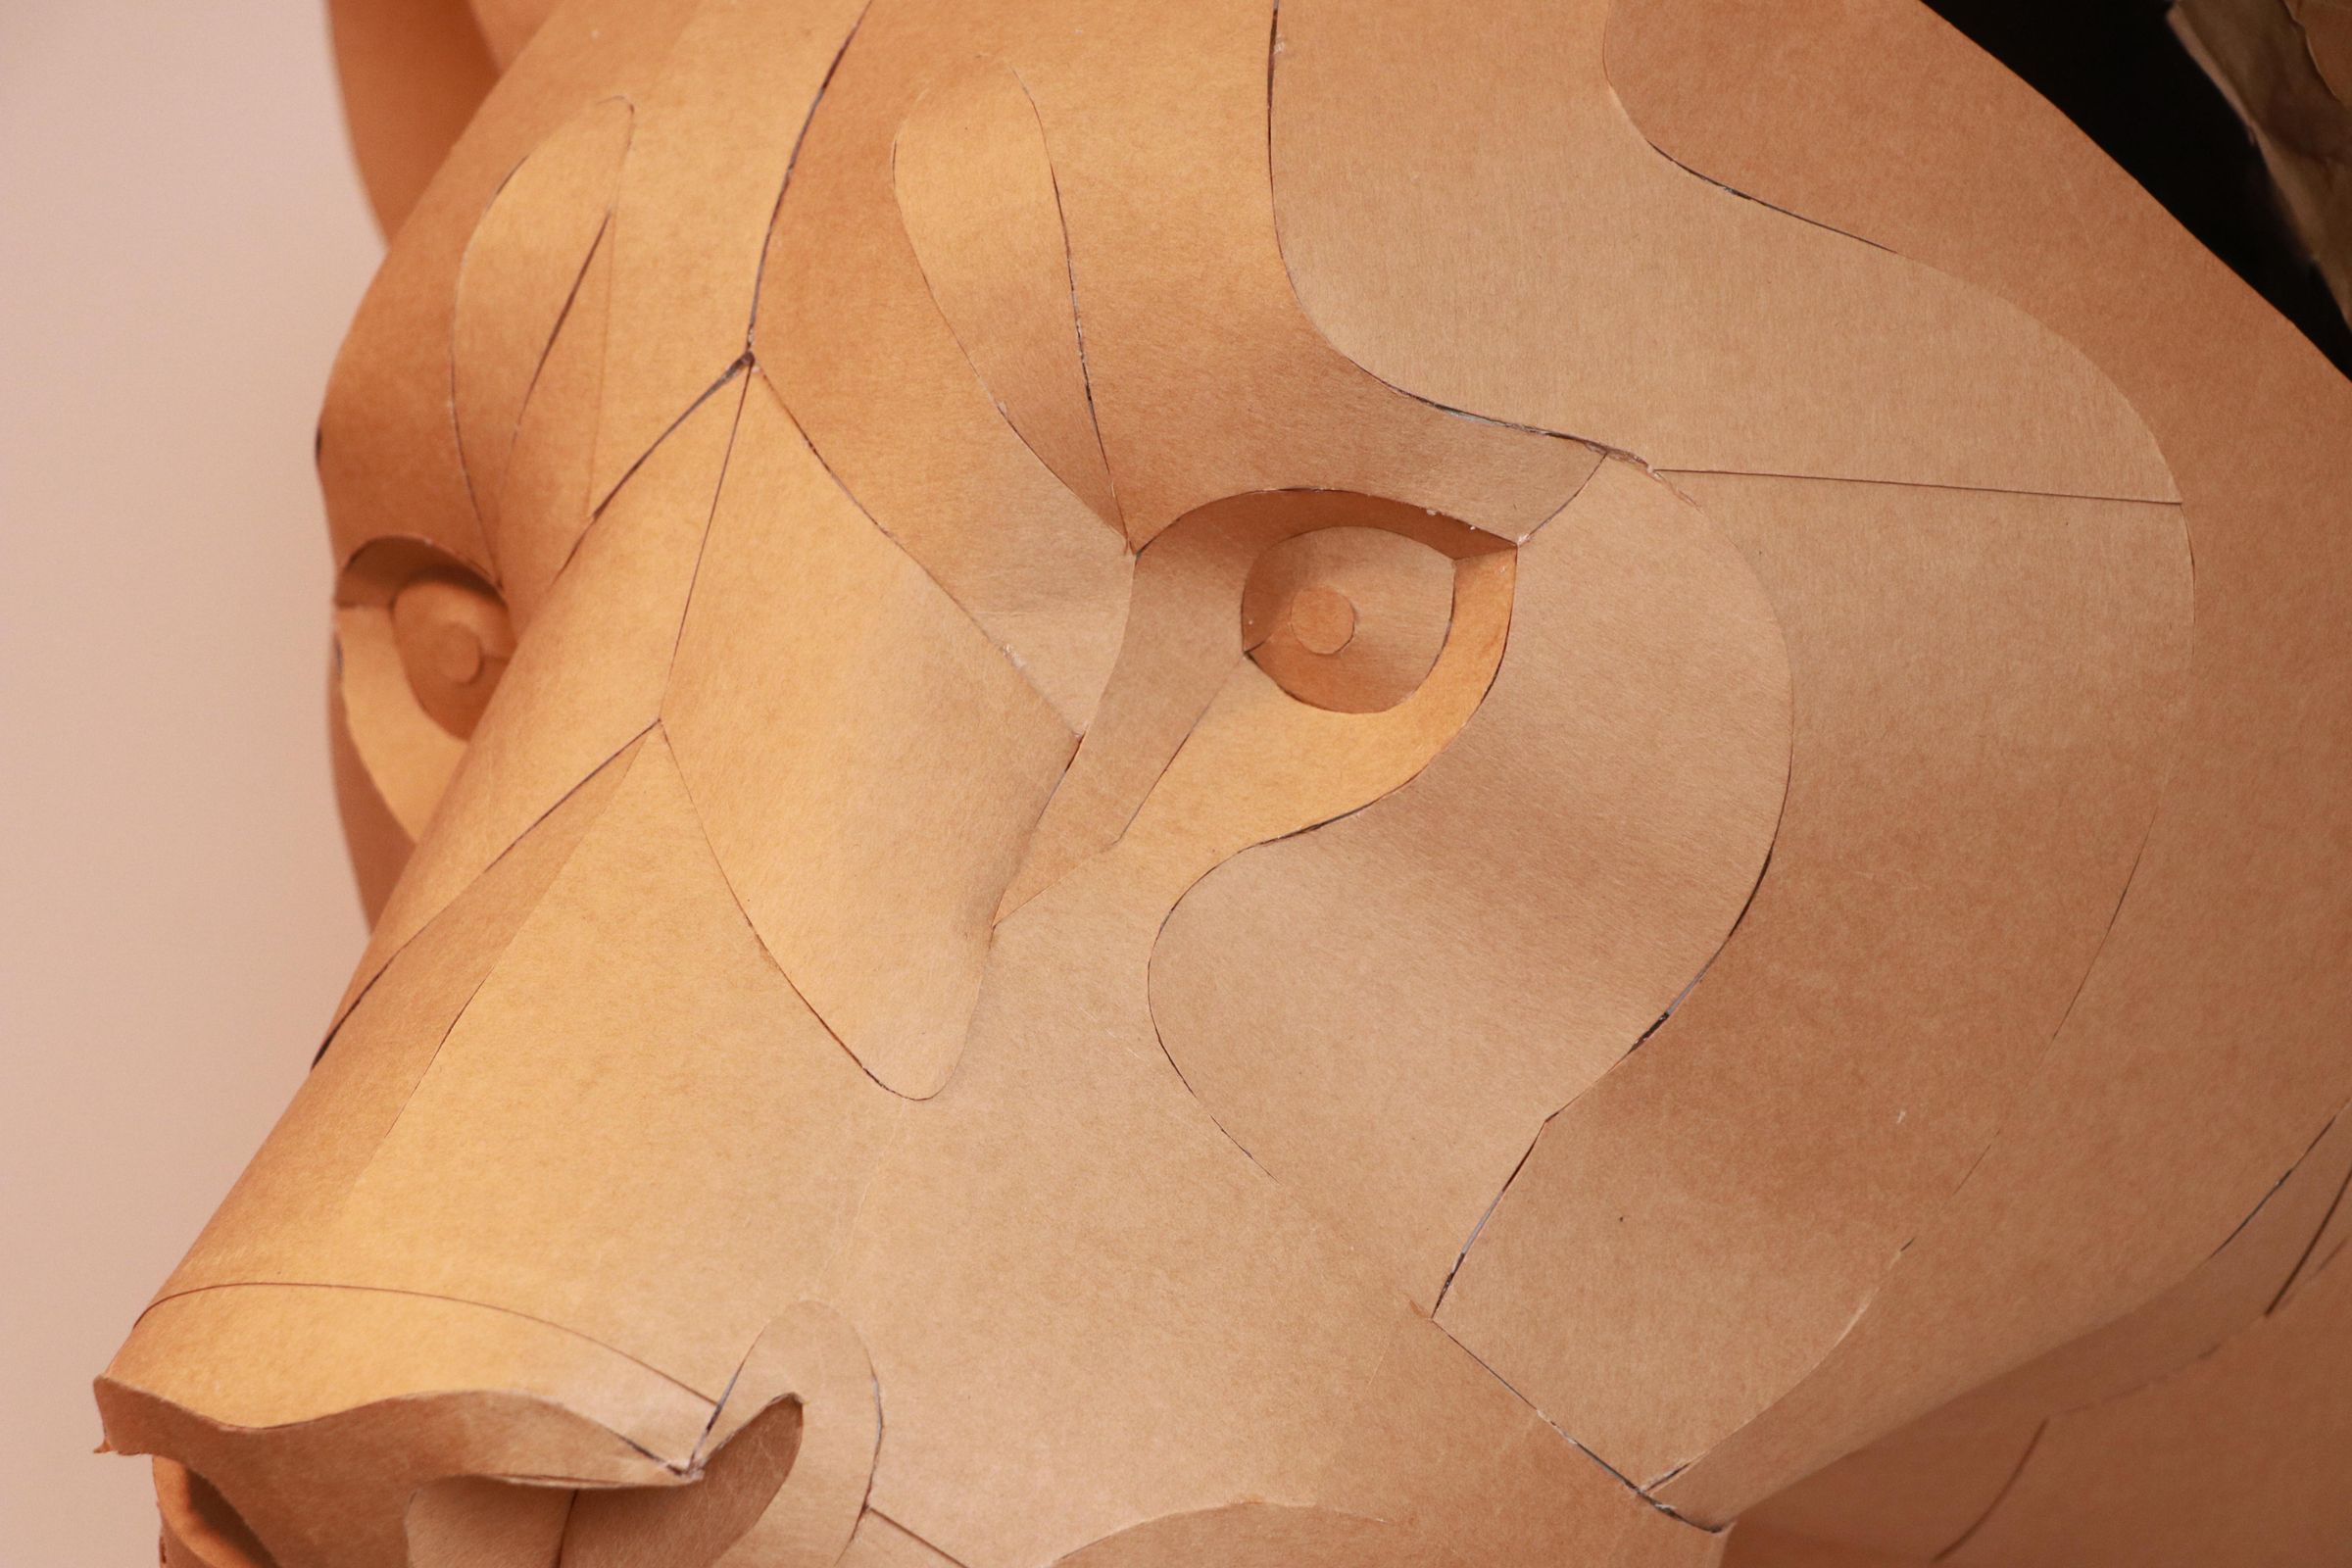
At the end of the head assembly stage, we have the lioness. It’s time to move on to the mane.
Step 9: Glue the Mane
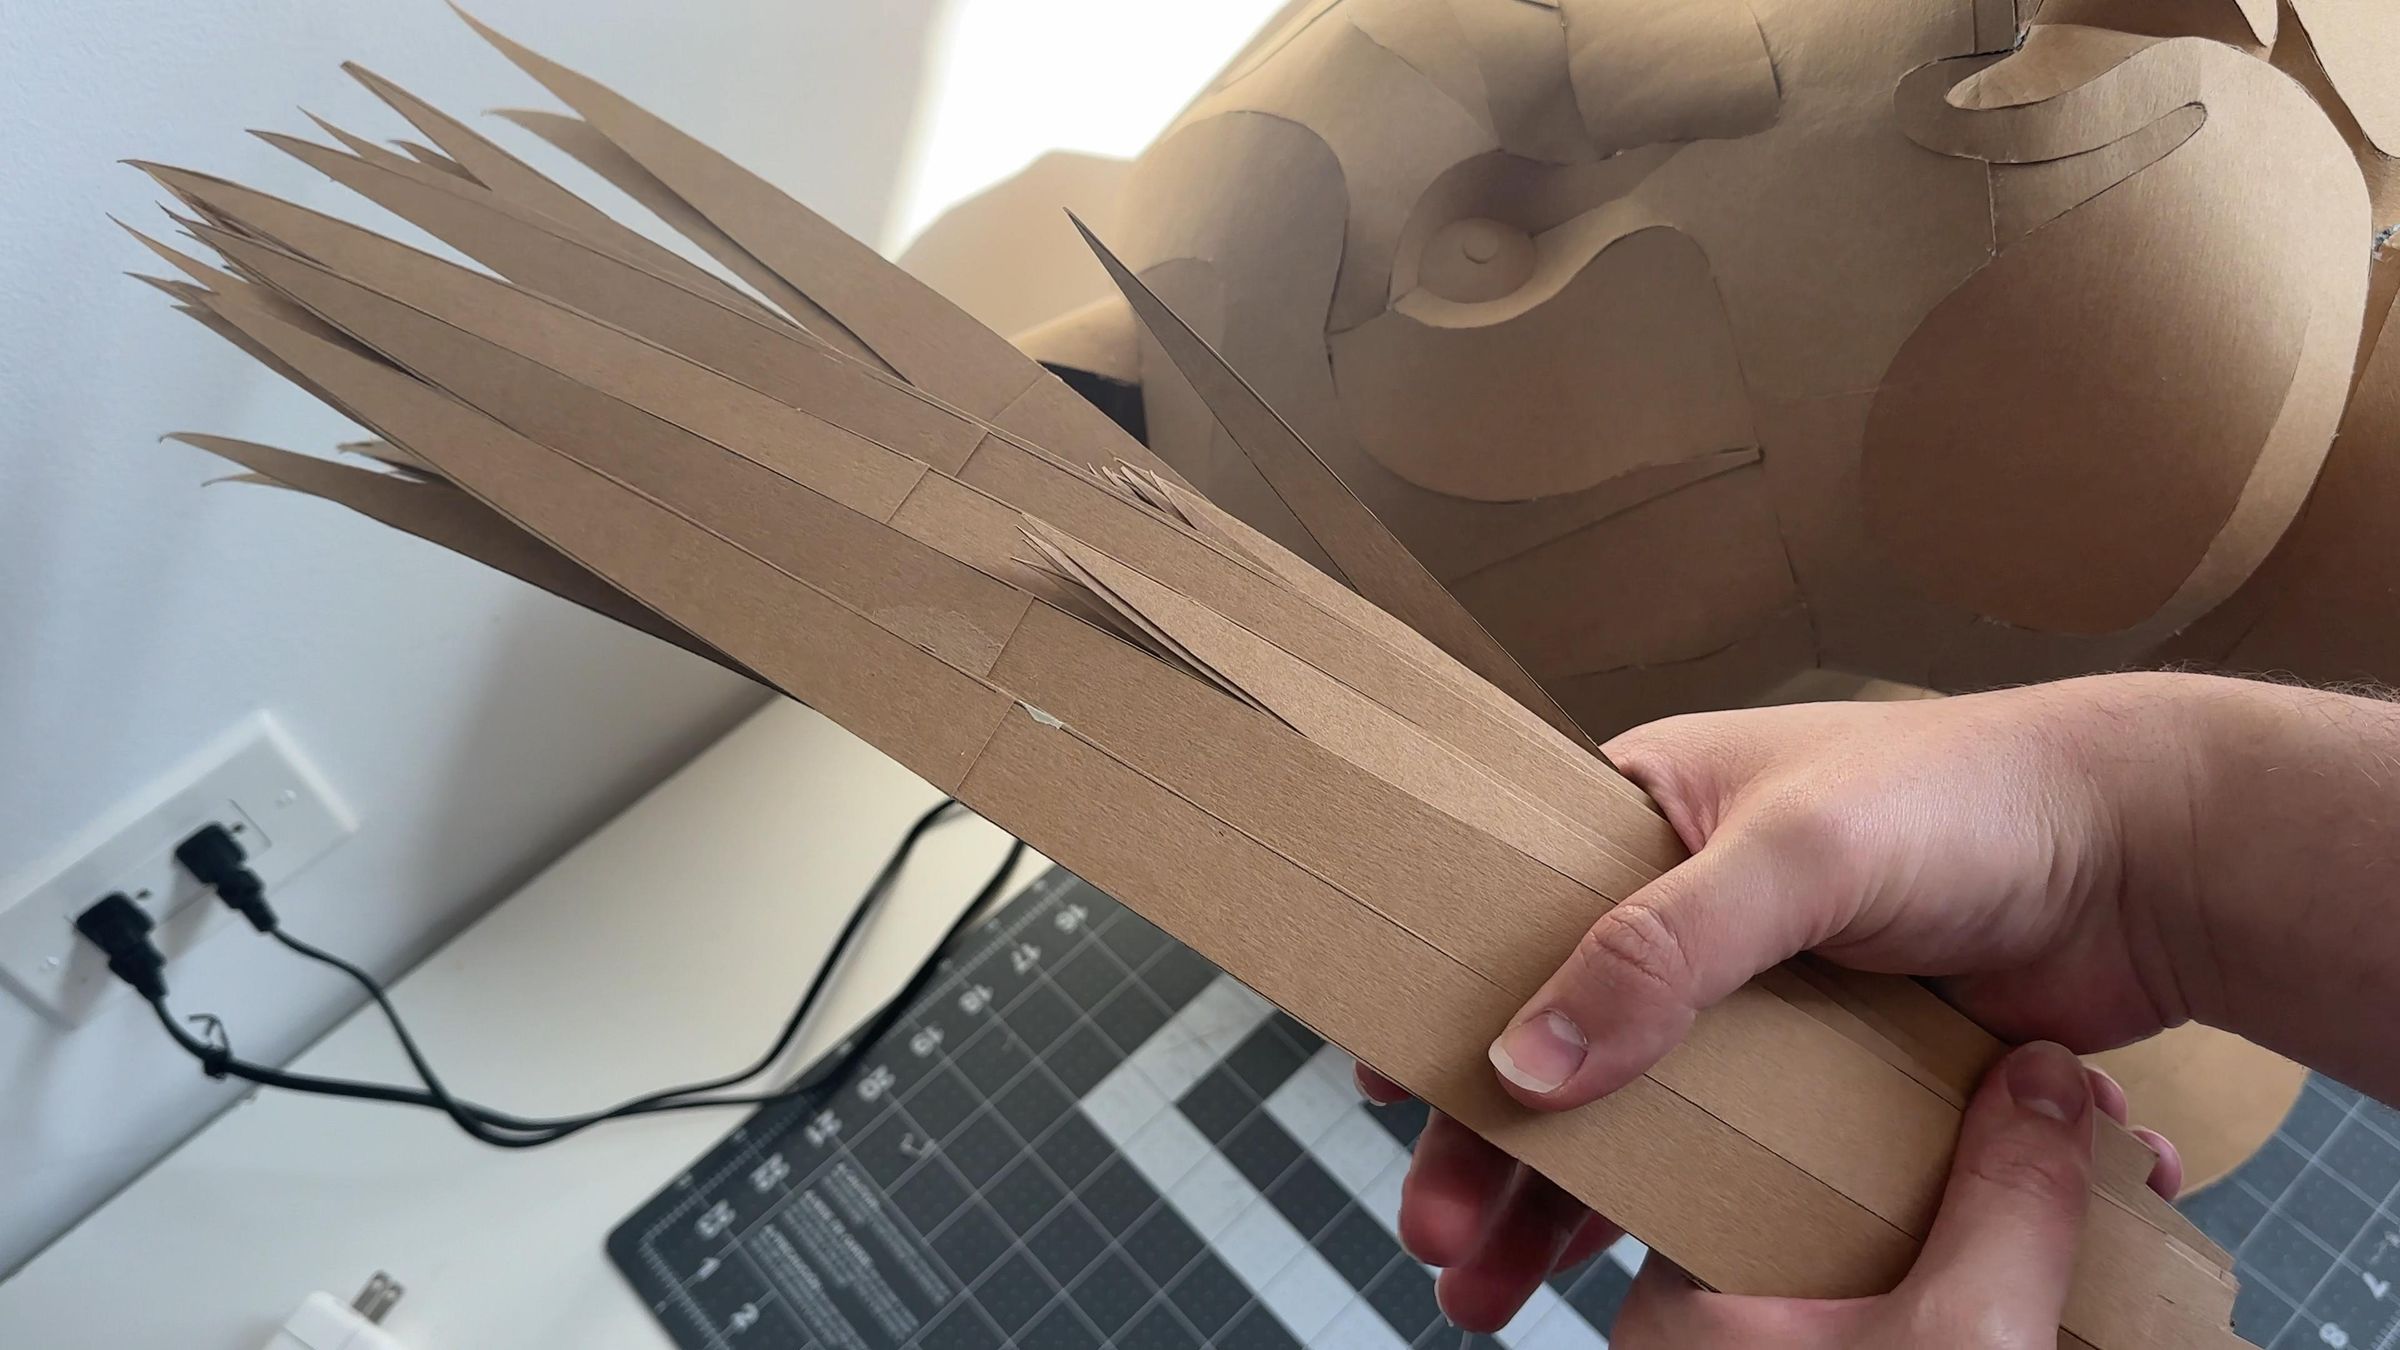
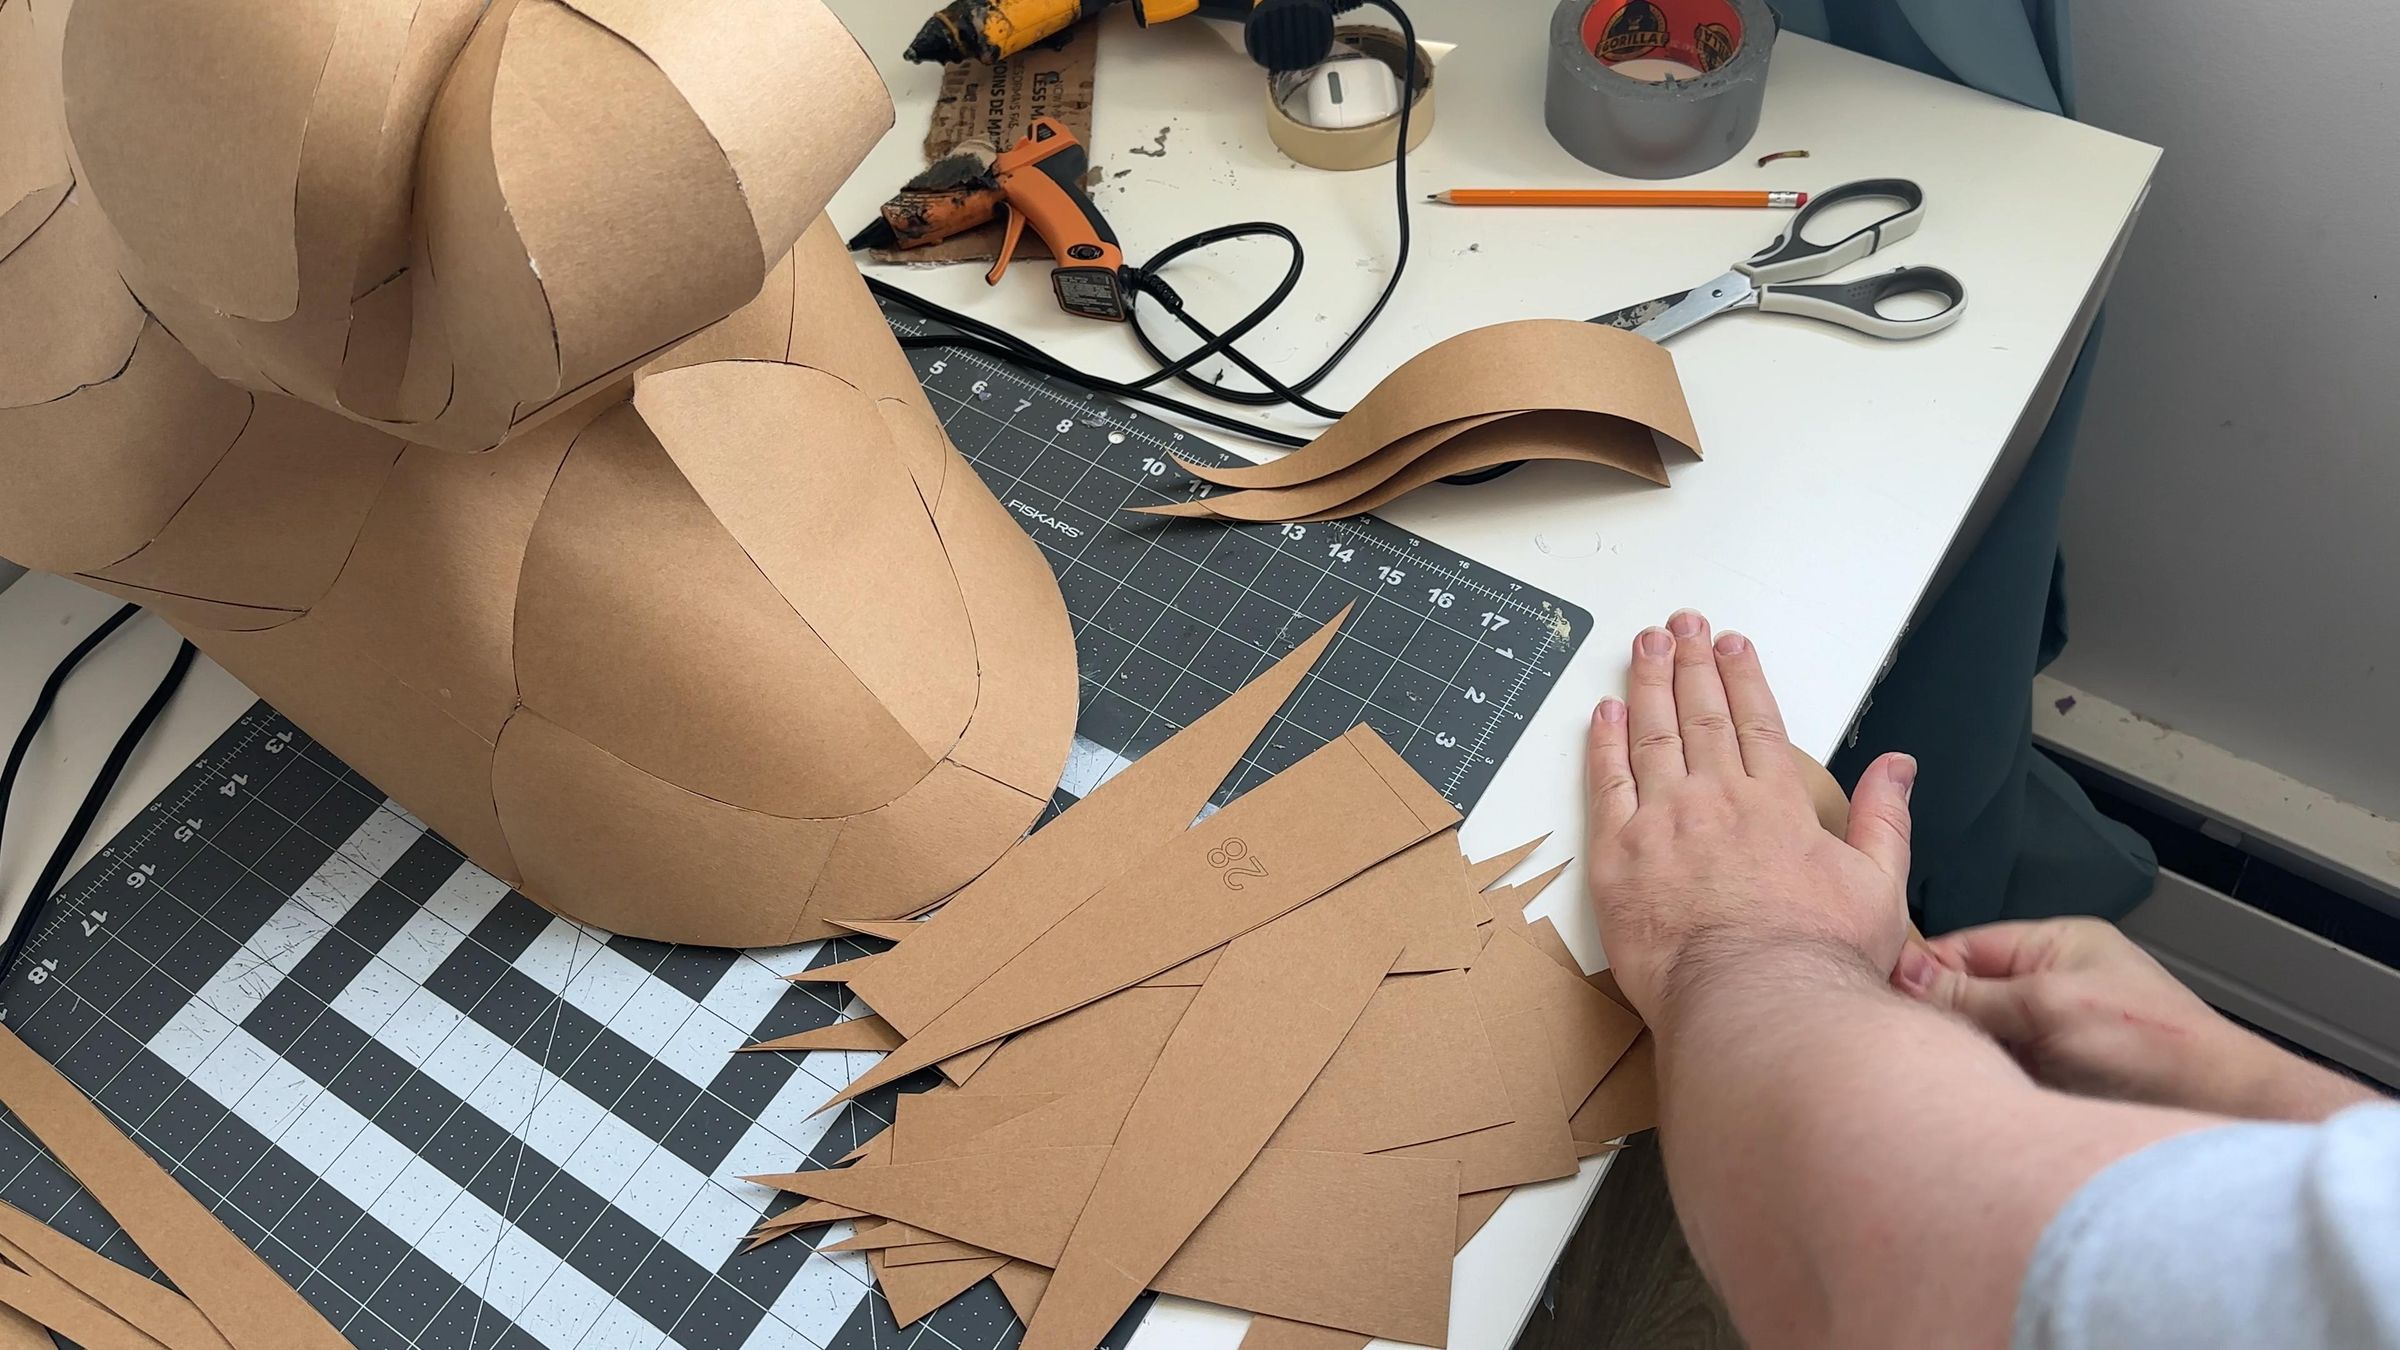
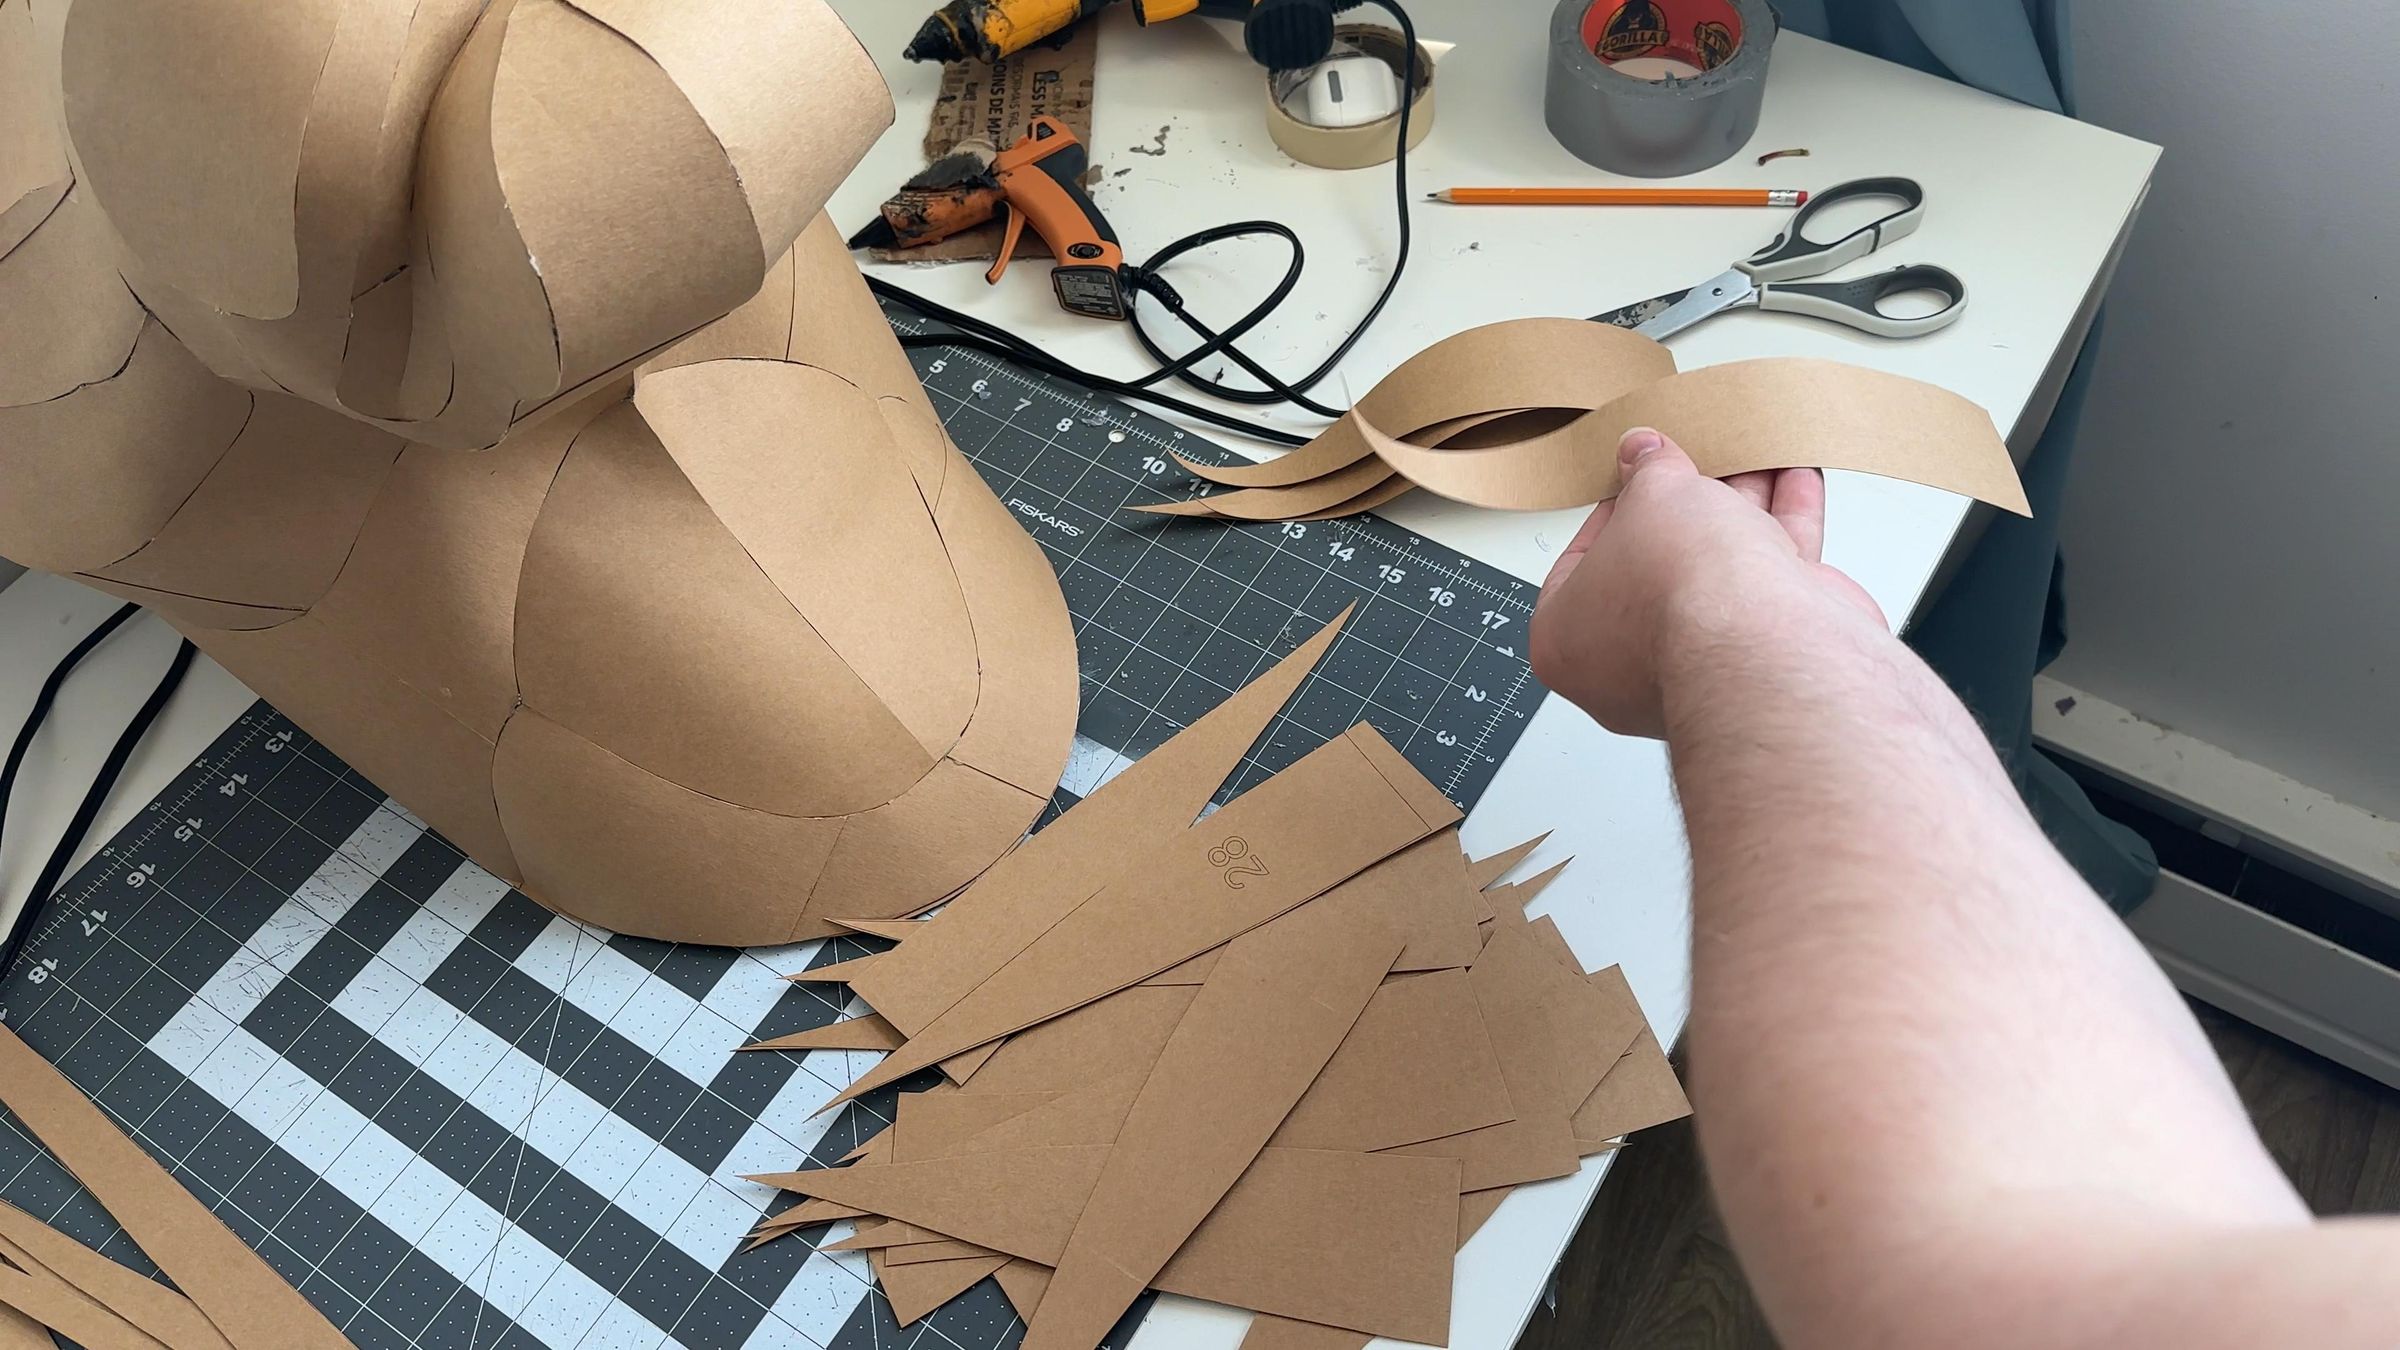
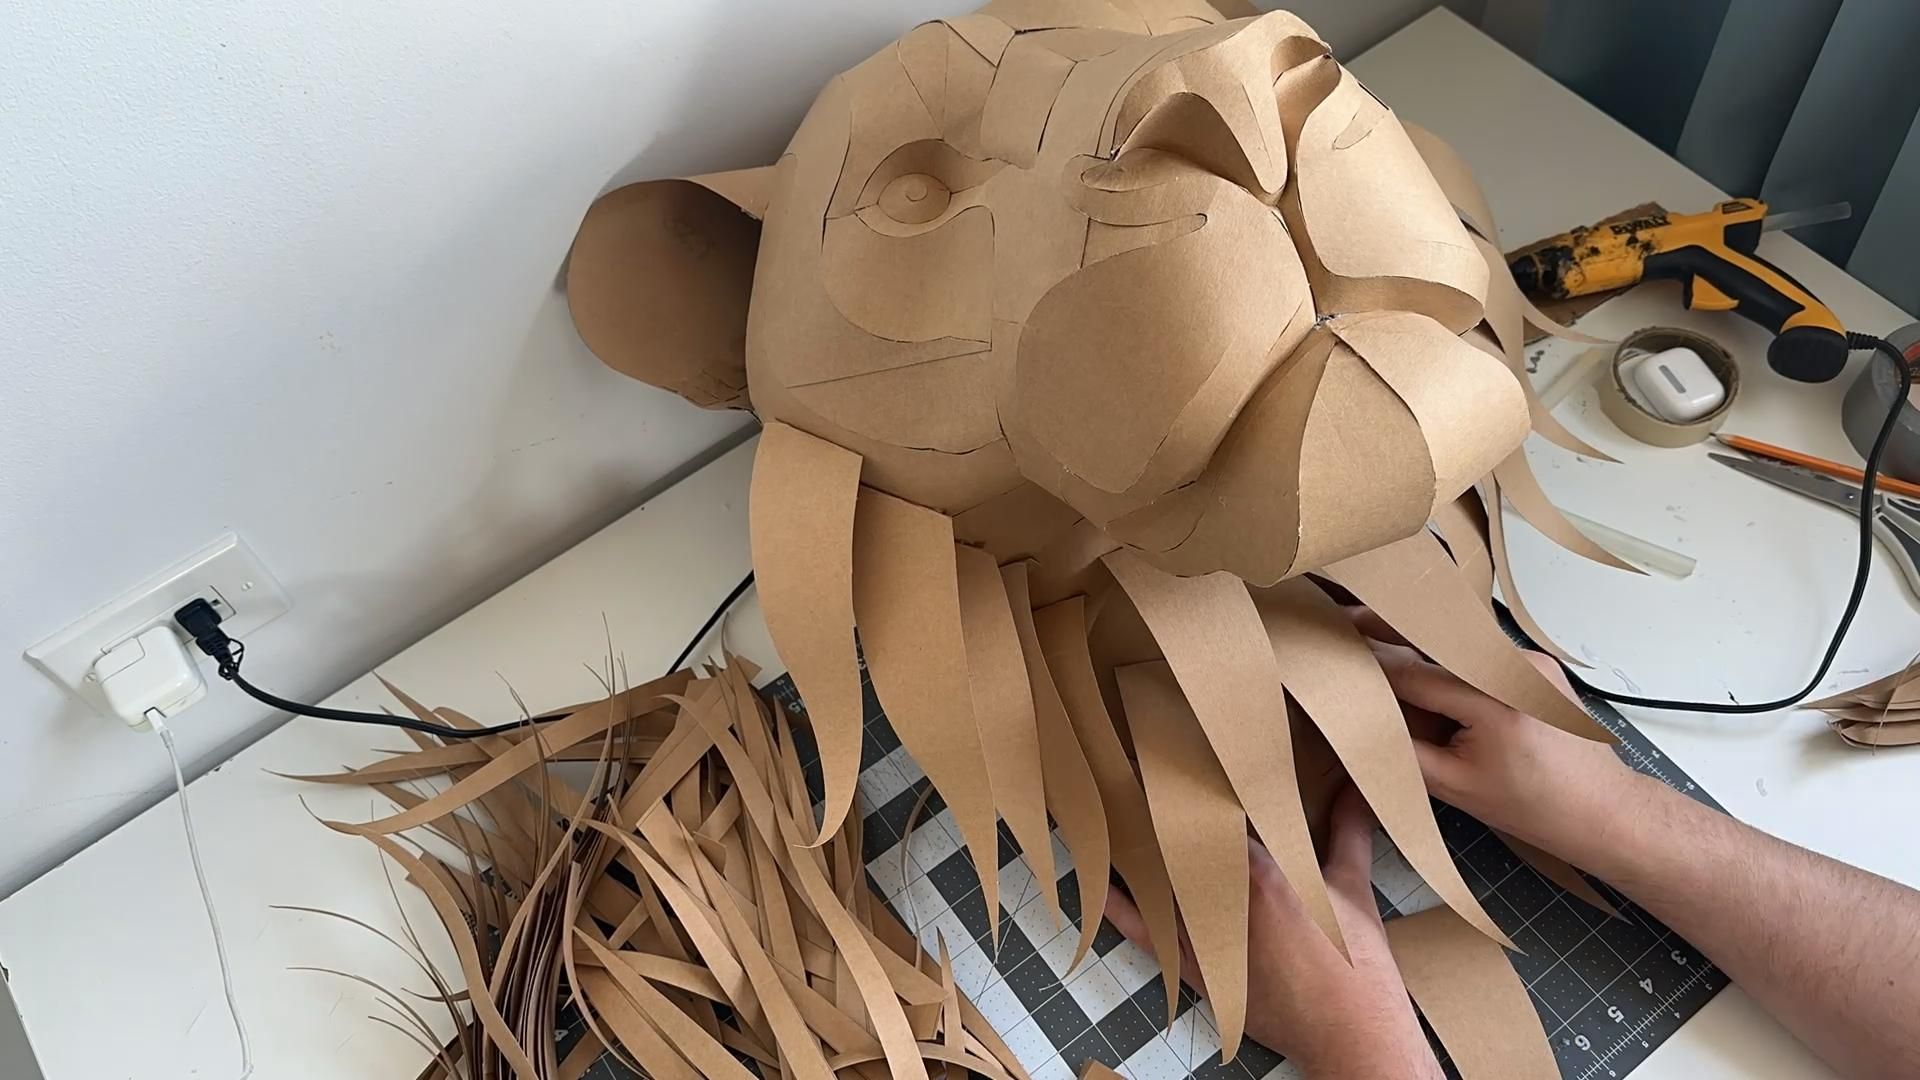
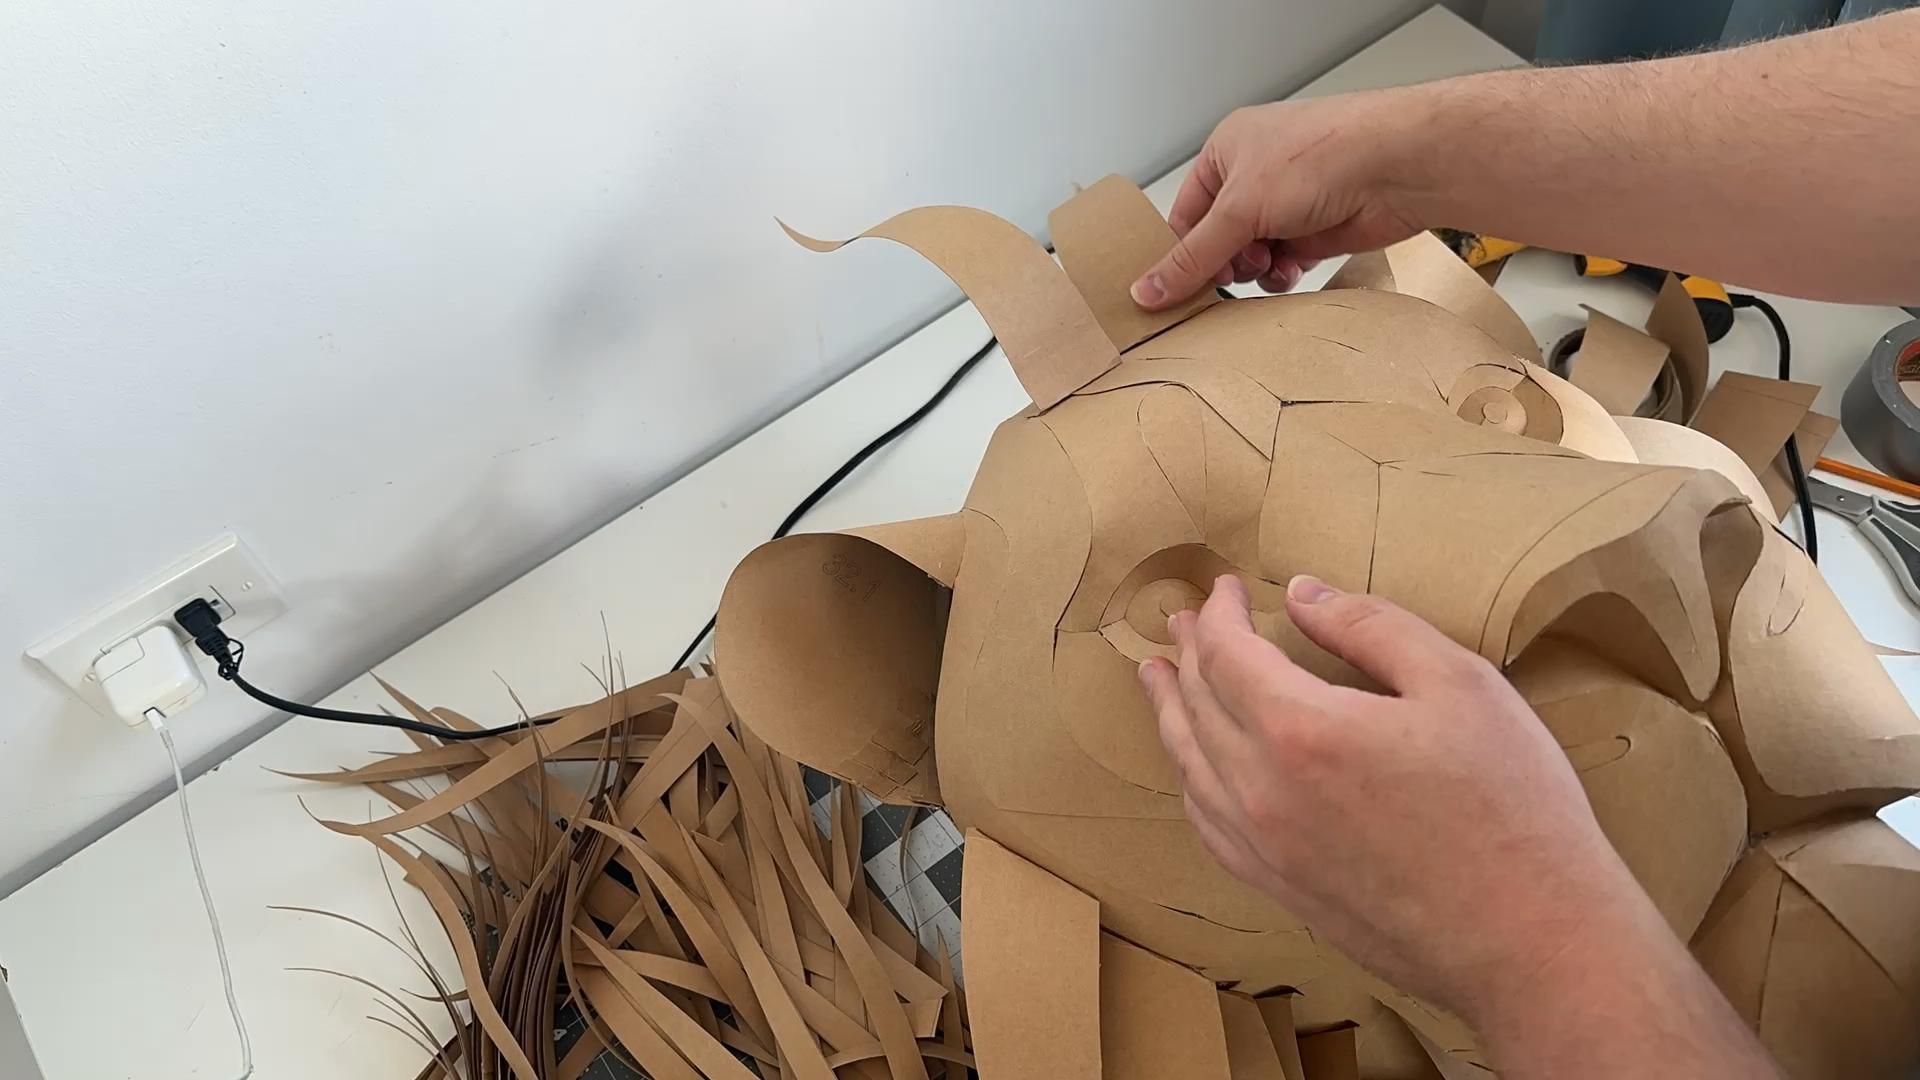
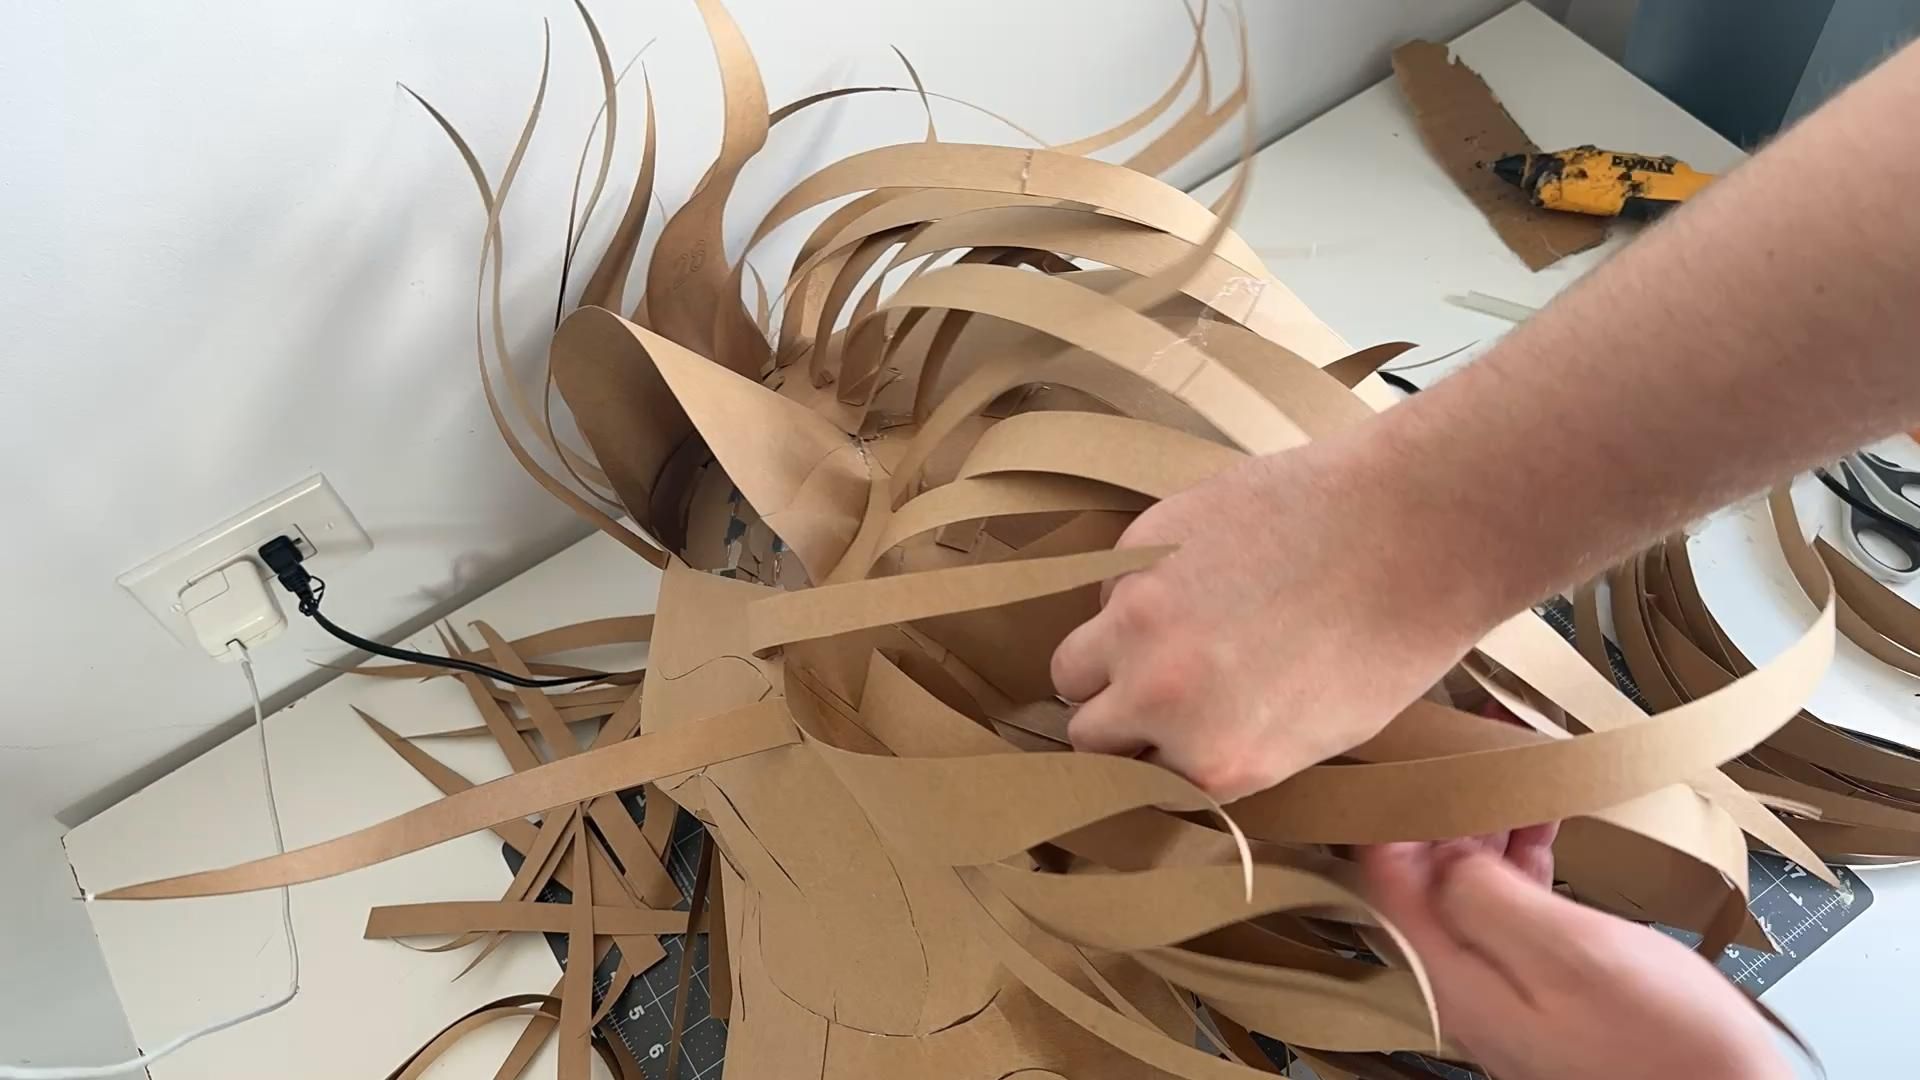
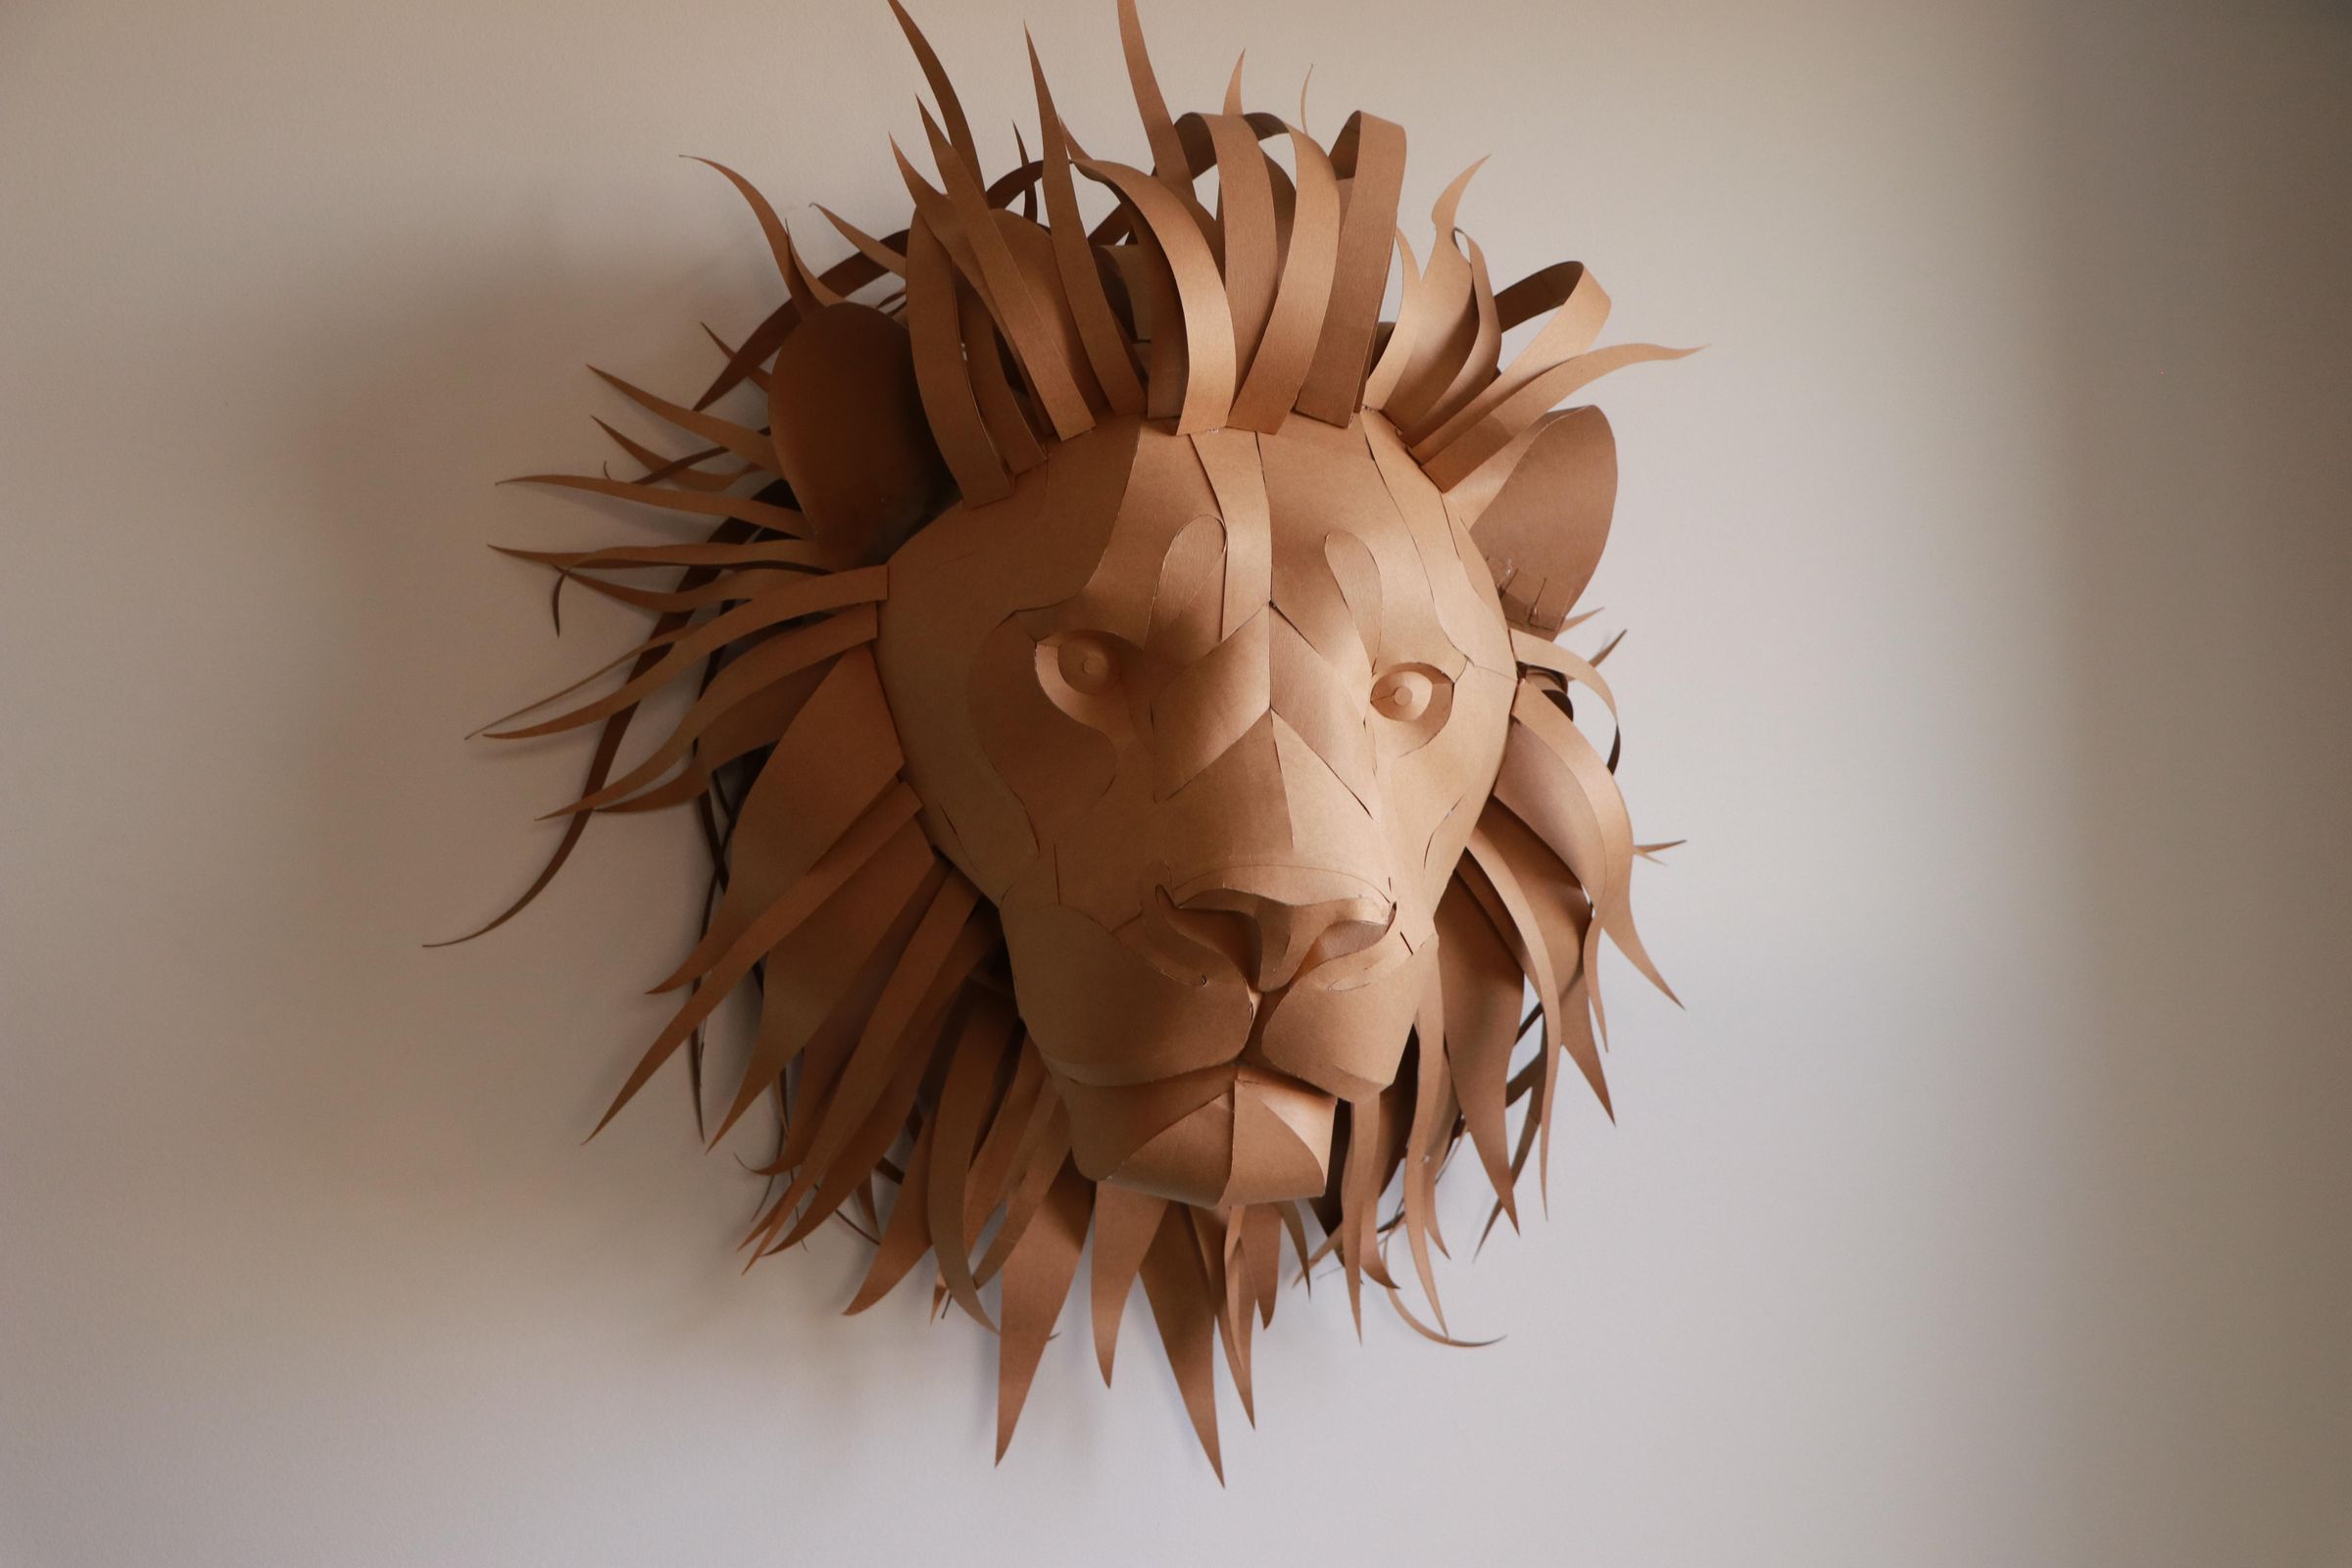
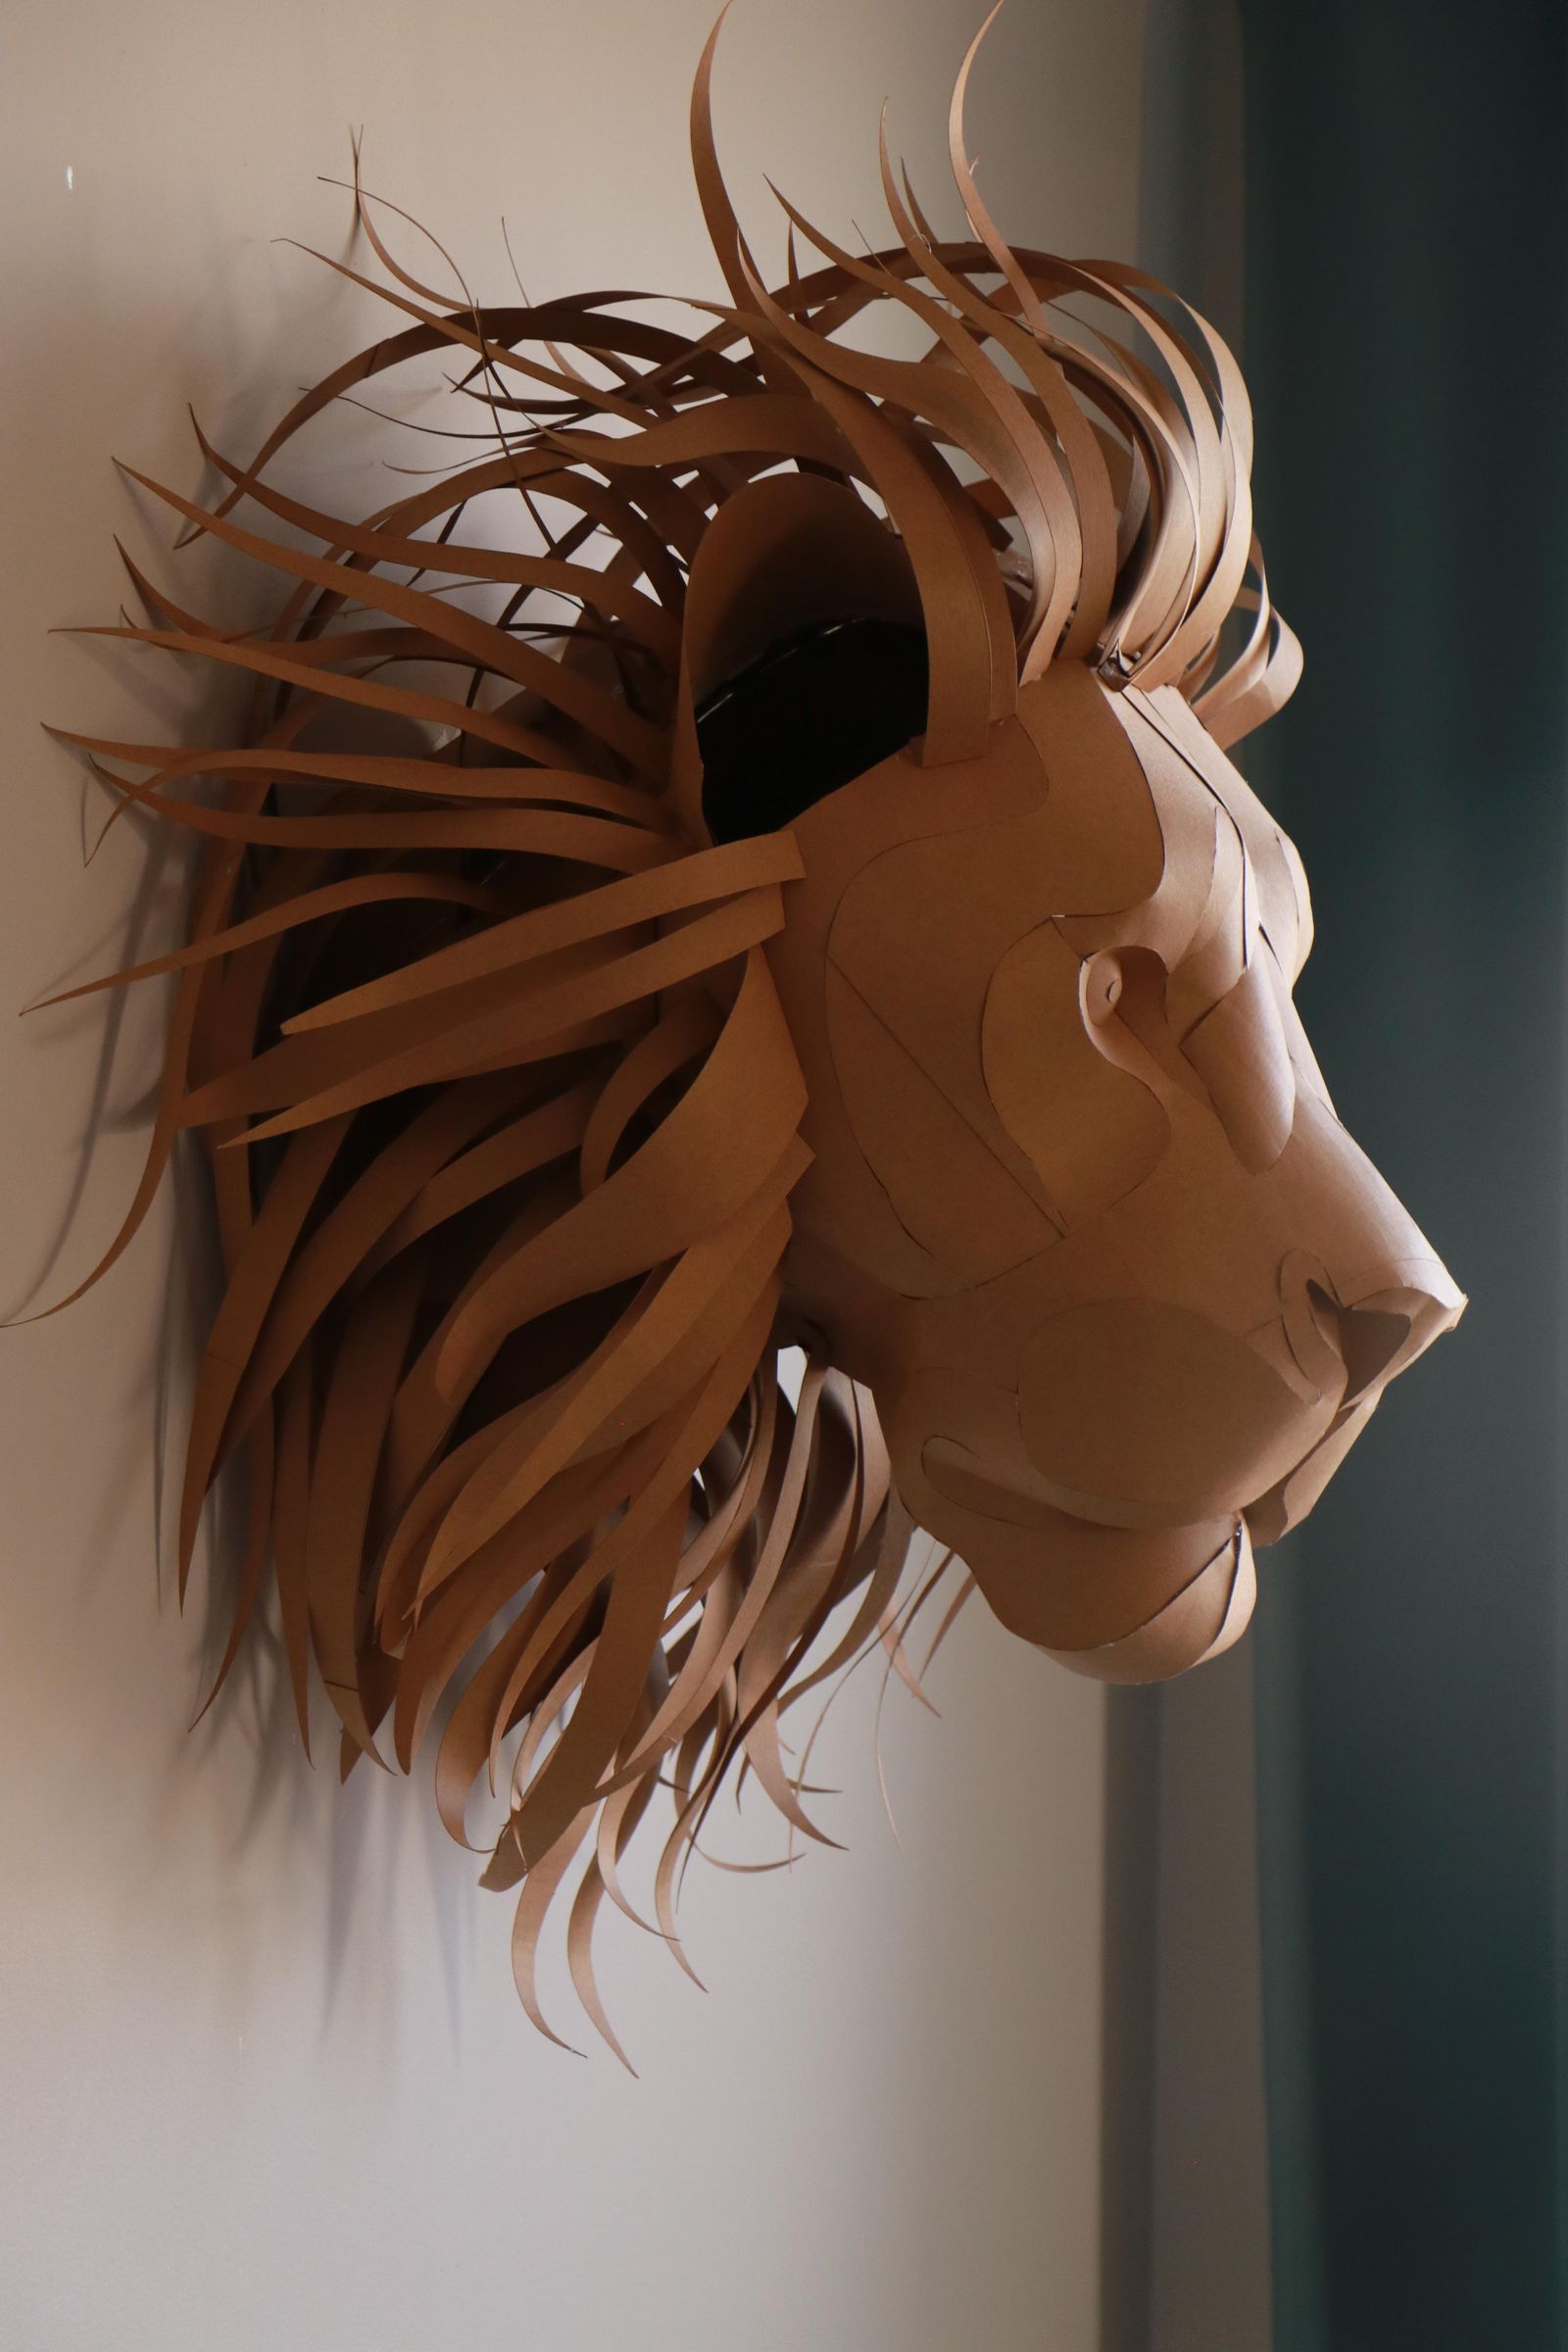
Shape the mane by bending it in two directions. Use the edge of the table to form the bend. Then, glue the mane pieces as you like; you can use my result as a reference.
Step 10: Paint It Black
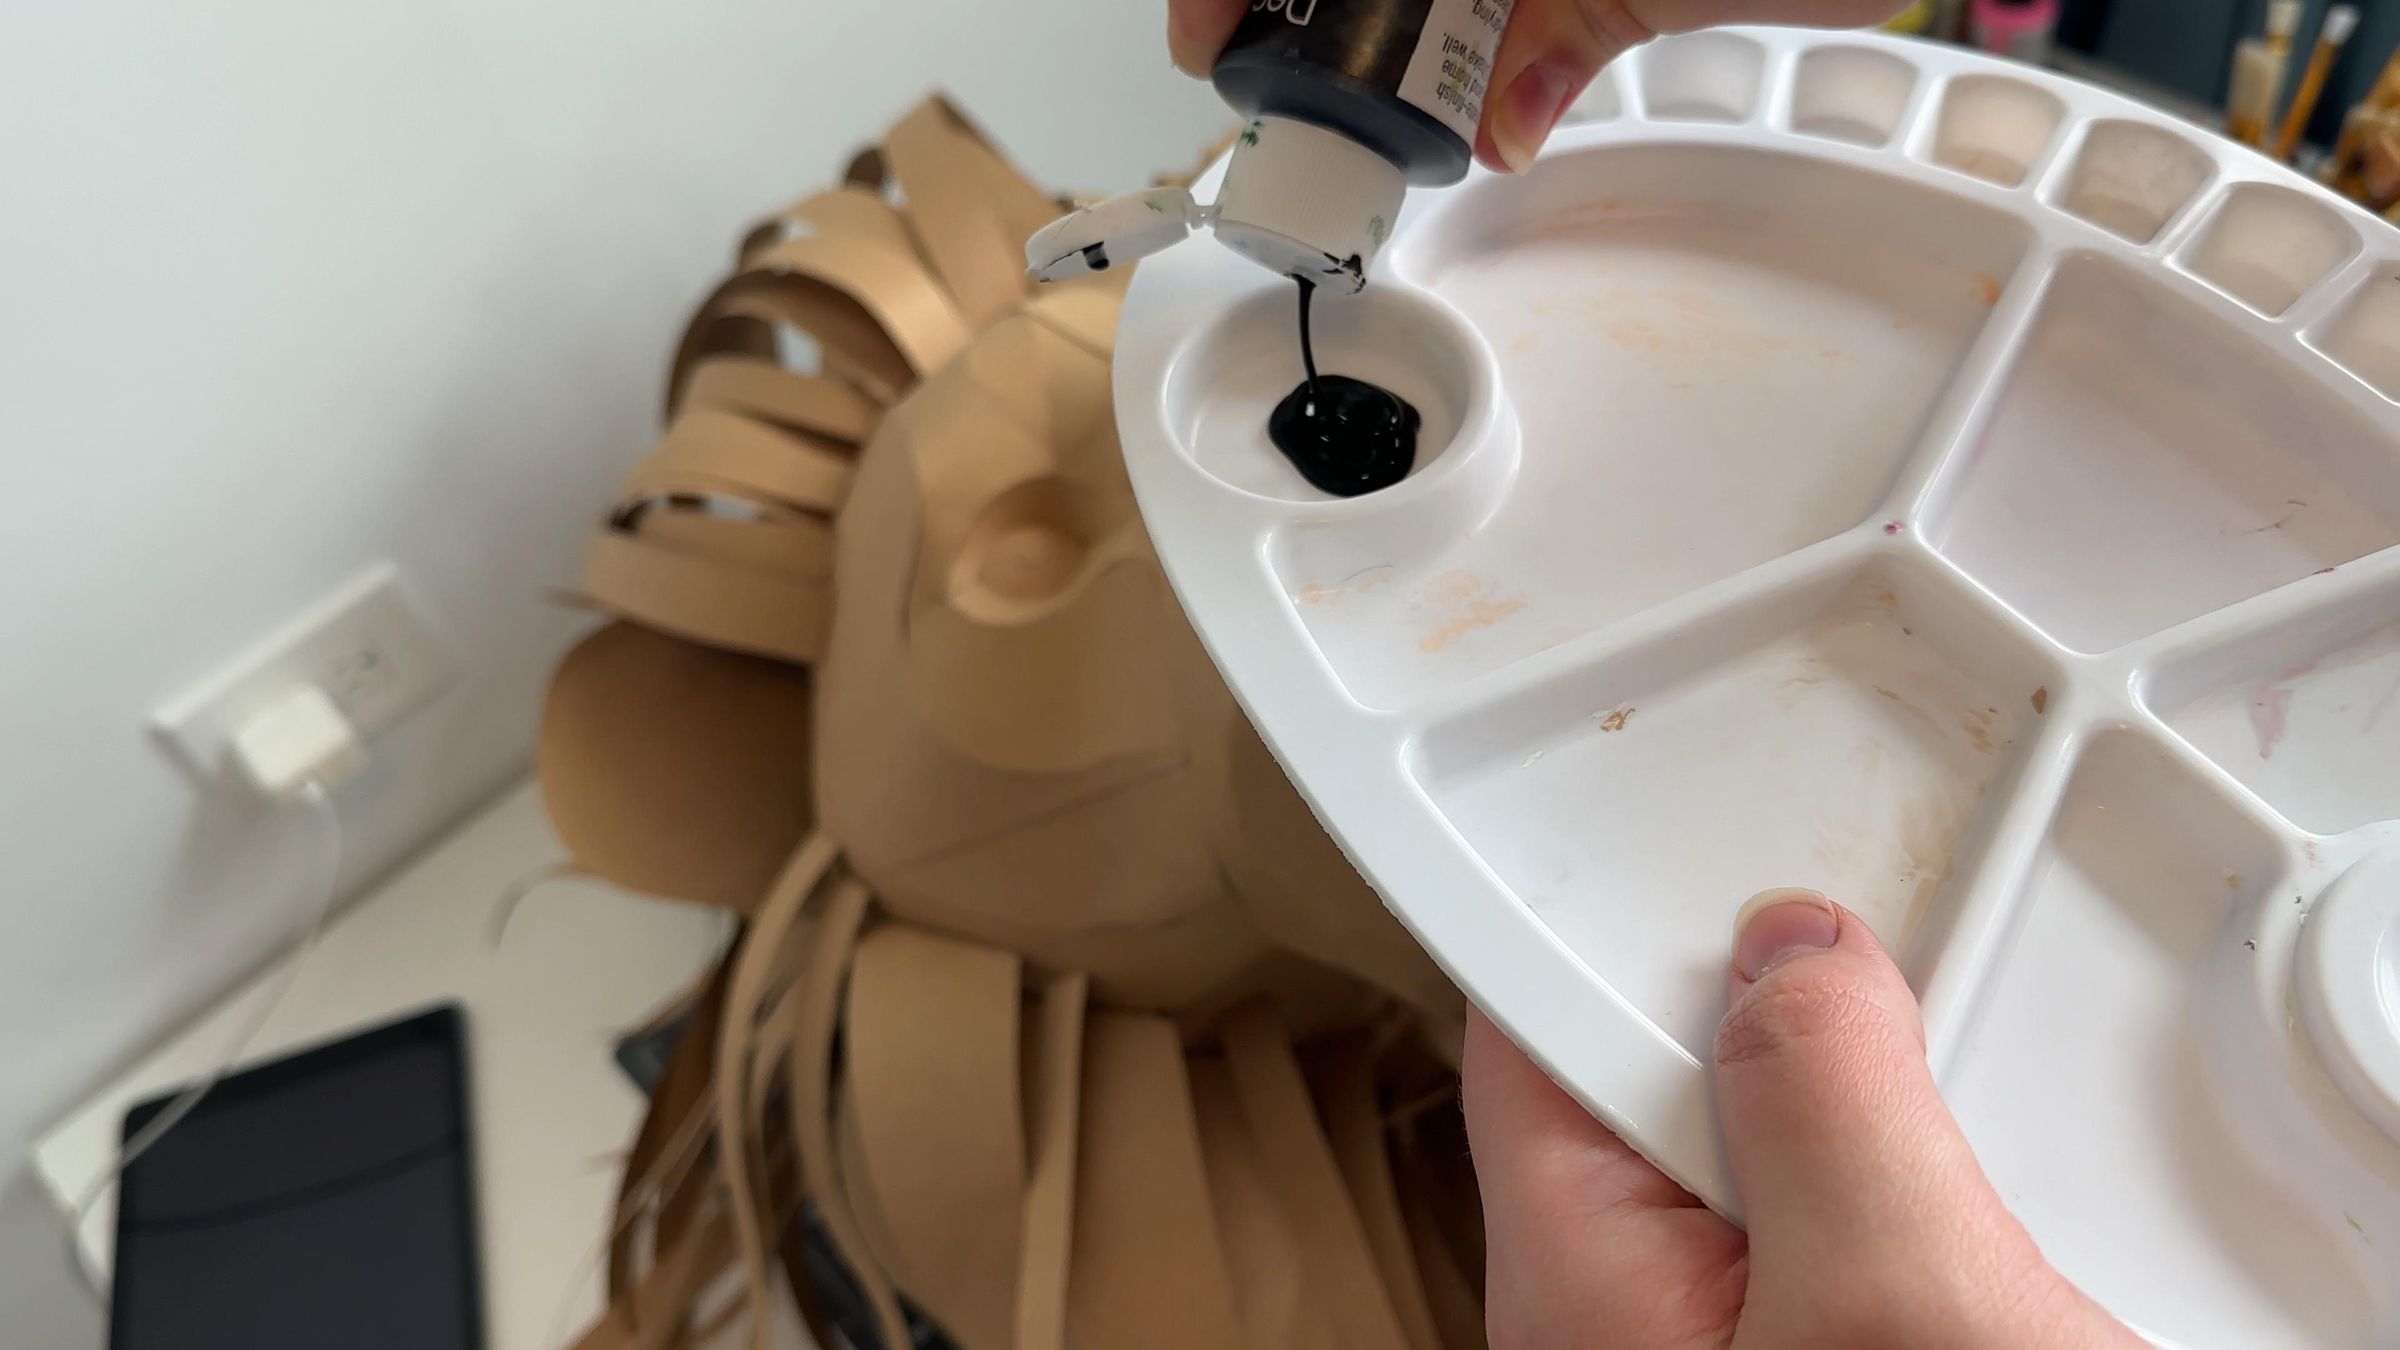
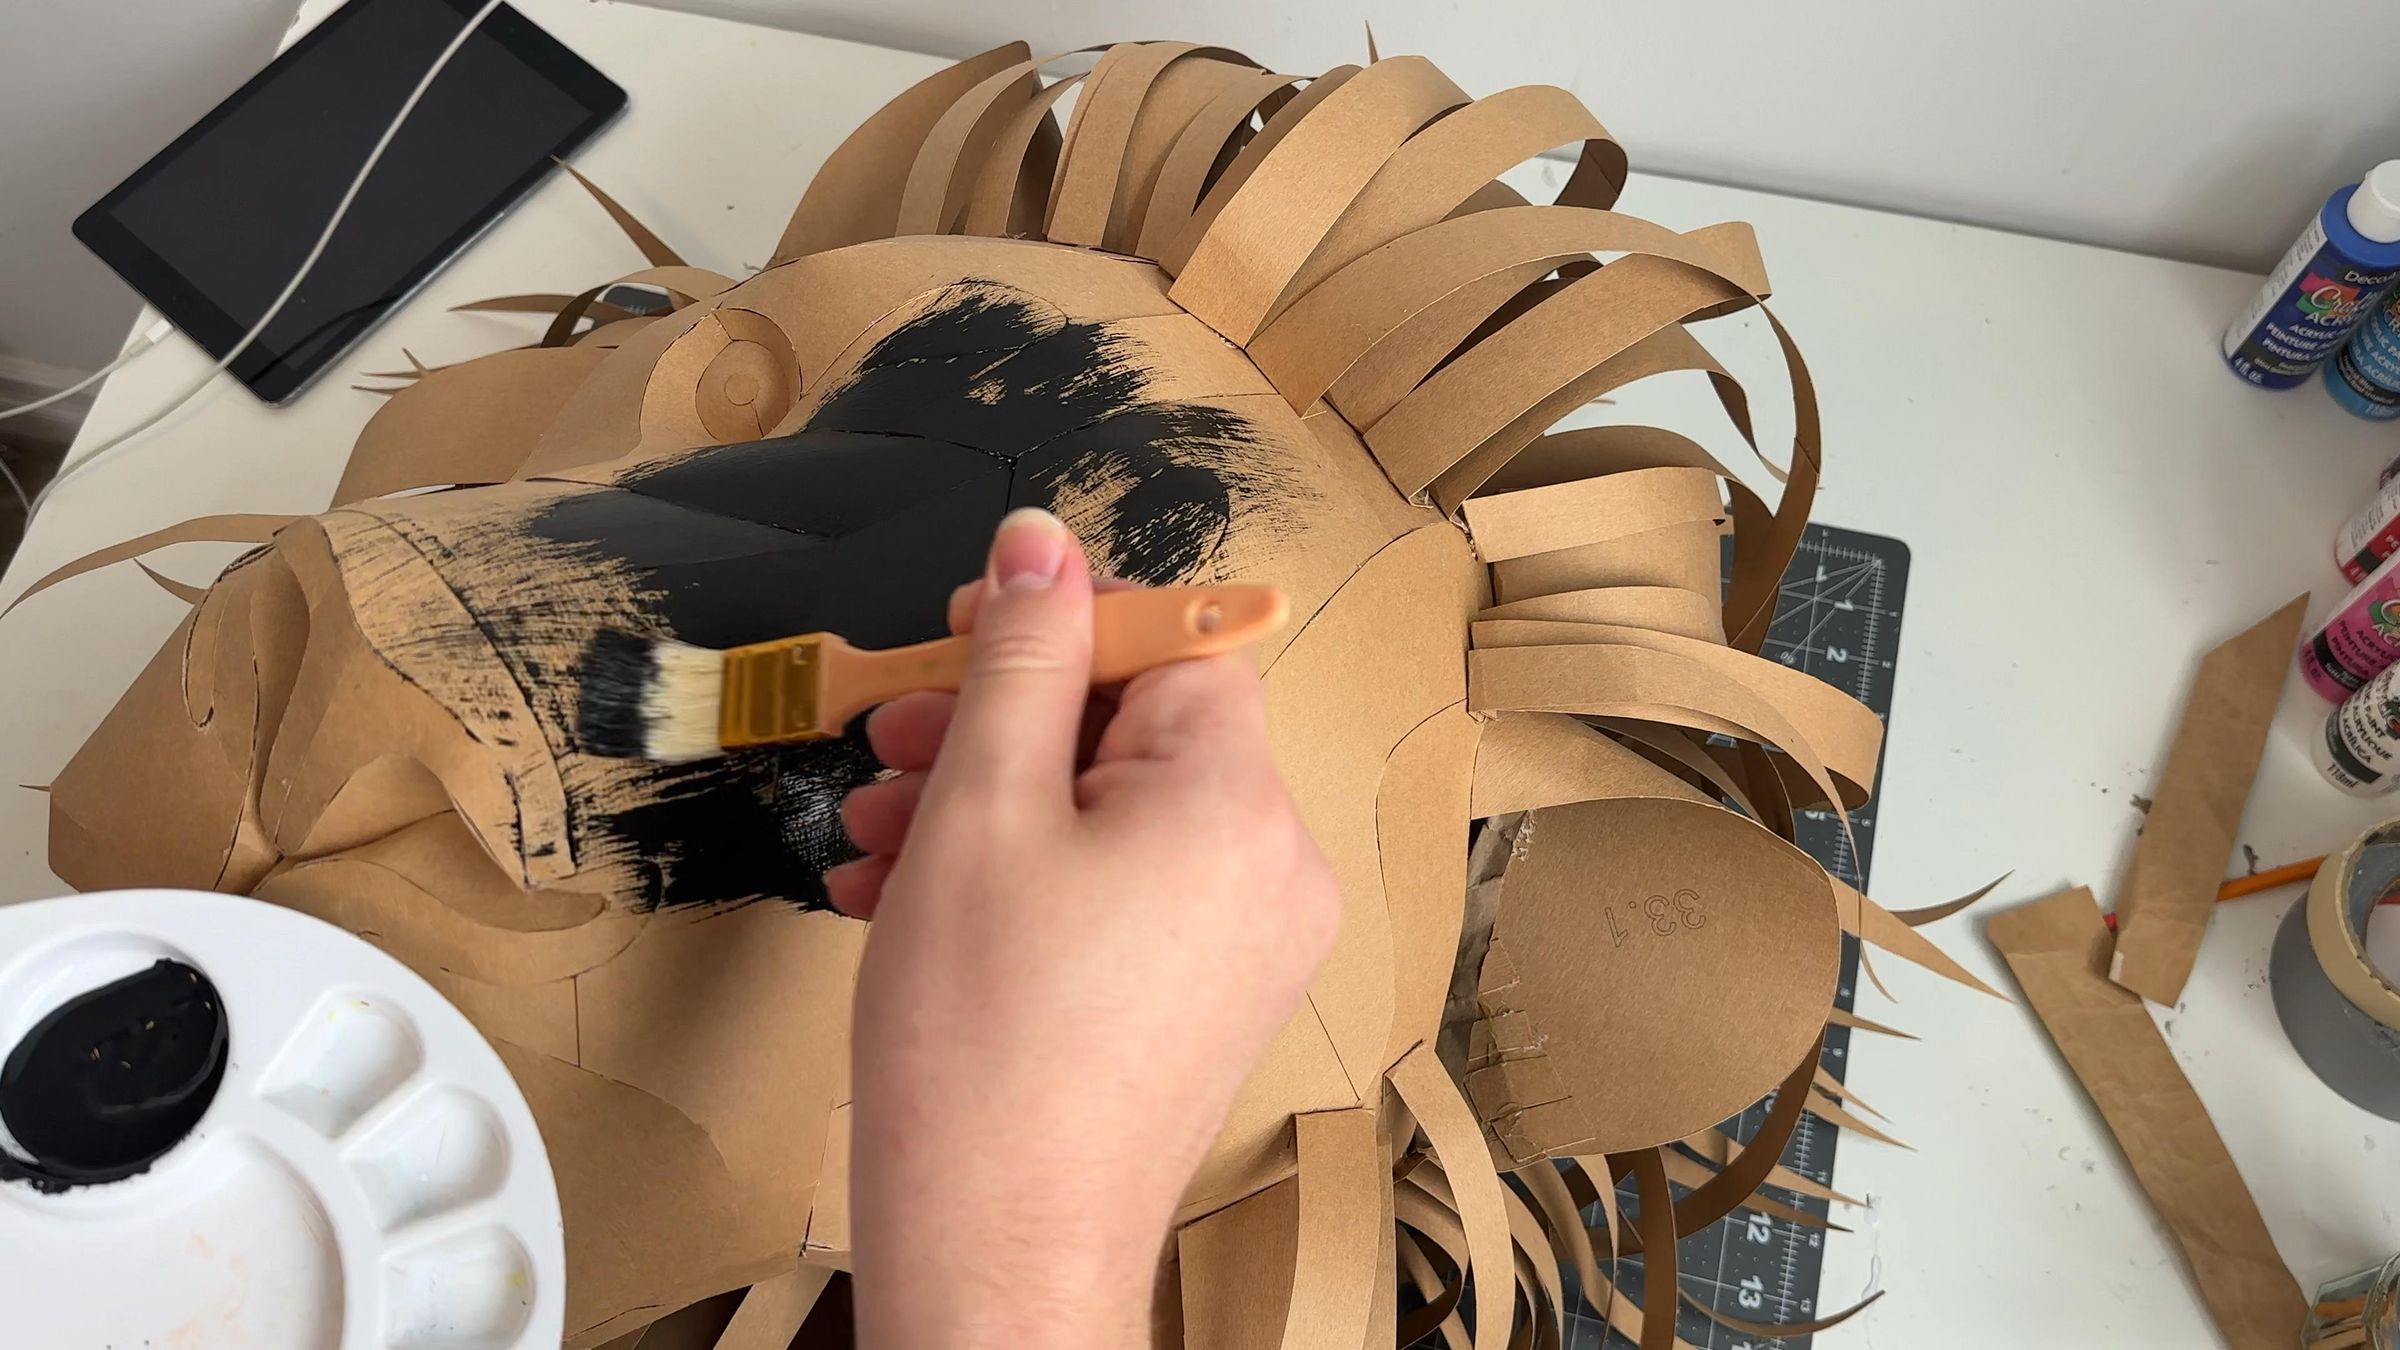
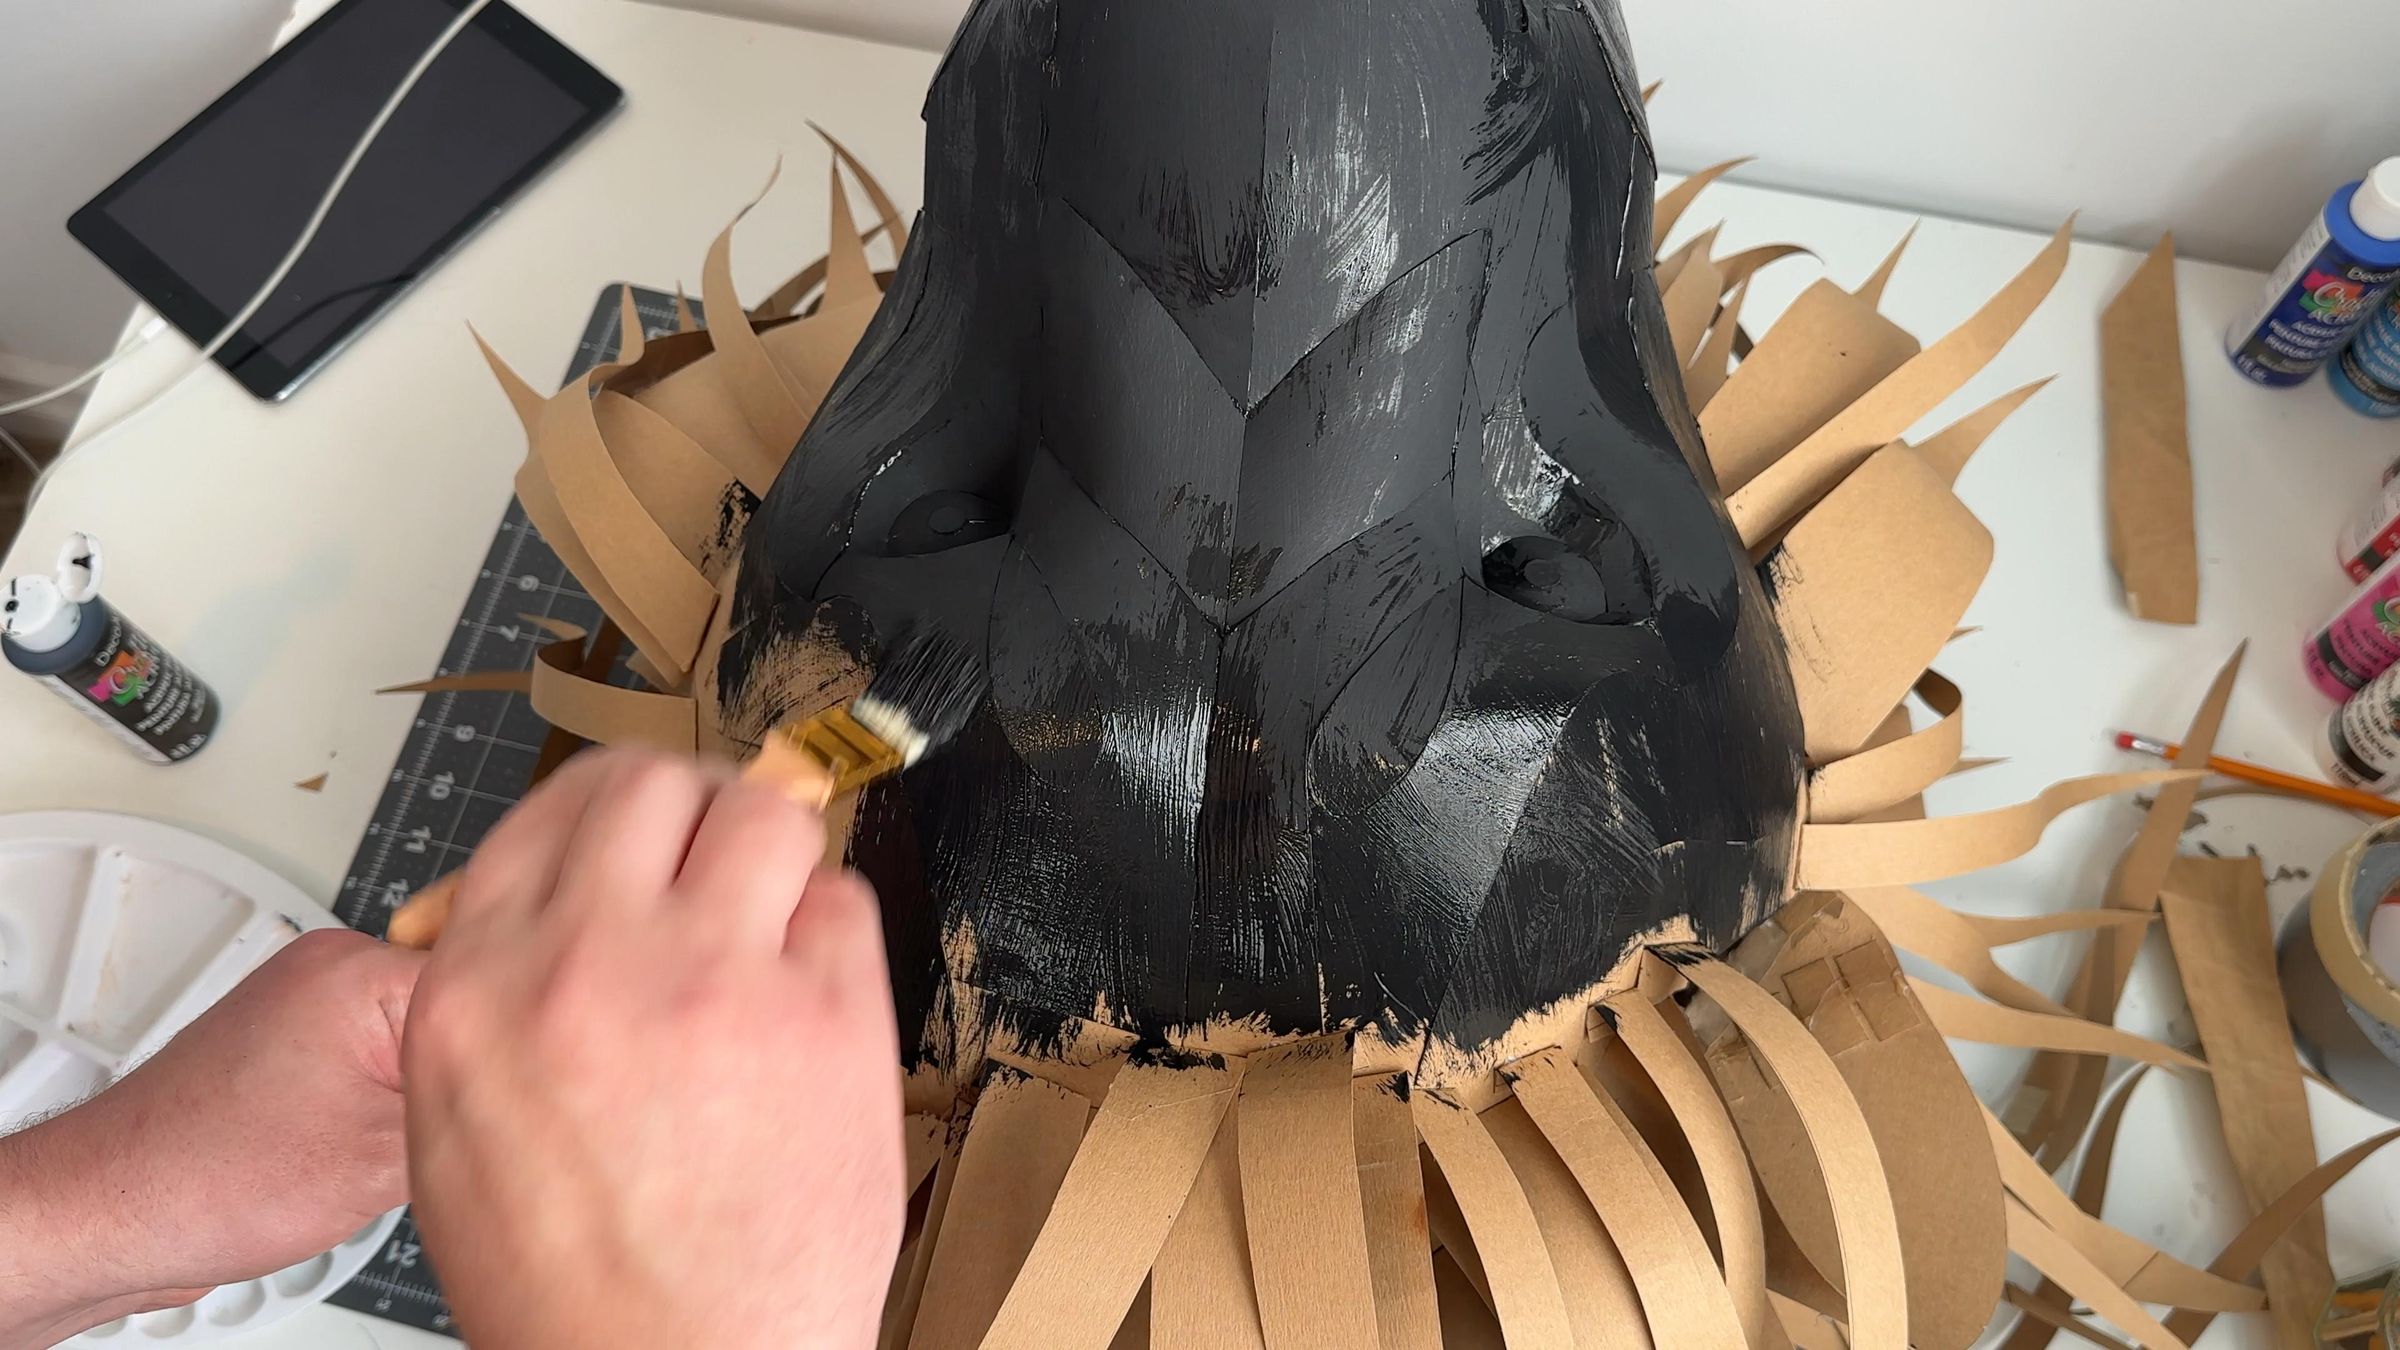
Start with painting the base in black. Paint the entire head black and let it dry.
Step 11: Paint It Orange
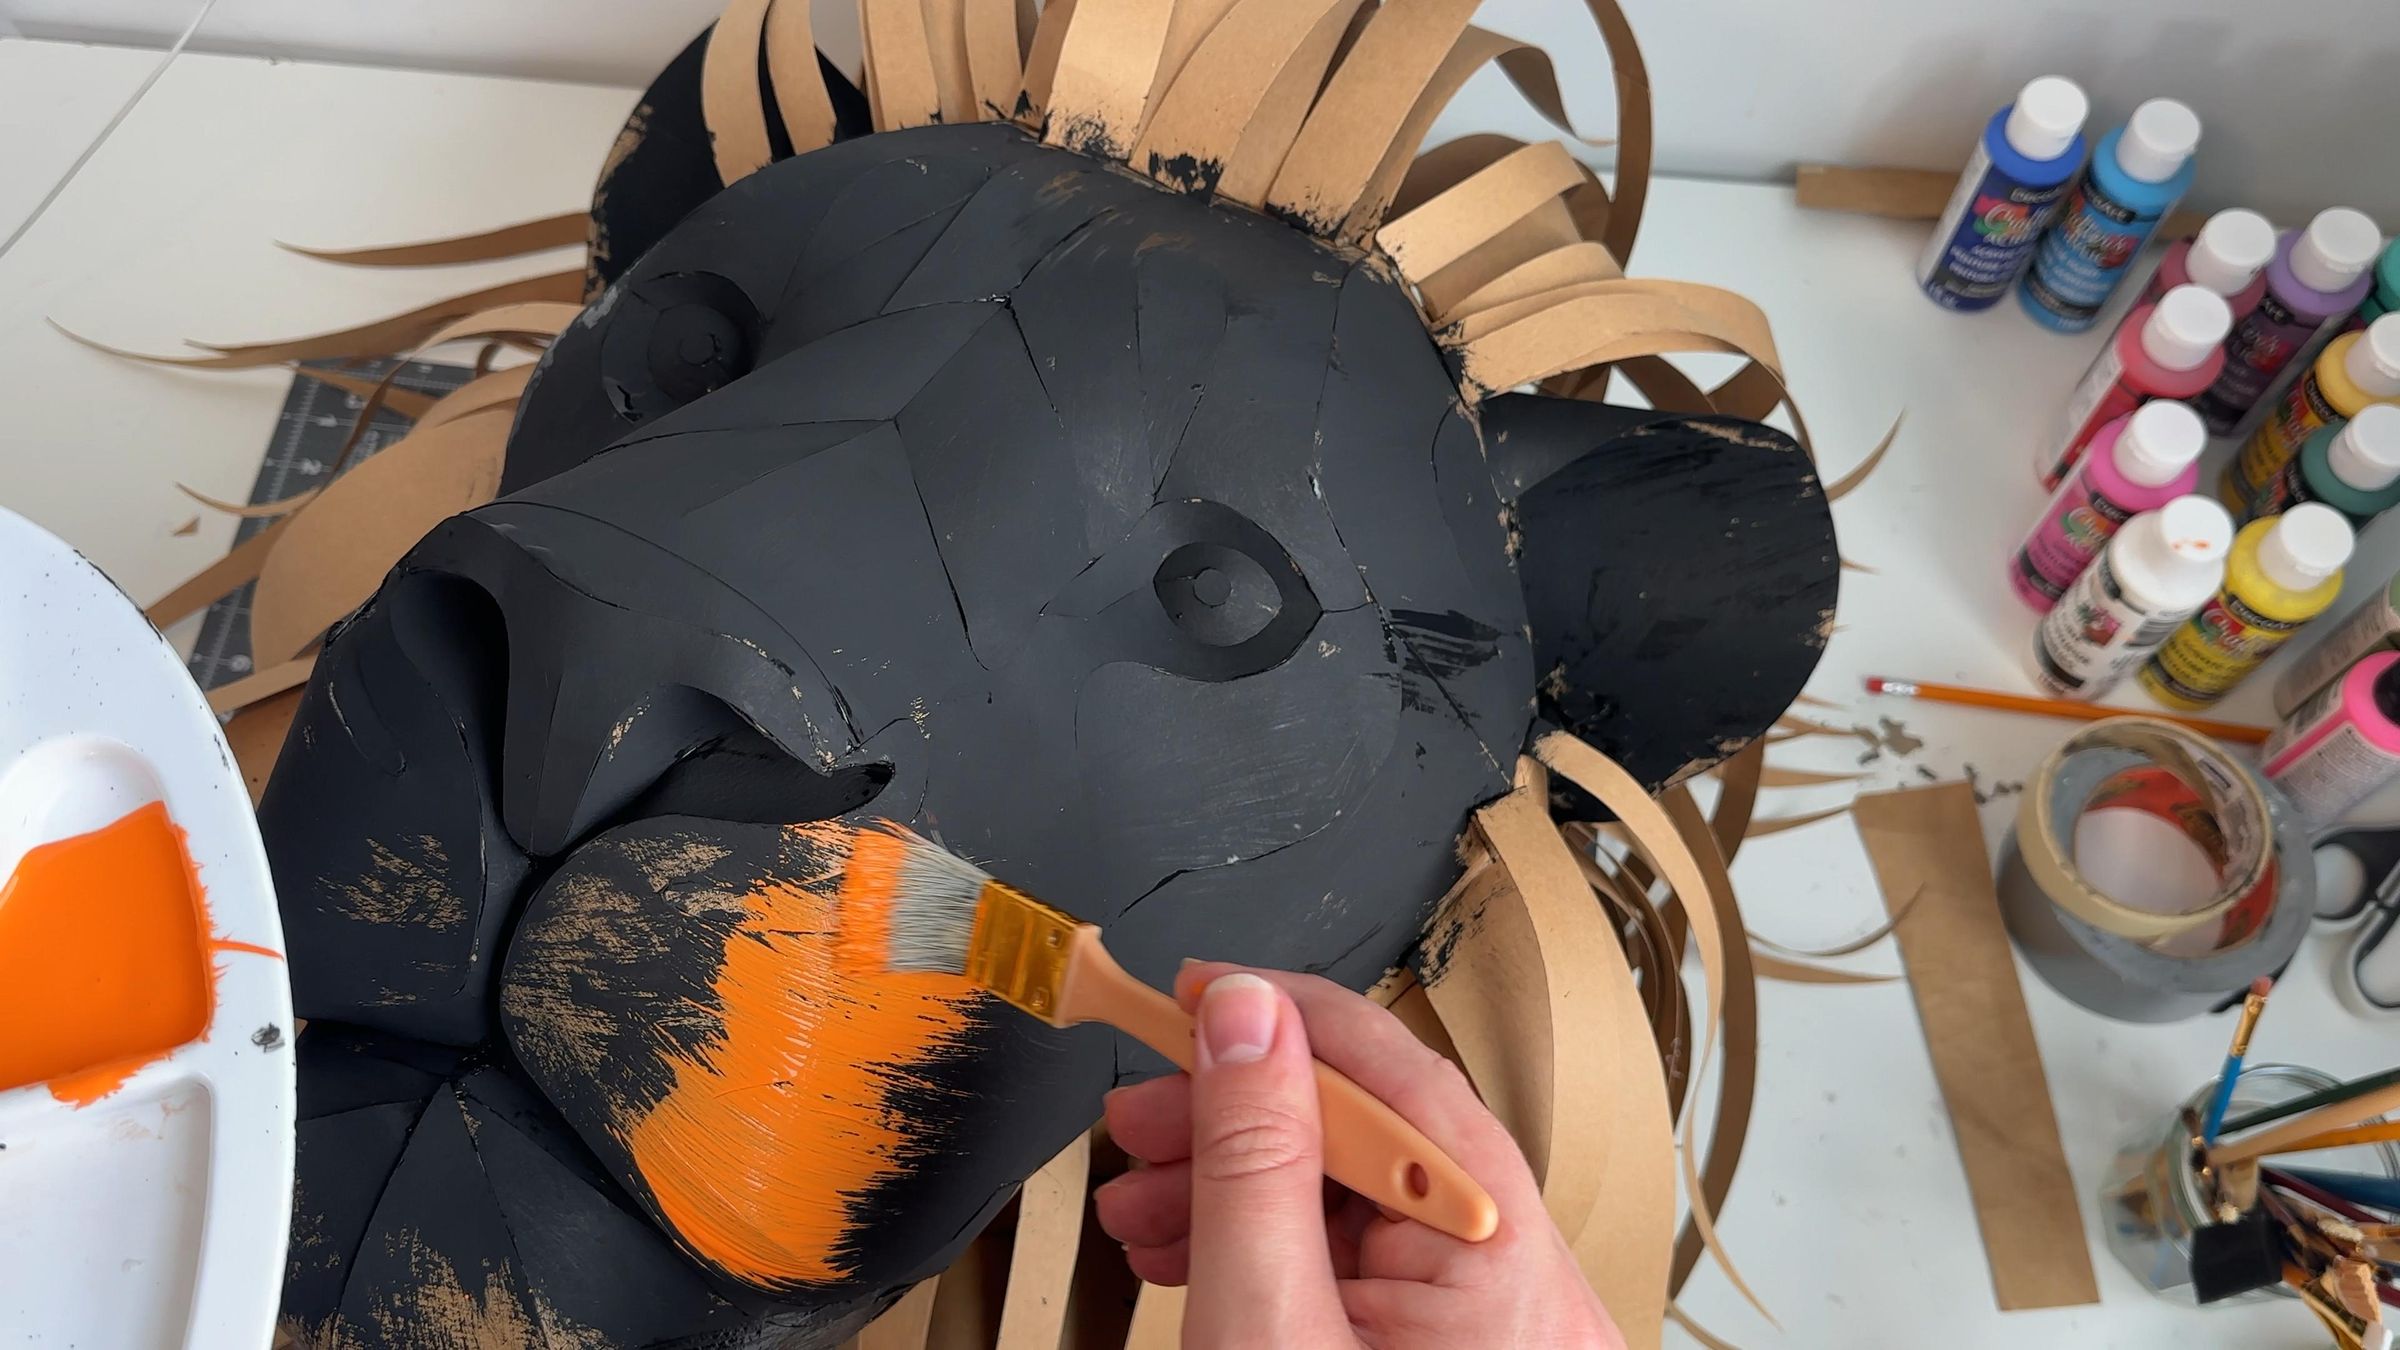
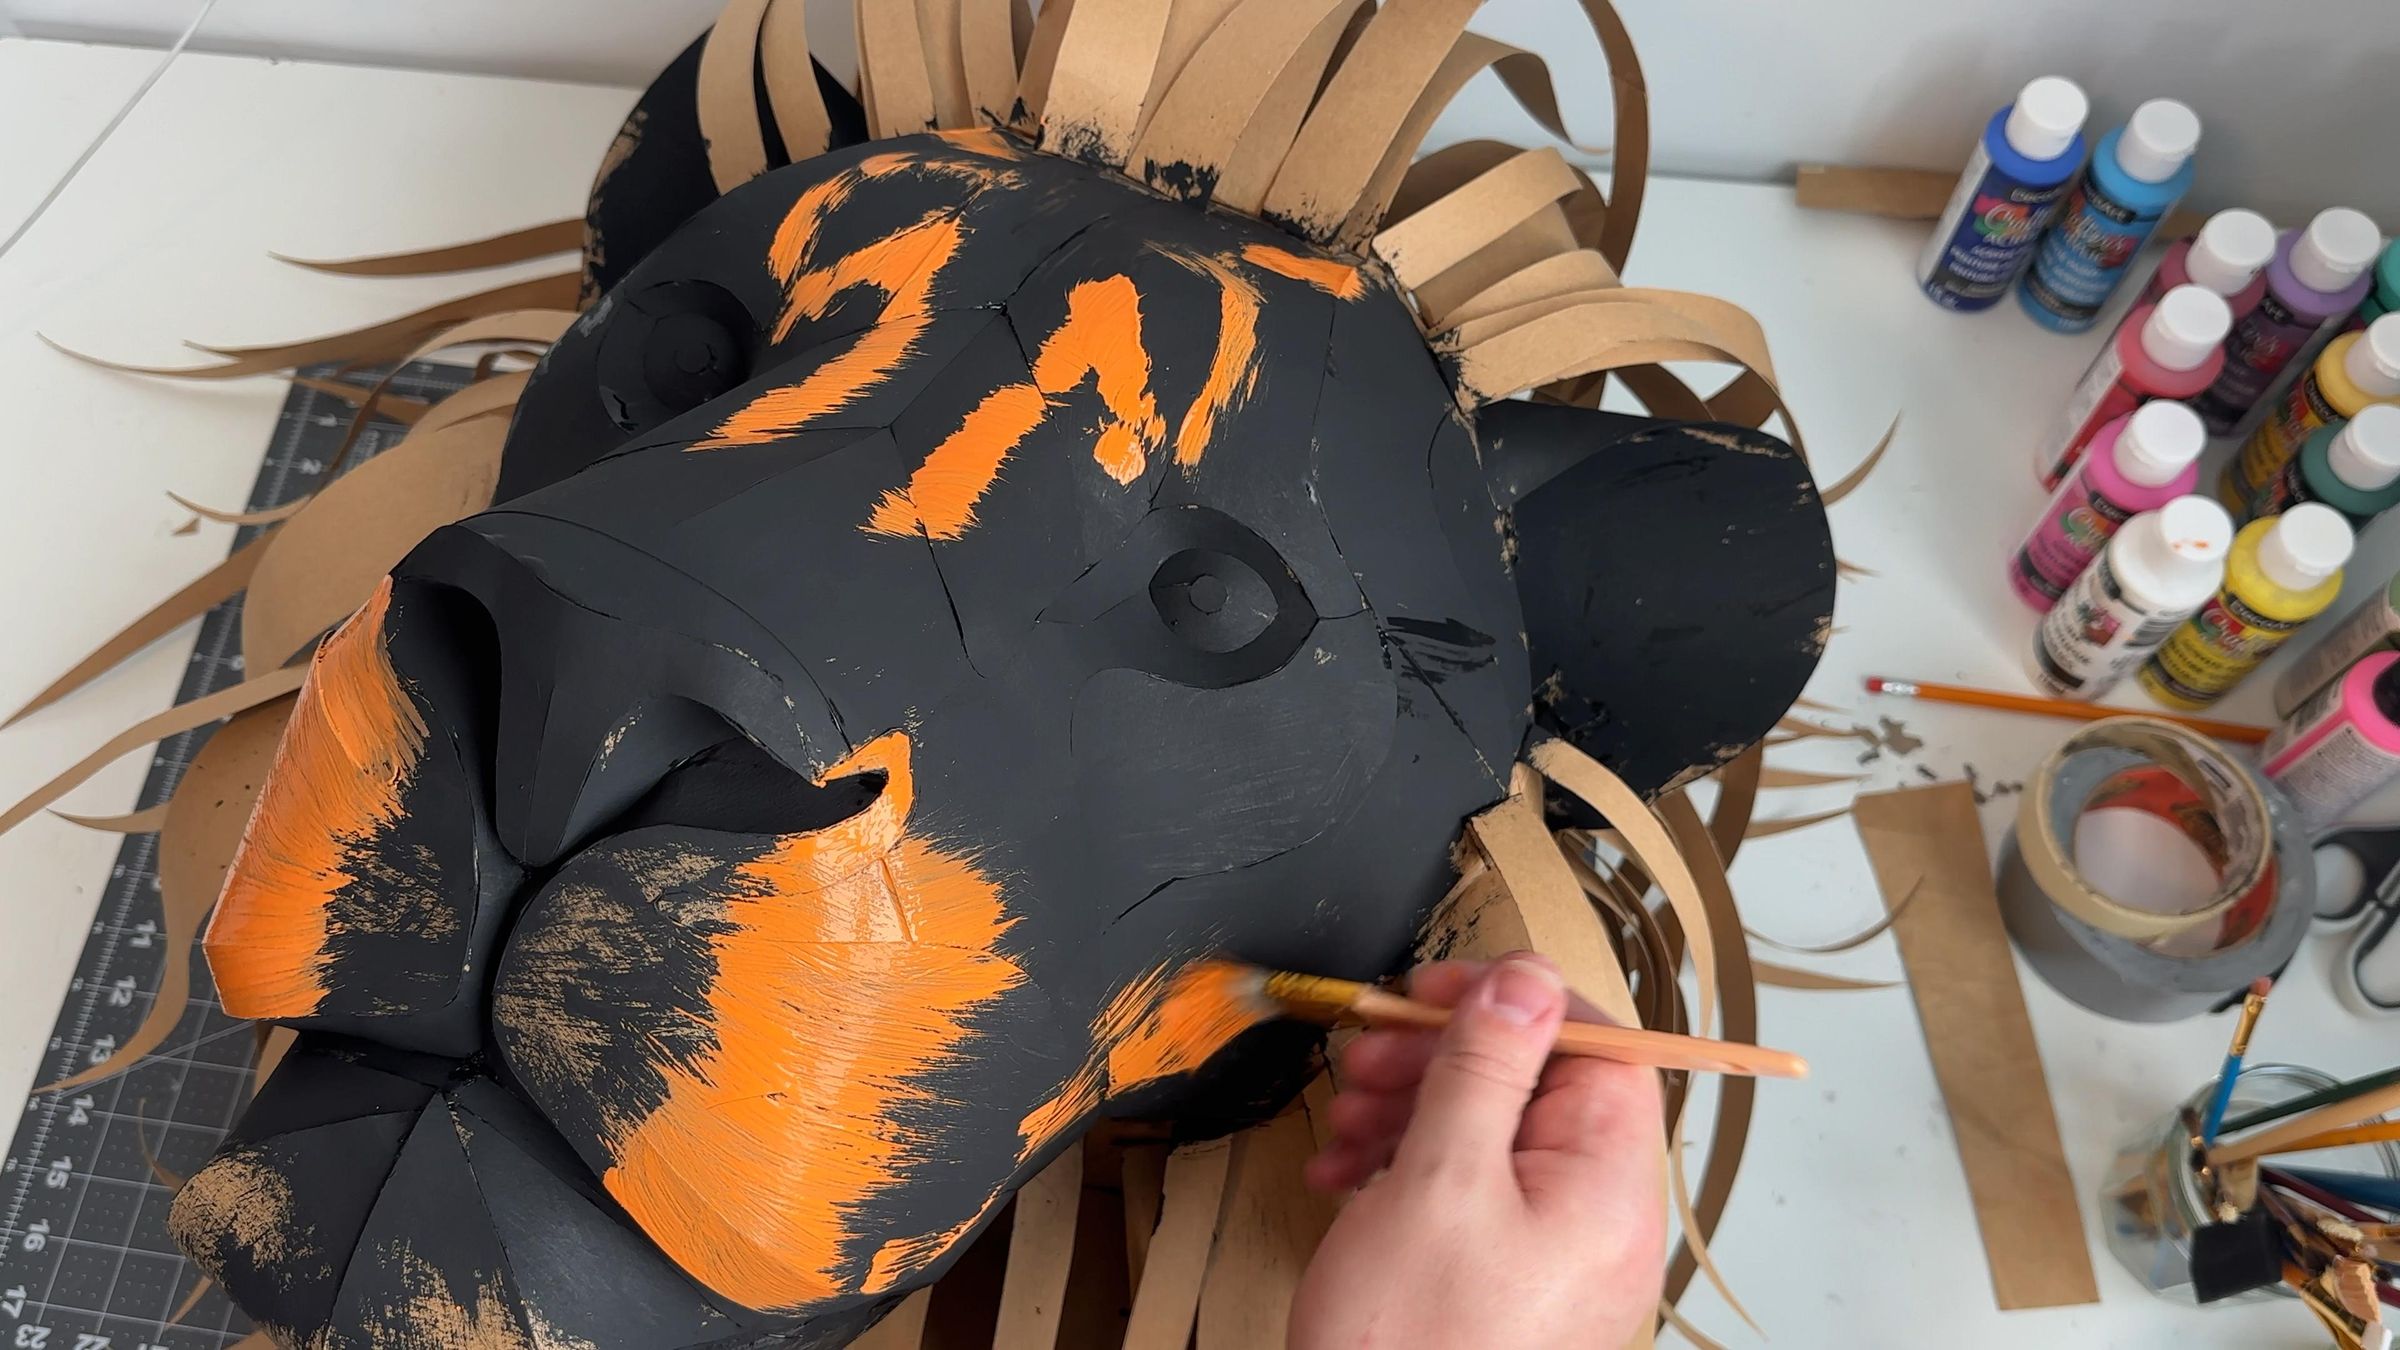
I chose orange as one of the main colors.
Step 12: Add Colored Accents
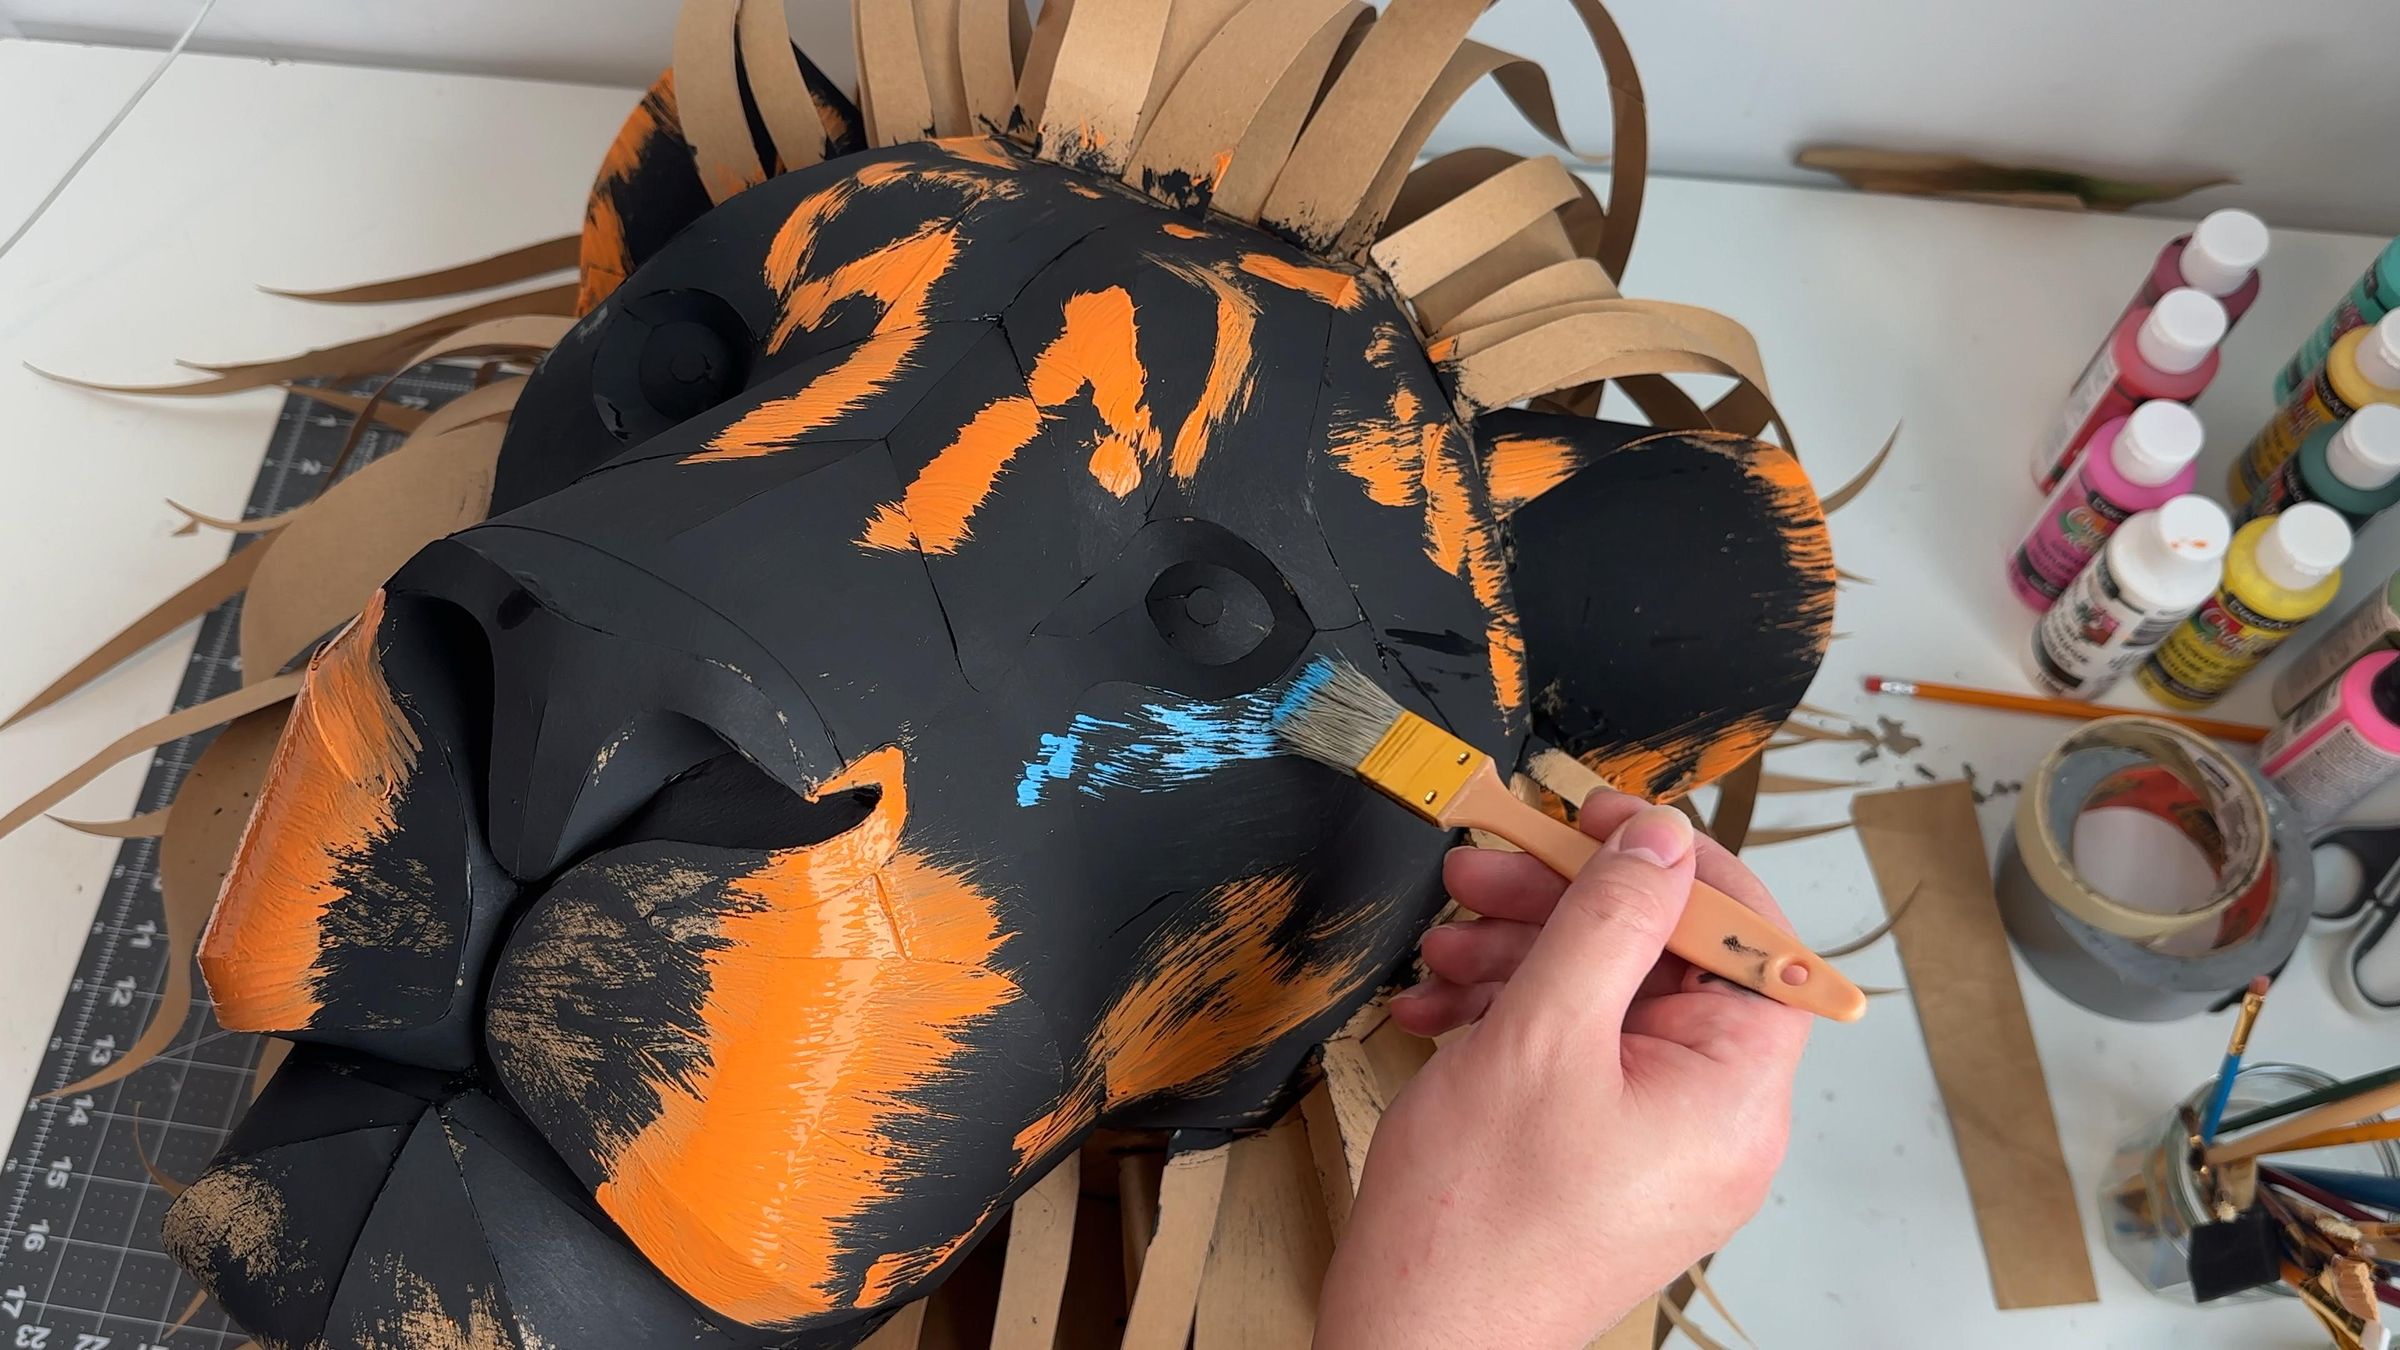
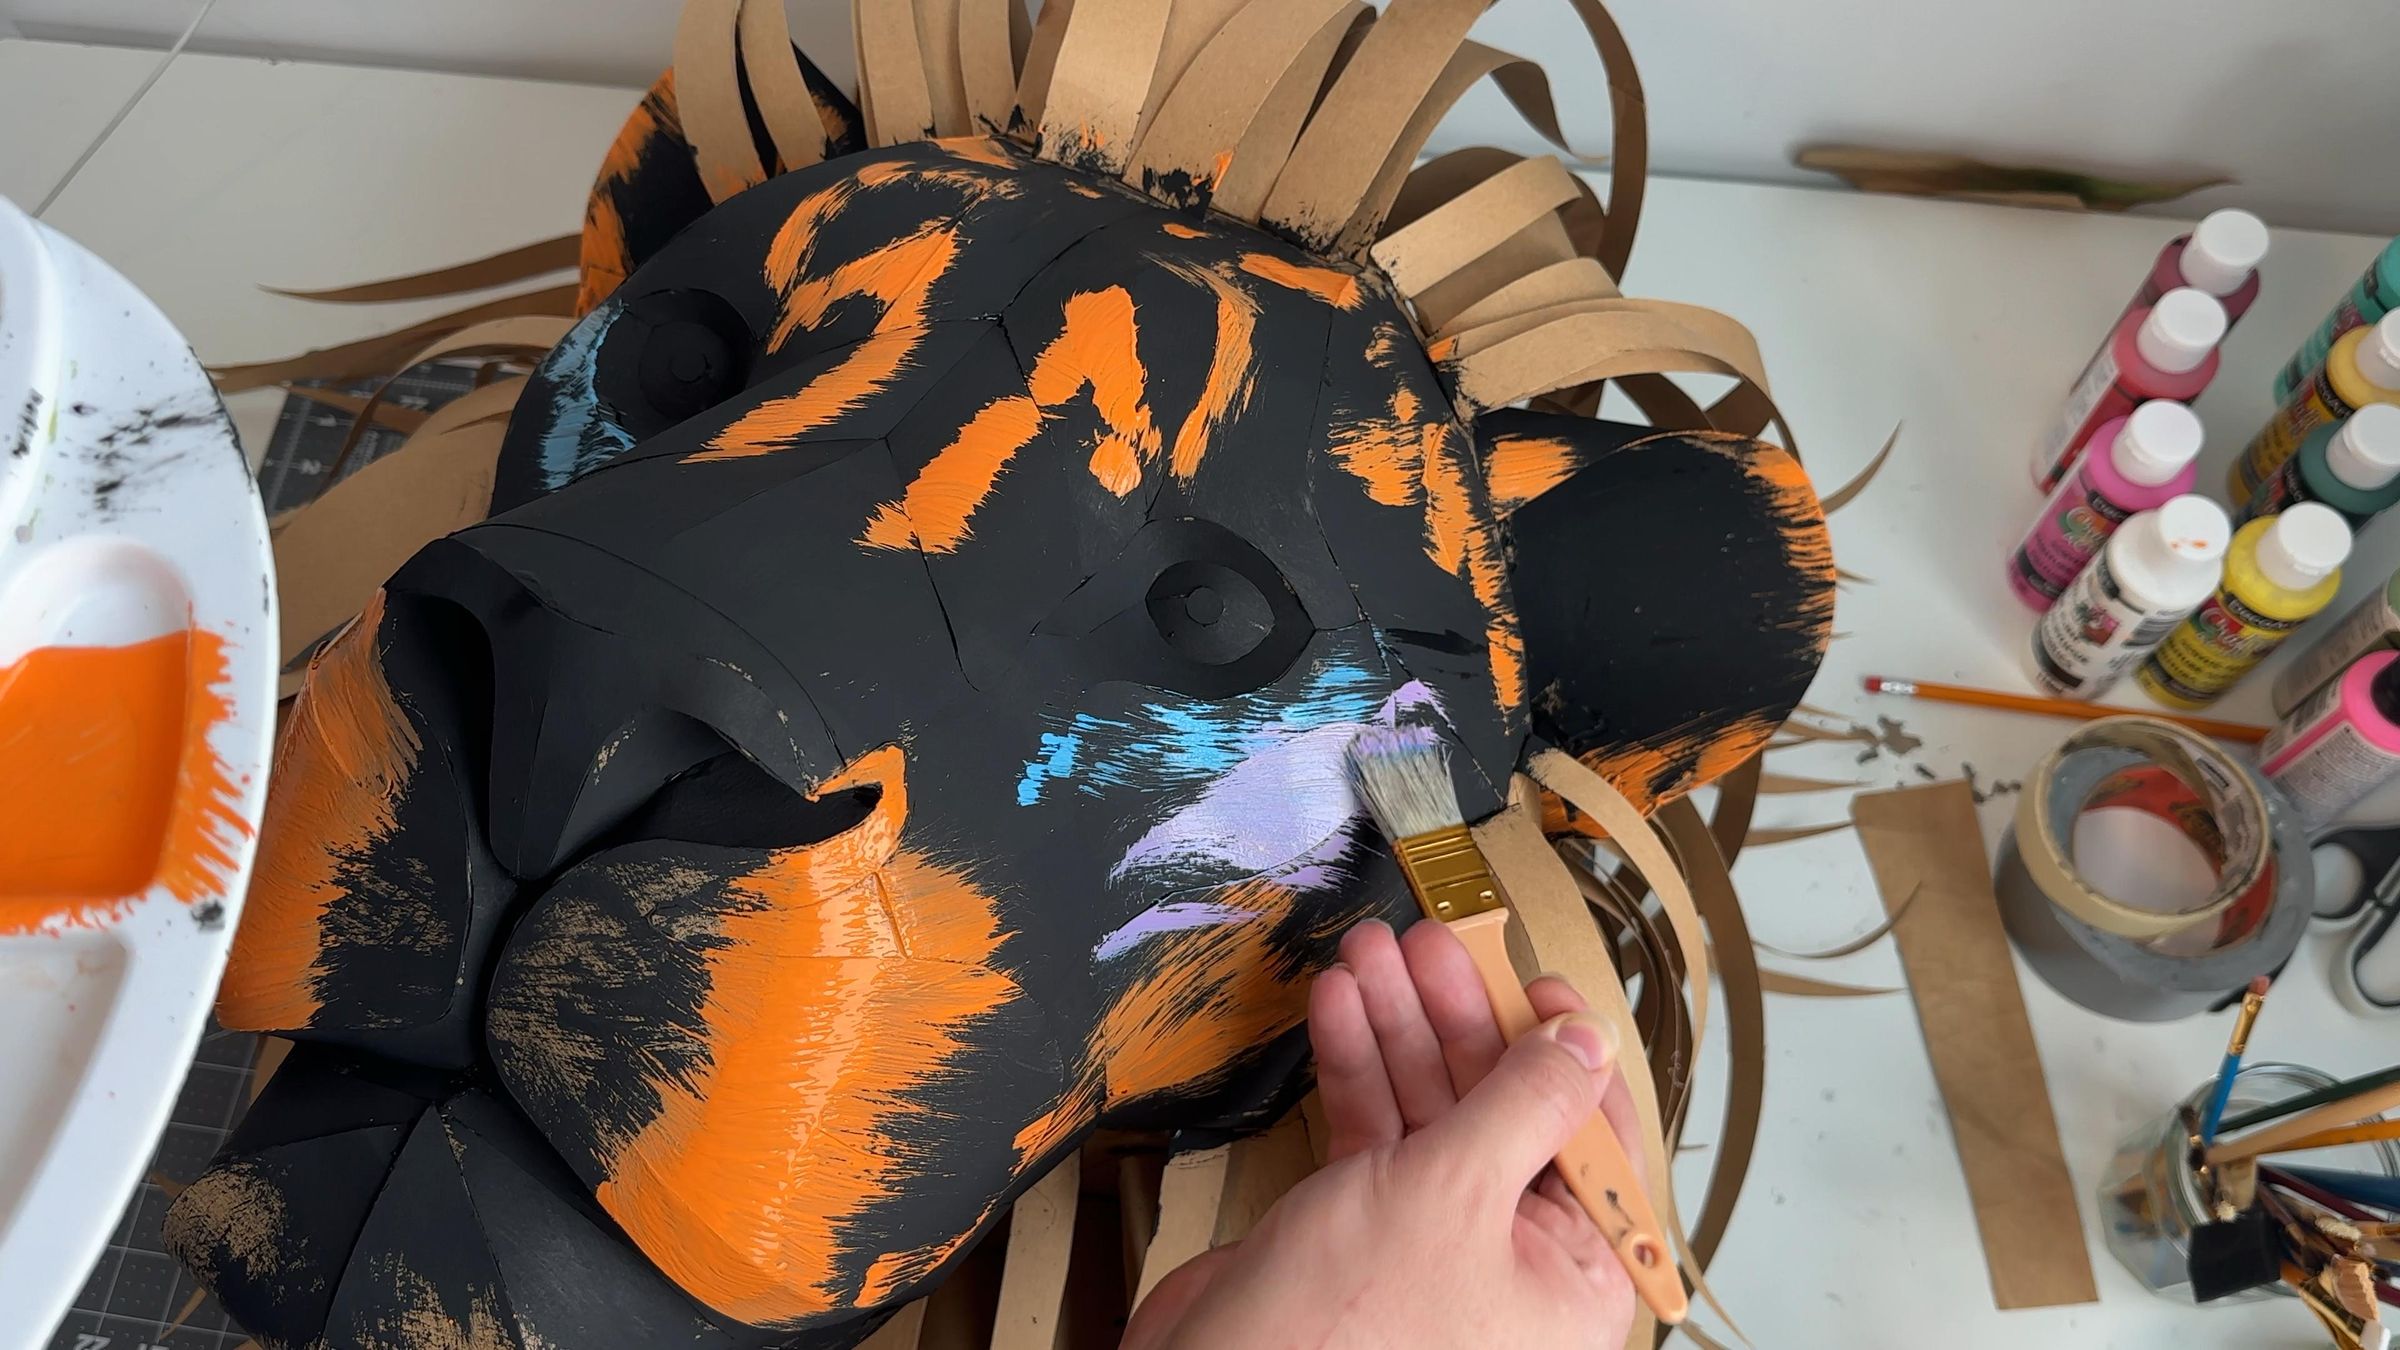
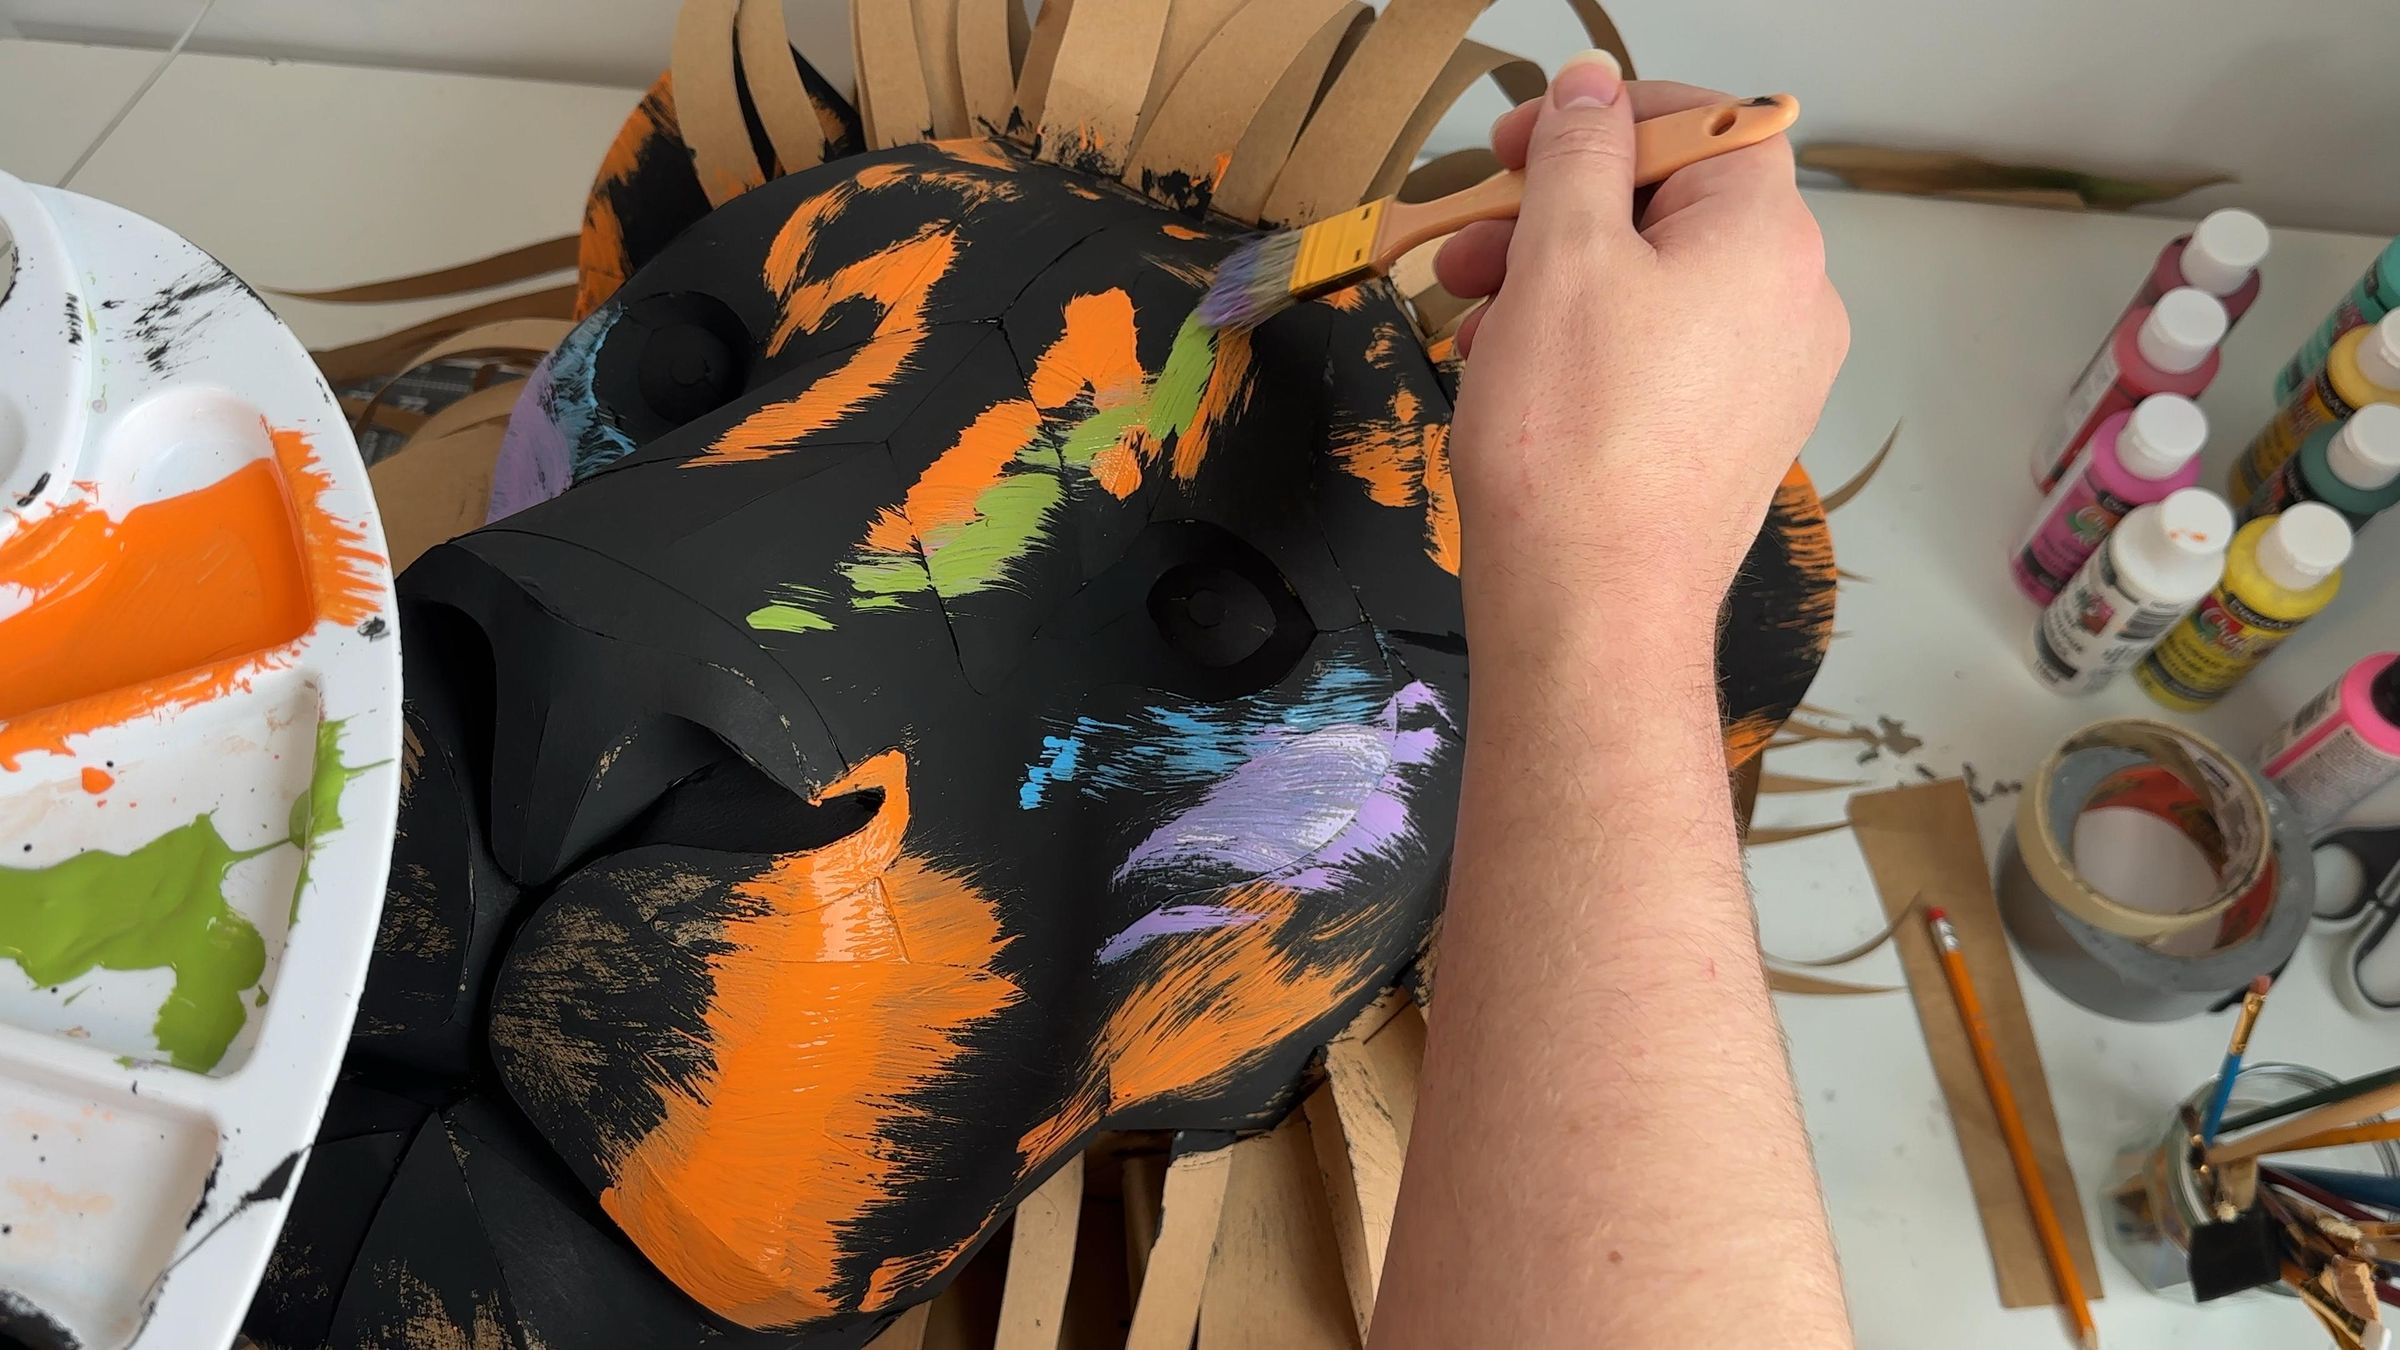
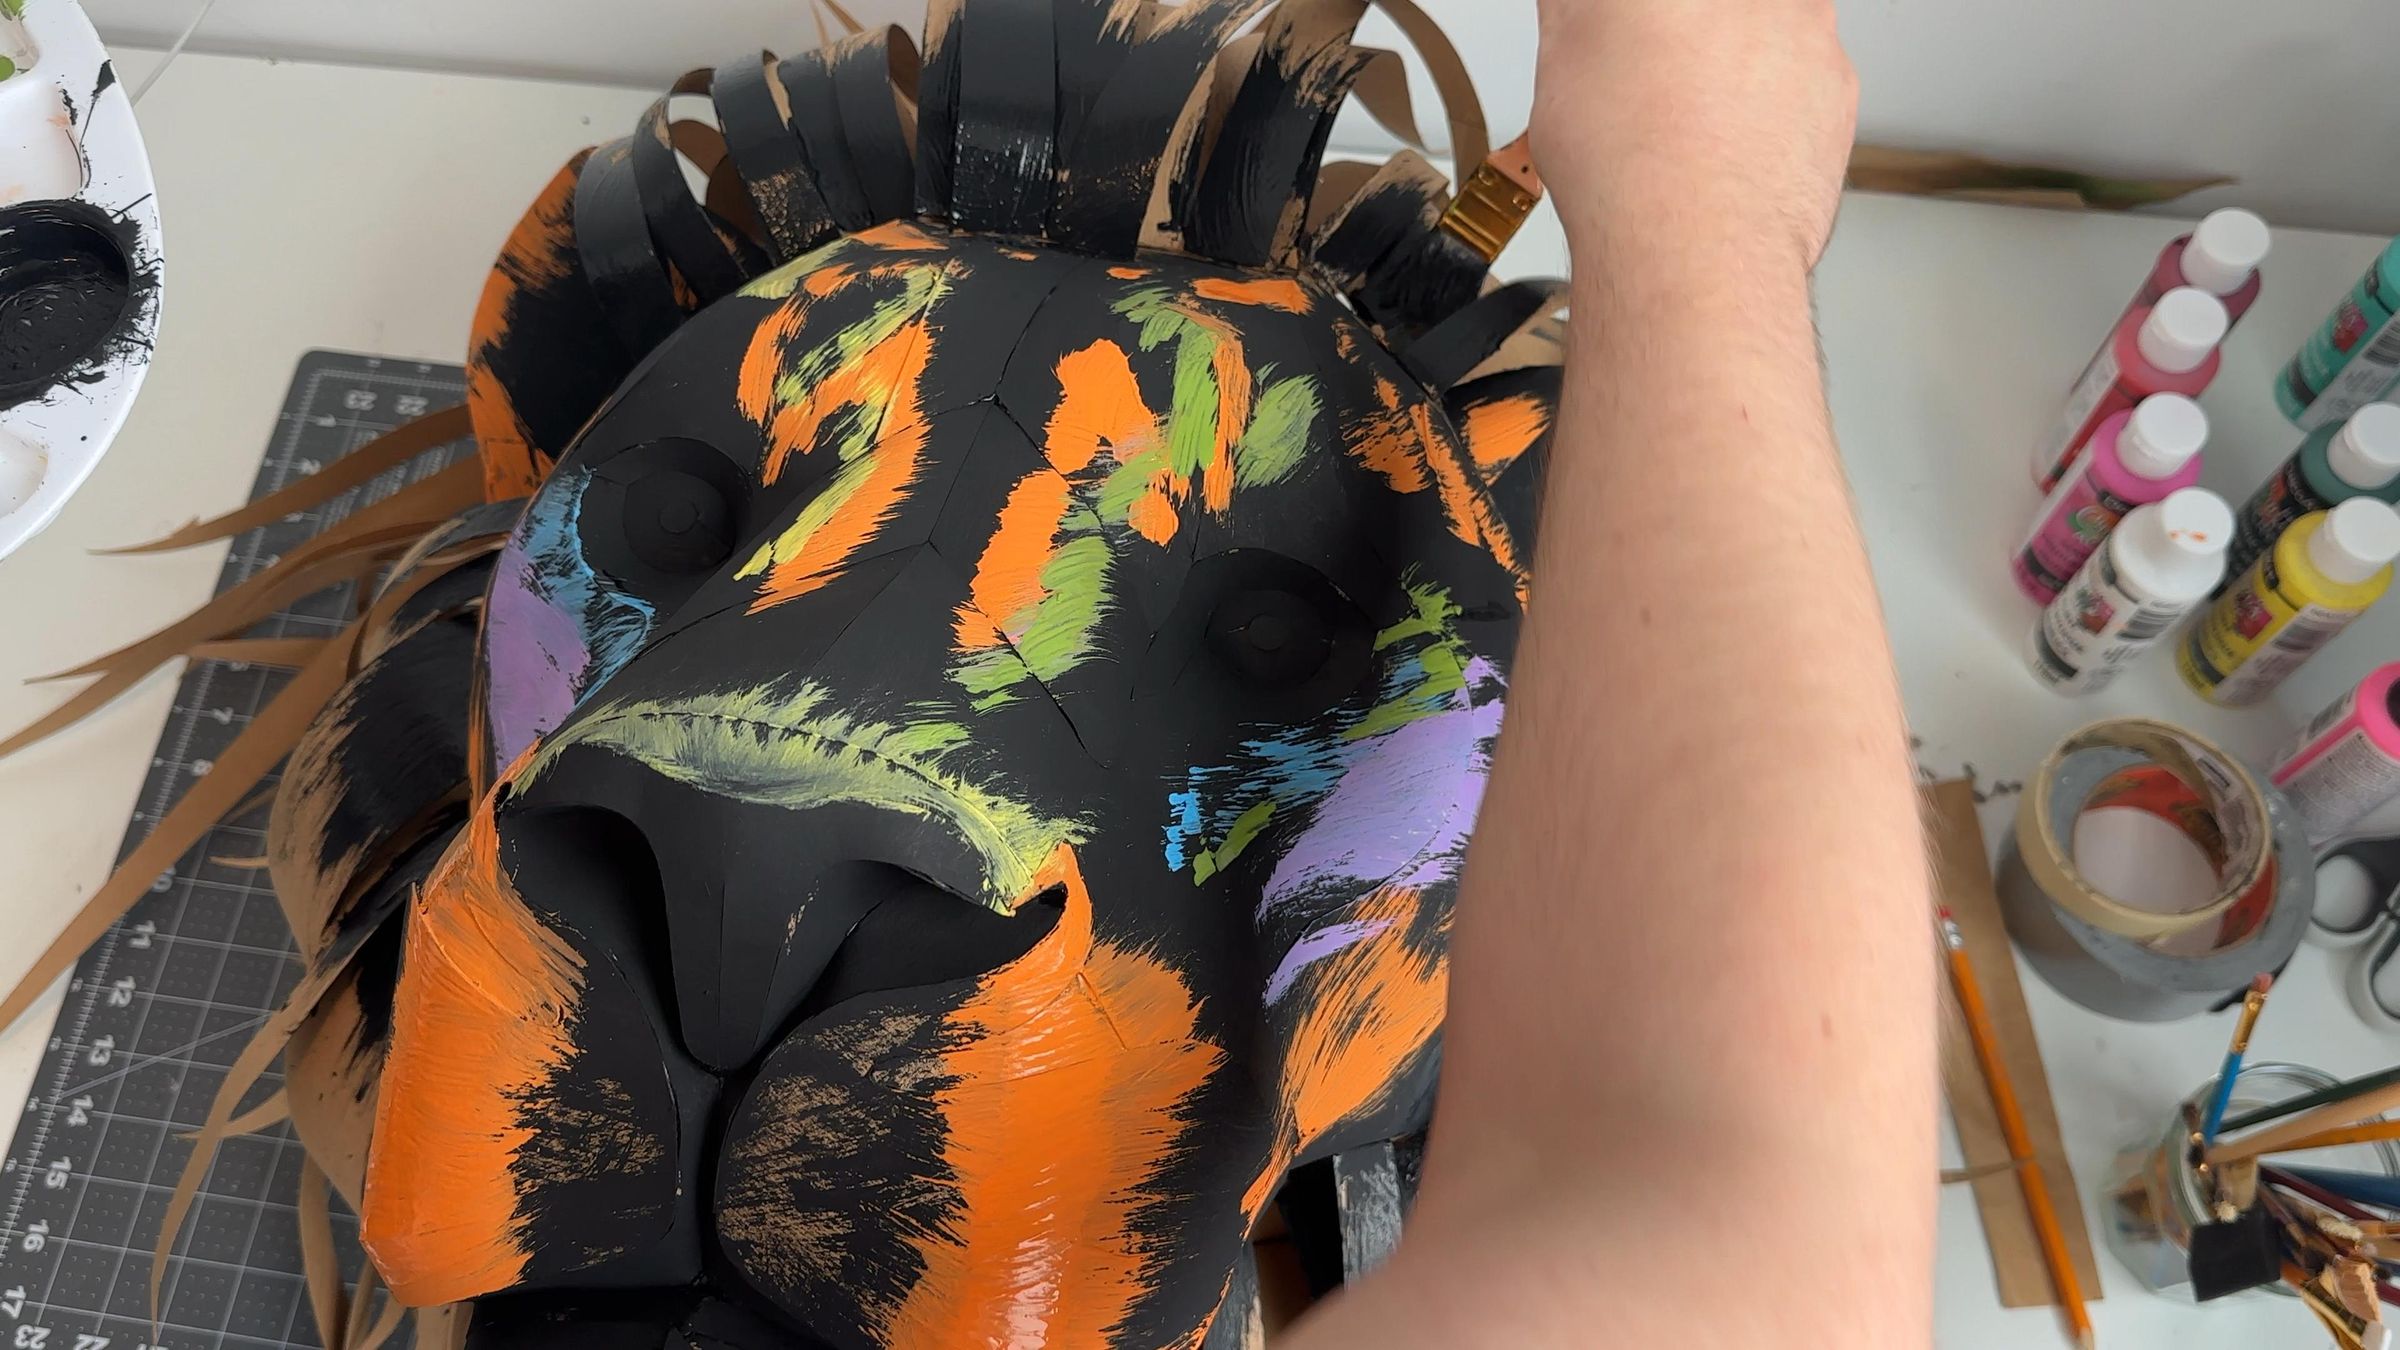
Add colorful spots and finish painting the base of the mane in black
Step 13: Add White Accents
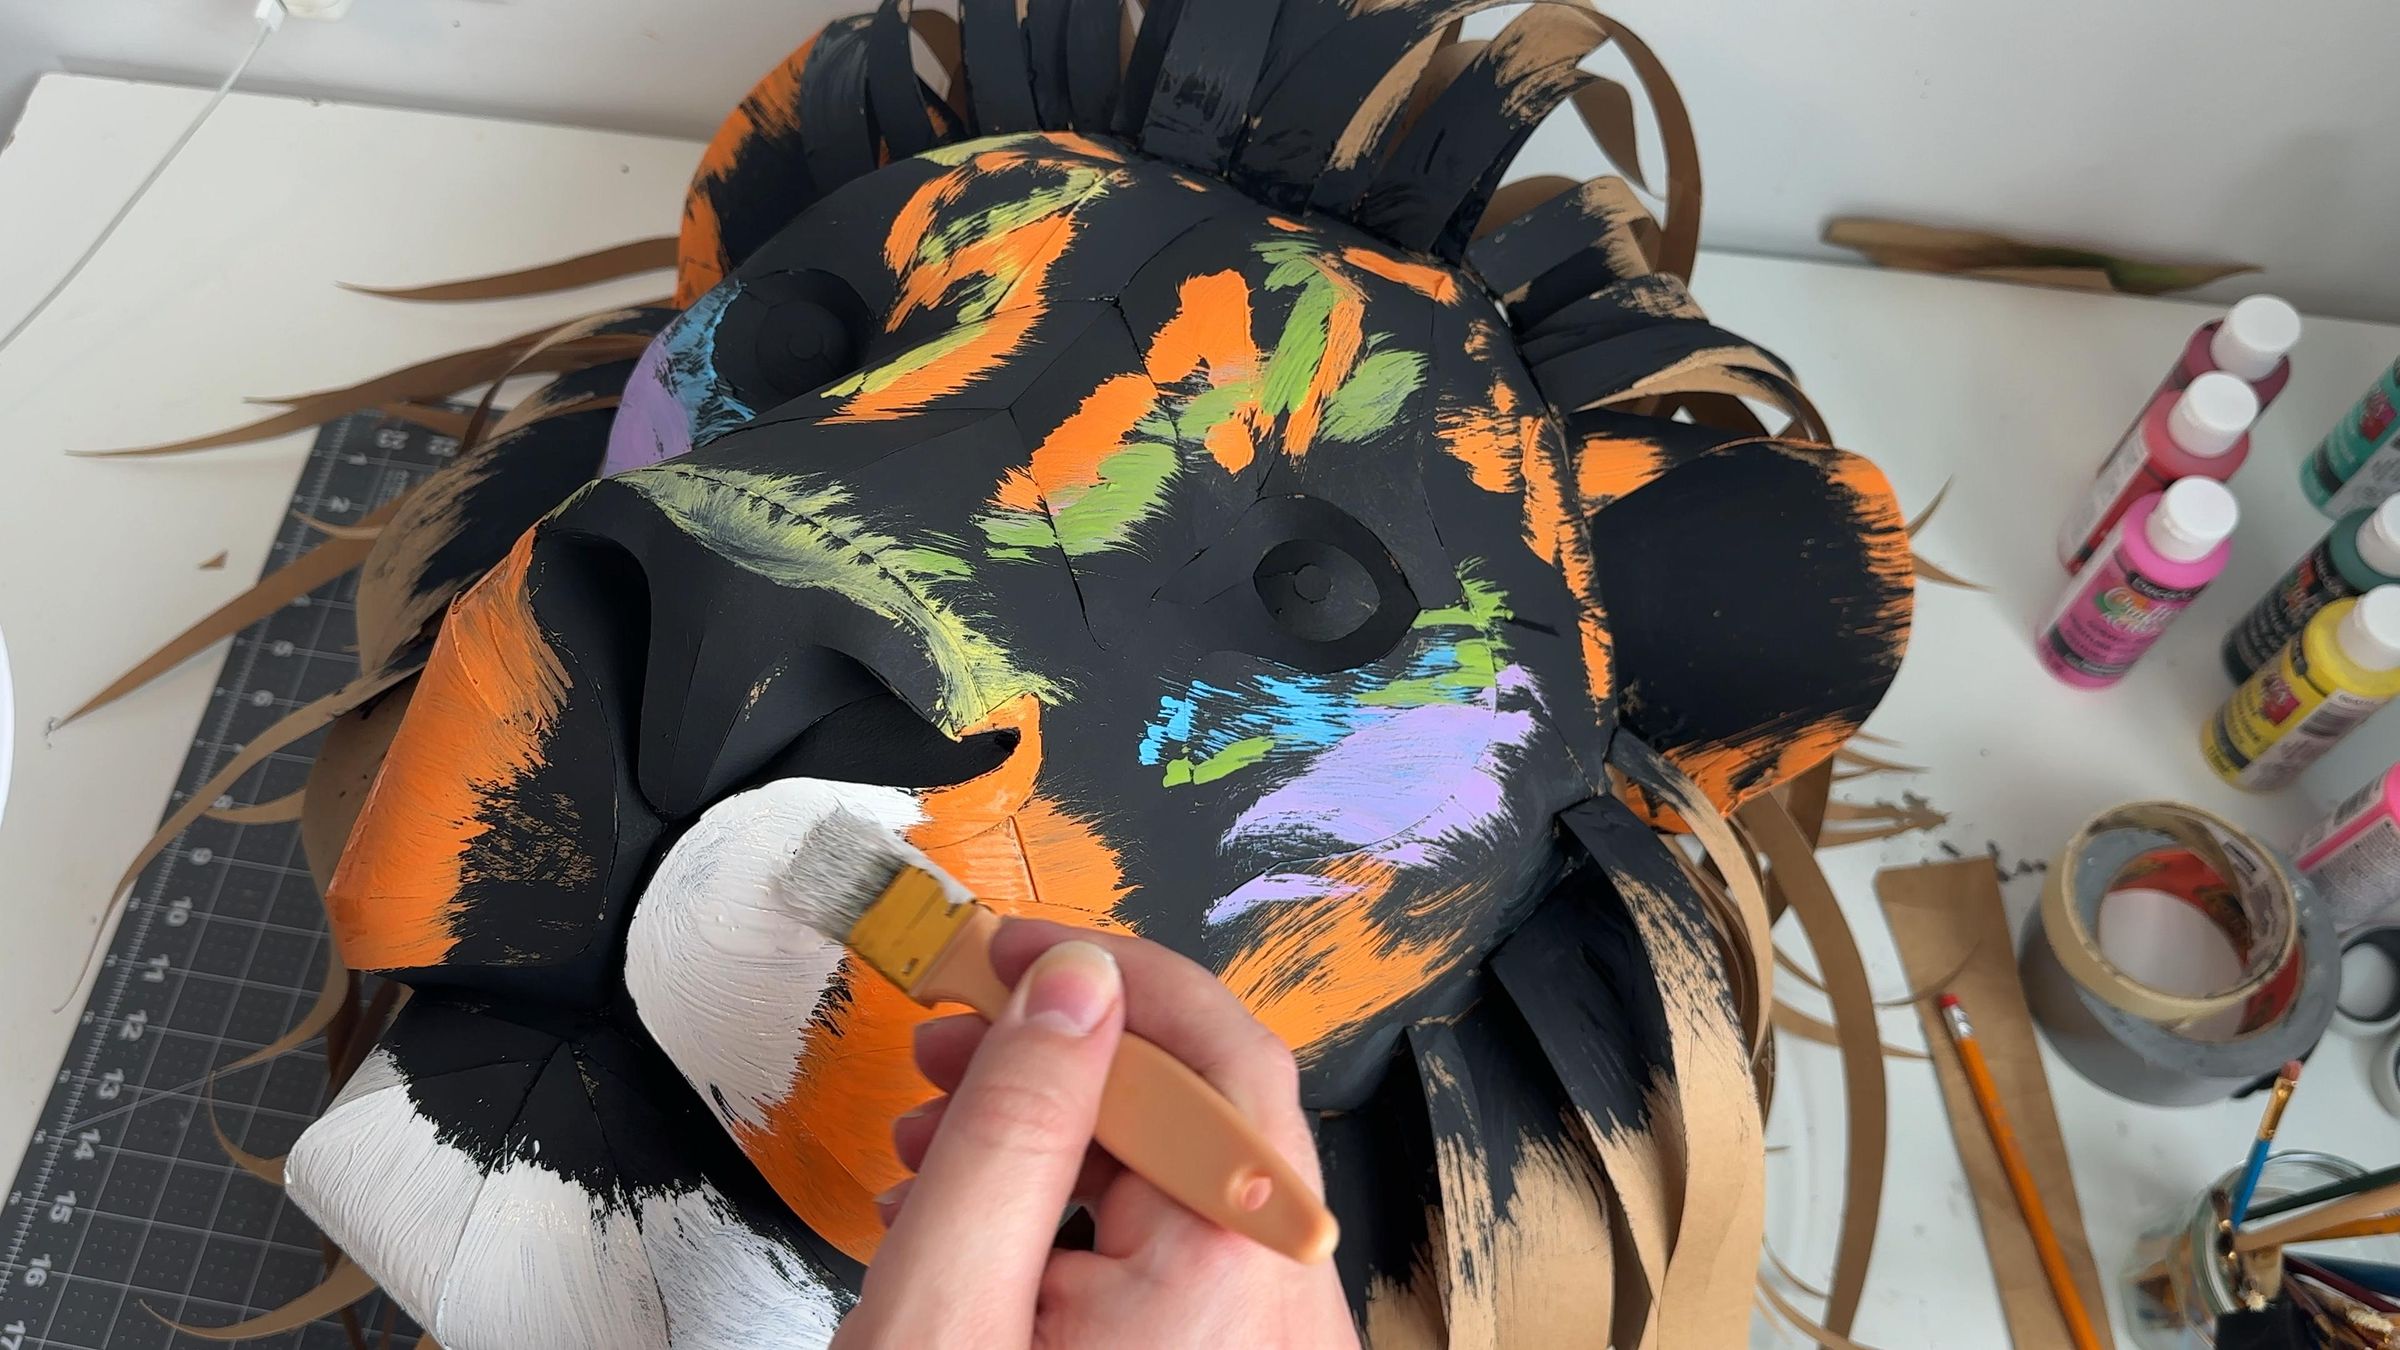
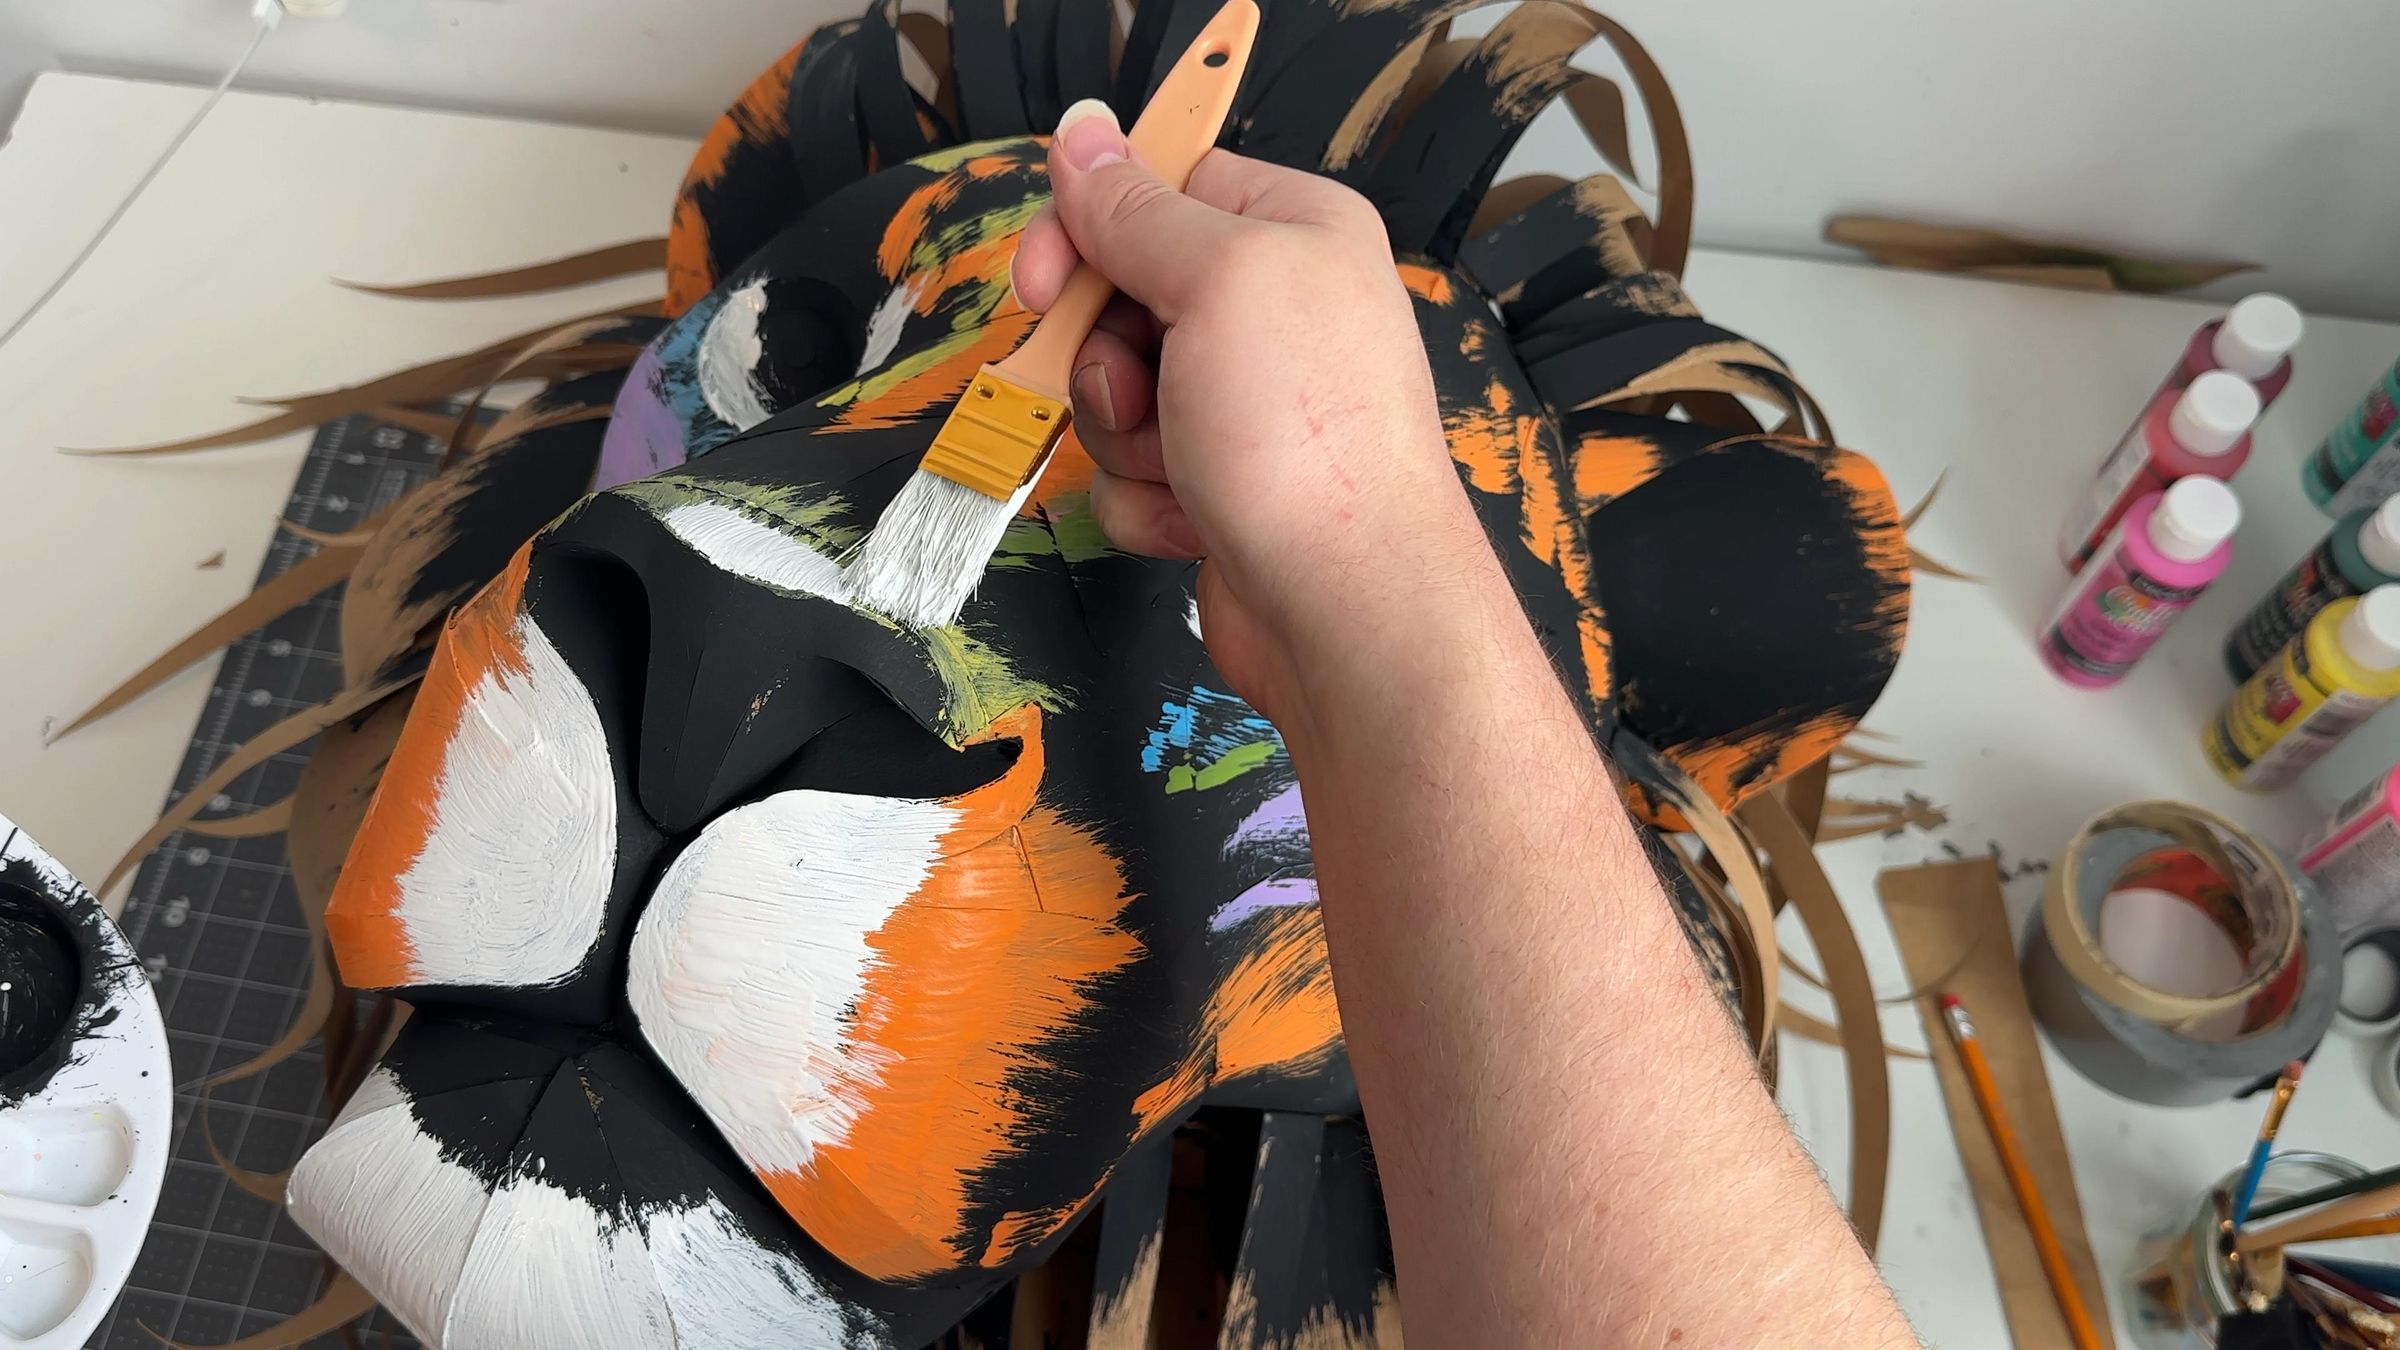
The white parts give the lion a more distinctive and recognizable look, including the beard, nose, and stripes around the eyes.
Step 14: Paint the Mane
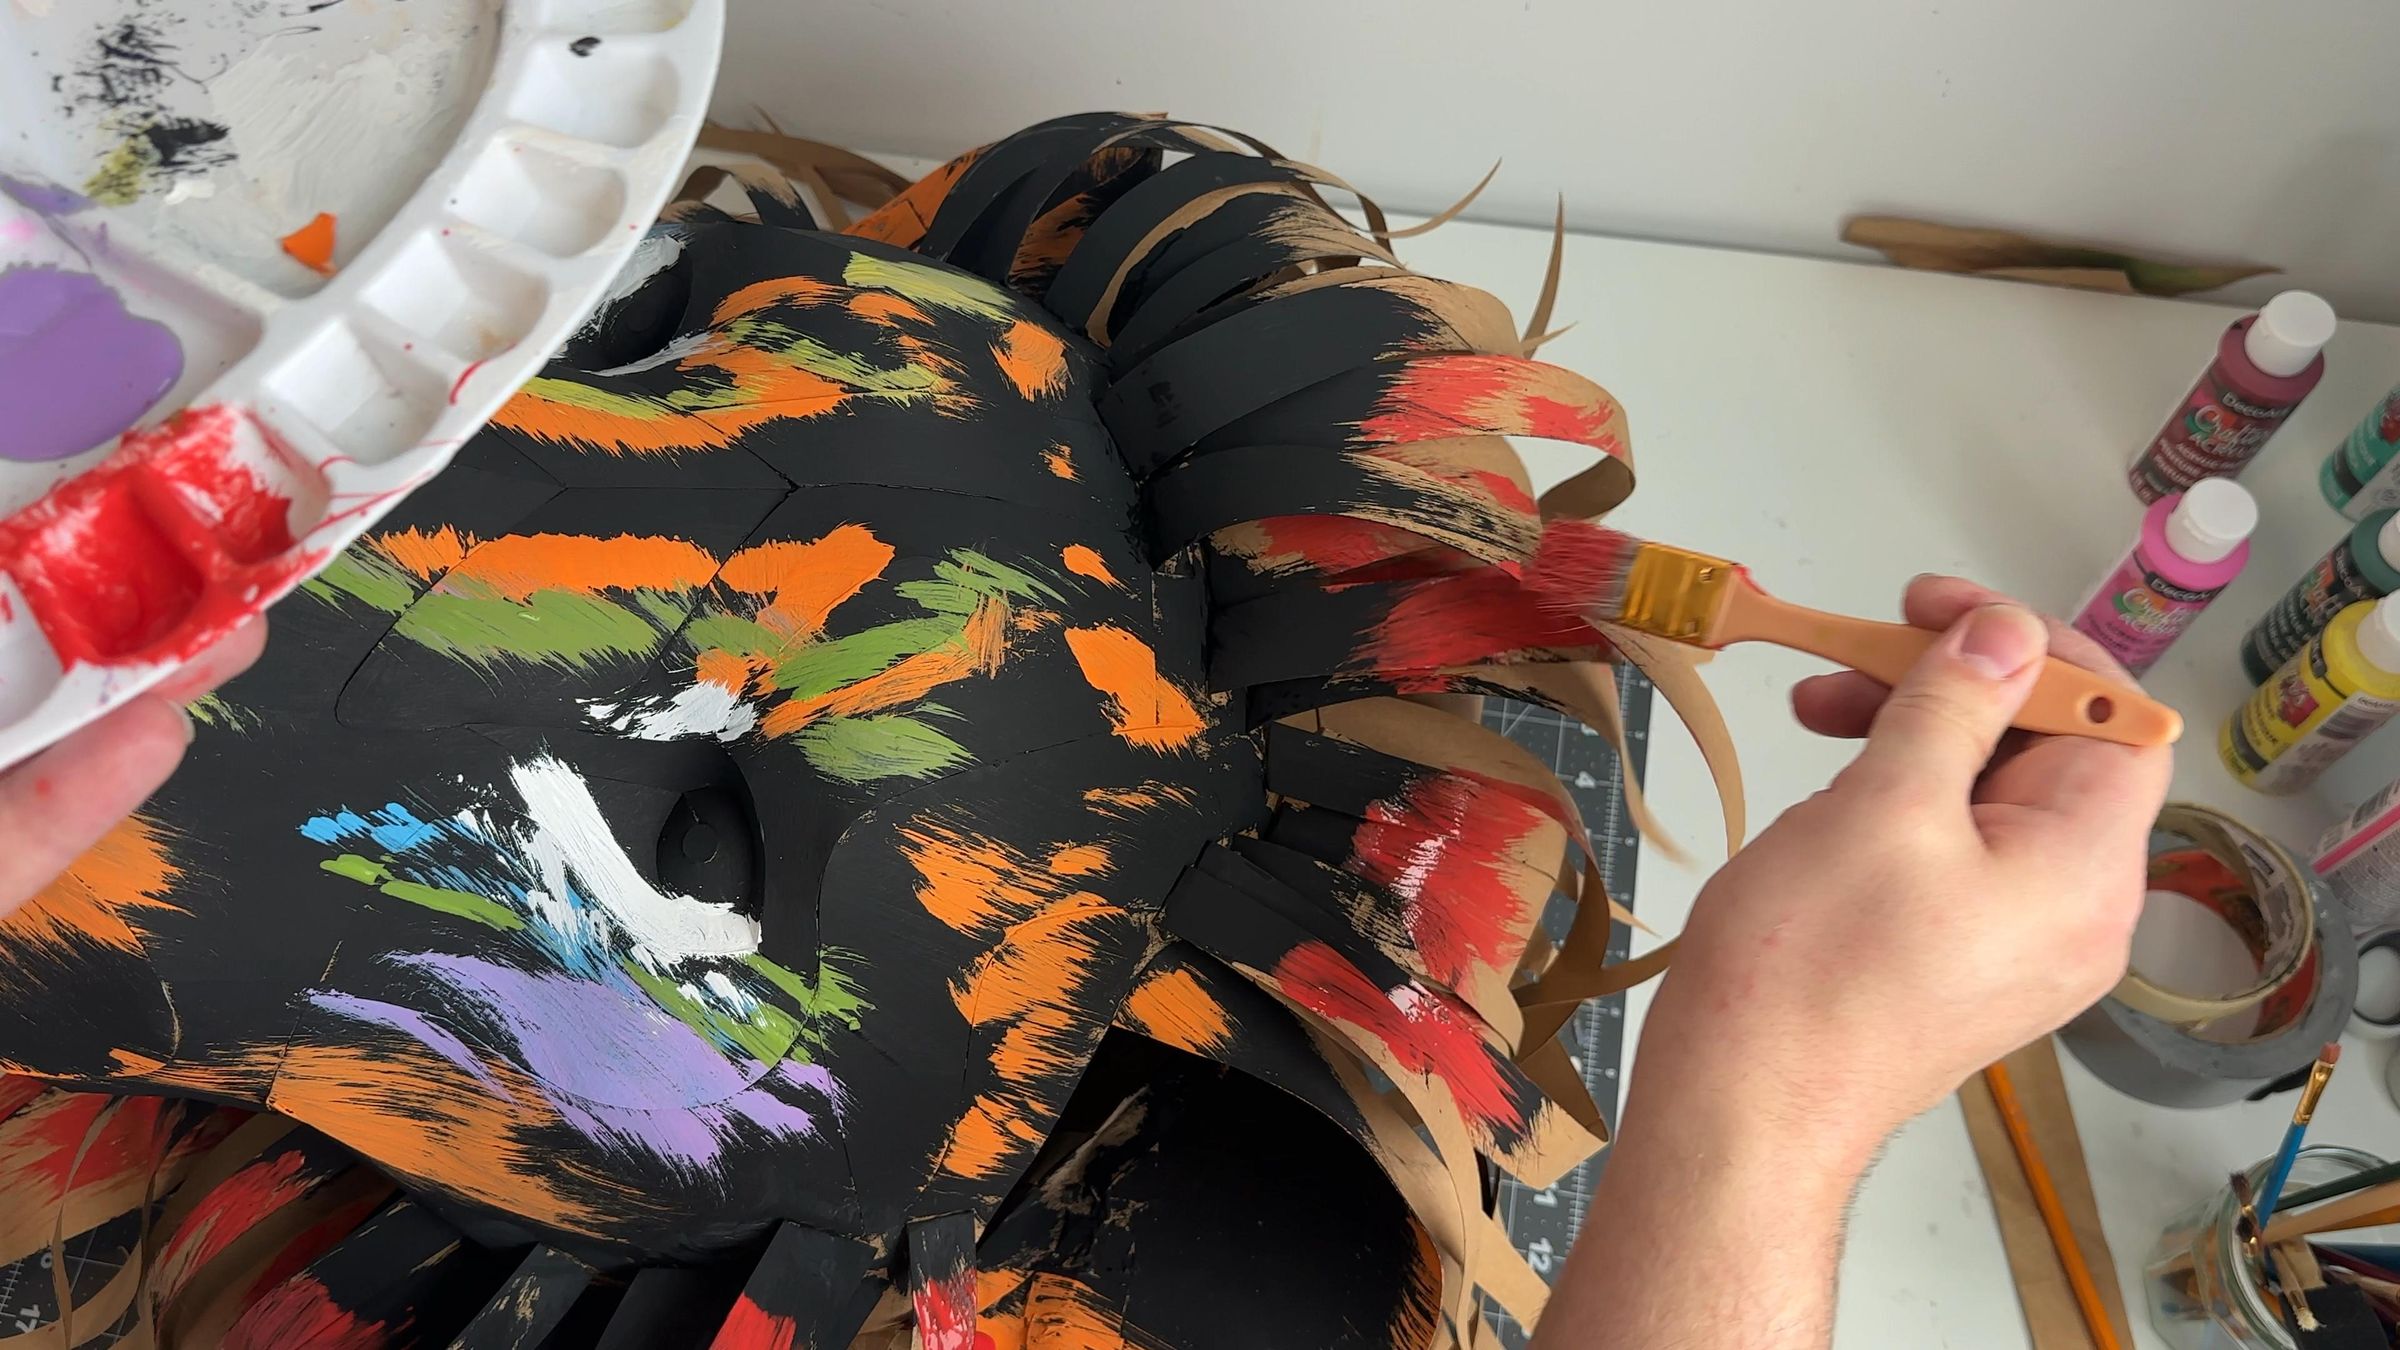
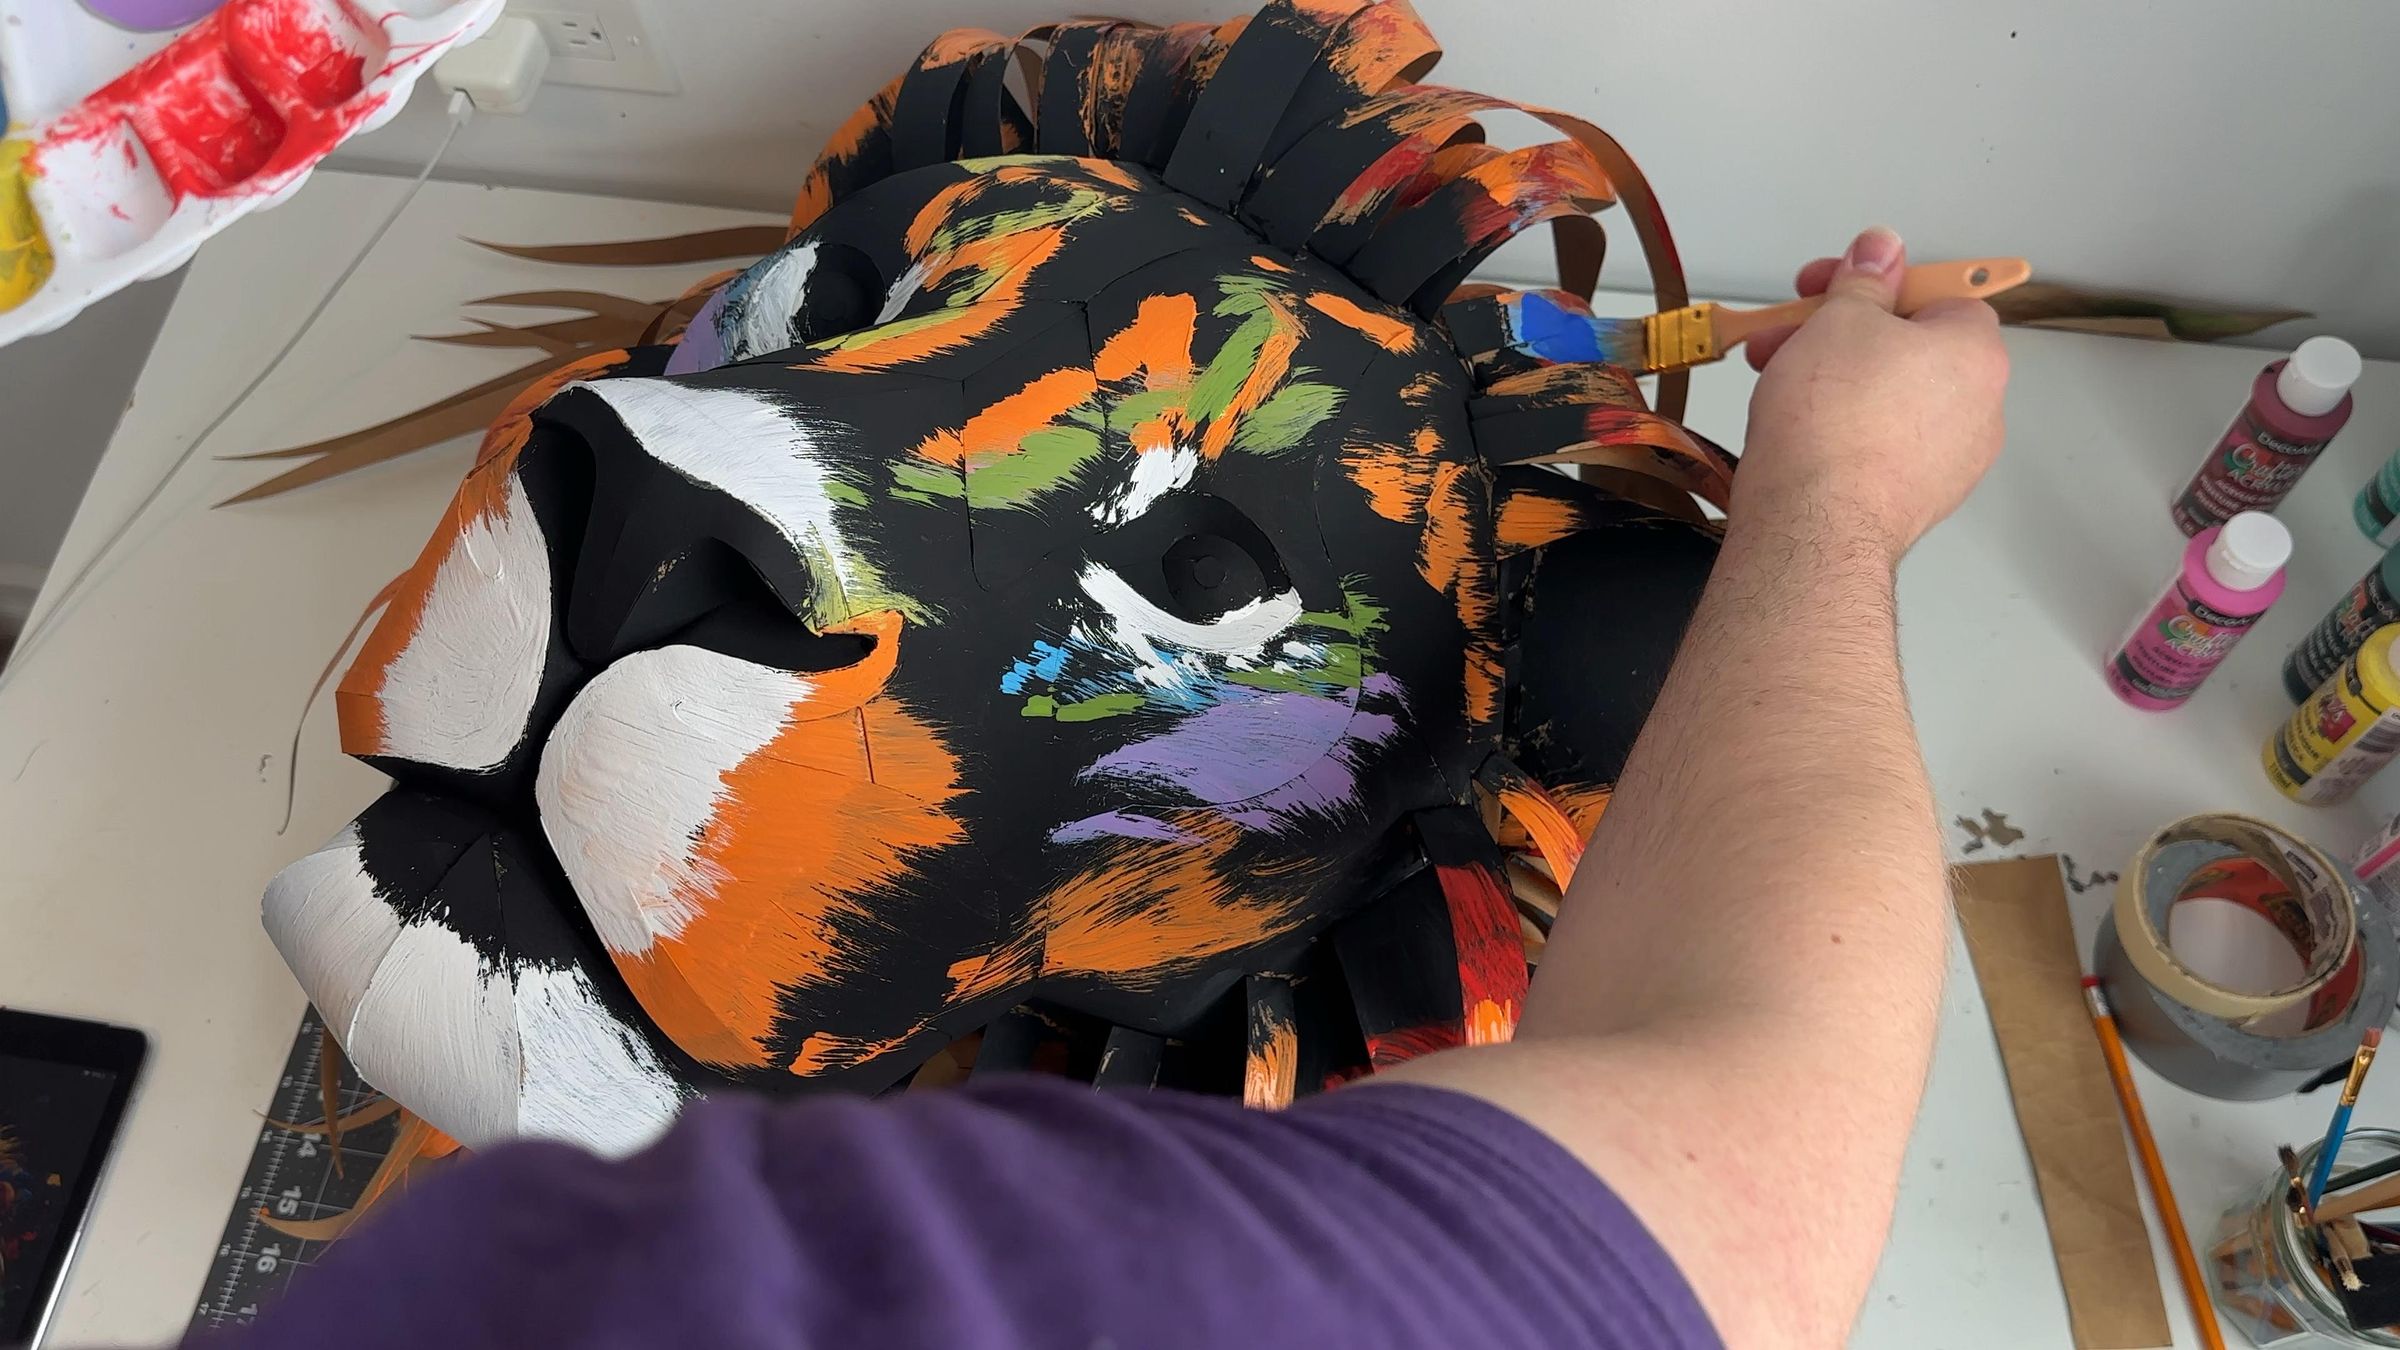
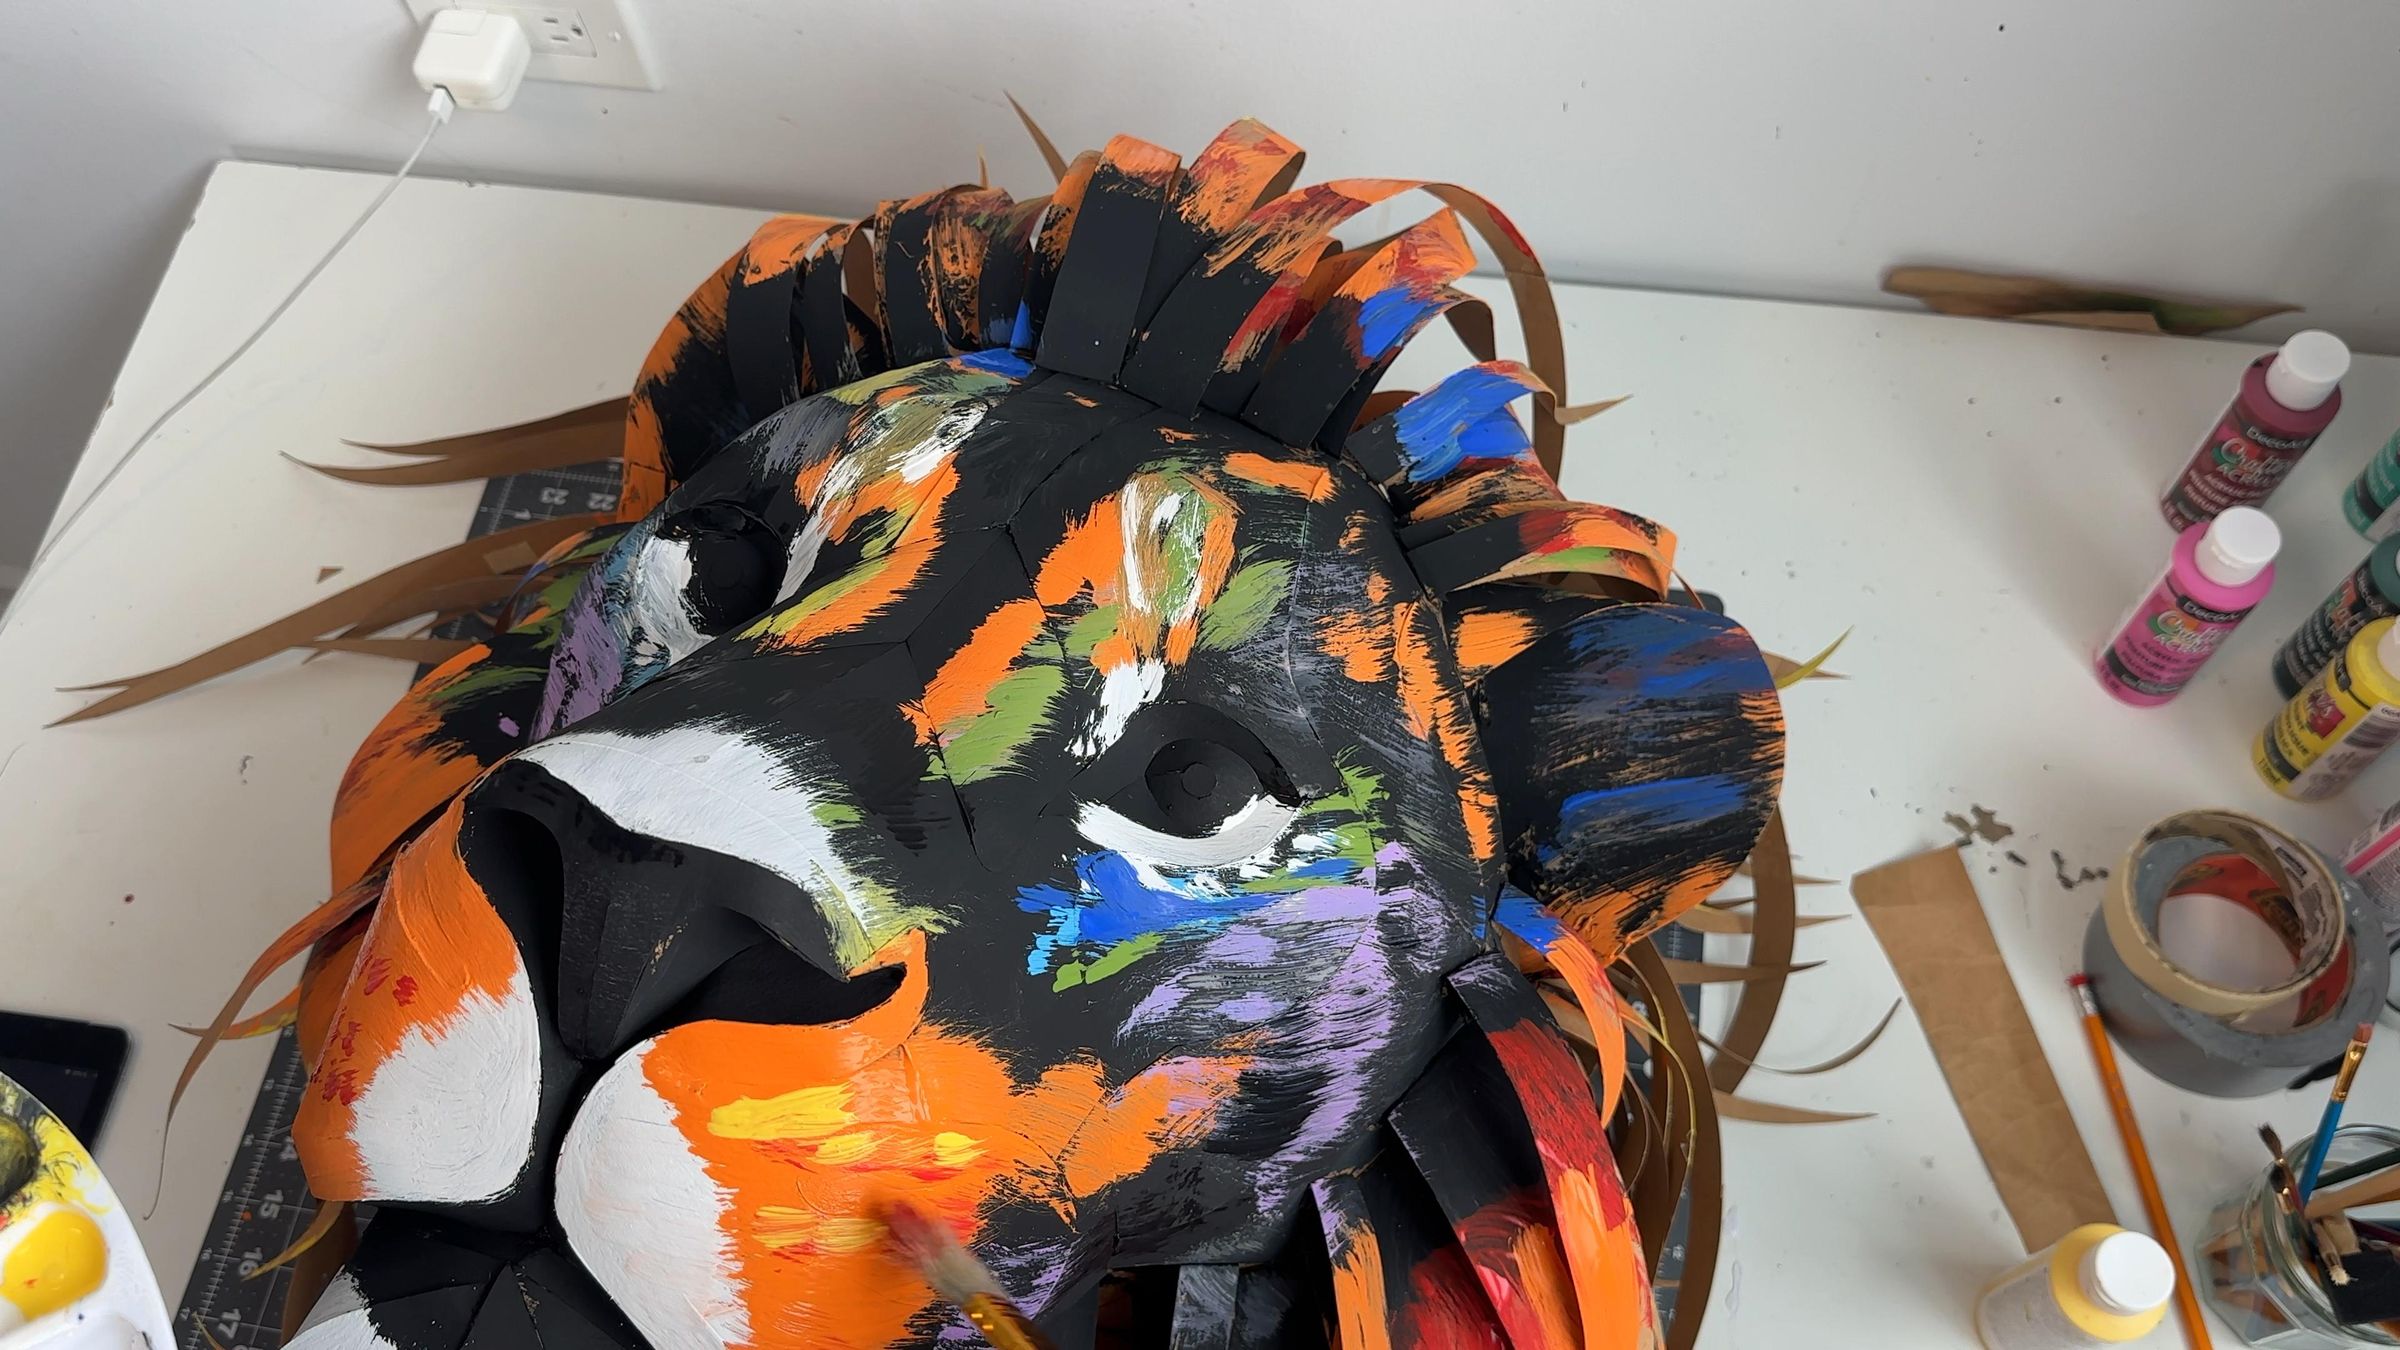
For the mane, I use orange, a bit of red, and as the cherry on top, other touches of blue, yellow, and lilac
Step 15: Paint the Eyes
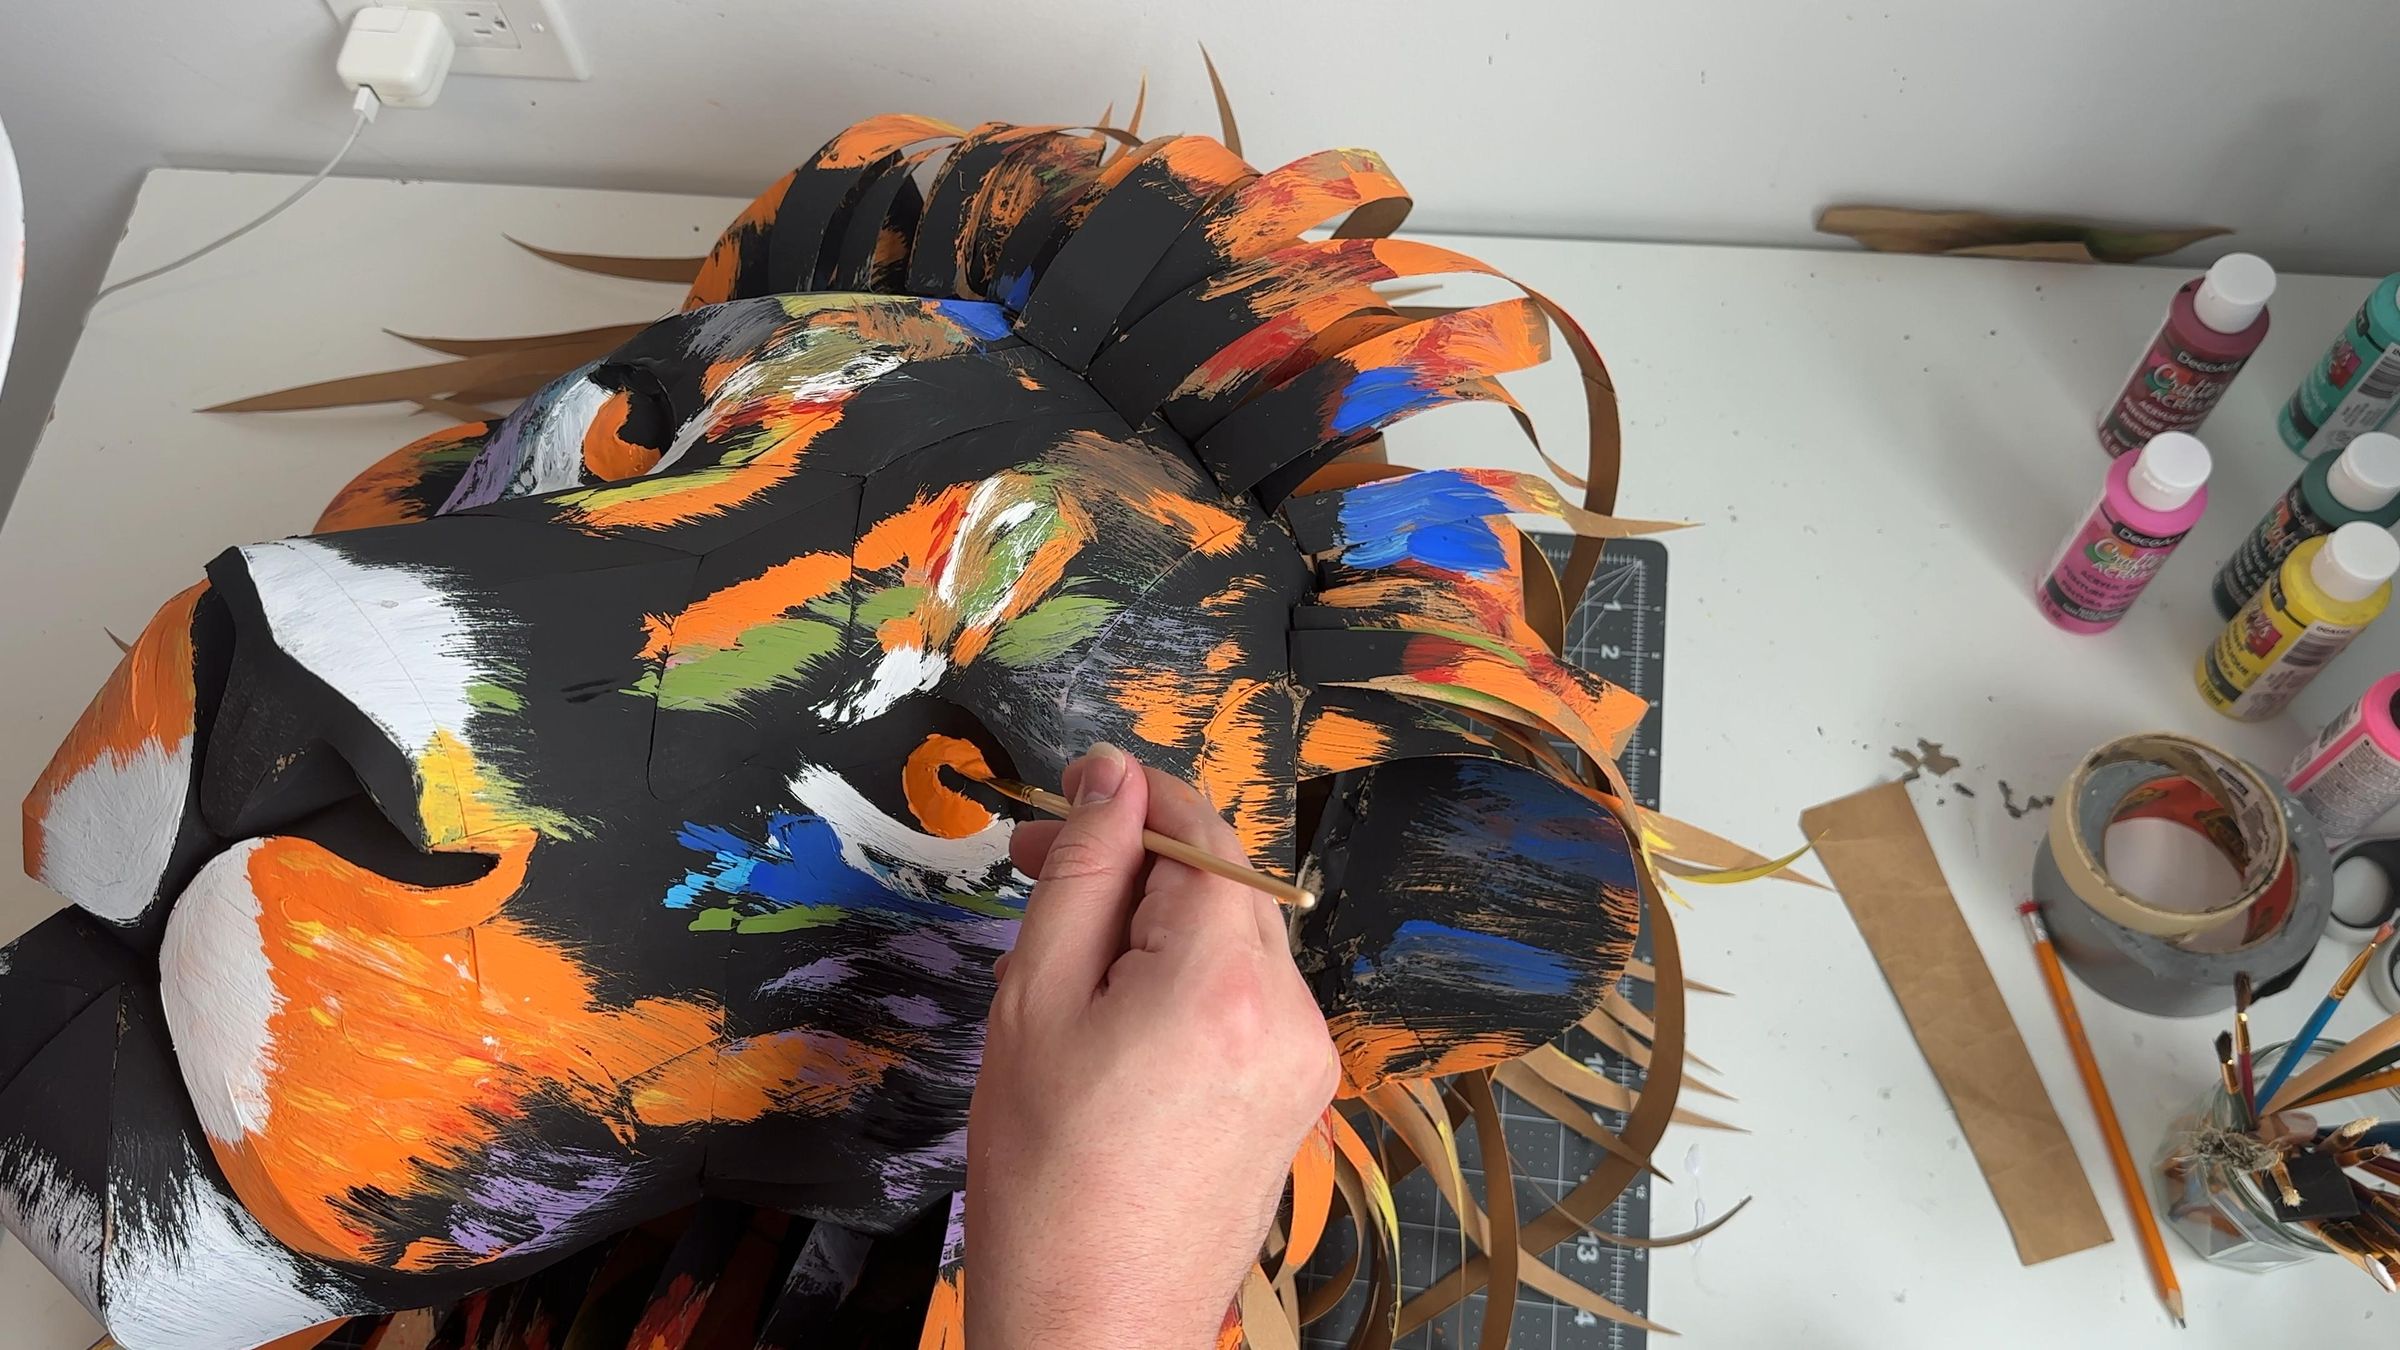
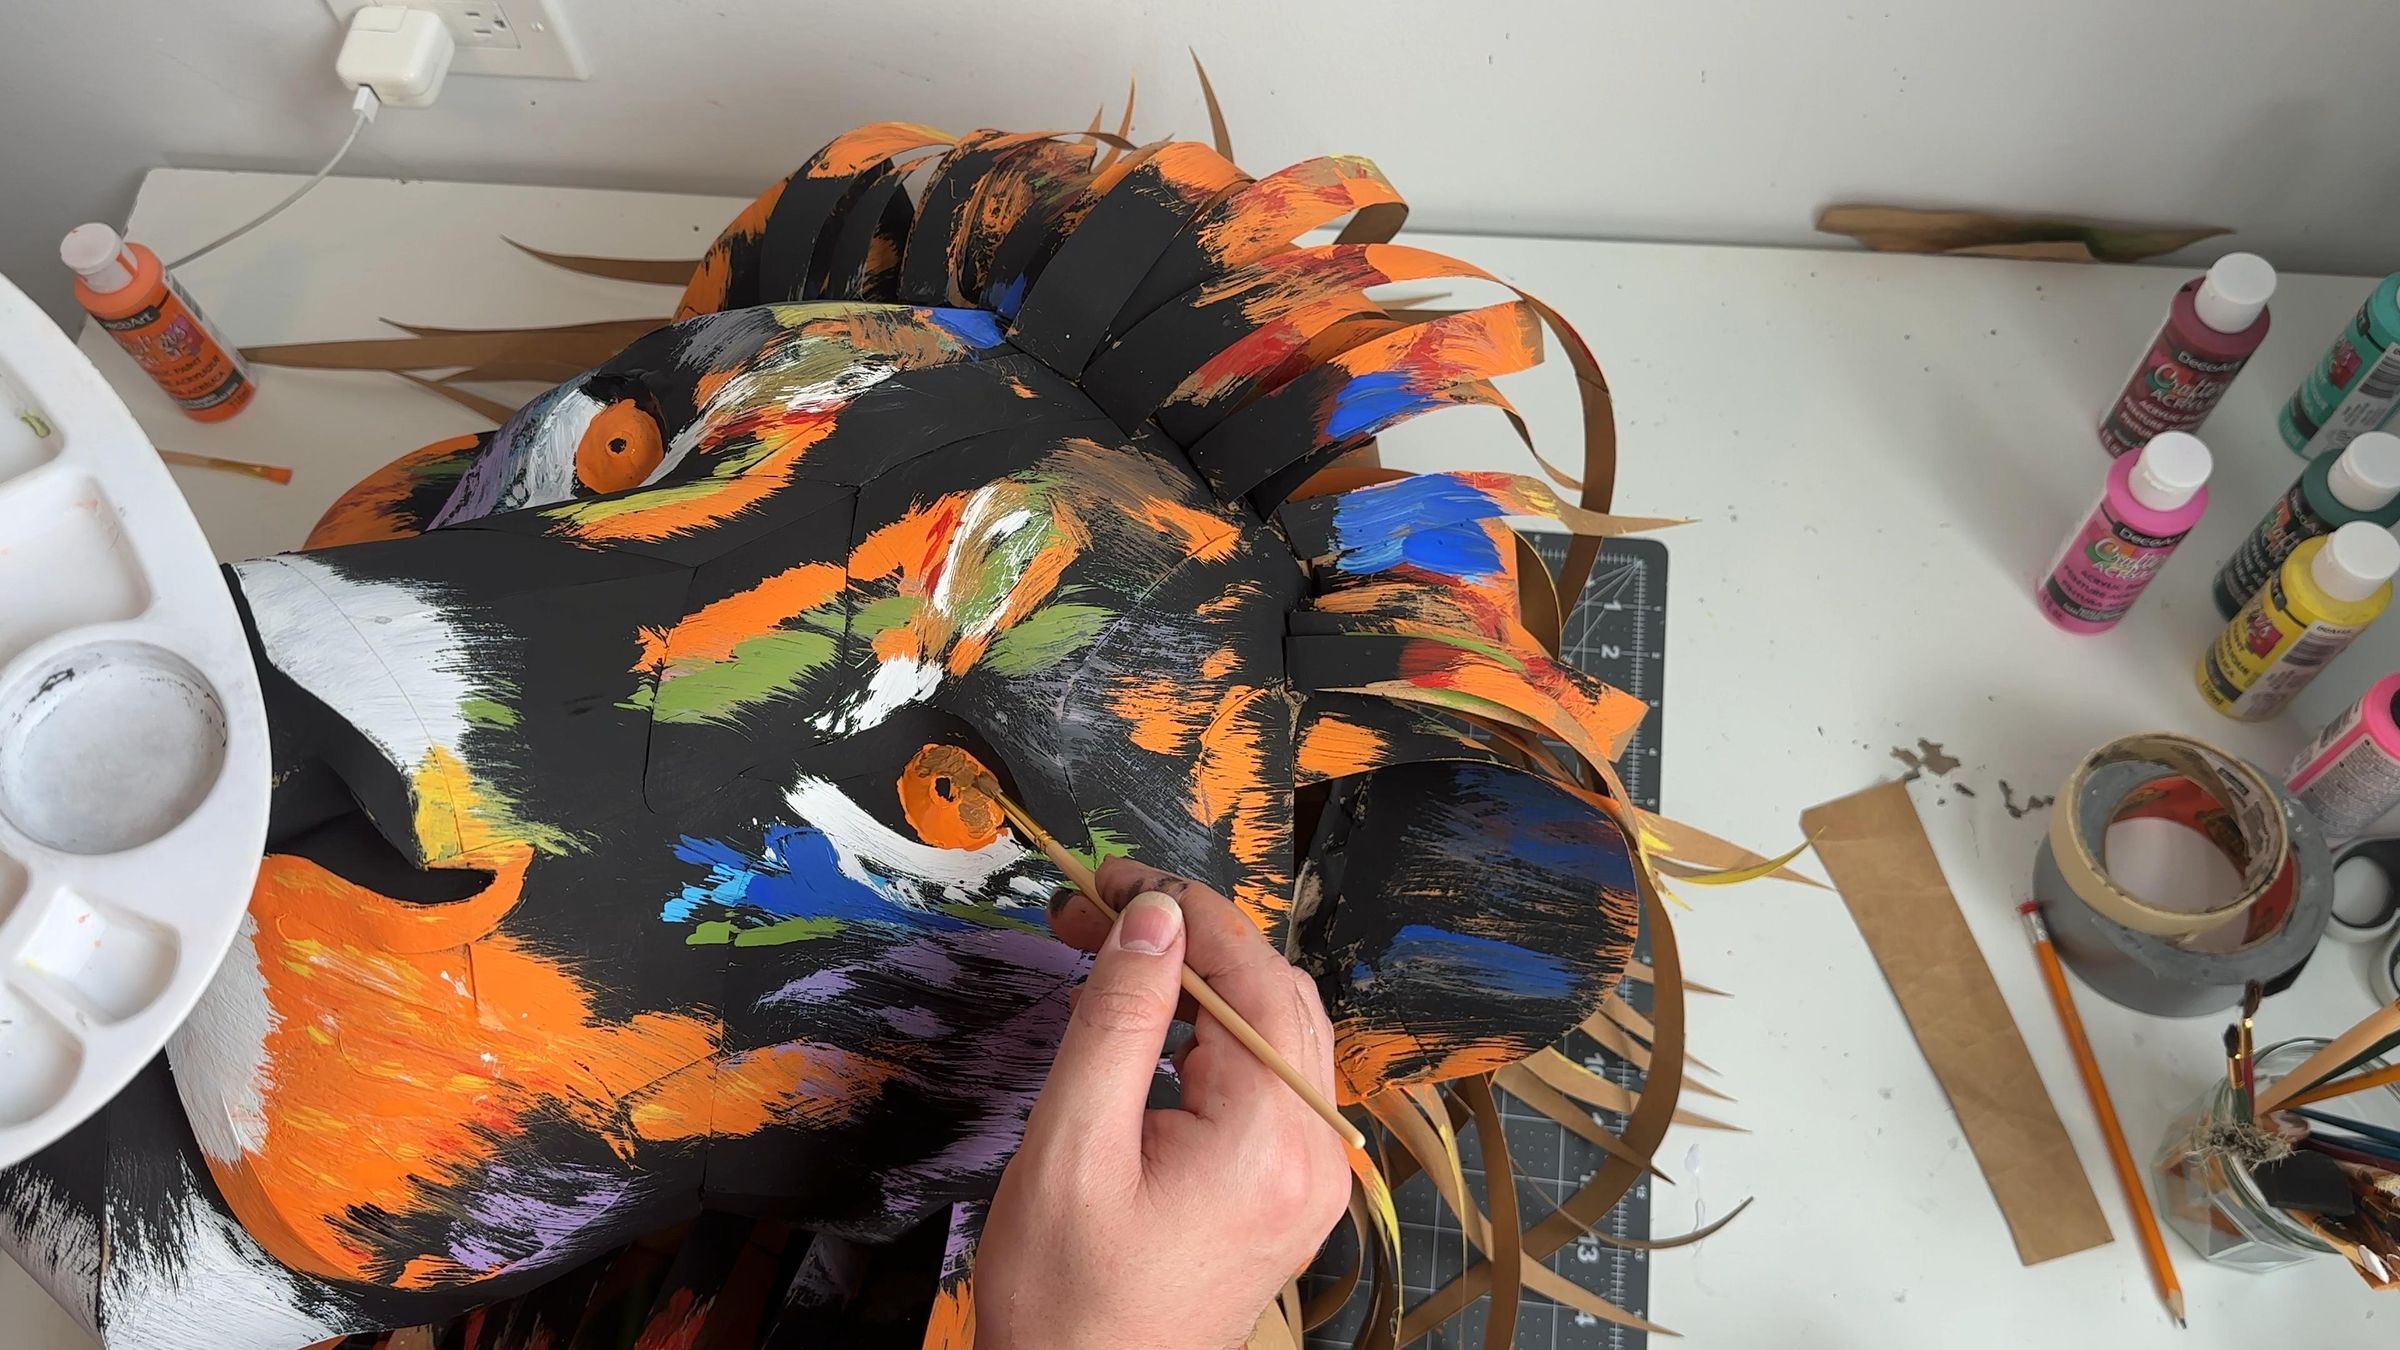
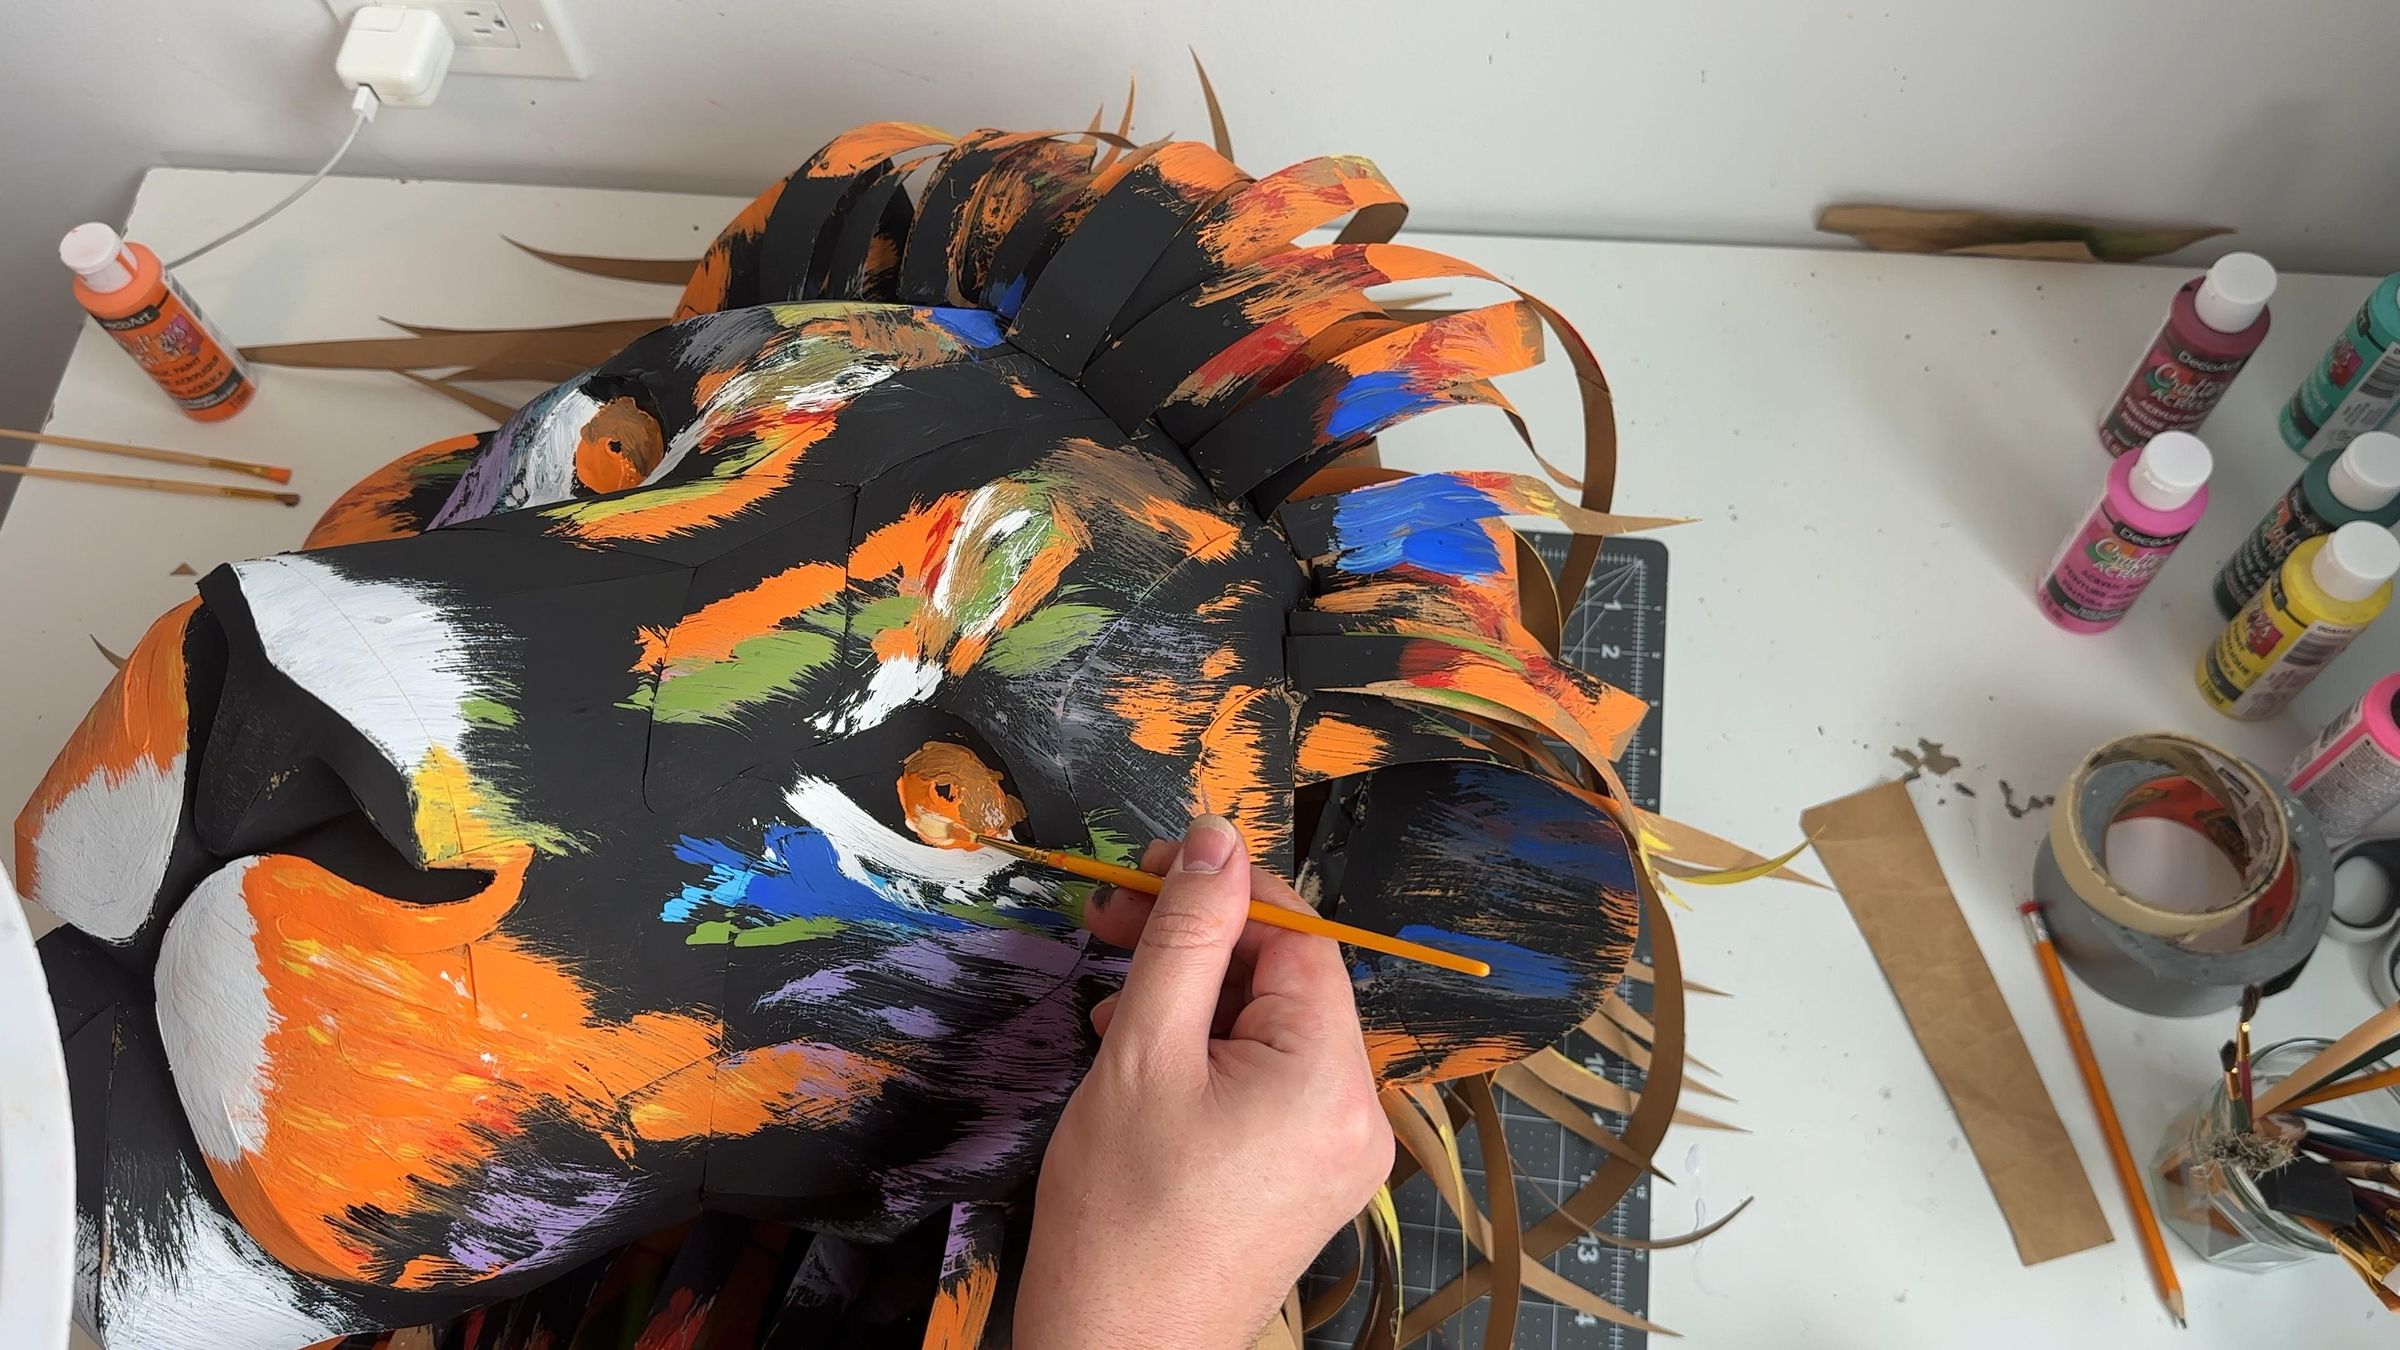
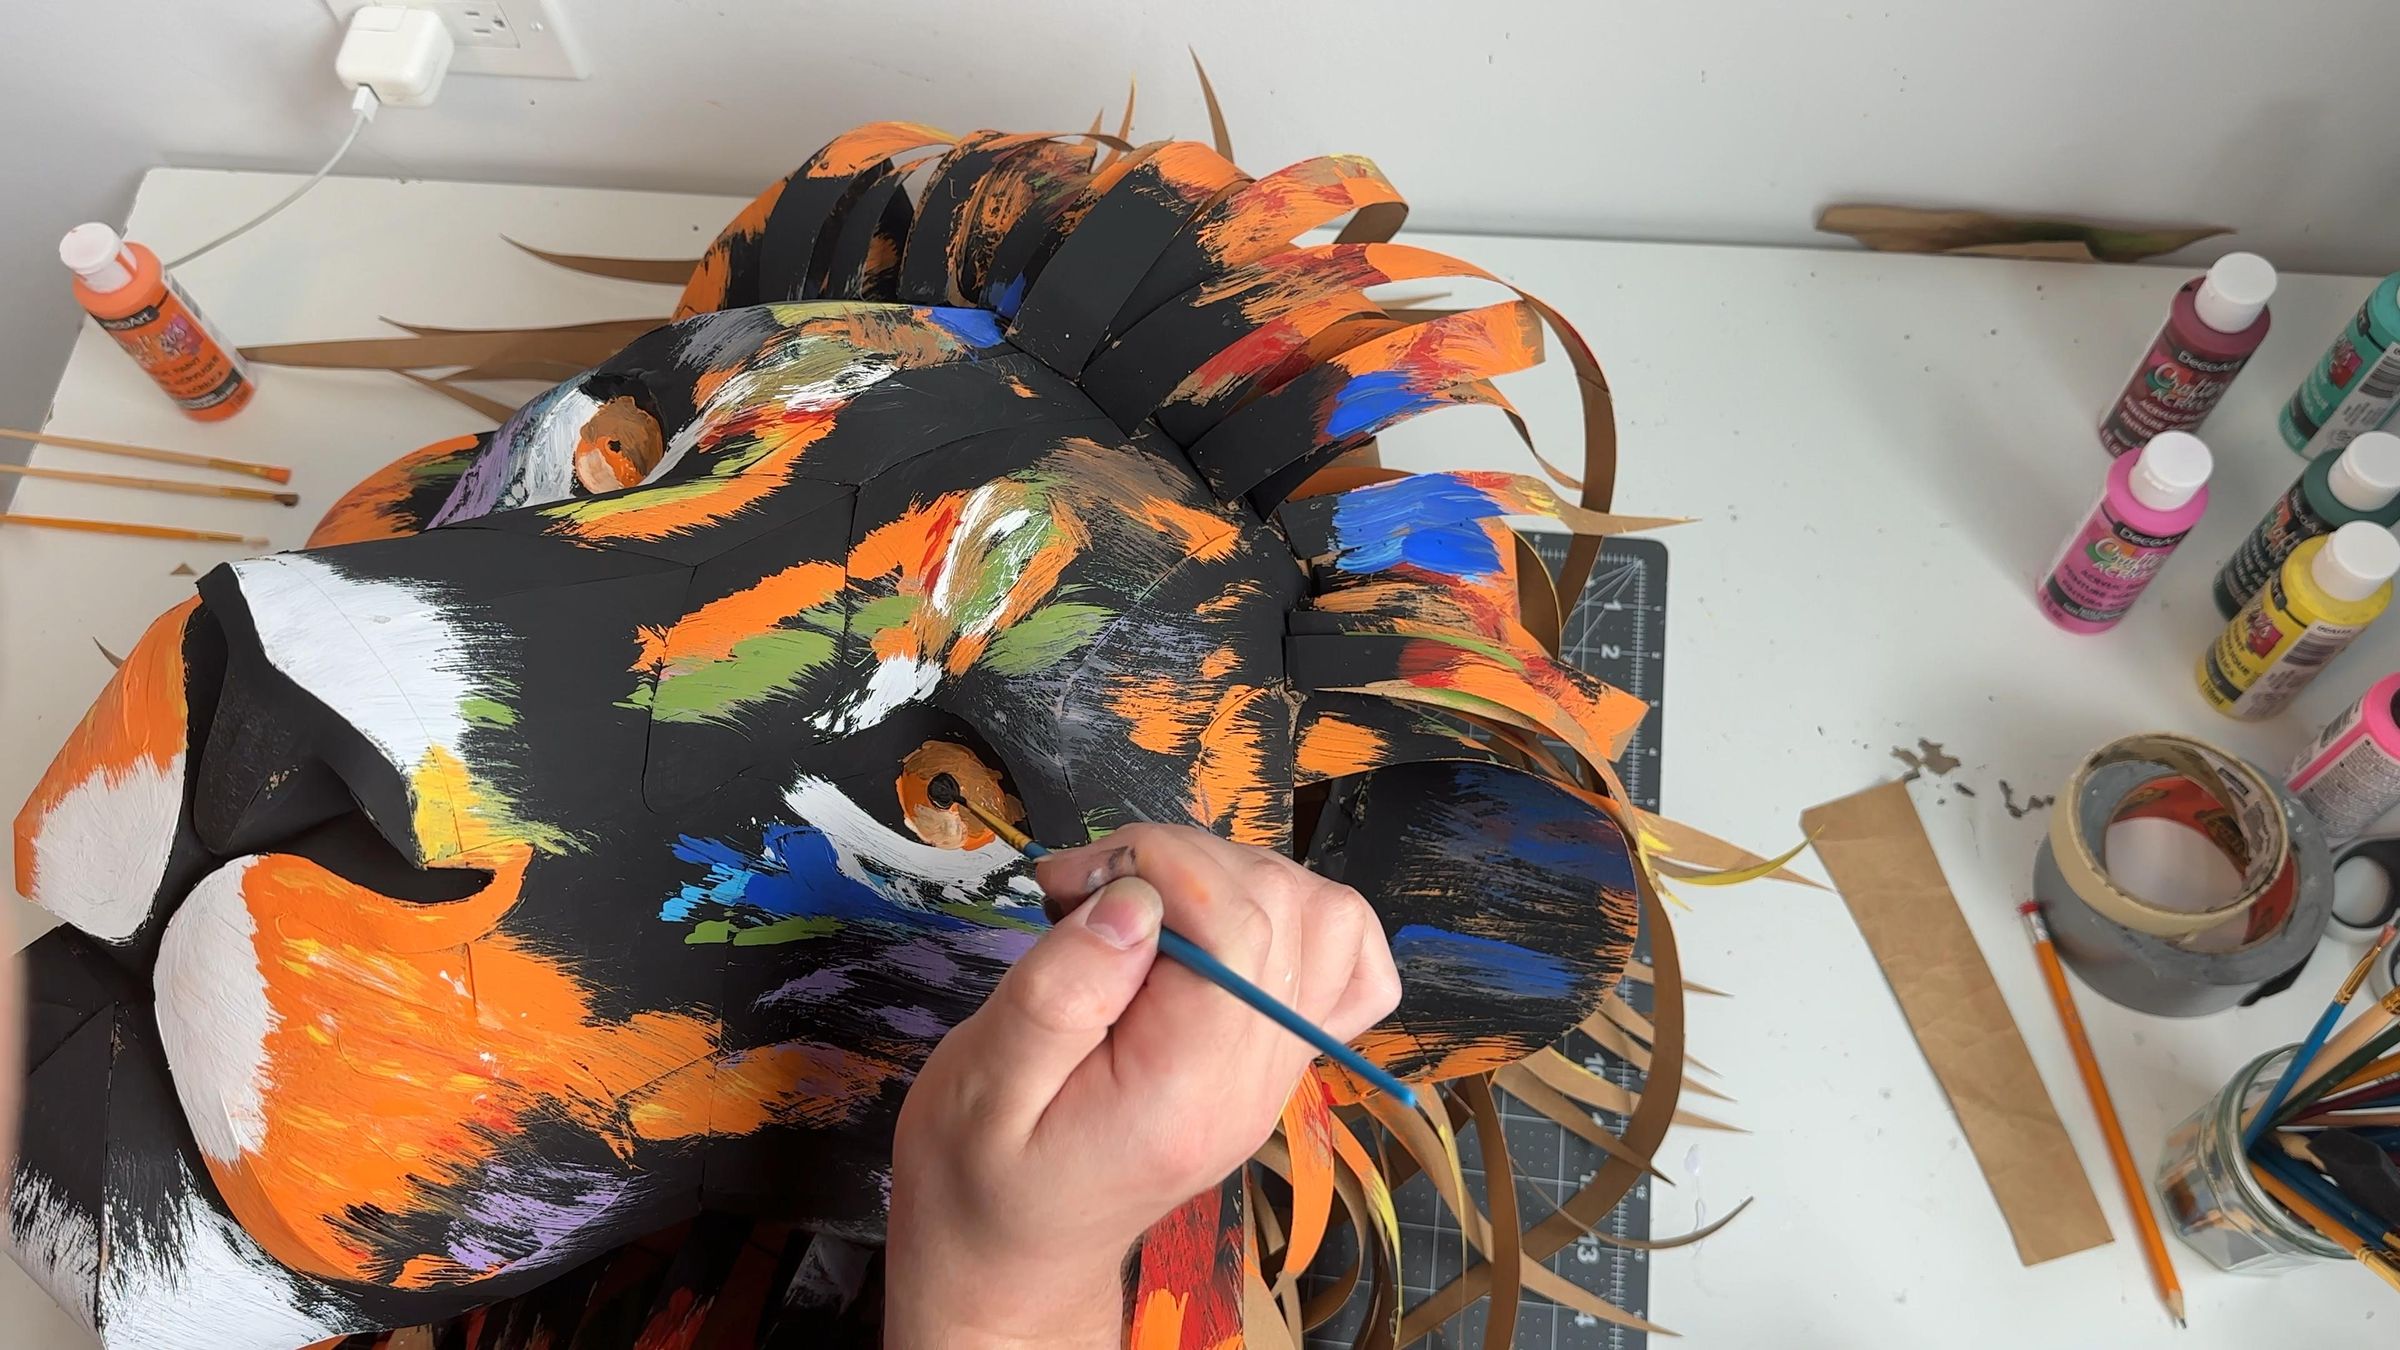
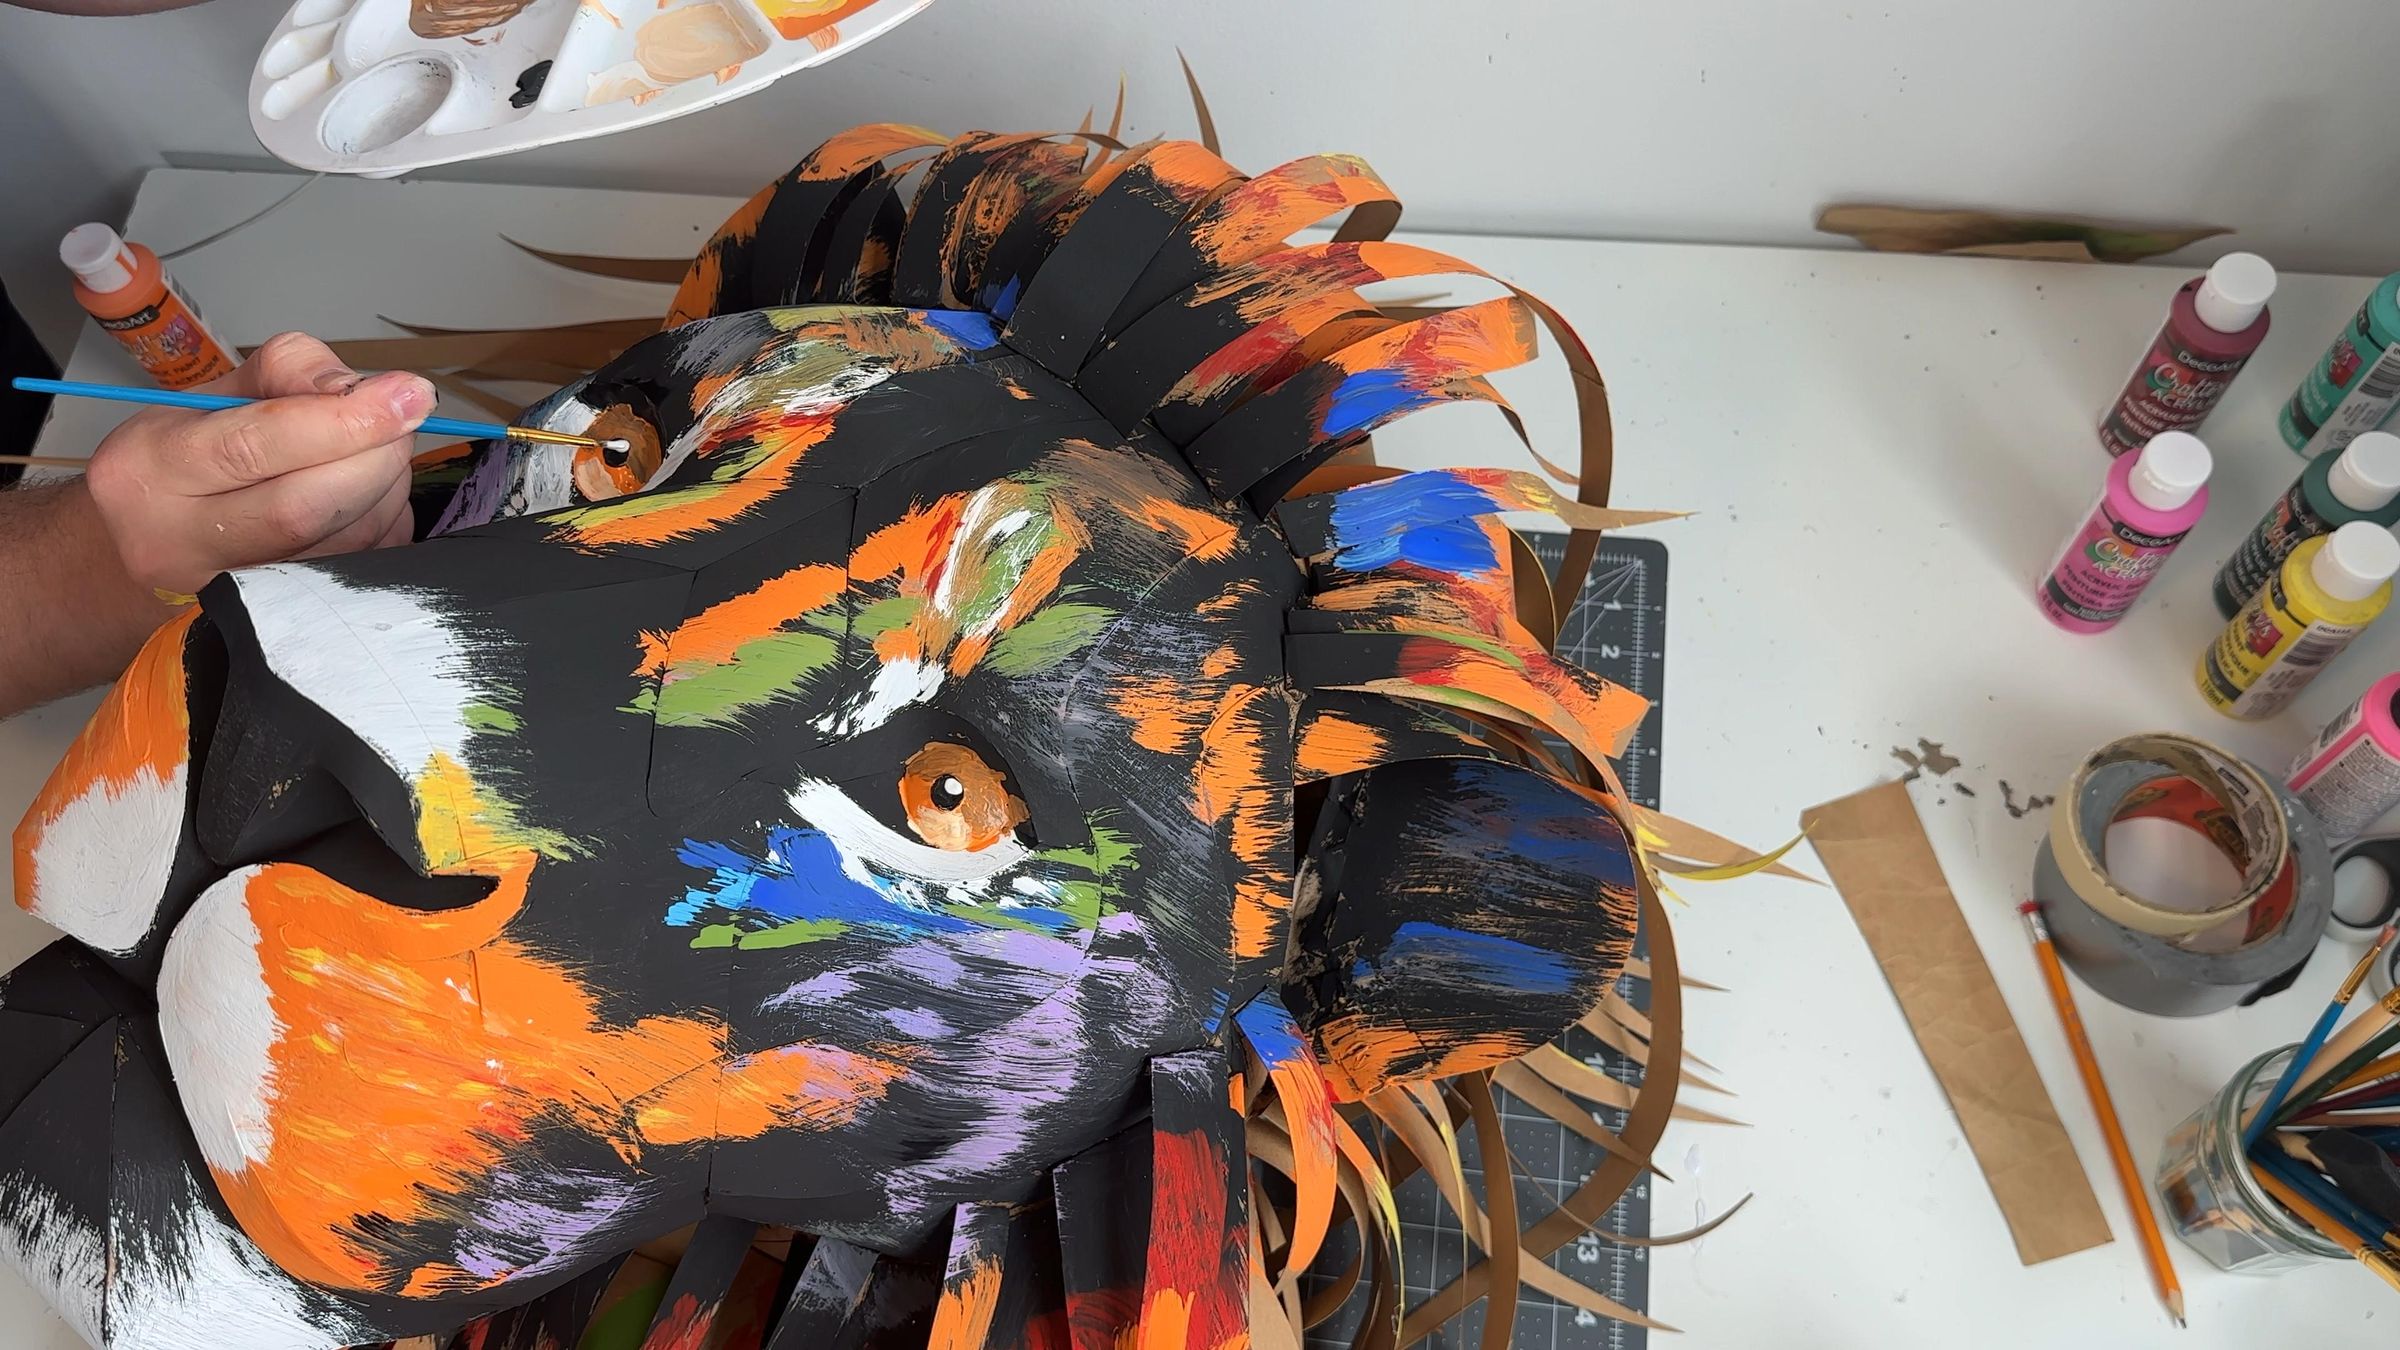
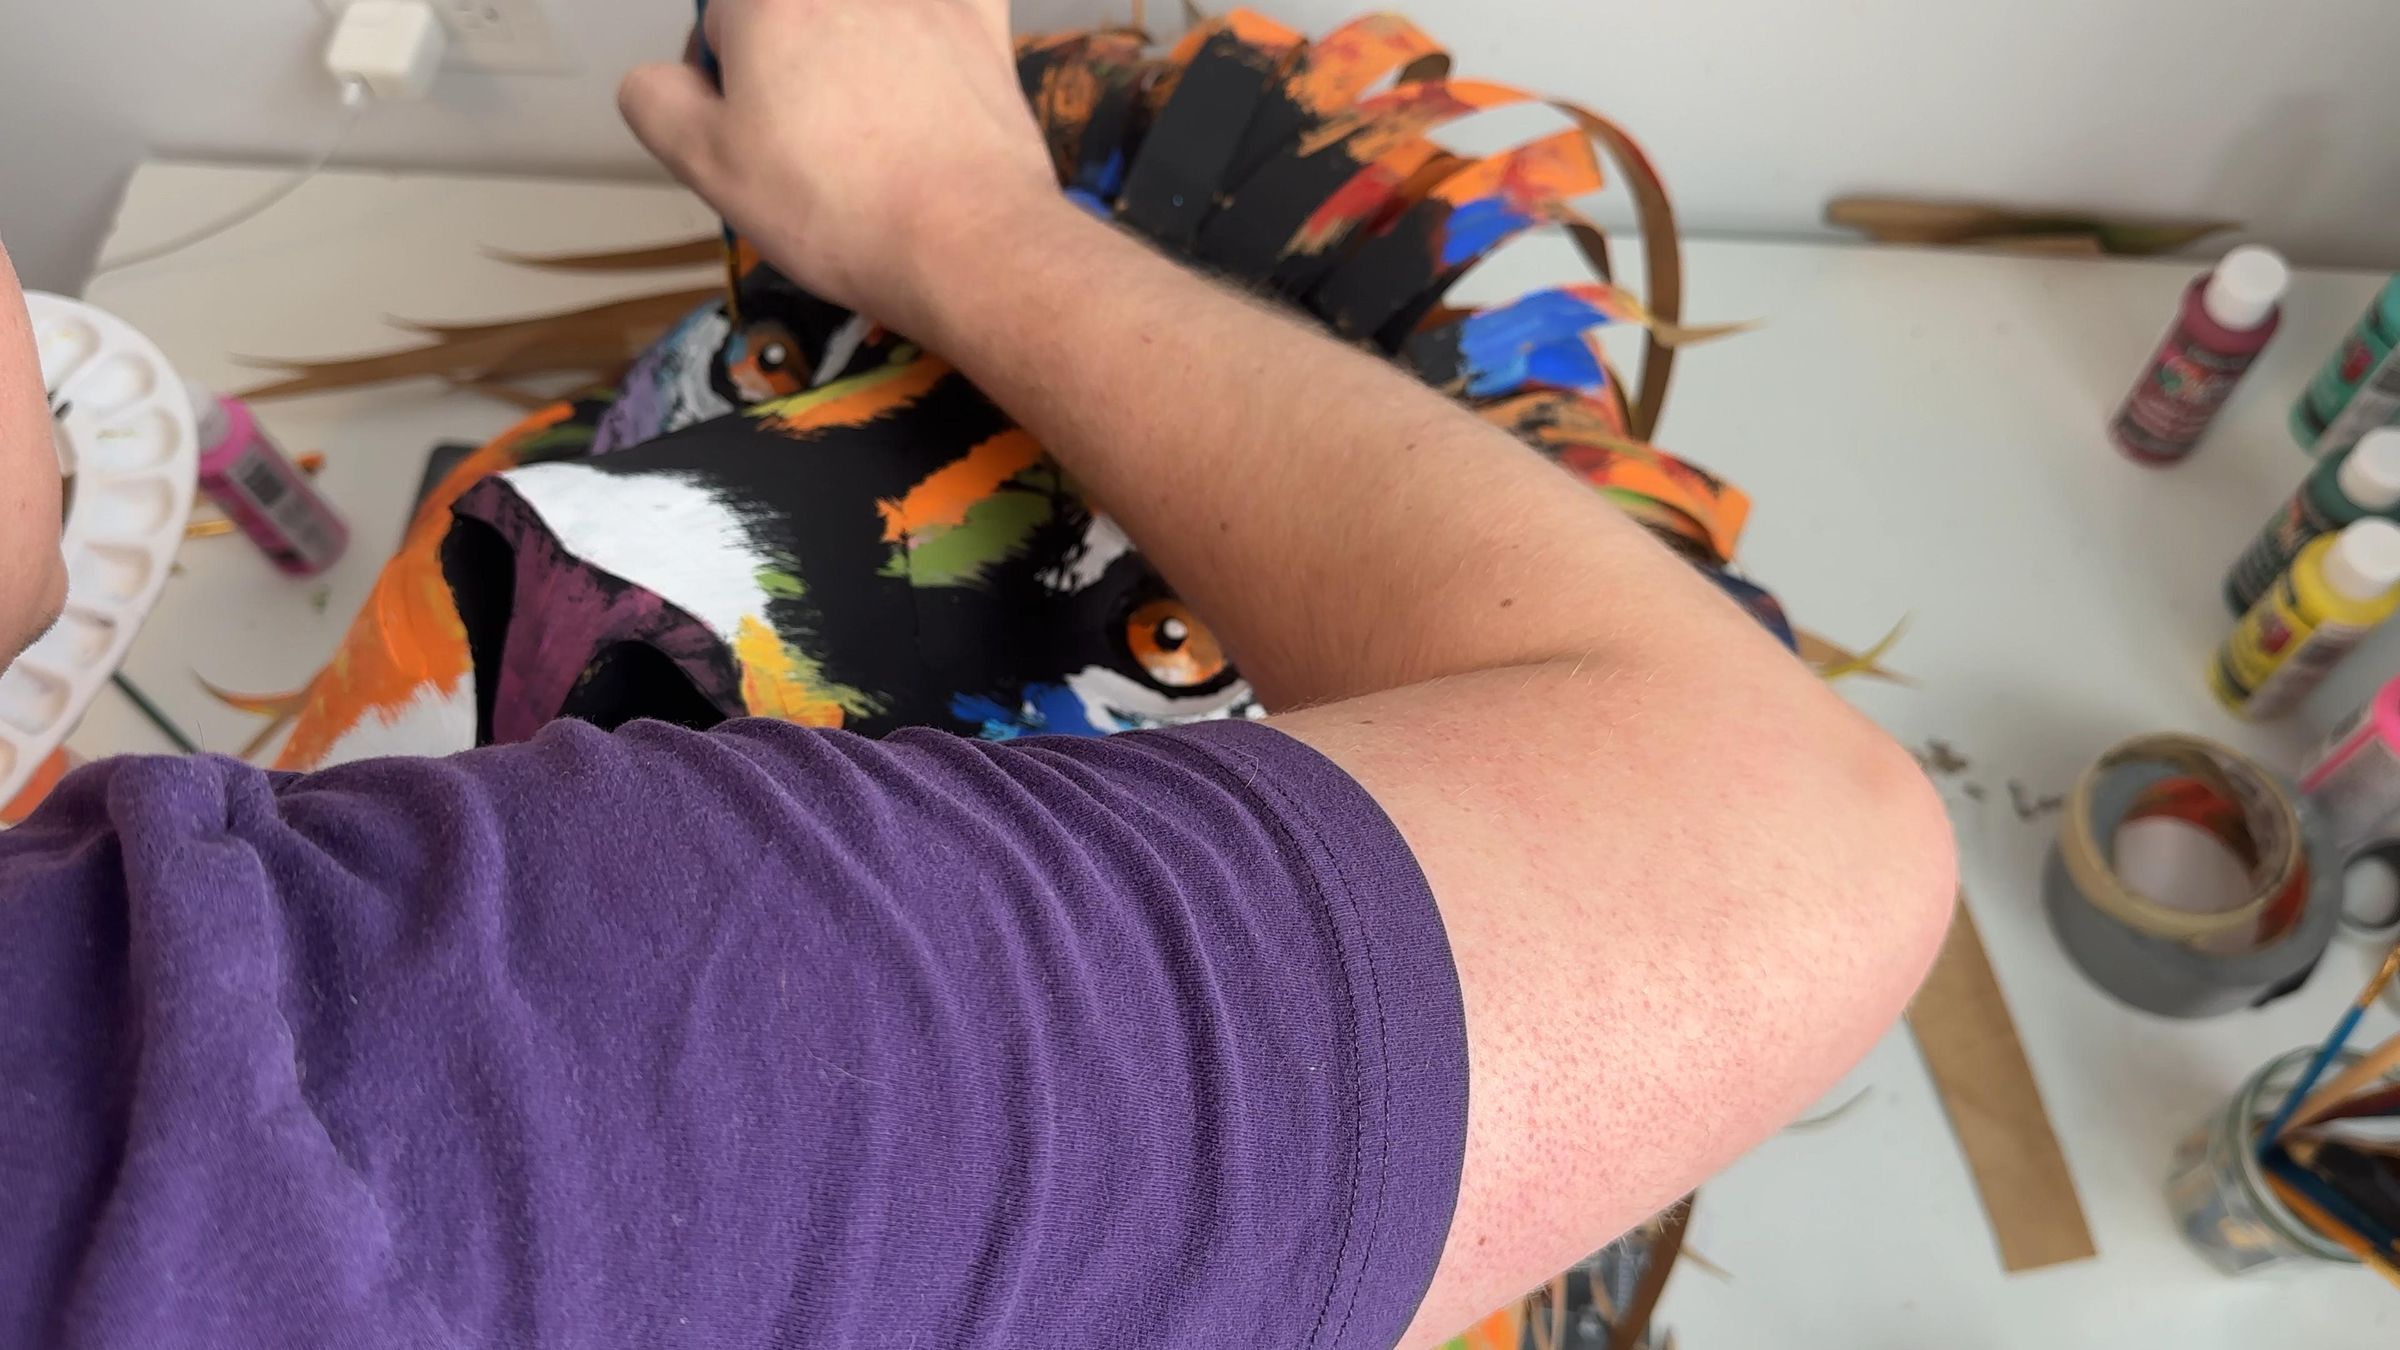
The most important thing is the eyes:
– Cover the orange with the main color
– Add dark orange on top (mix a little orange and black)
– Add a little light orange on the bottom (mix a little orange and white)
– The black pupils of the eyes are perfectly round
– Touch a drop of white on top as a shine
– And outline the eyes with black paint, aligning the contour and giving a characteristic look
Step 16: The Result
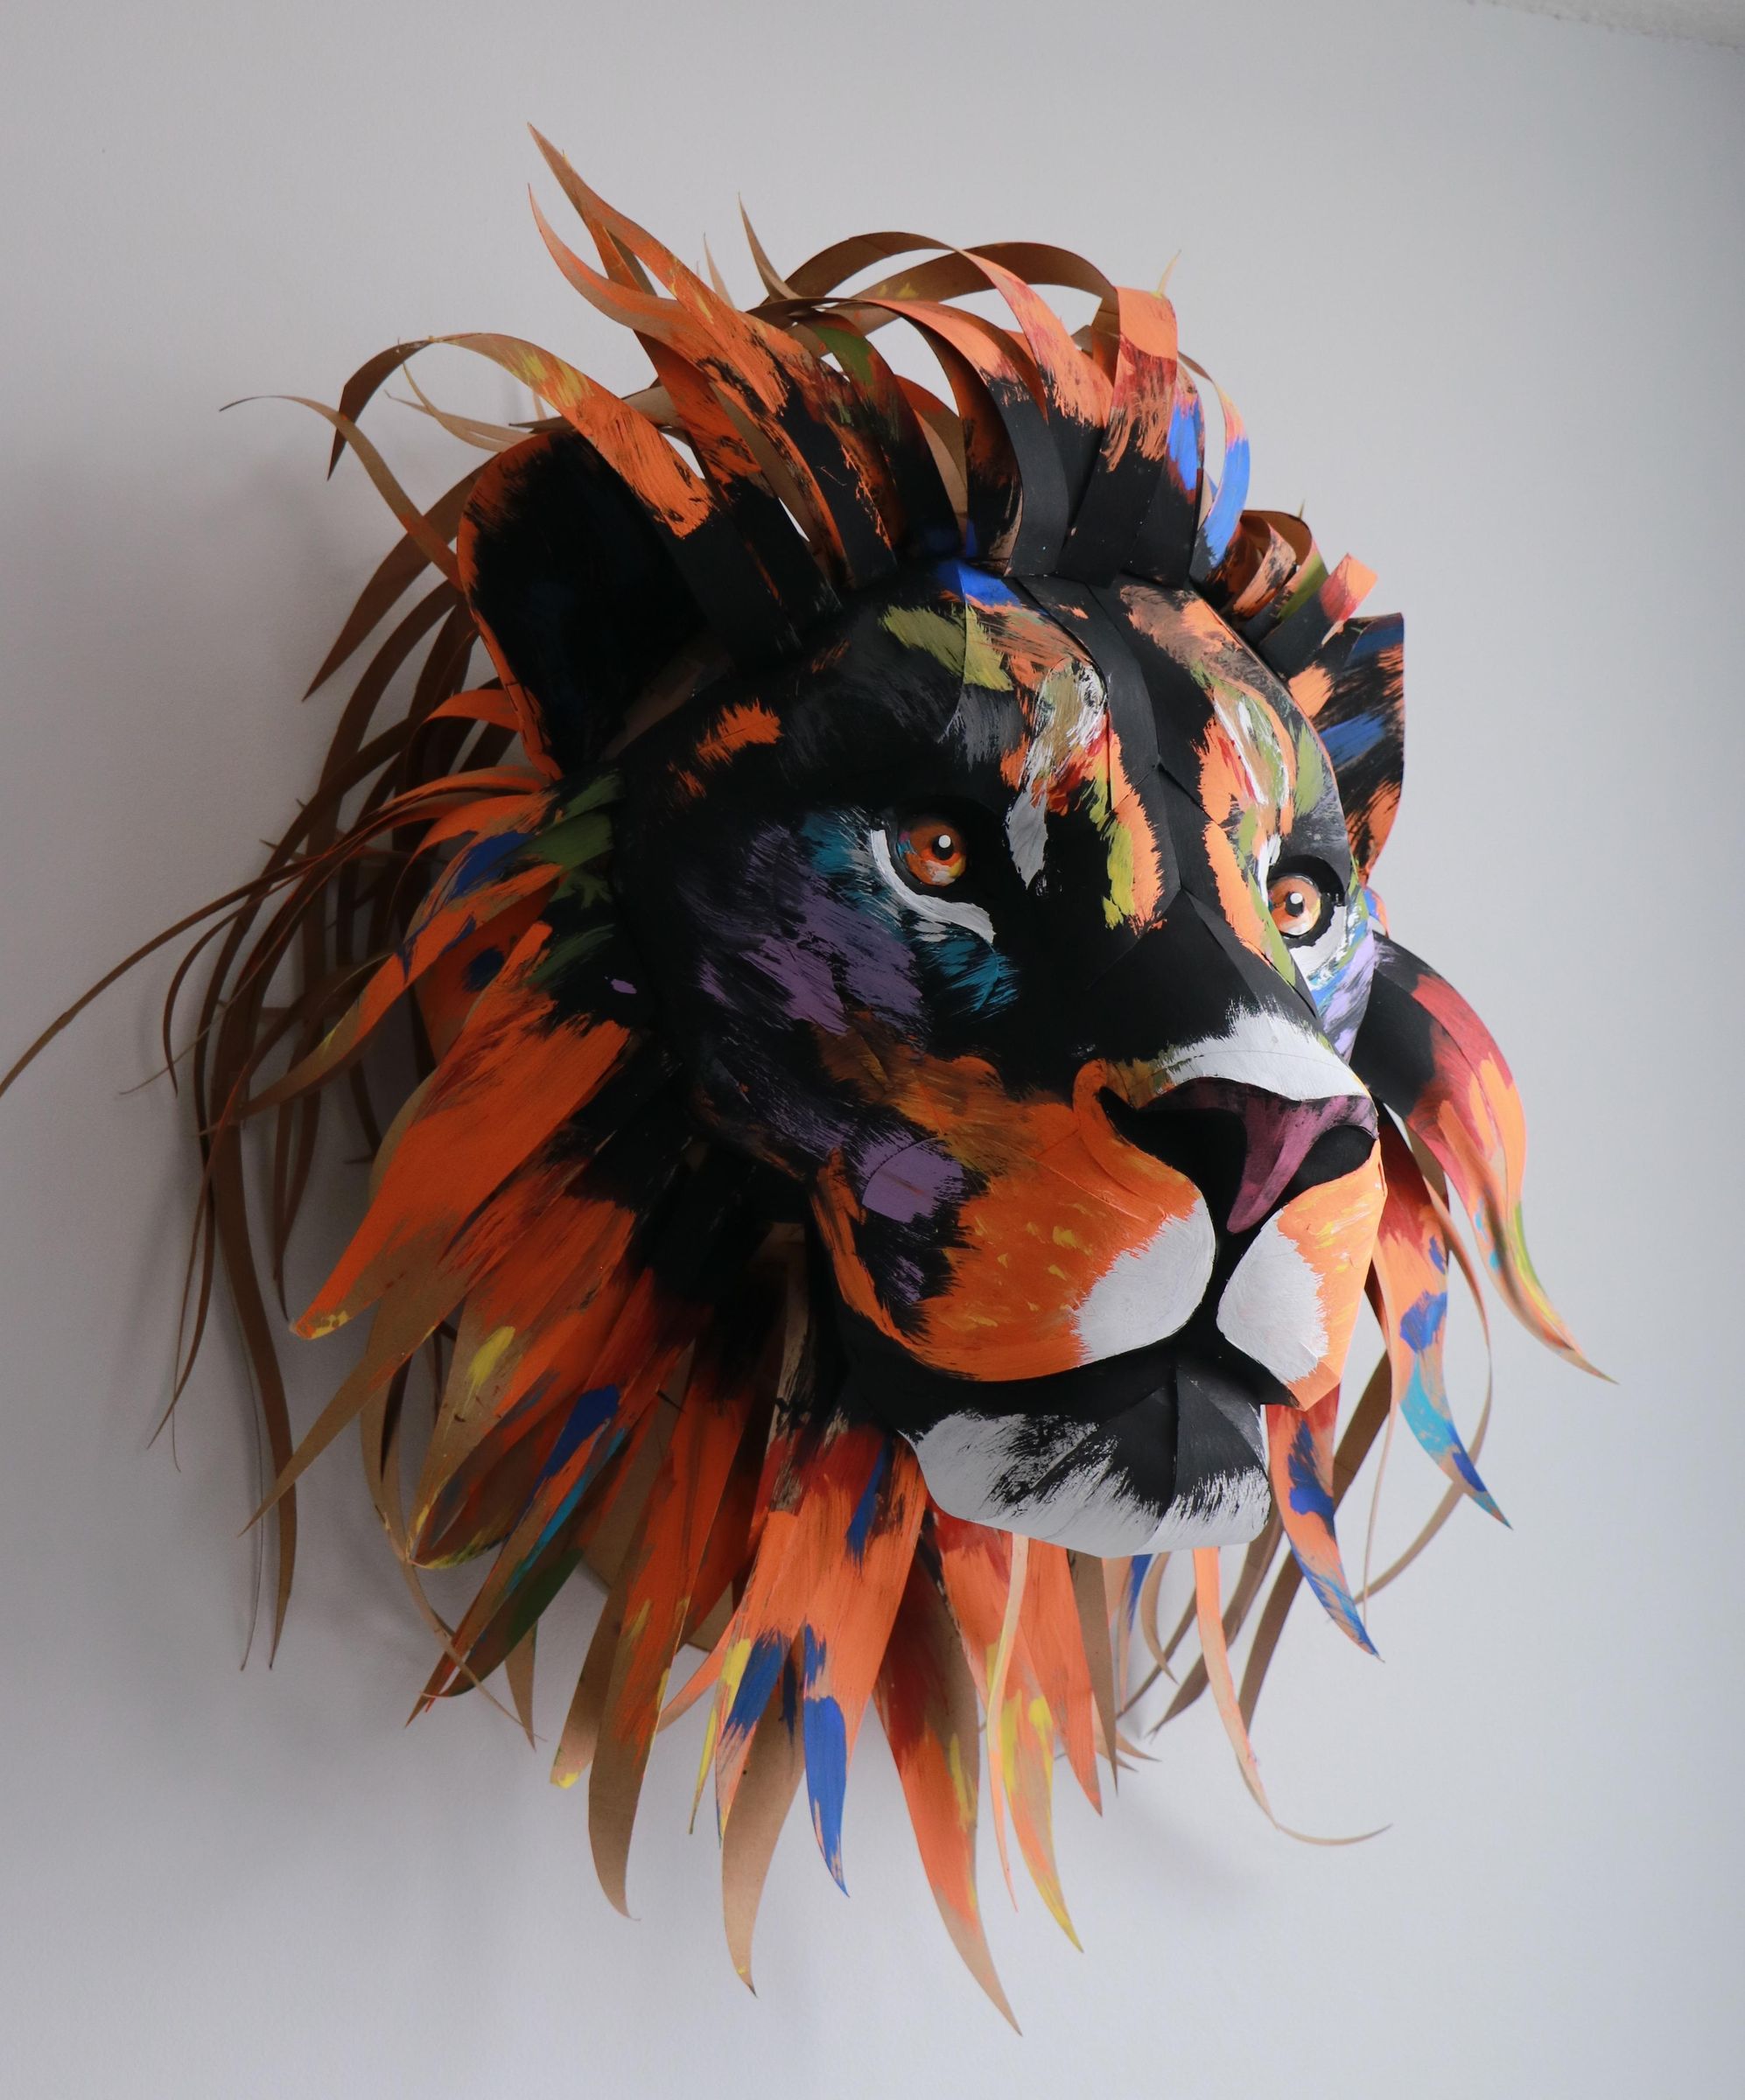
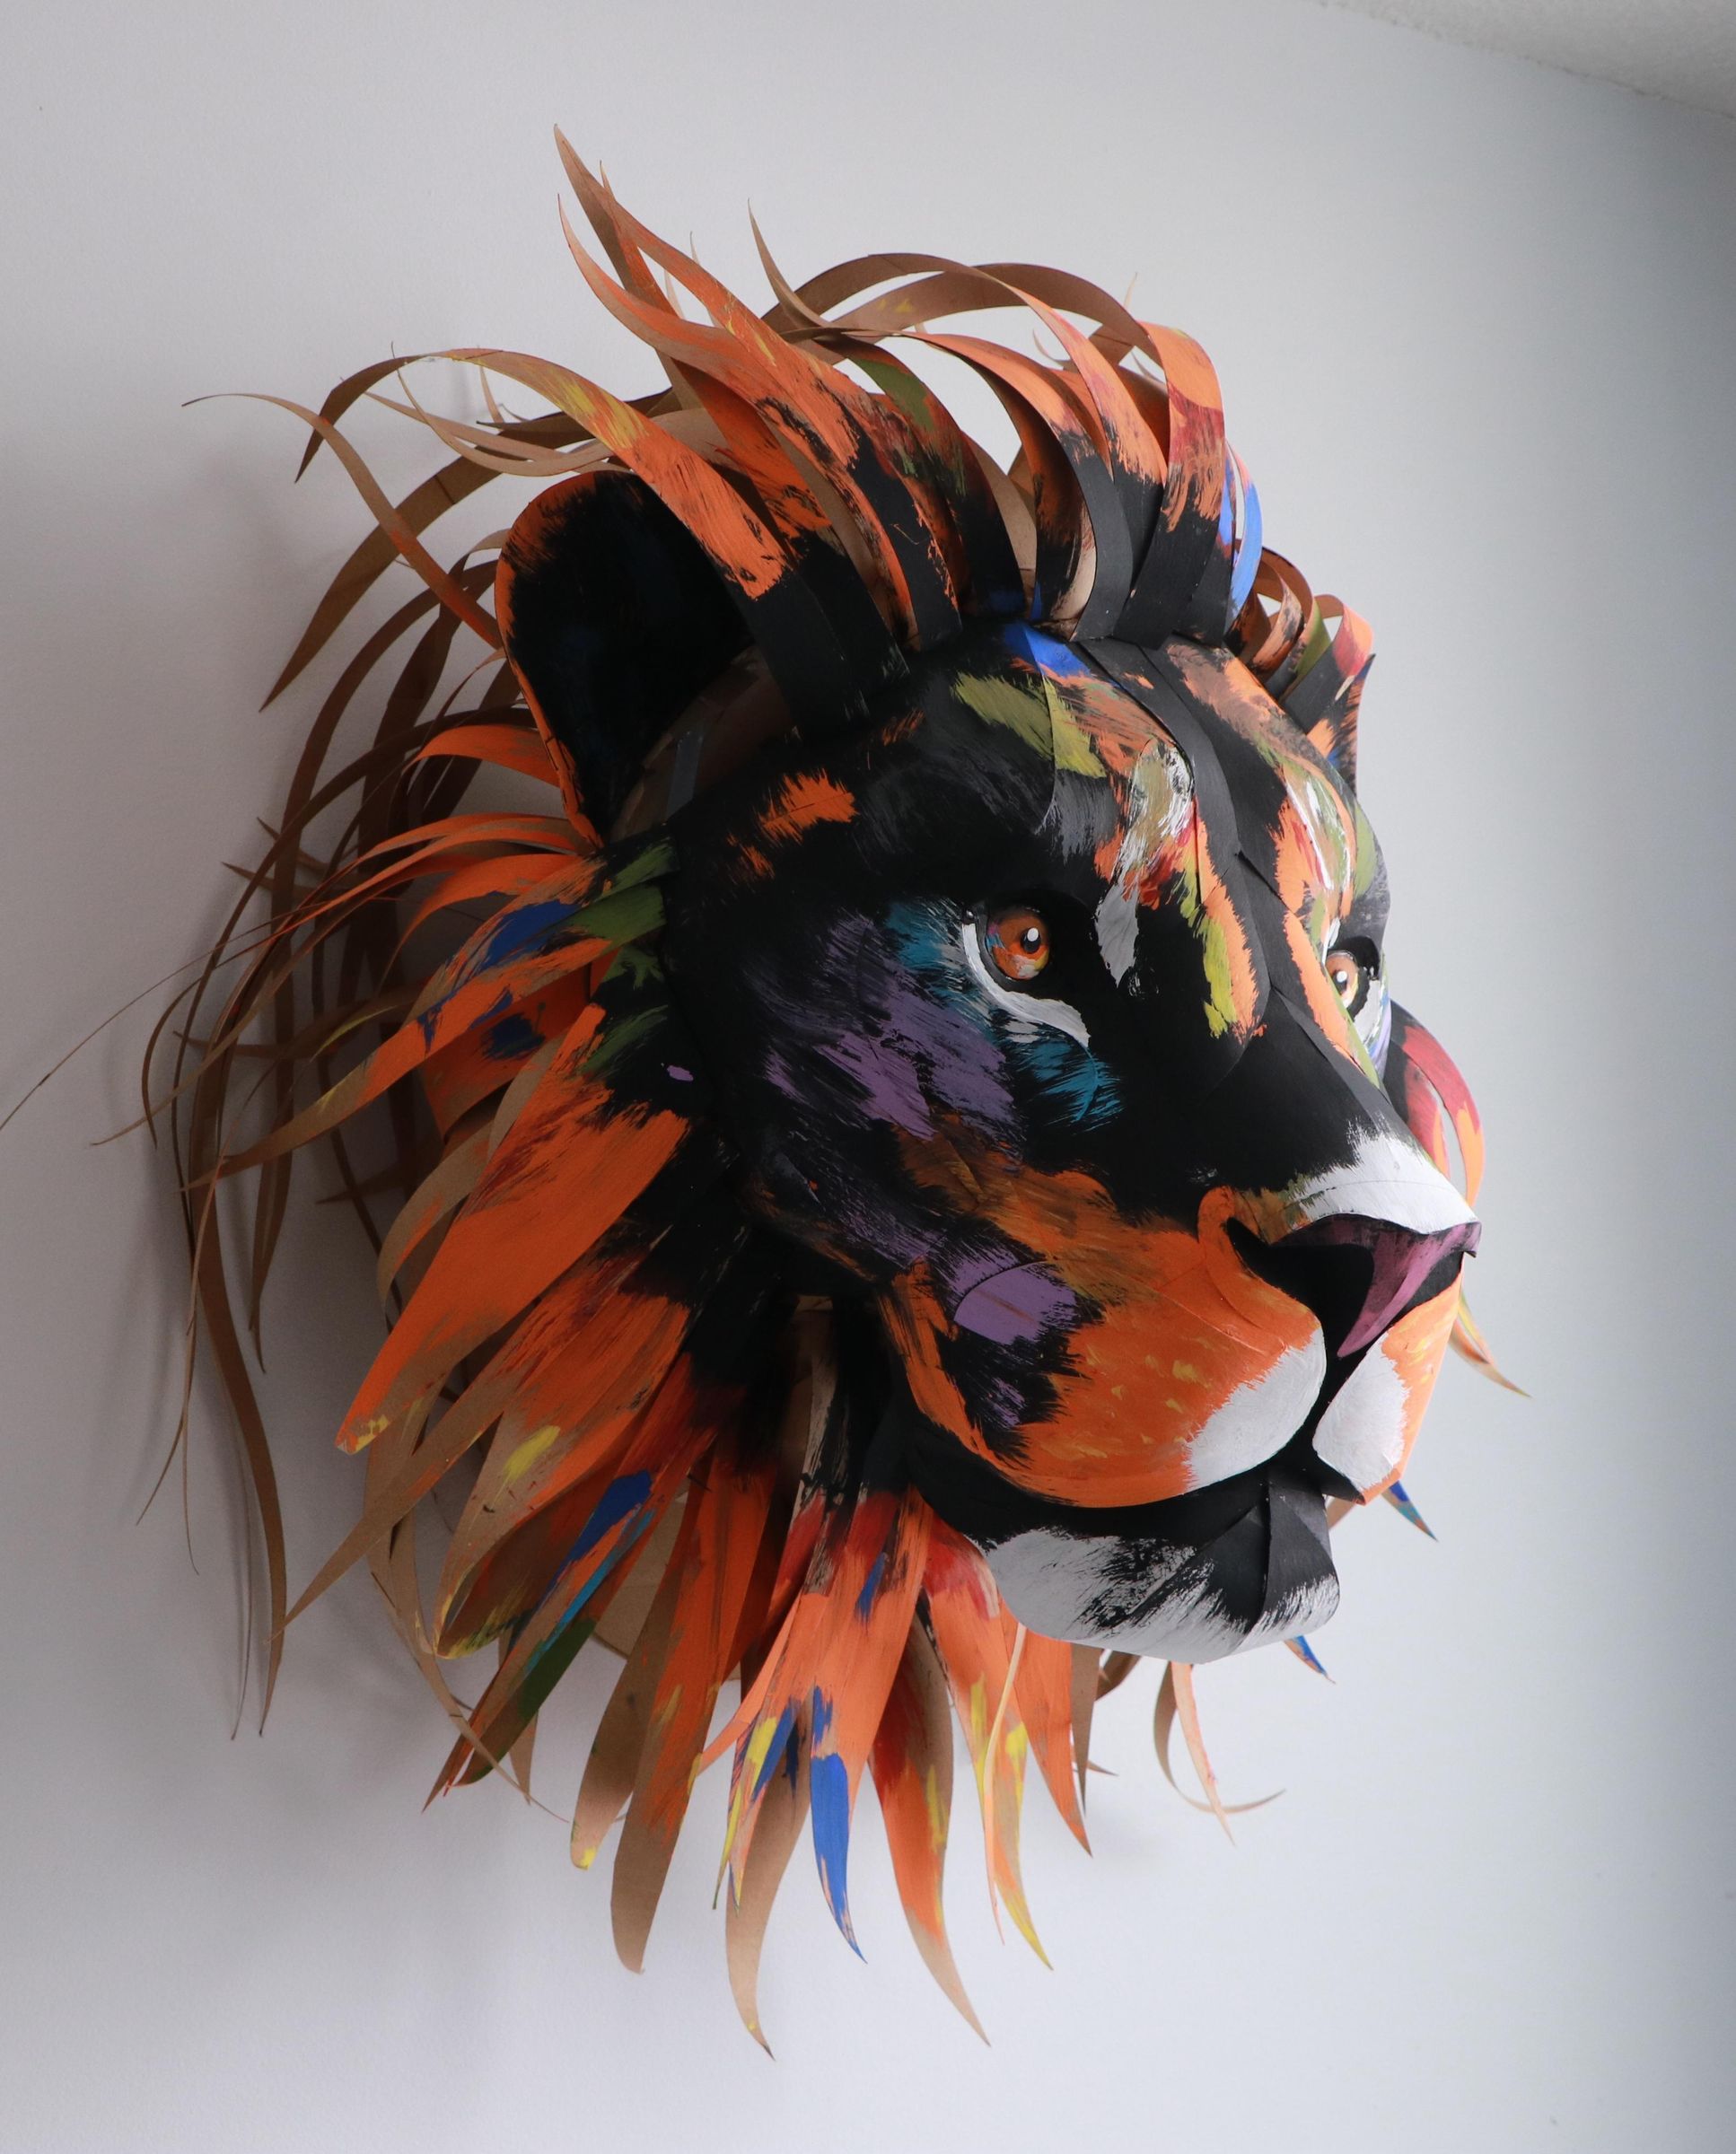
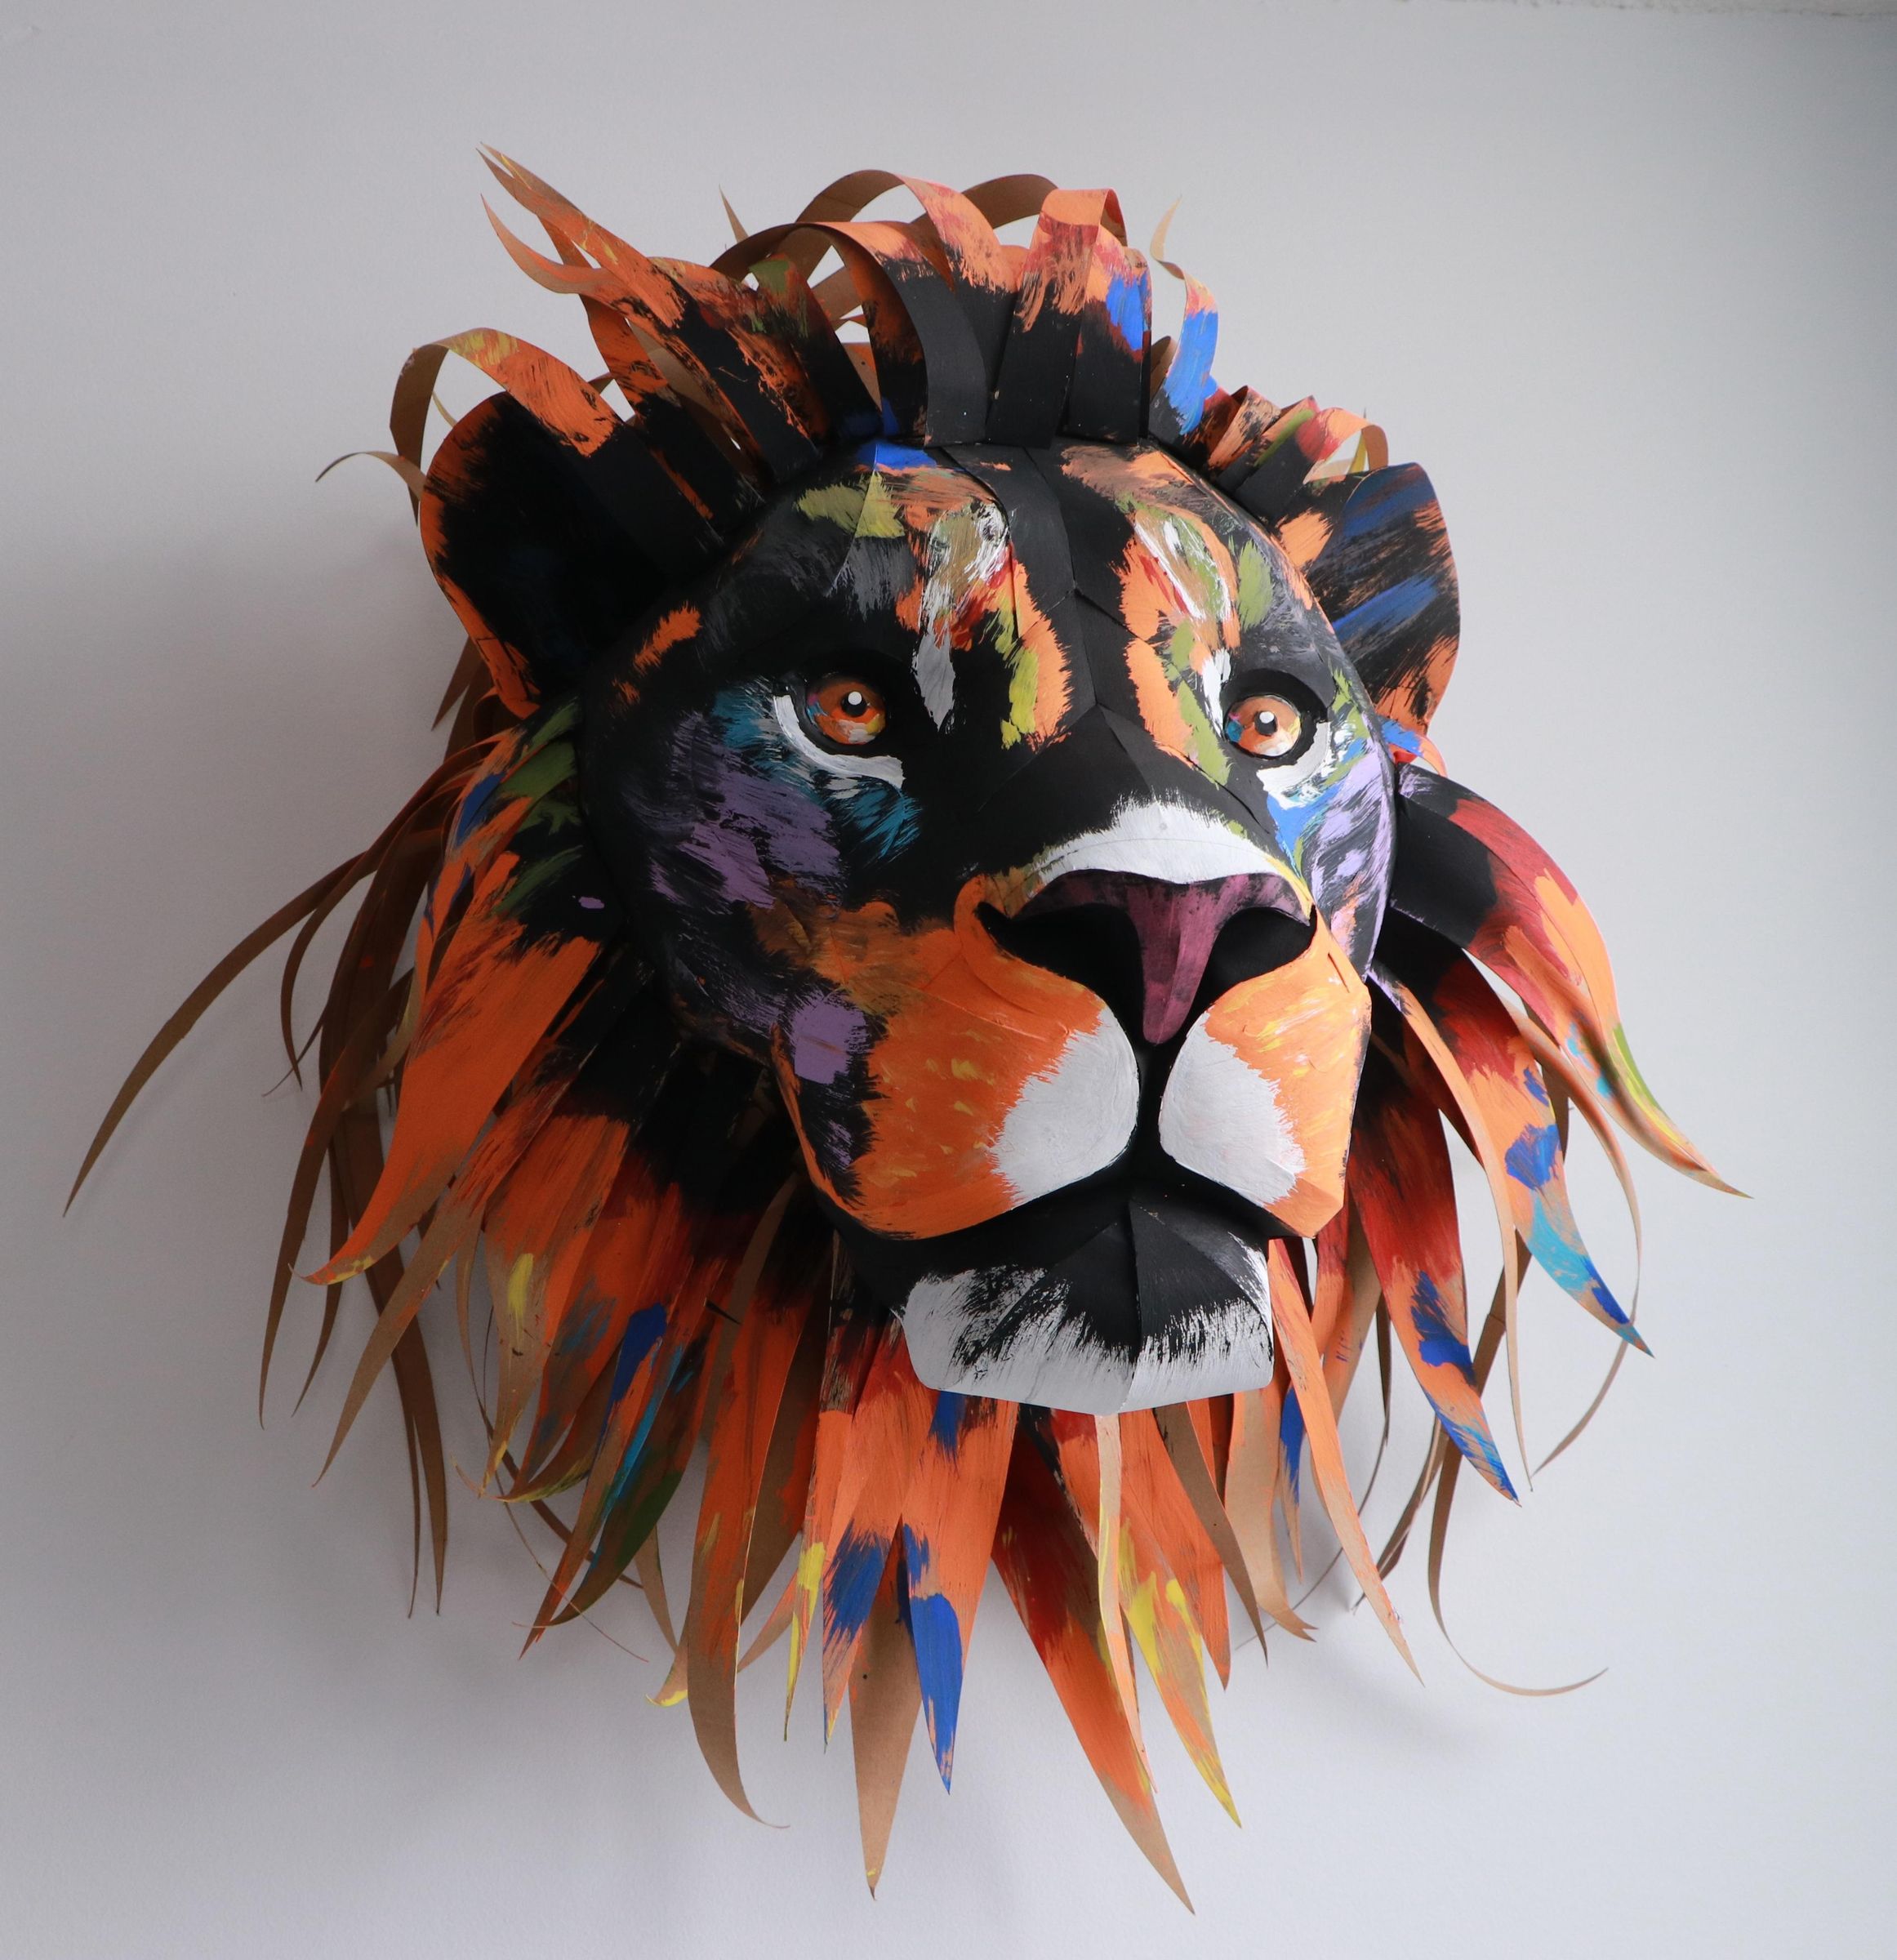
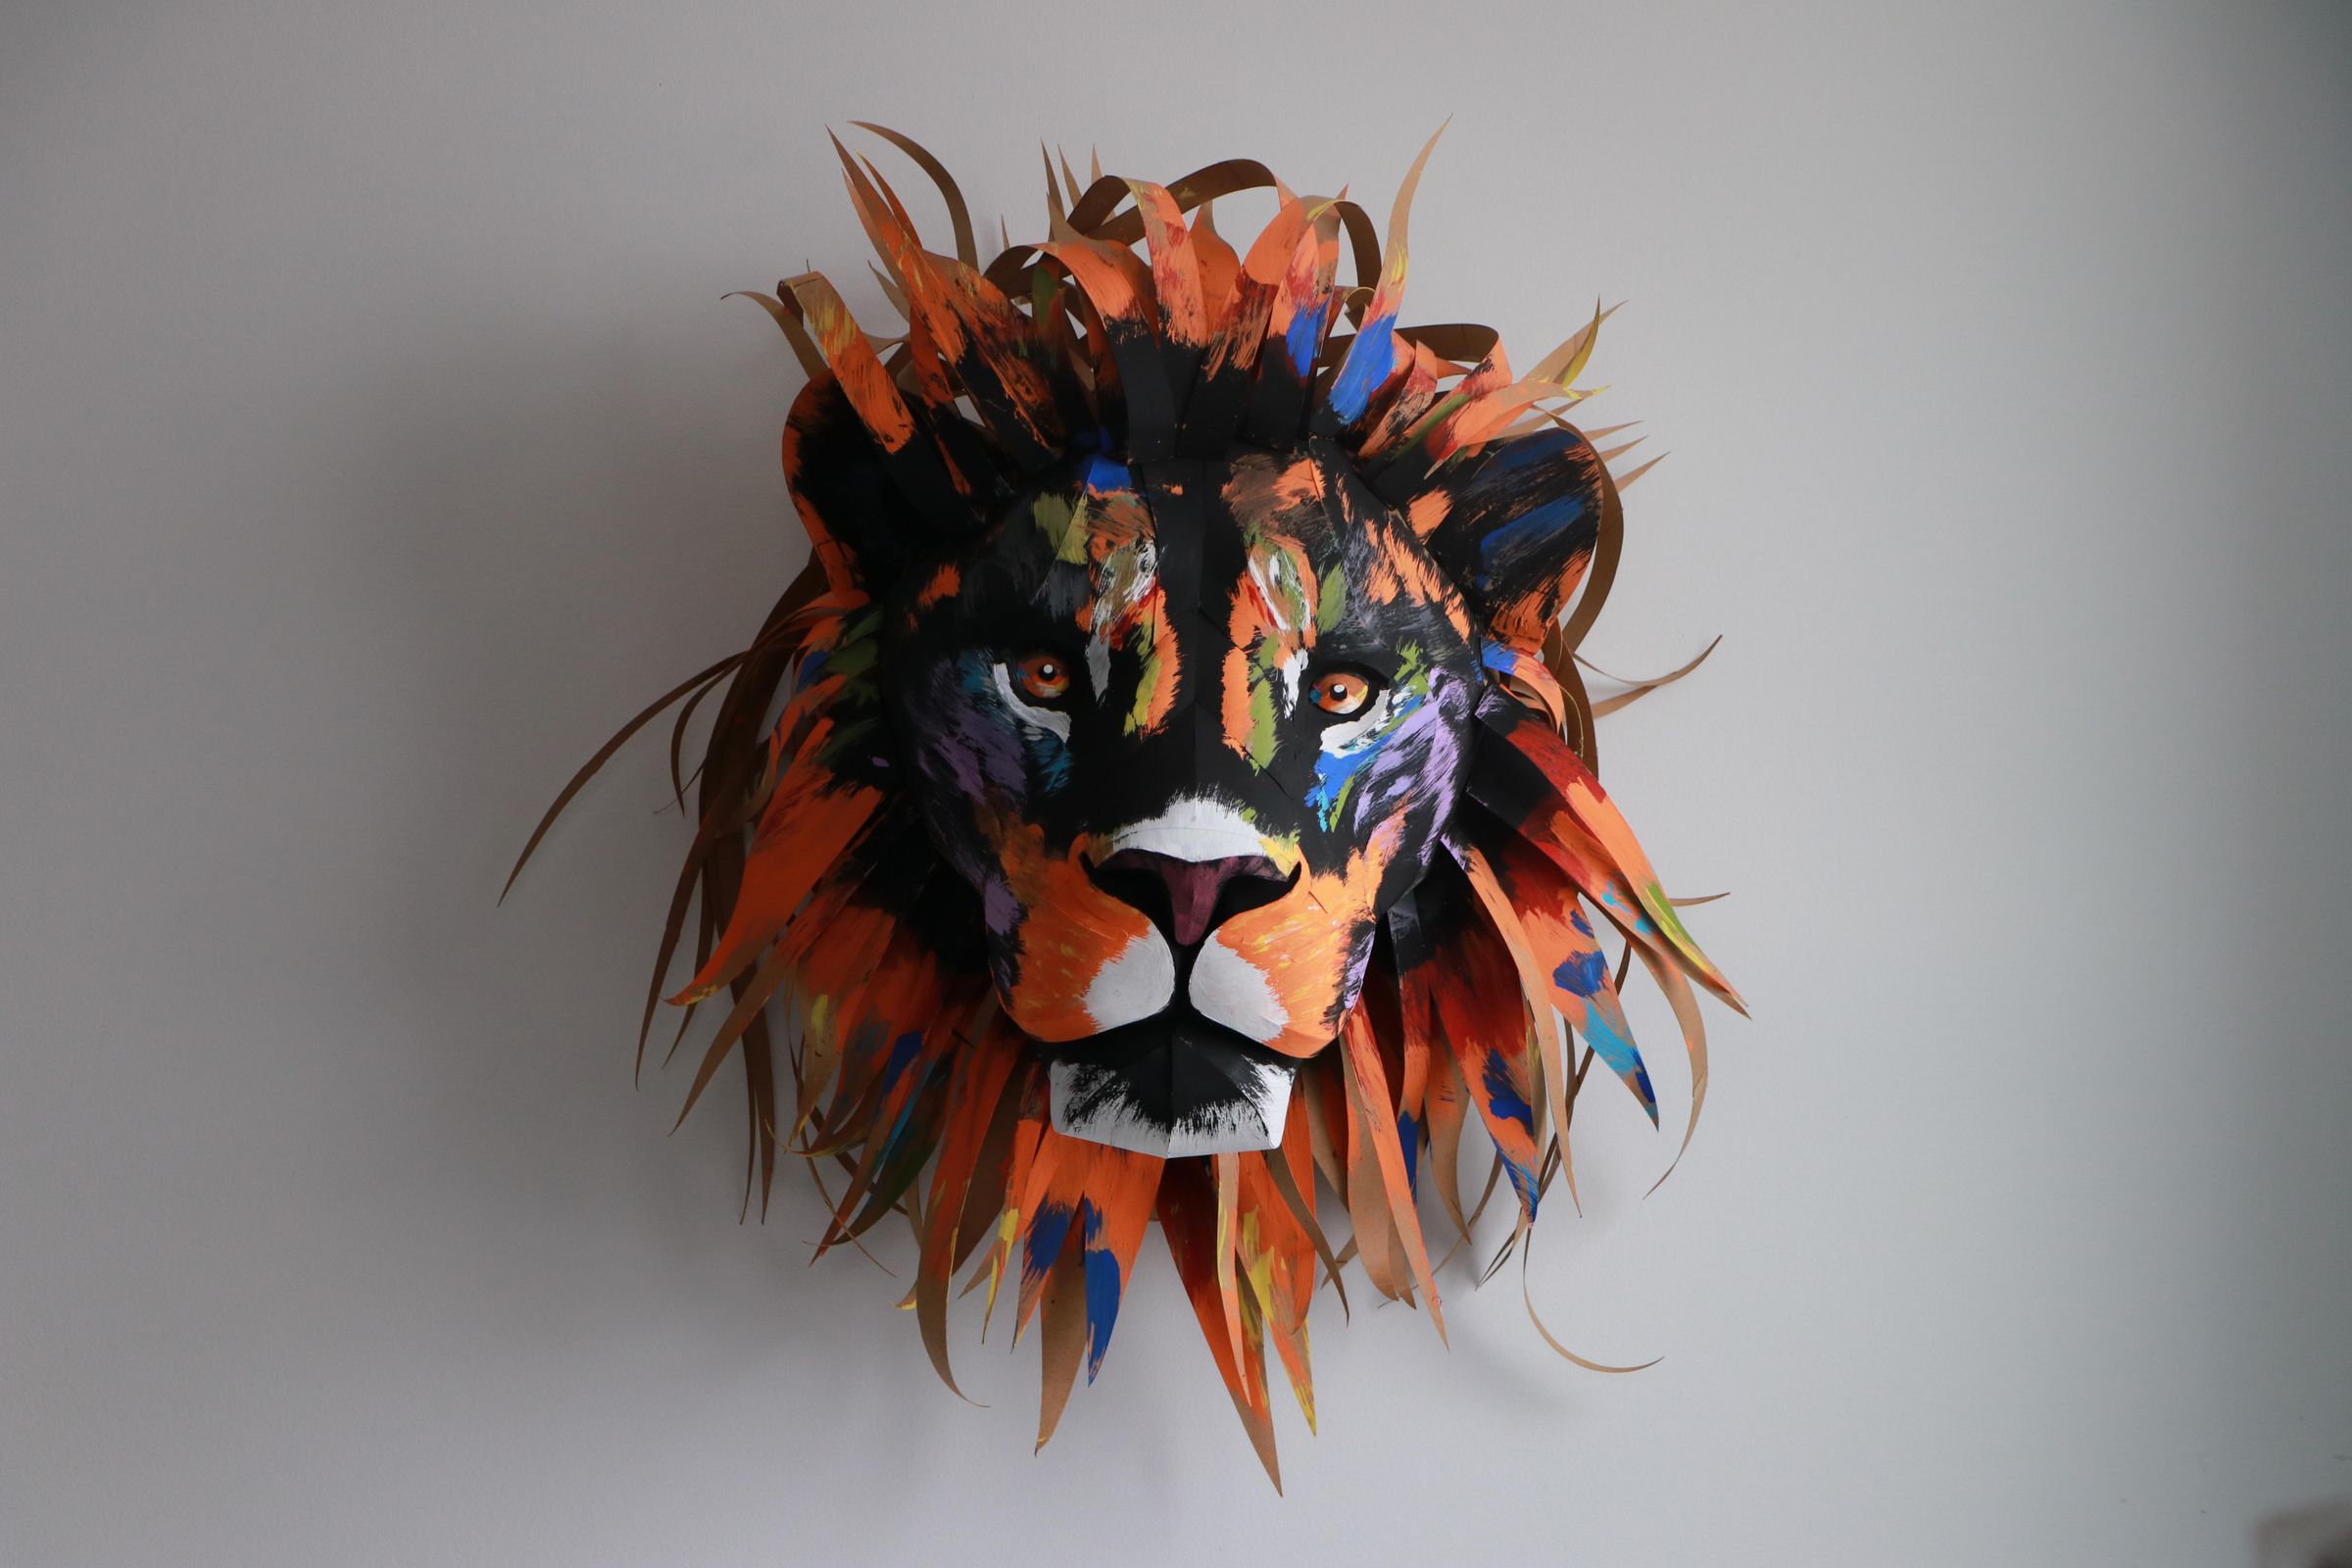
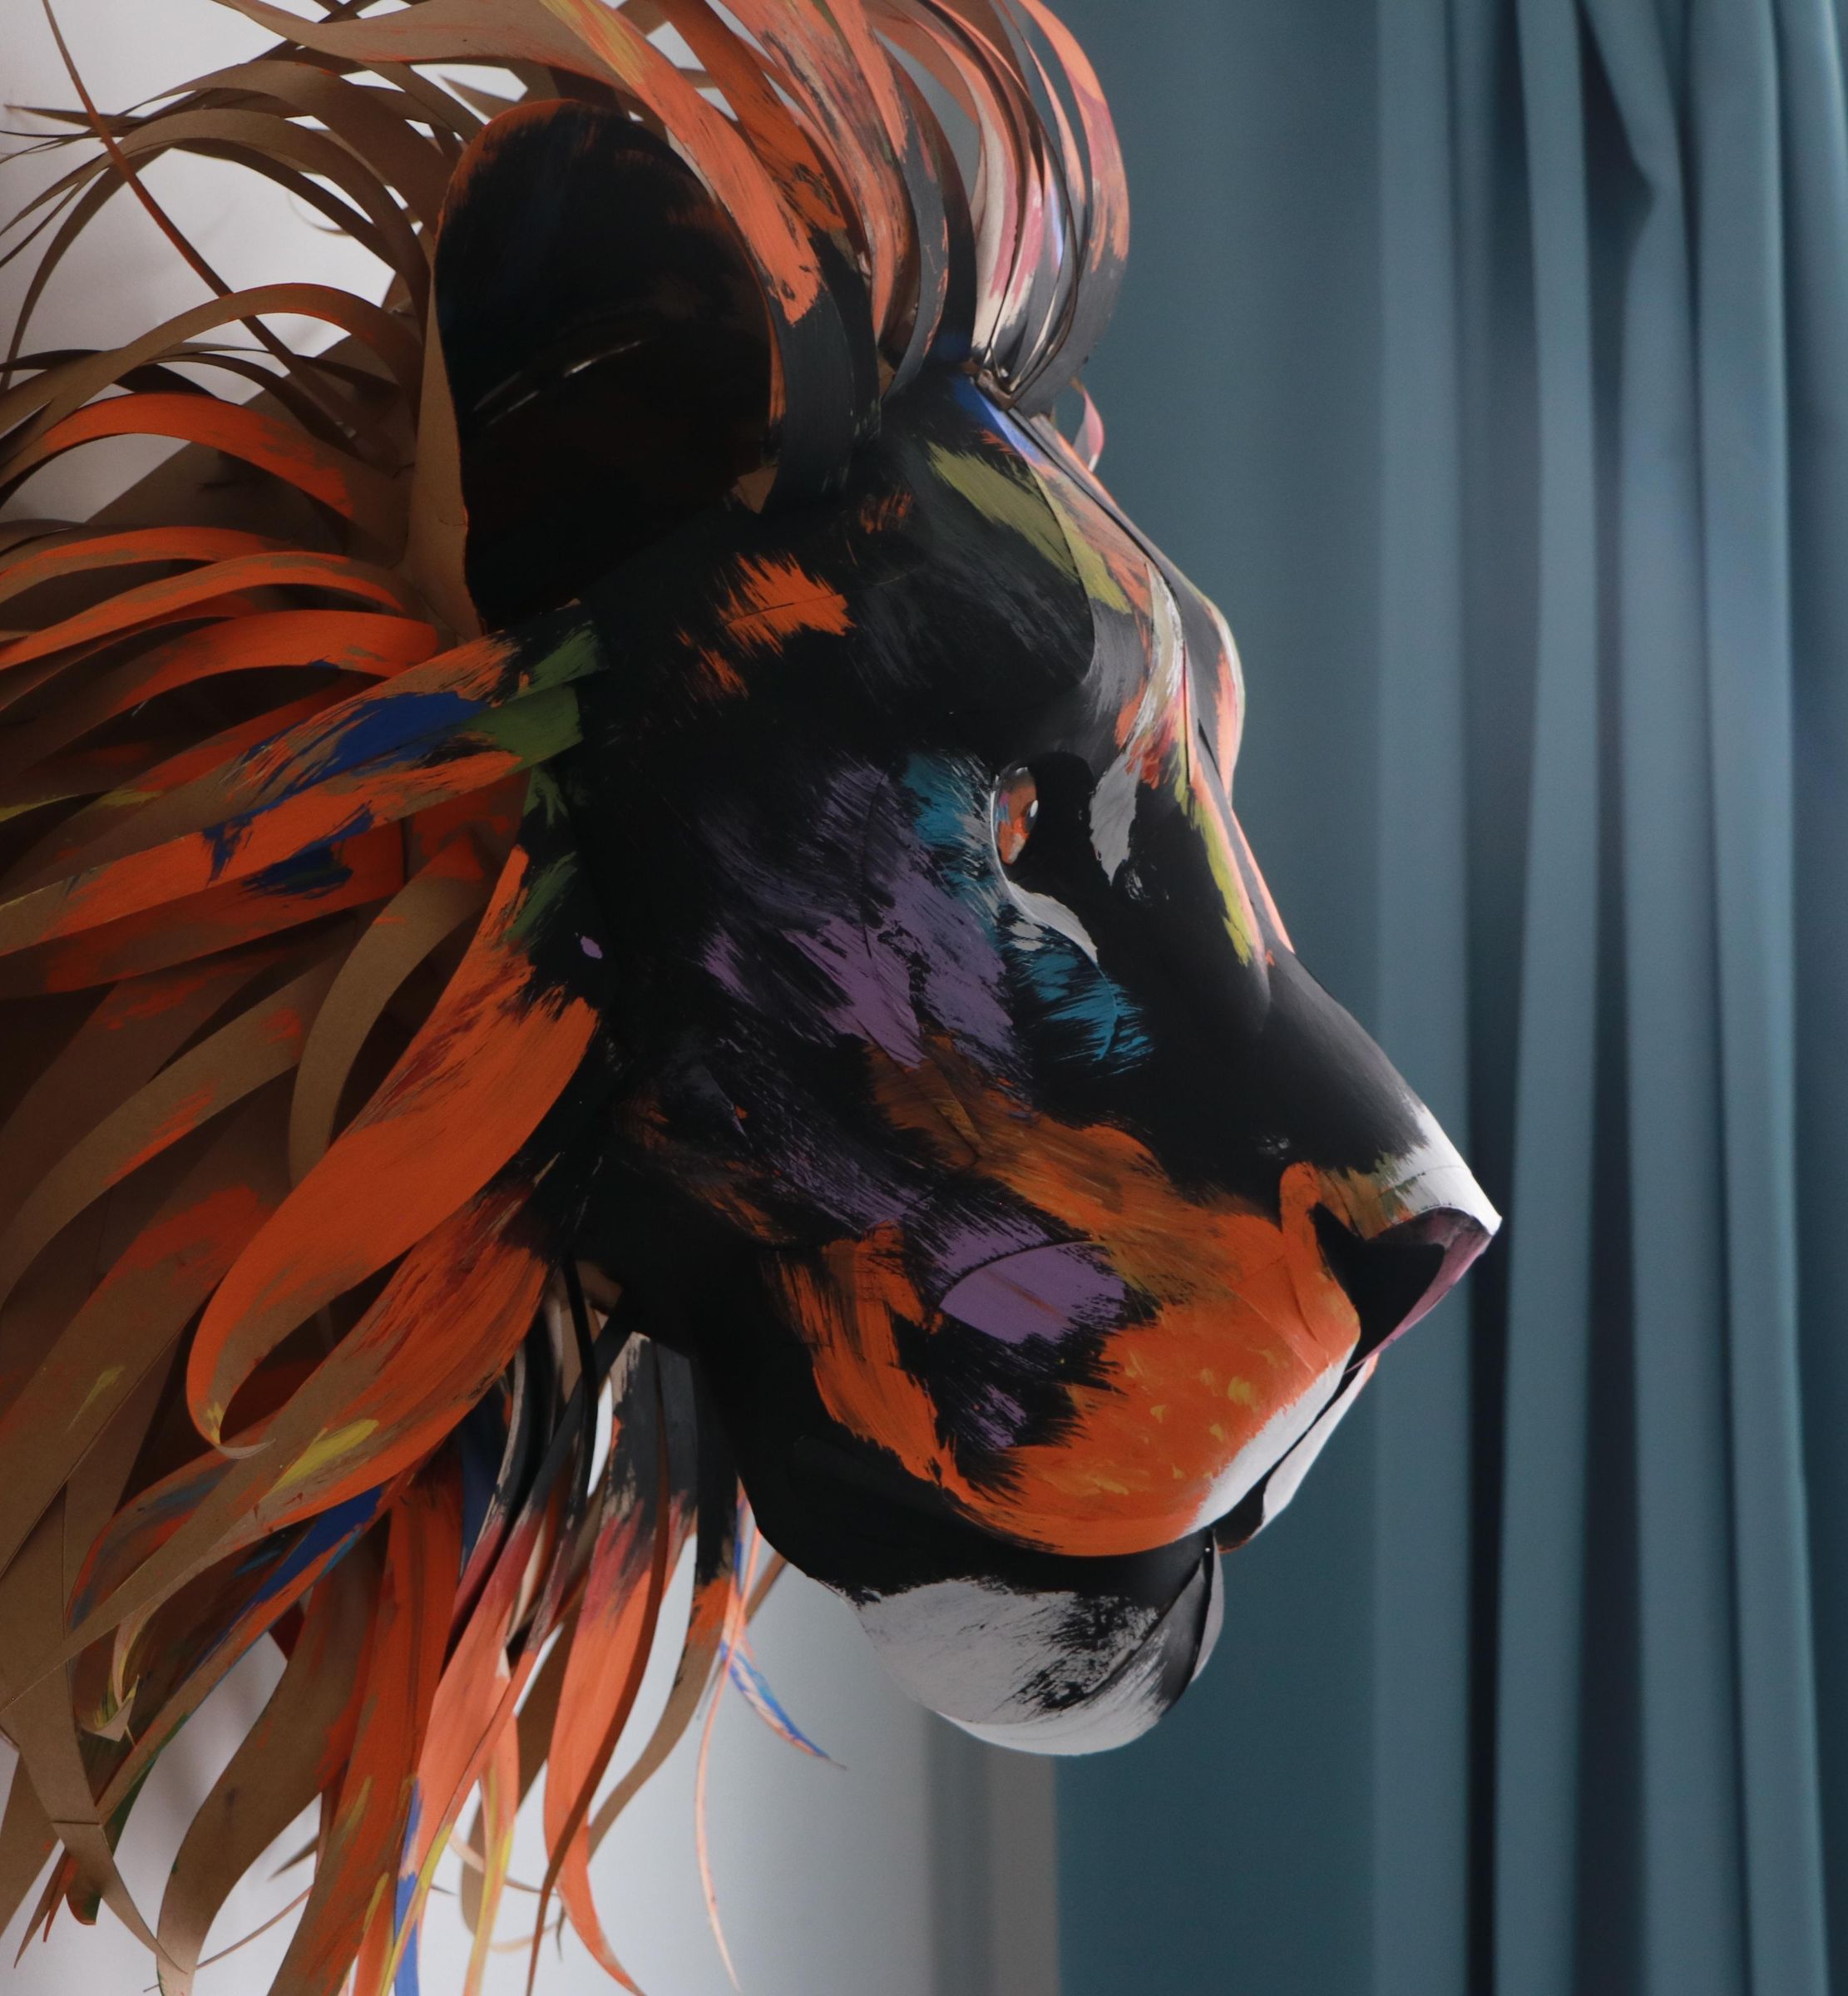
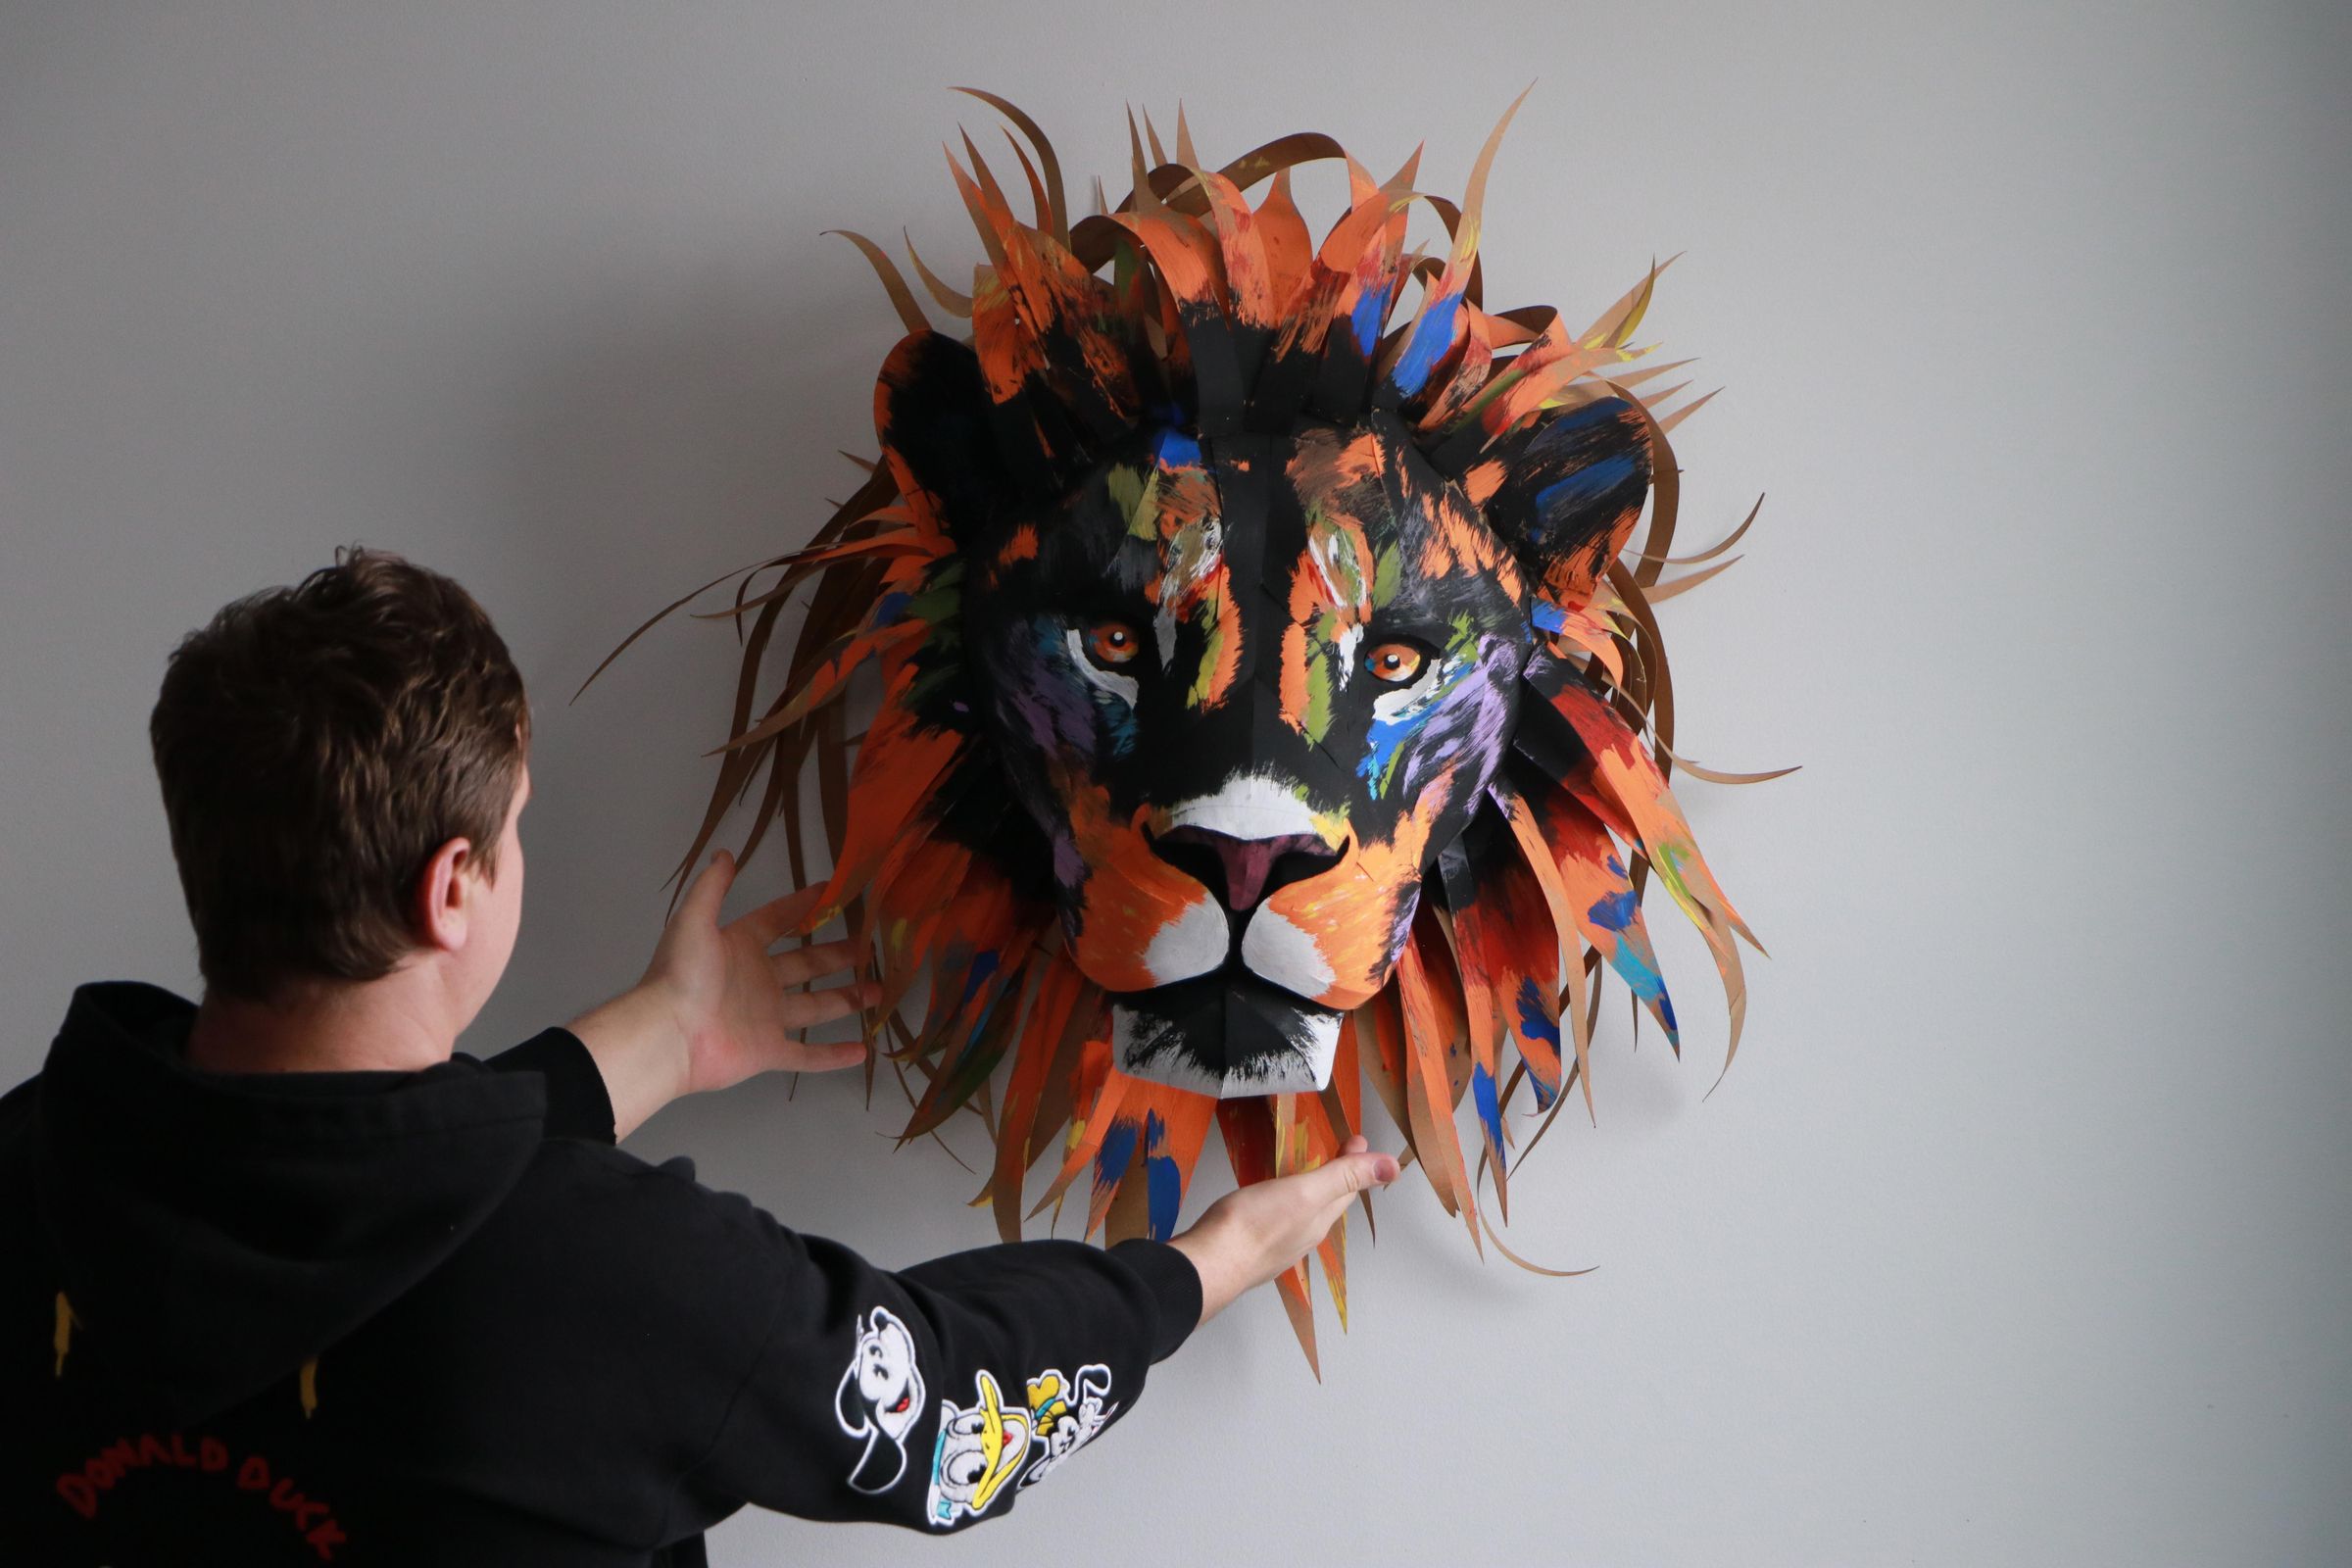
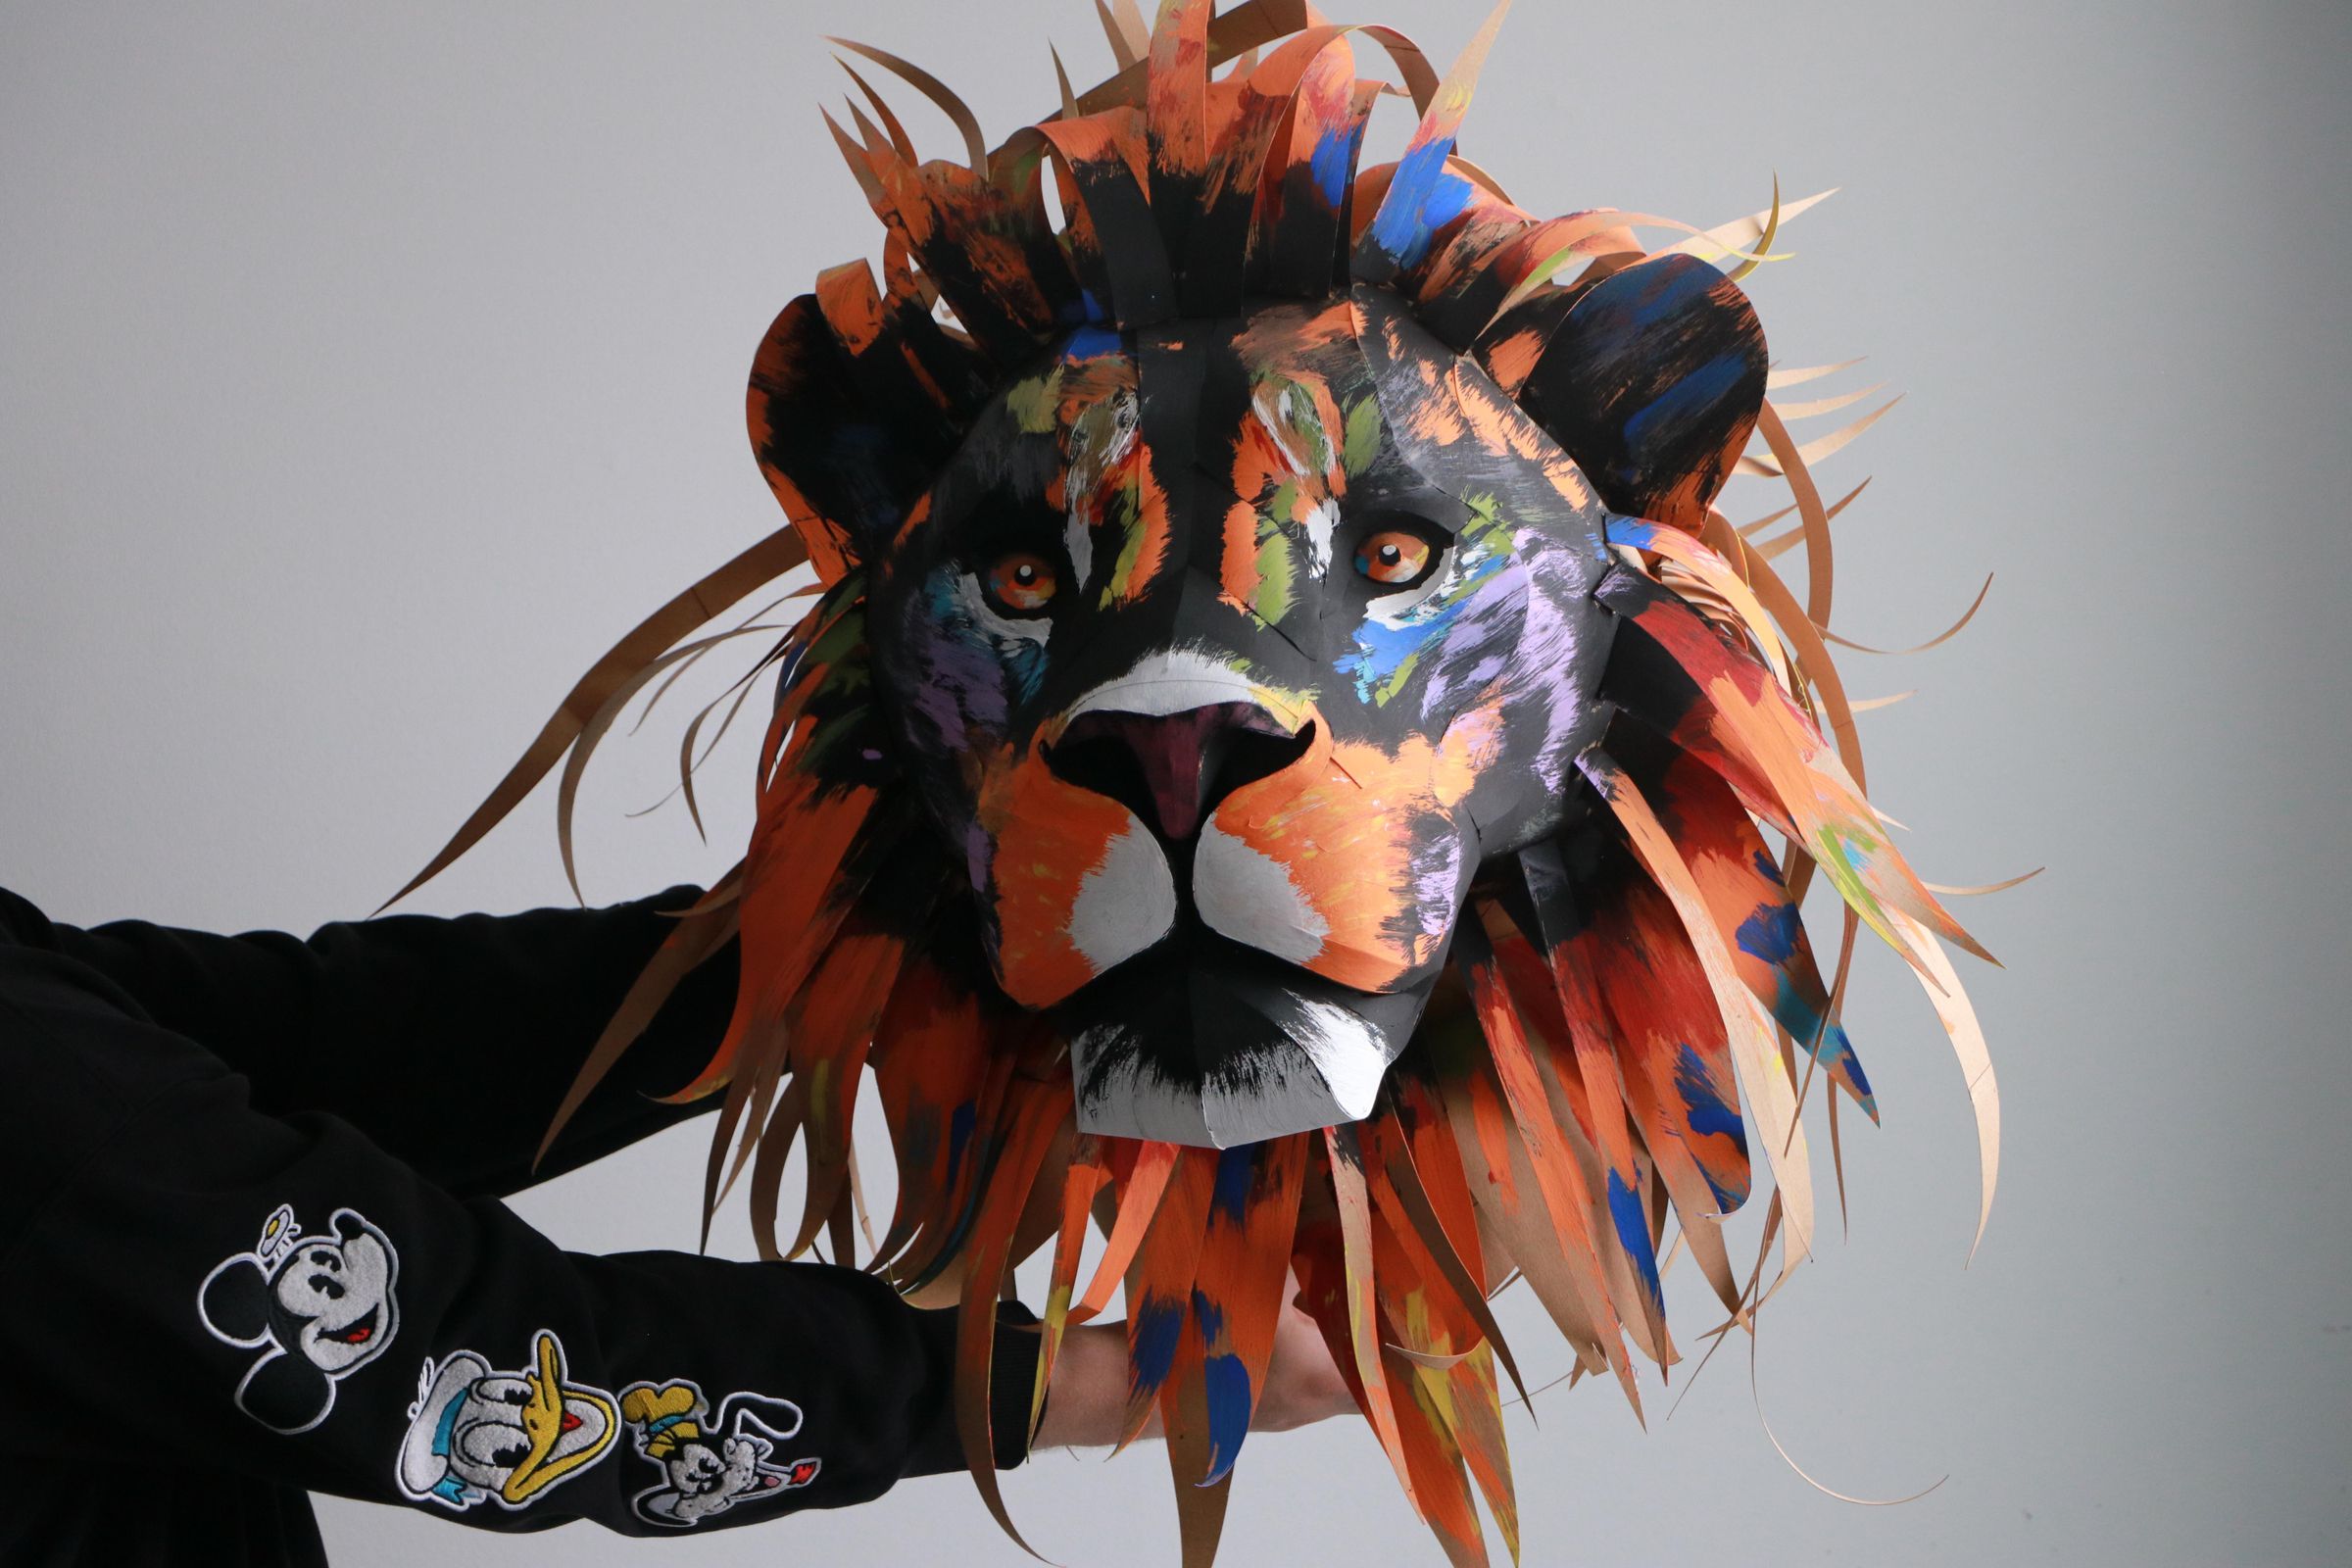
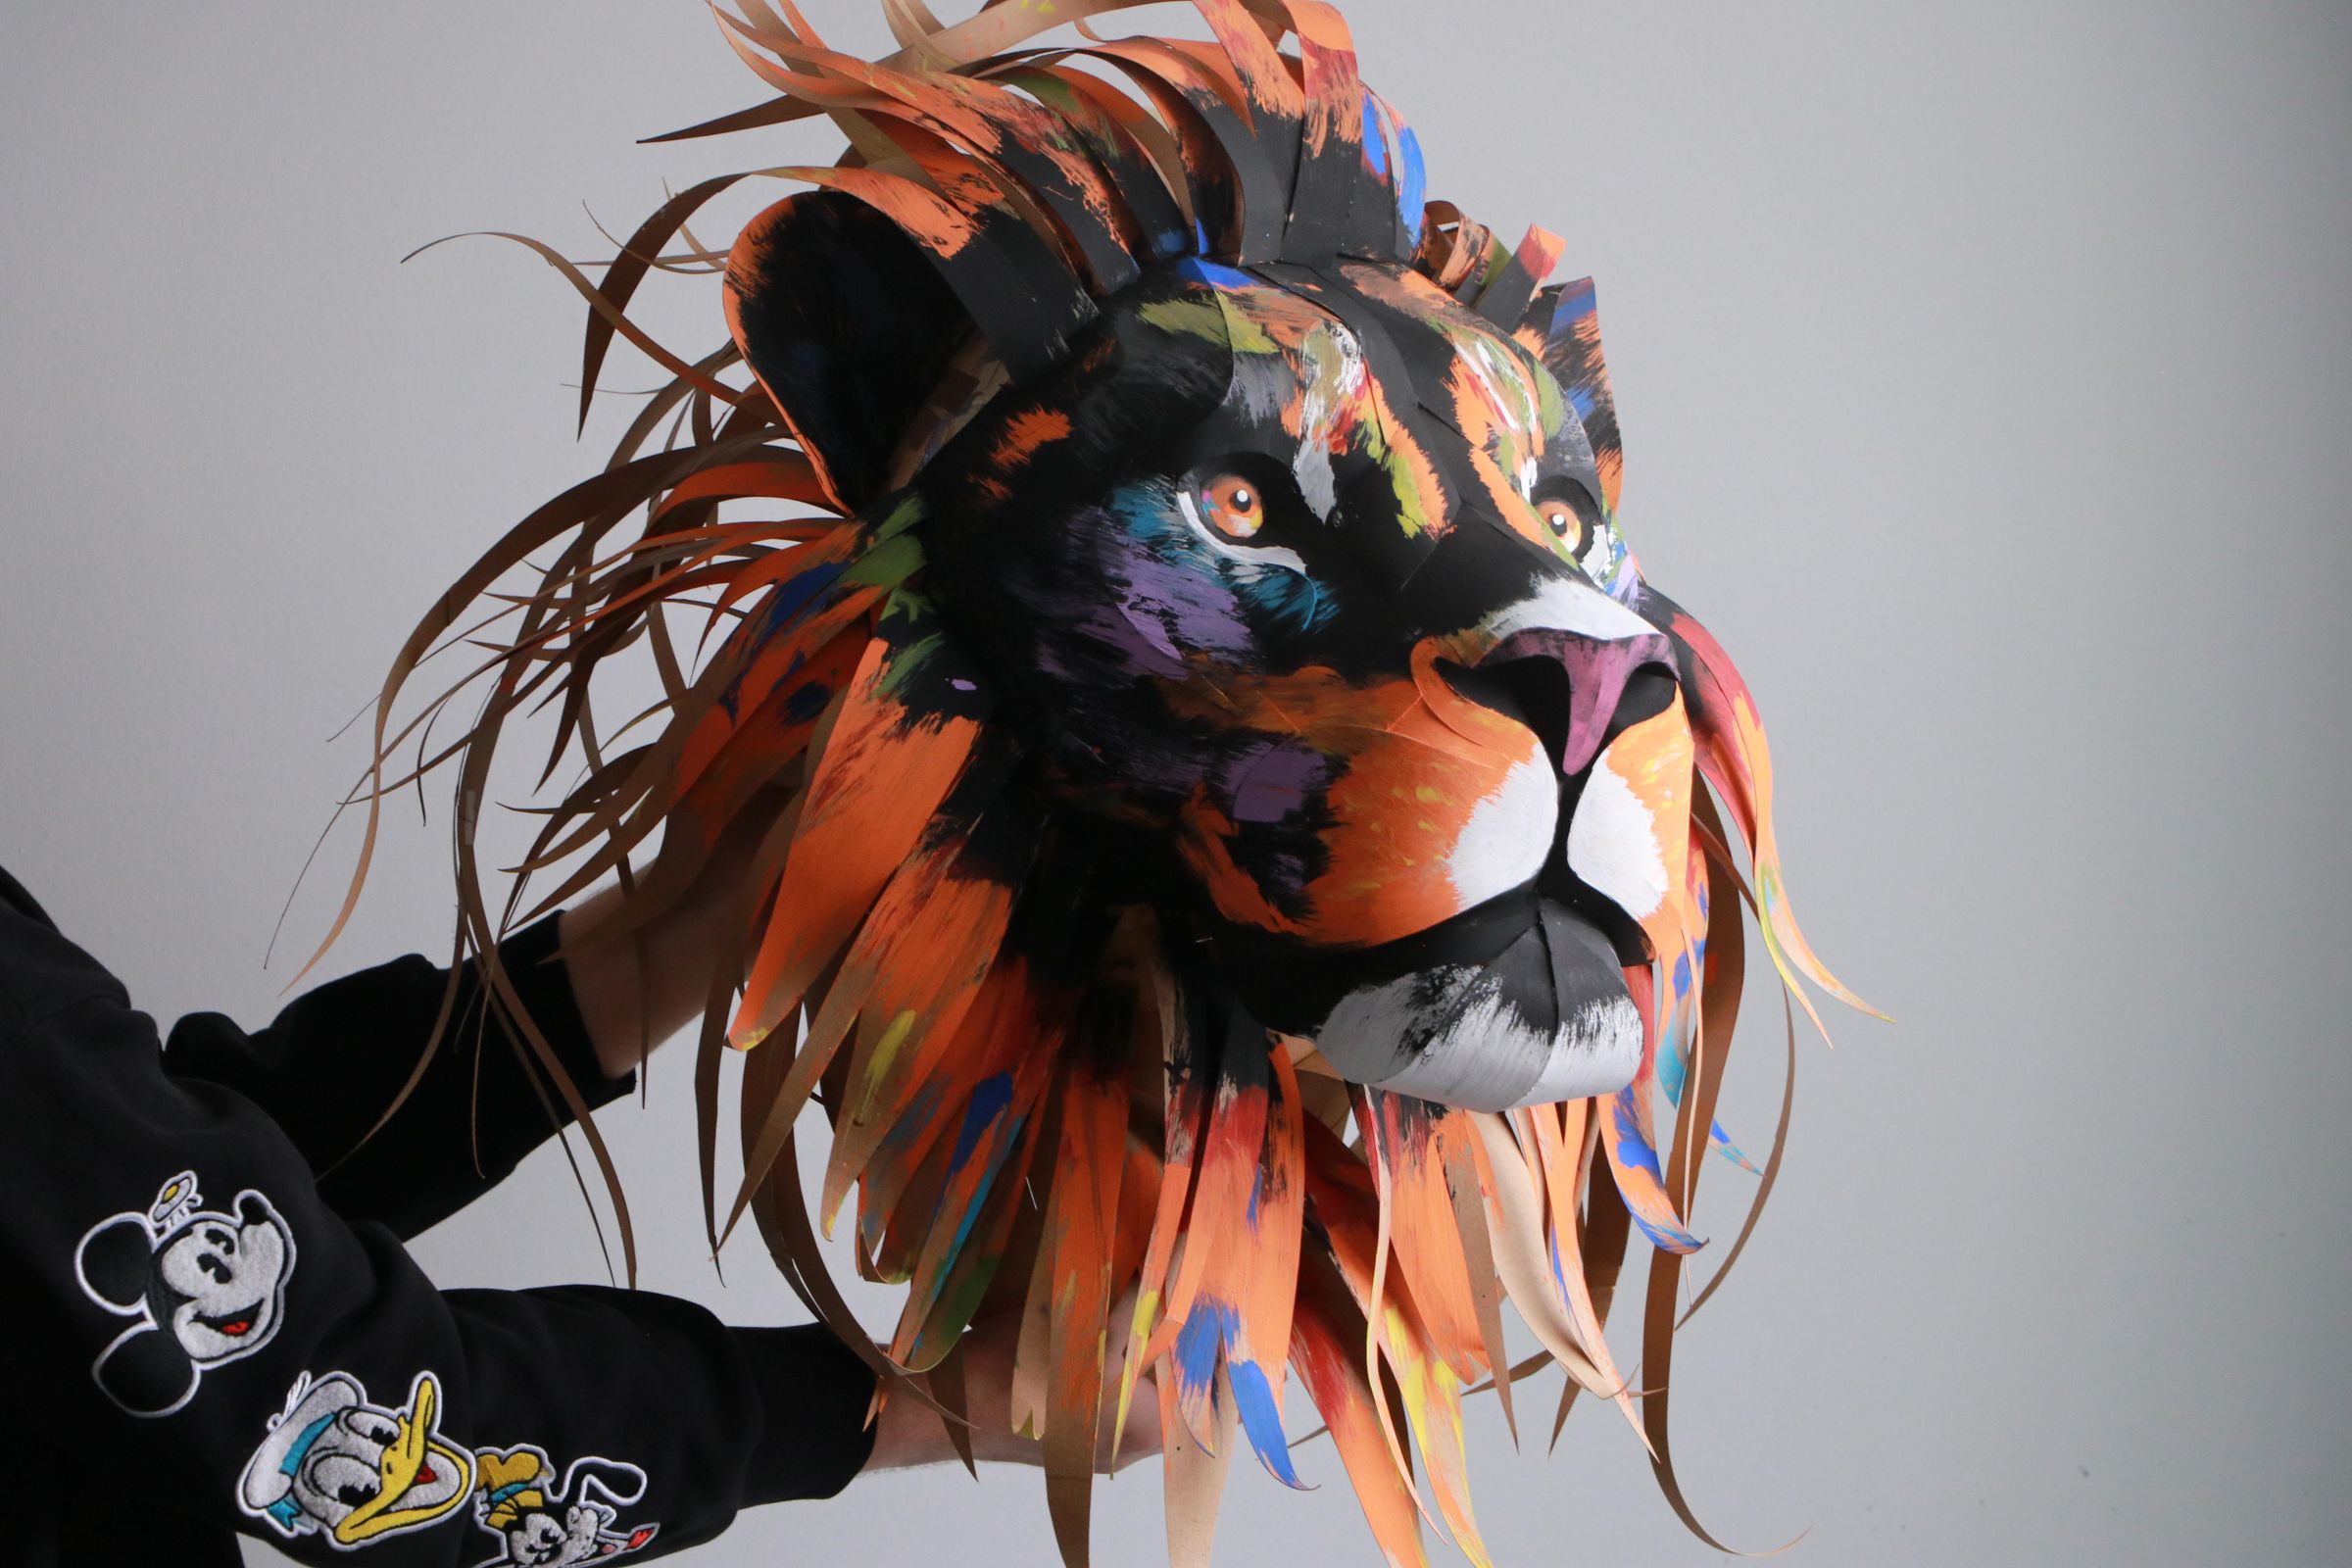
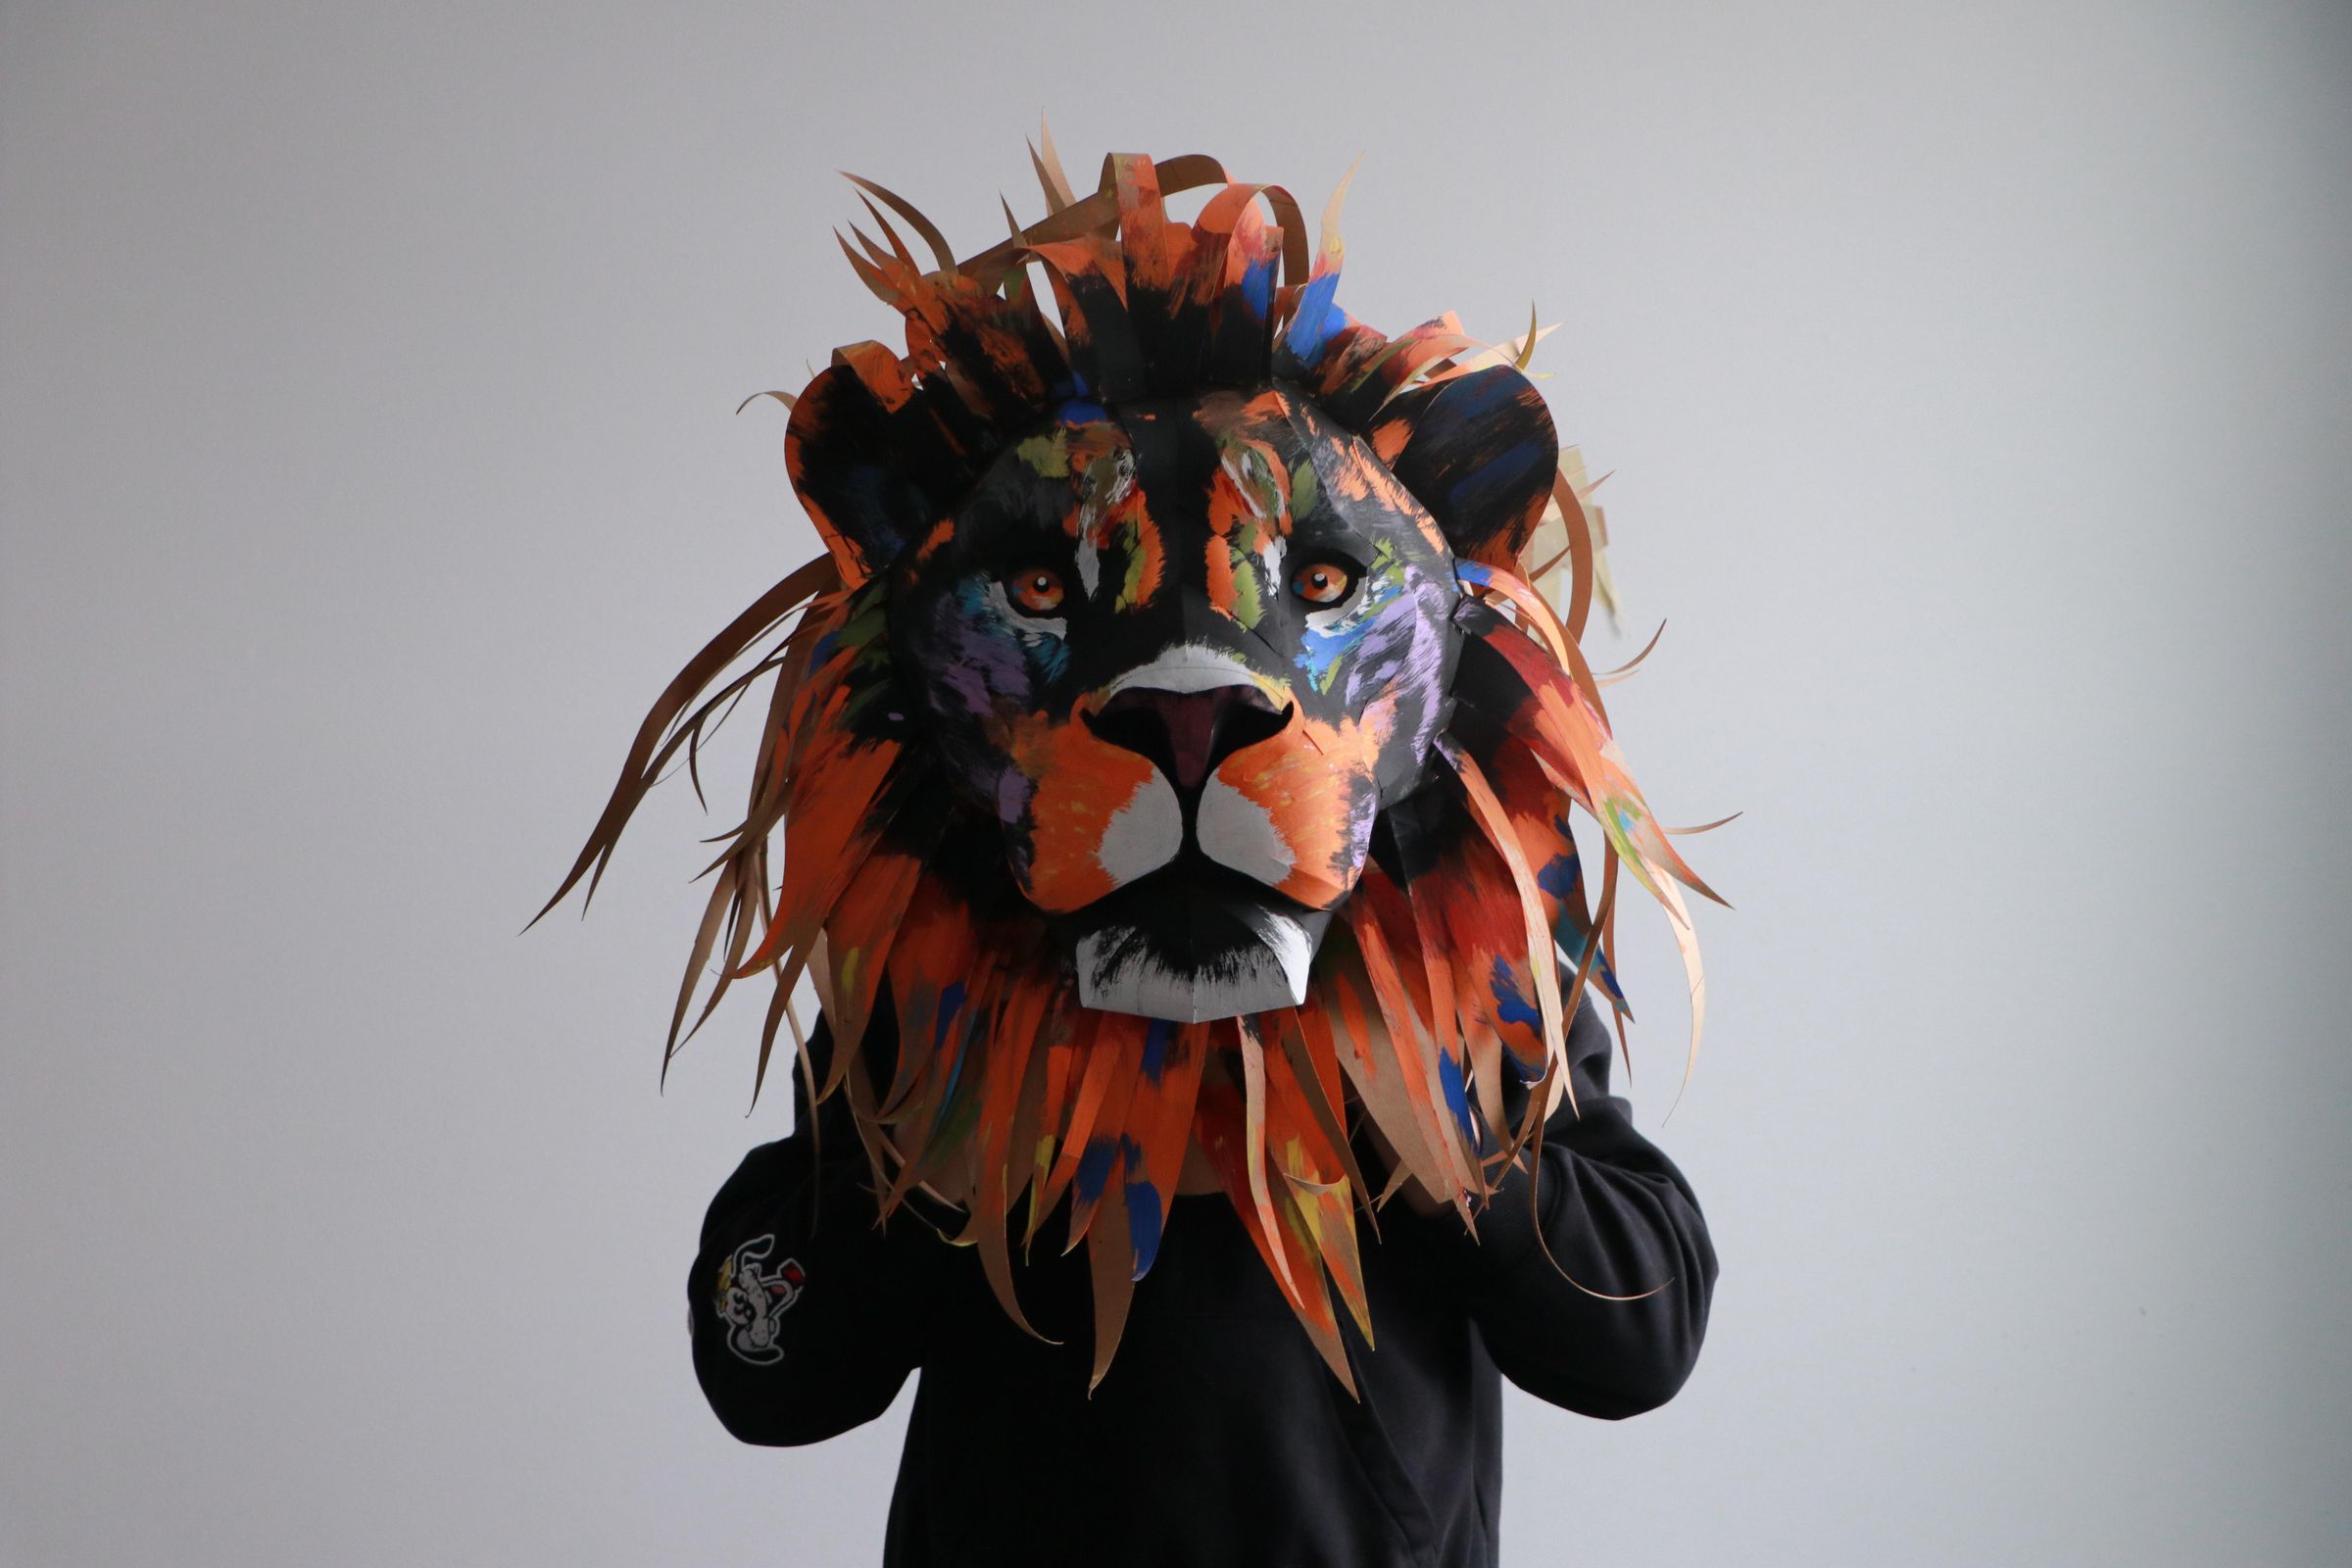
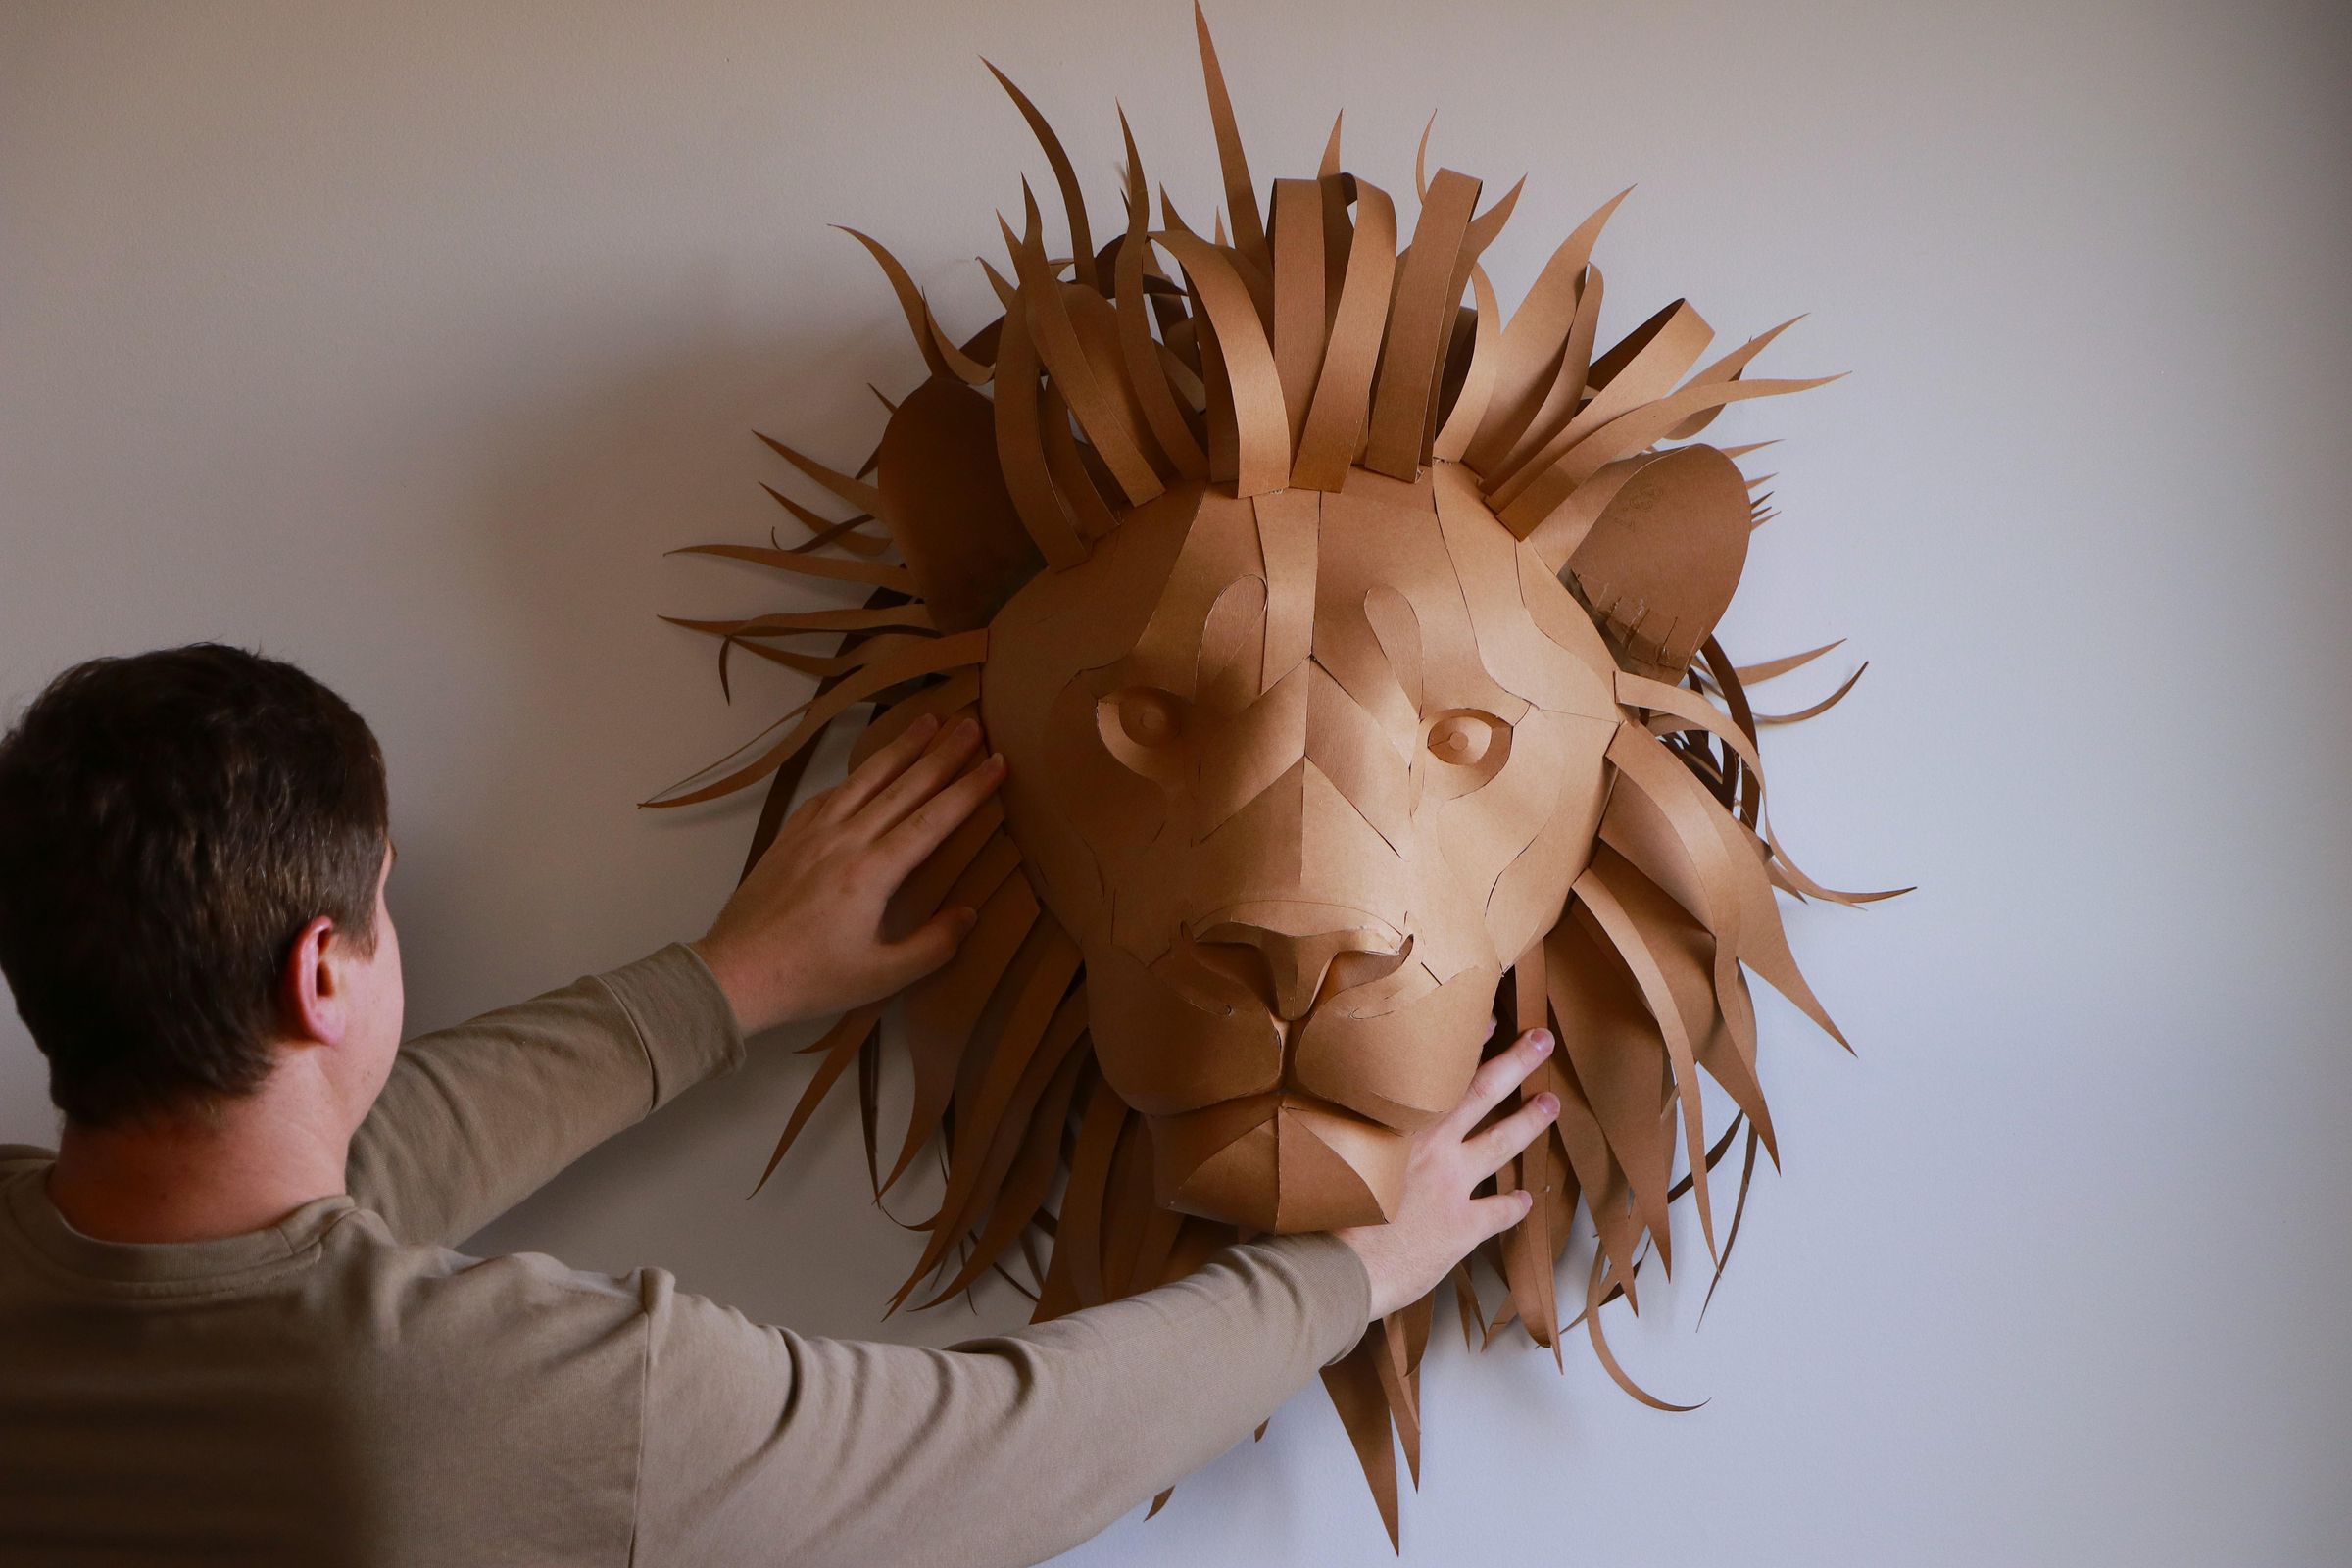
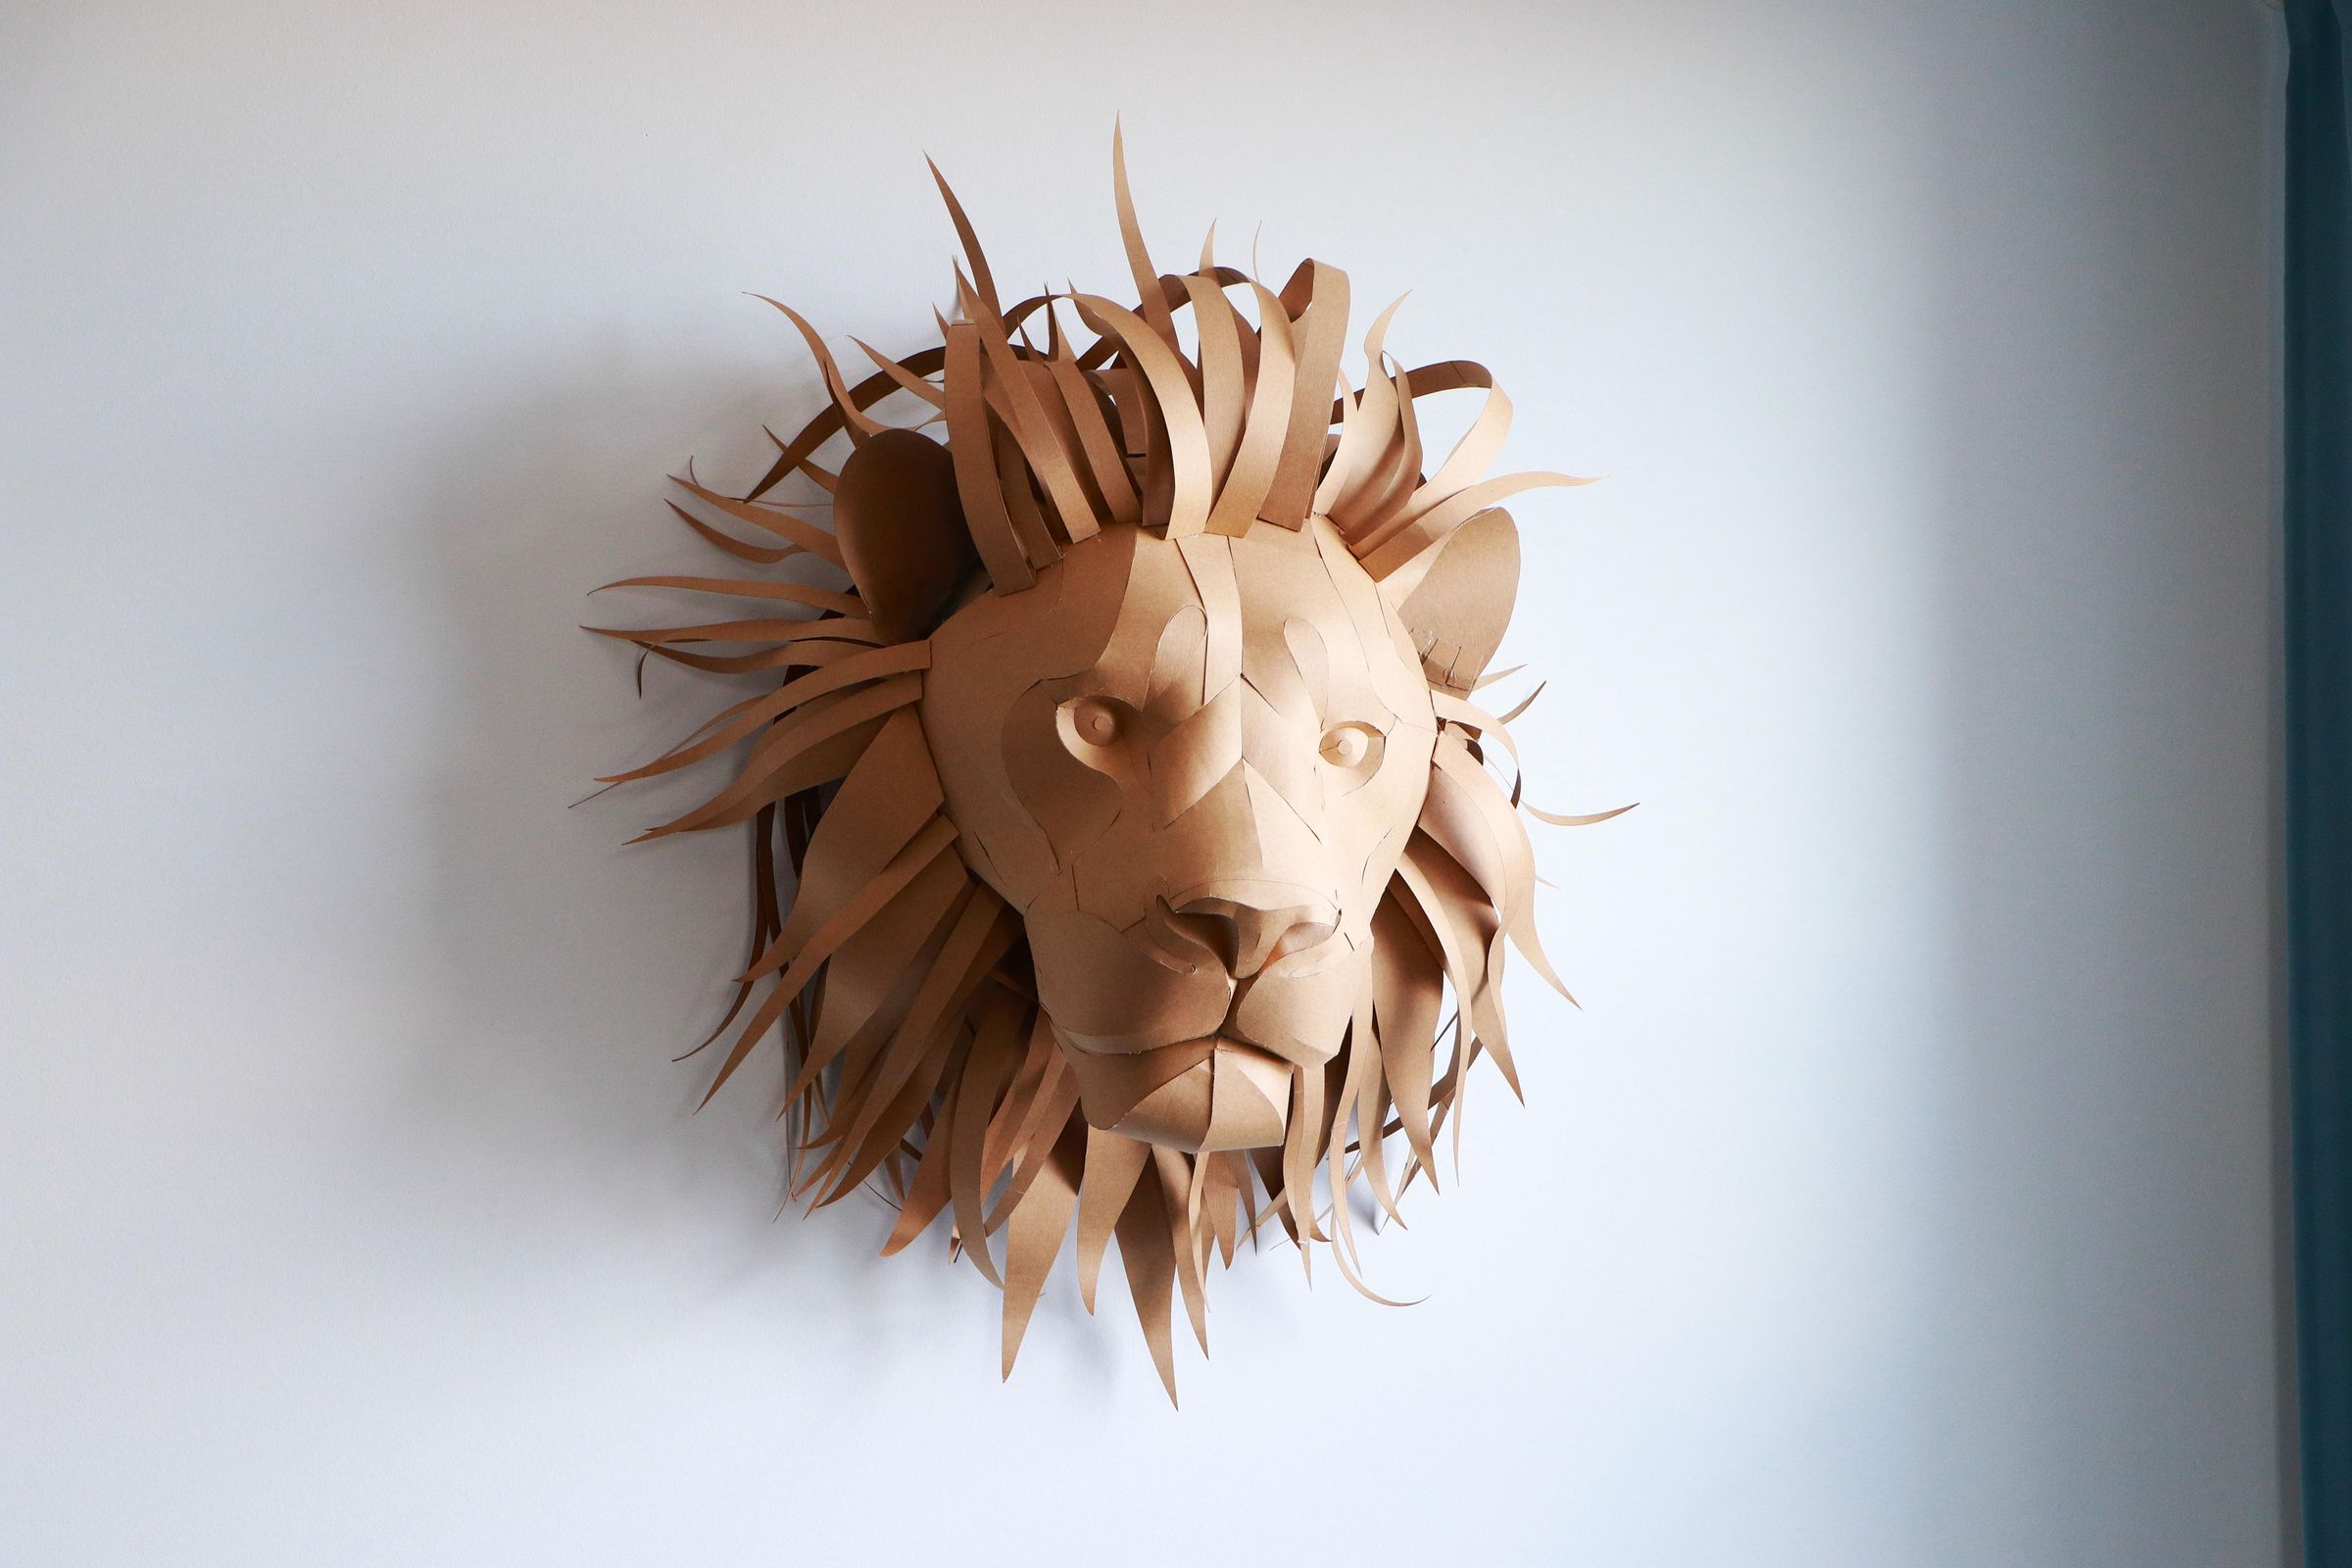
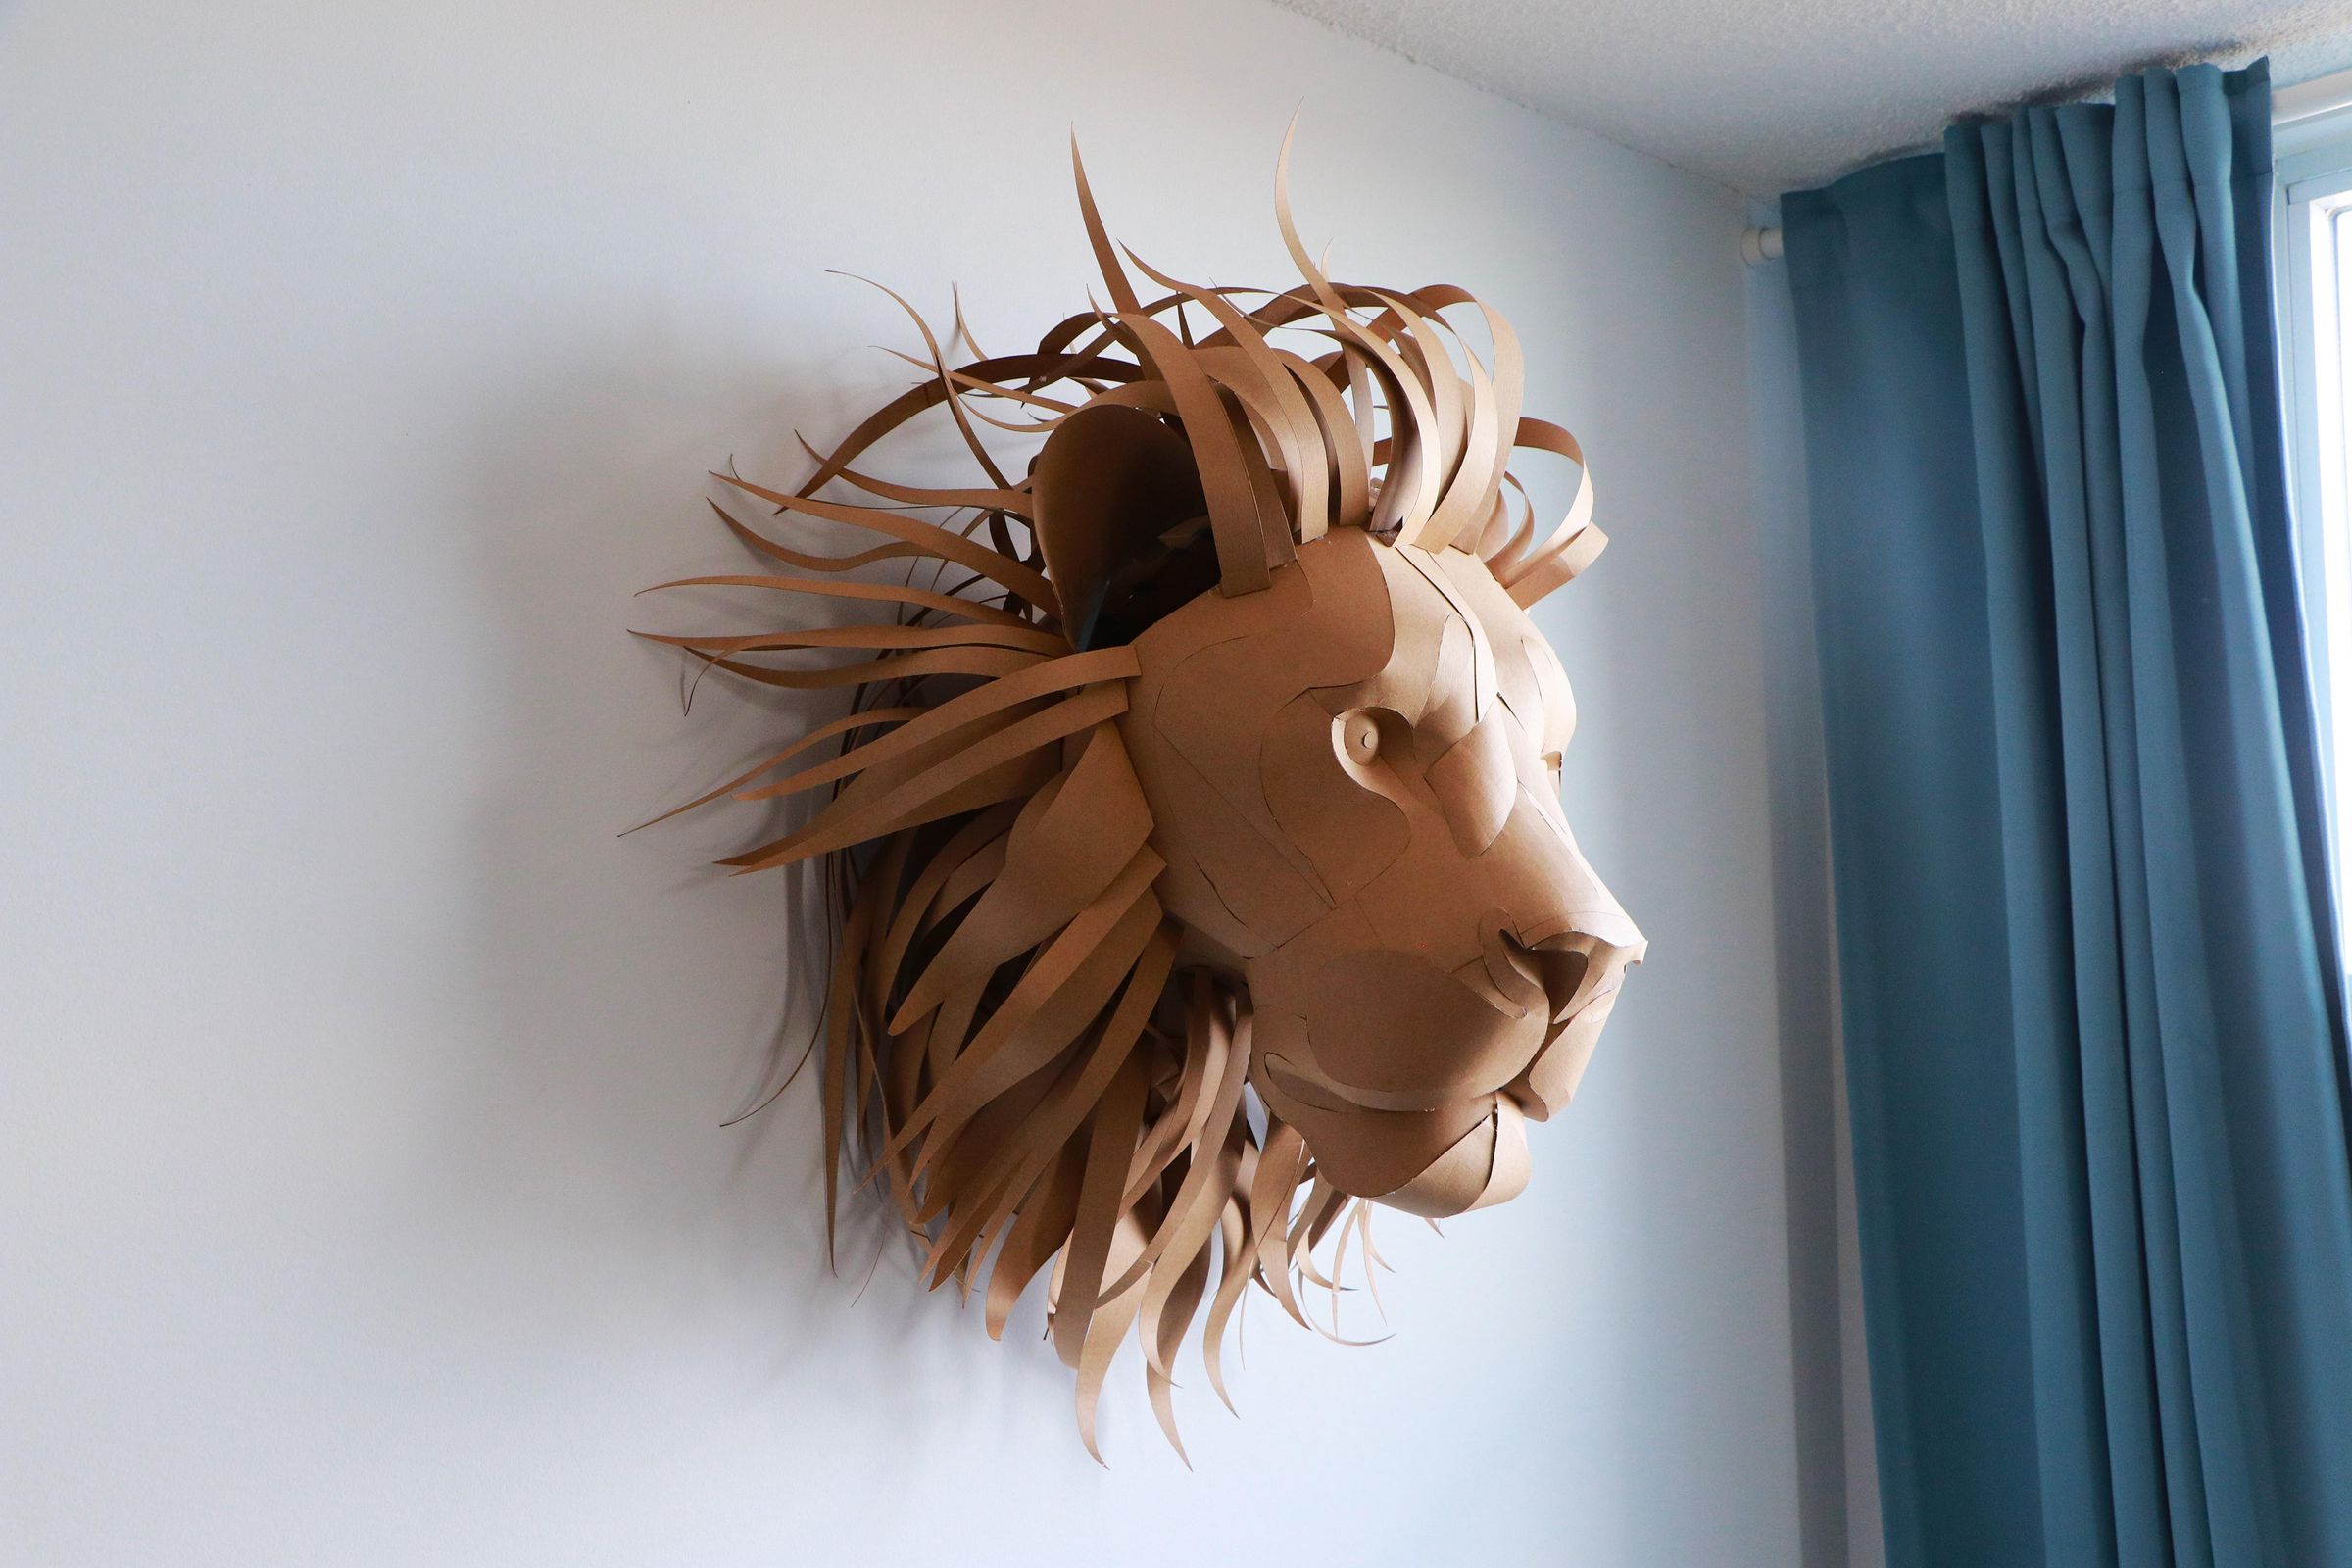
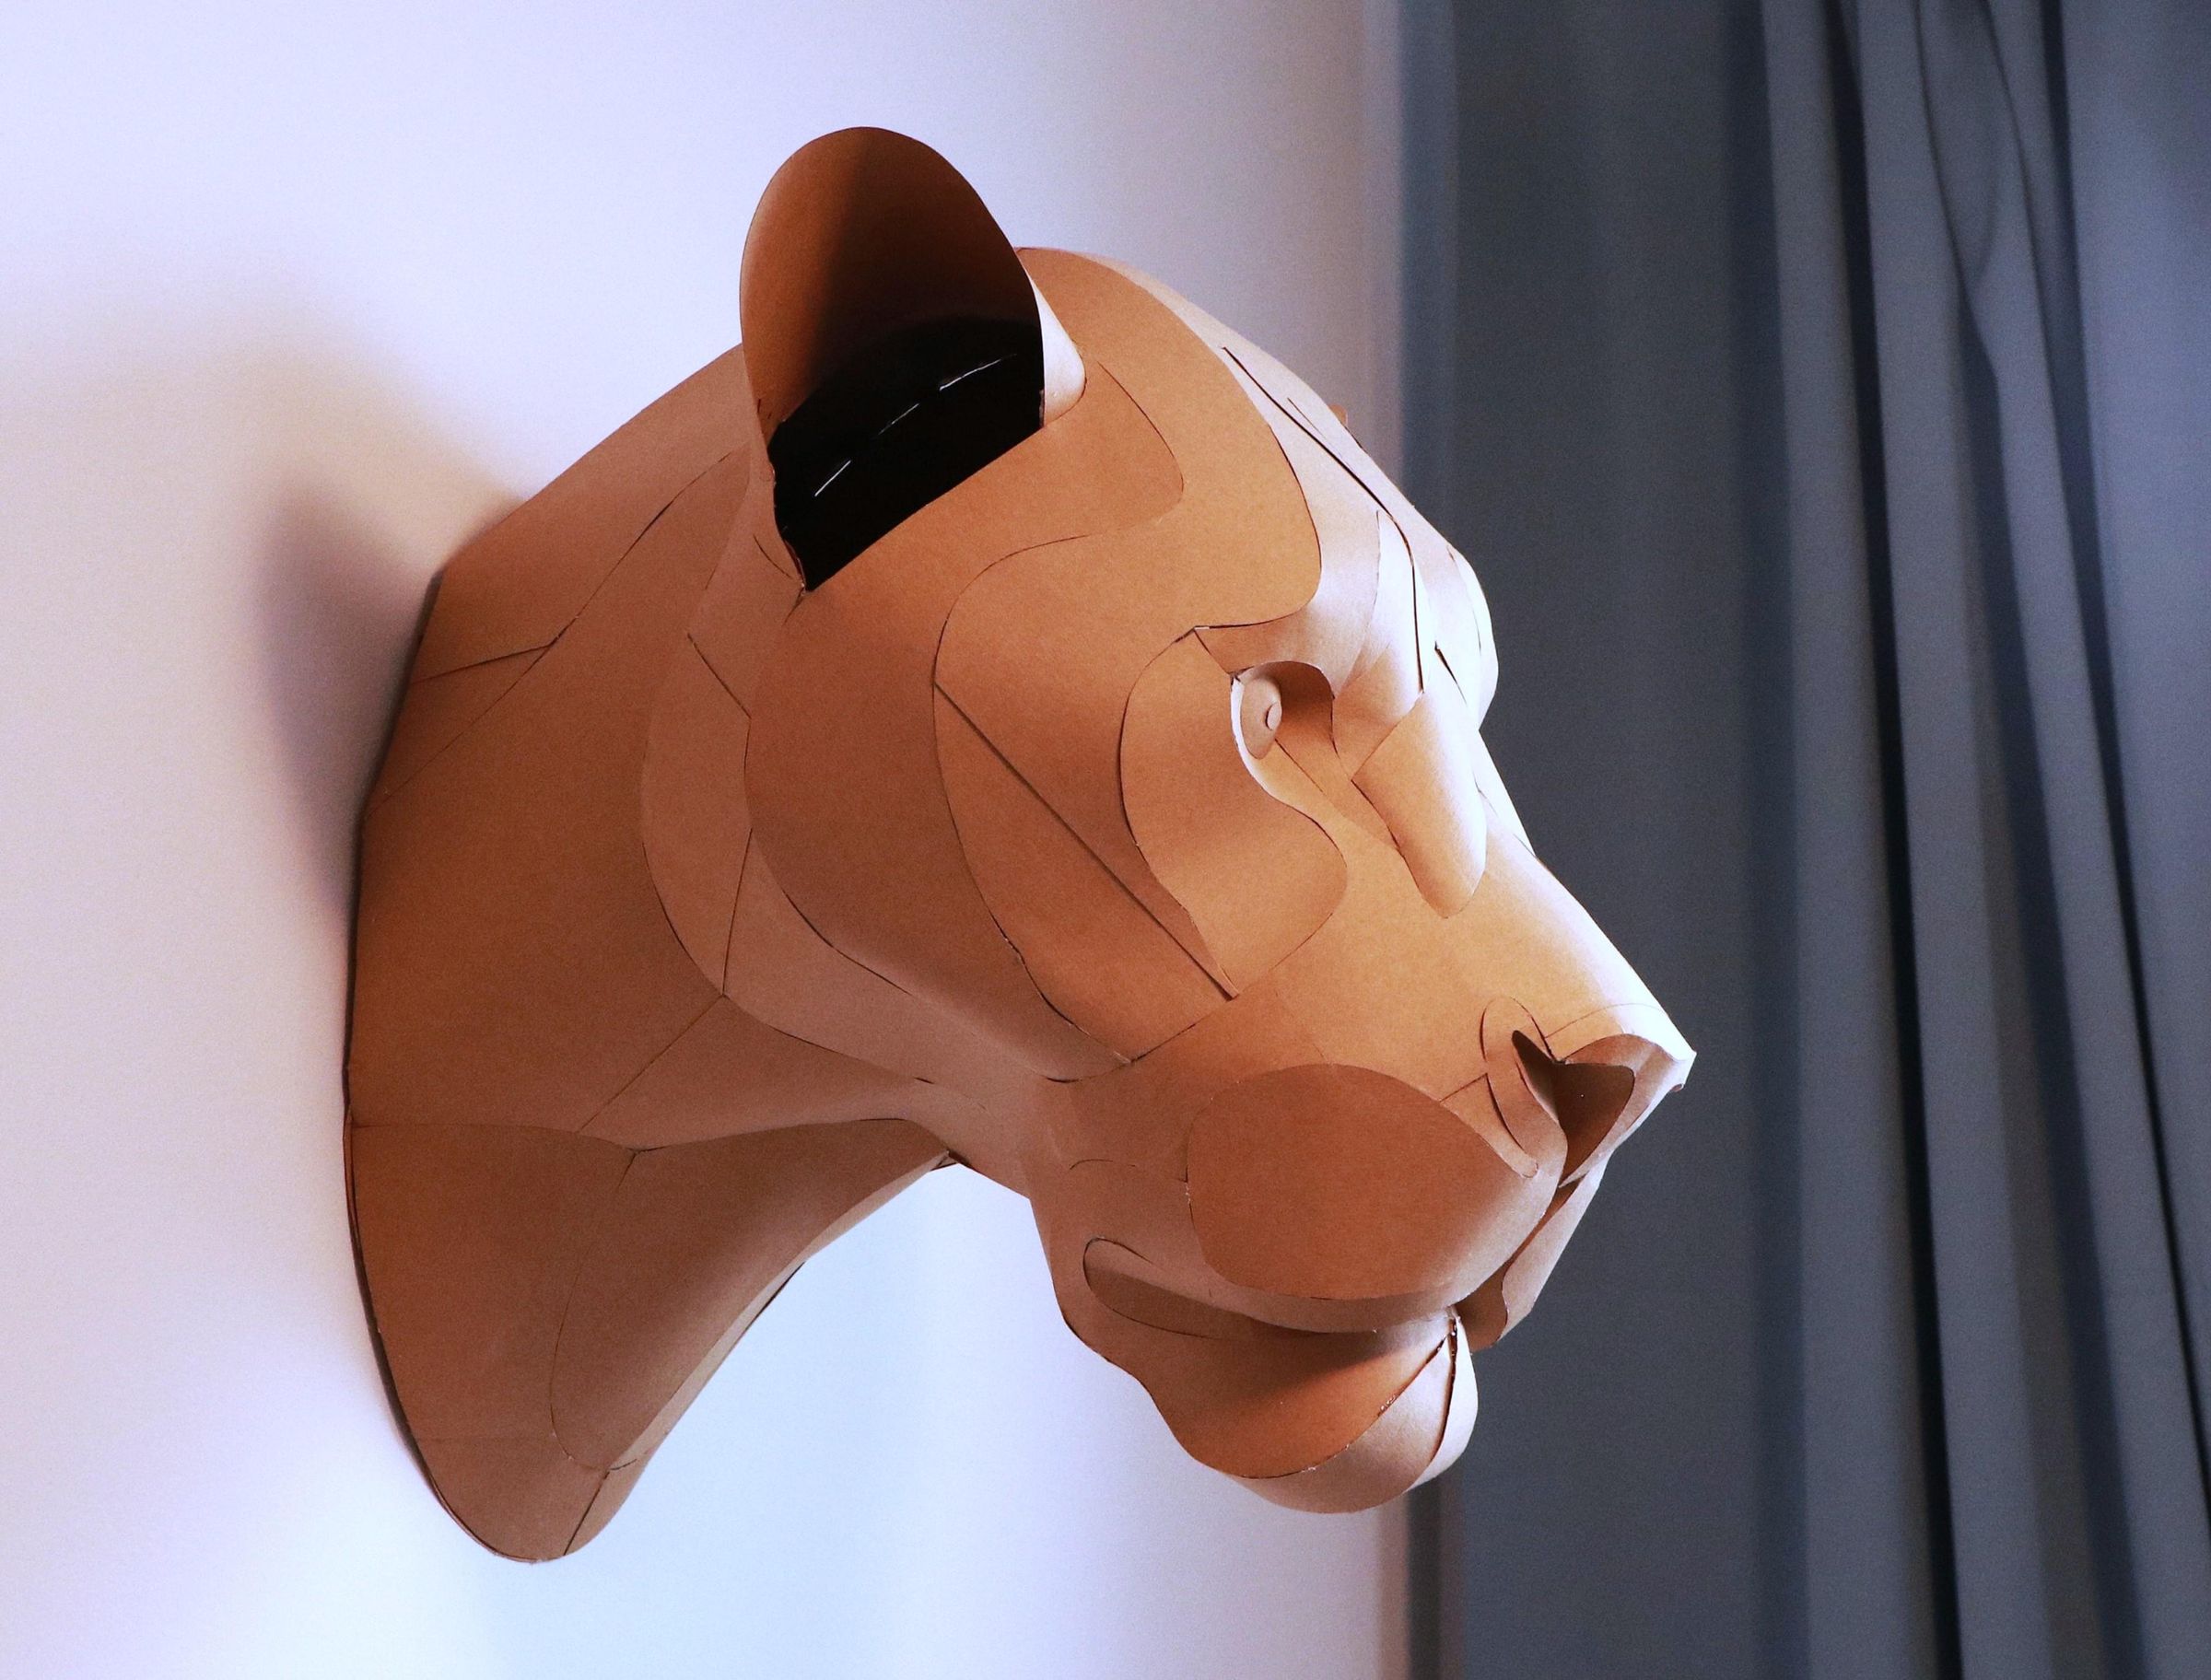
Hang the large lion’s head on the wall; it’s an excellent wall-mounted 3D decor that will easily become the central decorative element in your room.
Thank you and good luck!
